How to DIY Polymer Clay Bird Pendant Inspiration
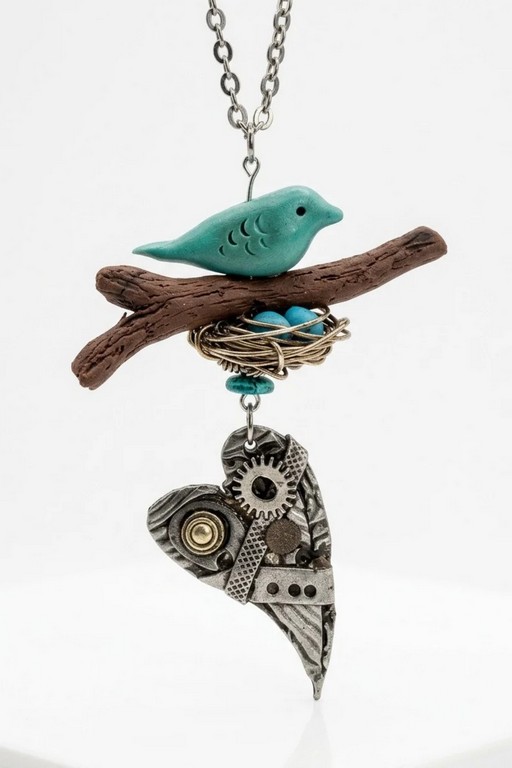
Find unique DIY Polymer Clay Bird Pendant Inspiration to design charming, handmade jewelry that adds a touch of nature-inspired elegance to your style.
Holding a handful of colorful polymer clay, ready to transform it into something truly unique. You sit at your crafting table, inspired by the graceful forms of birds—symbols of freedom and beauty. You decide to create a bird-shaped pendant, a small but meaningful token that could hang on a necklace, dangle from a keychain, or simply brighten your space. This is more than just a craft; it’s a chance to sculpt your imagination into something tangible and personal.
DIY Polymer Clay Bird Pendant Inspiration Designs to Try
The joy of this project lies in the endless creative possibilities. You can make a simple bird outline or add intricate details like feathers, wings, or unique patterns. Start by choosing your colors—maybe soft pastels for a serene dove, or bold, bright hues for a tropical bird. You can even try blending colors for an ombre effect or carve details into the clay’s surface for a textured look. After a bit of shaping and designing, the clay is baked to perfection in a standard oven, turning it into a lightweight yet sturdy piece of wearable art.
The beauty of this DIY polymer clay bird pendant inspiration is how it allows you to express yourself. Whether you’re making a gift for someone special or crafting just for fun, each pendant tells its own little story. Plus, it’s easy and budget-friendly, making it the perfect activity for beginners or experienced crafters. In the end, you’ll have a unique, handmade creation that’s as meaningful as it is beautiful.
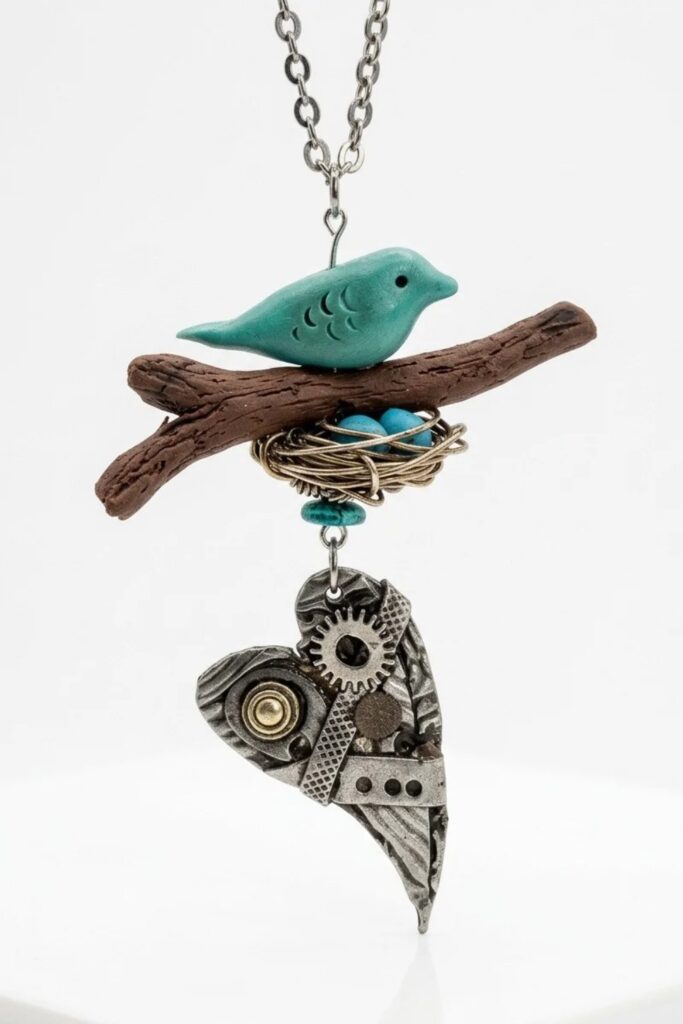
Bird & Branch Pendant
What Are We Making?
- A small polymer clay bird and a textured branch to pair with a wire nest for a pendant.
- This is part one: sculpt the bird and branch components. Part two (assembly with a steampunk heart) comes later.
- Focus: hand‑shaped organic forms, proportionate sizing to the nest, simple texturing, and prep for baking and finishing.
Materials at a Glance
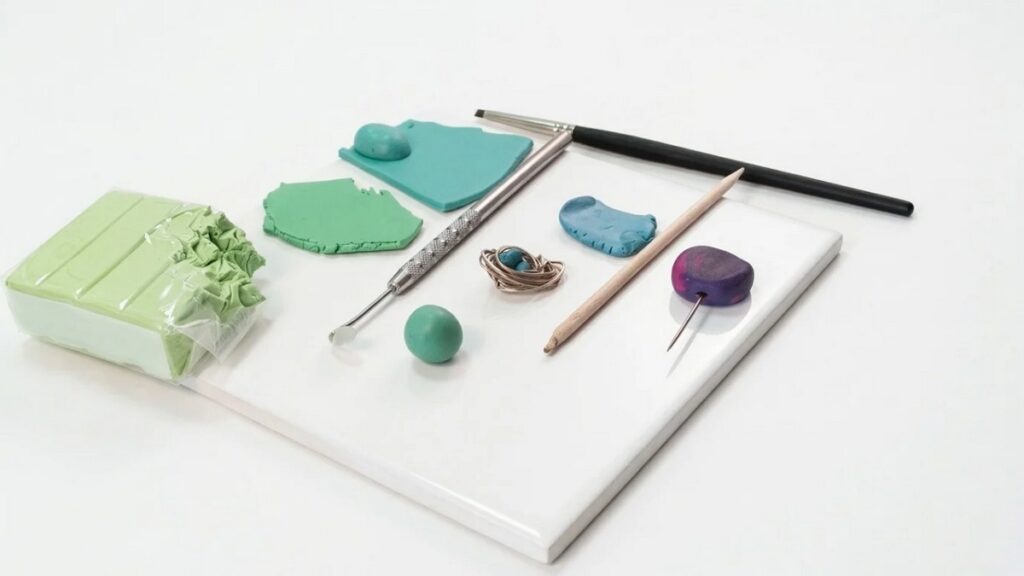
- Polymer clay: Soufflé (Robin’s Egg for the eggs; mix with a touch of Pistachio to match the bird).
- Brown polymer clay scraps for the branch; optional metallic (gold) scrap for sparkle.
- Wire nest and clay eggs (make first — see referenced nest video).
- Ceramic tile or small 6″ tile for working/baking.
- Rolling putty (for making texture sheets) and a piece of real bark or textured surface.
- Two‑part epoxy or preferred adhesive (for later assembly if needed).
Tools You’ll Need
- Needle tool for eyes, drill holes and fine texture.
- Small orange wood stick or cuticle stick (for wing indentations).
- Pliers for adjusting nest shape.
- Blade or razor for chopping branch ends and refining shapes.
- Christi Friesen “Can’t Live Without It” tool or similar blunt‑edge tool for bark lines.
- Tile or work surface you can move conveniently.
Things to Know Before Starting
- Begin with the nest component first — size other elements around it rather than resizing the nest later.
- Matching colors: mix a small amount of one color (Pistachio) into another (Robin’s Egg) to create a bird color that coordinates with the eggs.
- Keep small reference pieces (baked bird or nest) nearby to judge proportions as you model.
- Work on a small tile so you can check layout and move pieces as needed.
Let’s Get Started
Step 1: Get Ready
- Prepare materials:
- Condition the clay until soft and pliable. Soufflé conditions more easily than some clays, but fold and knead until no streaks remain.
- Keep your 6″ tile and tools at hand for shaping, texturing, and checking scale.
- Set a reference:
- Make or have the wire nest and clay eggs ready. Place them where you can frequently compare size and positioning.
Step 2: Make the Bird
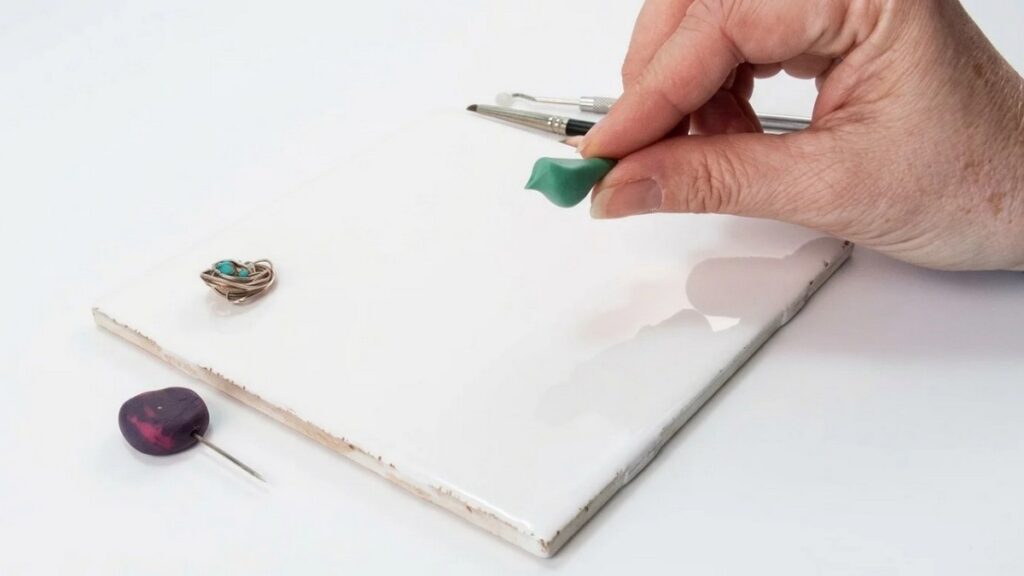
- Form the base:
- Take roughly a 1/2″ ball of your mixed bird color.
- Use one finger to roll it into a teardrop shape — thin the tail end slightly and smooth any dimples.
- Shape head and beak:
- Pinch and pull the head from the thicker end, pulling slightly more clay than you think you need to allow for the beak.
- Form the beak by pinching into a small ‘V’ between fingers, rotating to round the tip so it’s not too pointy.
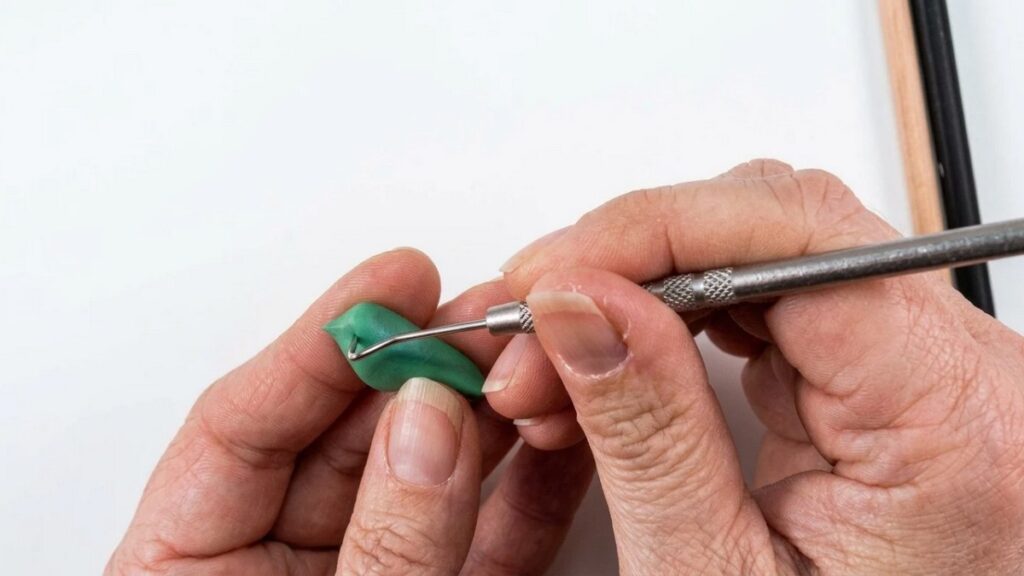
- Add details:
- Flatten the tail slightly on your surface for stability.
- Use a needle tool to poke eye indentations on either side of the head.
- Press an orange wood stick or cuticle stick into the sides to suggest wings.
- Use the needle tool to add a few feather indications in the tail.
- Final checks:
- Hold the bird against the nest to confirm scale; adjust size by removing or adding a touch of clay if needed.
- Make a stringing hole where the pendant will hang — position with the bird on the nest so placement is comfortable and centered.
Step 3: Make the Branch
- Condition and roll:
- Condition brown clay thoroughly; add a little gold scrap if you want subtle sparkle.
- Roll into a log to the thickness that balances the bird and nest — use your baked bird/nest for reference so the branch doesn’t overpower them.
- Fork and shape:
- Cut a notch at one end to create a forked branch; offset the notch to make one prong slightly longer for natural look.
- Roll the prongs between fingers to round them and blend the cut.
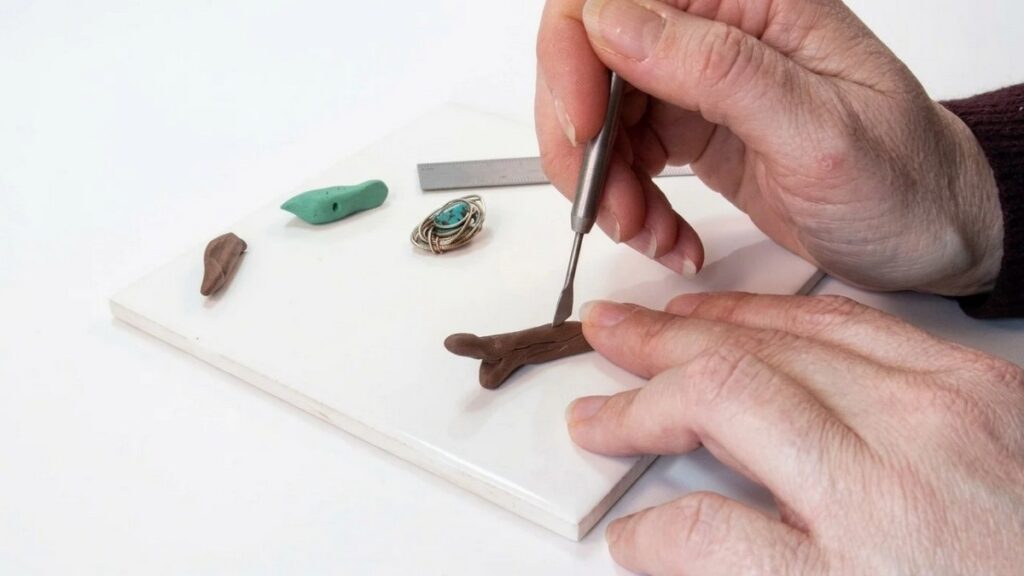
- Texture:
- Create a texture sheet by pressing rolling putty into real bark; press the branch into that sheet and squish gently to transfer bark texture.
- Refine bark lines with a blunt edge tool (like the Christi Friesen tool) or a needle tool by dragging to form grooves.
- Weather and broken ends:
- Chop branch ends at varying angles with a blade to mimic broken wood, then rough the ends with a needle tool for realistic frayed wood.
- Add subtle bends so the branch isn’t perfectly straight — gentle curves look more natural.
- Test placement:
- Place the textured branch on the nest with the bird to determine the correct position for any holes. Use a needle tool to mark and make the hole(s) while components are still soft for later assembly.
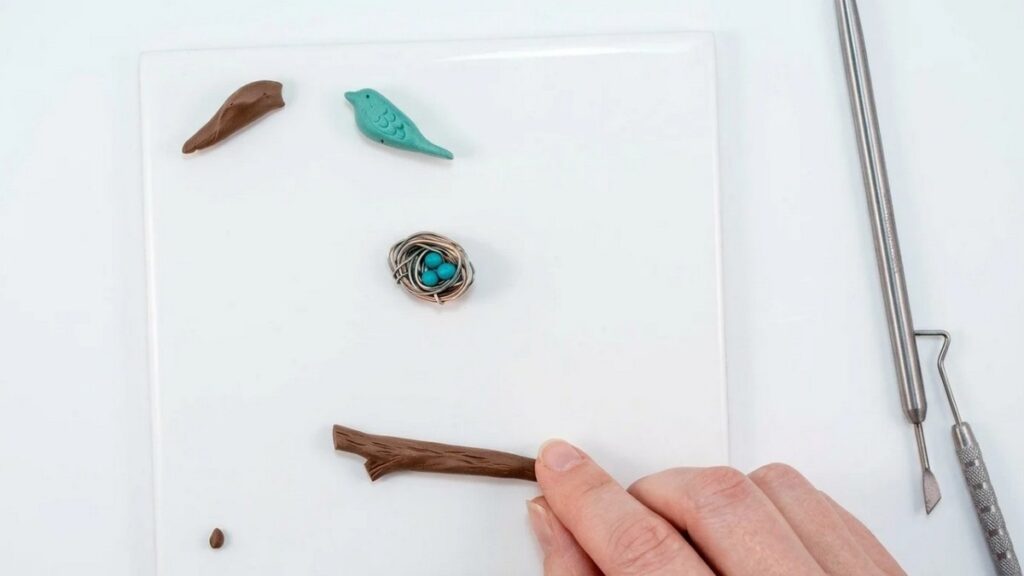
Step 4: Put the Pieces Together (Prep for Baking)
- Check proportions:
- Arrange bird and branch on the nest and verify sizing and balance. Make any small adjustments while clay is pliable.
- Create stringing and attachment holes:
- Re‑confirm hole positions (bird, branch, and nest) using a needle tool; mark and enlarge slightly if needed so they will align in final assembly.
- Optional: reshape nest for wearability:
- If pendant will sit against the chest, use pliers to gently ovalize the round nest for a more comfortable curve before final assembly.
Step 5: Finish the Design (Baking & Next Steps)
- Baking guidelines:
- Follow your clay manufacturer’s instructions. A common guideline: 130°C (266°F) for about 30 minutes per 6 mm thickness — but verify brand specifics and use an oven thermometer for accuracy.
- After baking:
- Allow pieces to cool completely on the tile. Inspect for any cracks or distortion and sand or refine as needed.
- Ready for part two:
- Keep these components safe until part two, where you’ll create the steampunk heart and assemble the full pendant.
Easy Finishing Tips
- Work with small reference pieces (baked bird or nest) to maintain correct scale.
- Condition clay fully so textures transfer cleanly.
- Use gentle pressure when transferring washt textured patterns — heavy pressure can flatten detail.
Common Beginner Mistakes
- Making components before sizing the nest — always start with the nest so other parts fit.
- Overworking small features causing loss of shape — stop and let clay rest then refine.
- Skipping a test bake for texture pieces may lead to unexpected shrinkage.
Ways to Personalize It
- Vary bird colors (greens or blended shades), add mica or metallic accents in the branch, or change nest shape for unique wearables.
- Add tiny sculpted leaves, blossoms, or painted details after baking for extra character.
Final Look
- Components should read as a cohesive miniature scene: proportionate bird, realistically textured branch, and nest sized to accommodate eggs. Return for part two to complete assembly with the steampunk heart and hardware. Happy sculpting!