DIY COVID Charms Craft Project with Polymer Clay Instructions
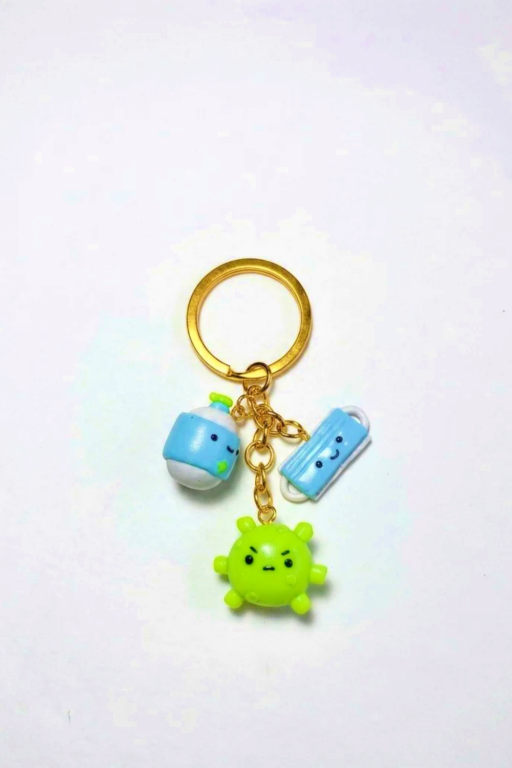
Discover easy DIY COVID charms made with polymer clay and create unique, meaningful accessories to remember an unforgettable time.
Creating something meaningful and fun can be a great way to reflect on unusual times. With polymer clay, you can design small, unique charms inspired by the COVID era. These tiny creations could symbolize moments of resilience, humor, or memorable experiences. It’s a lighthearted yet thoughtful DIY project that helps turn a challenging period into something creative and personal.
DIY COVID Charms Craft Project with Polymer Clay Instructions
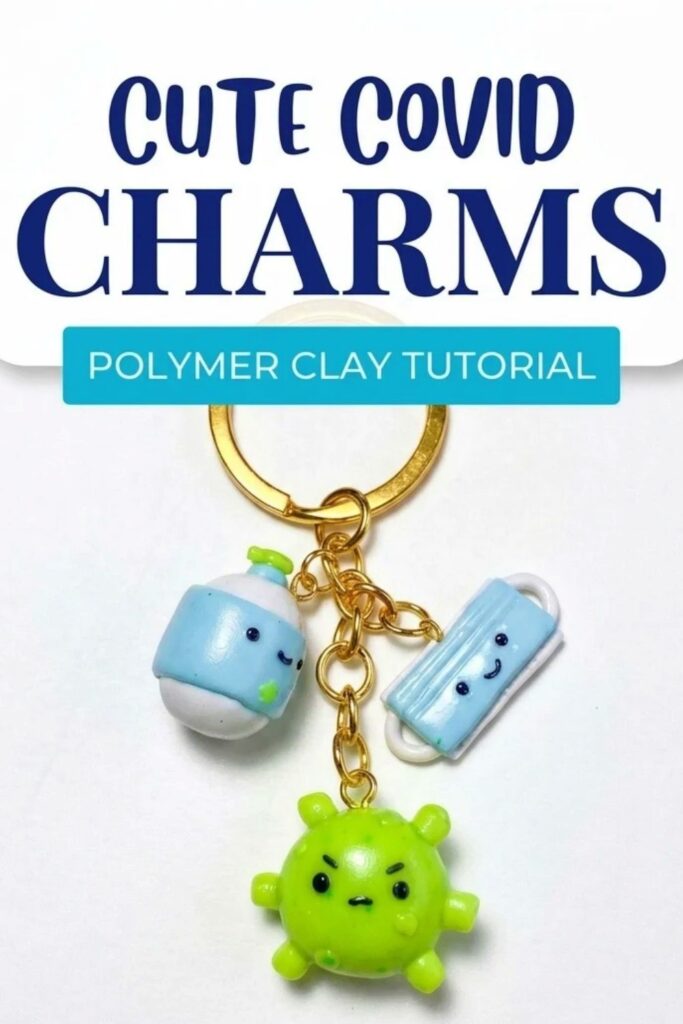
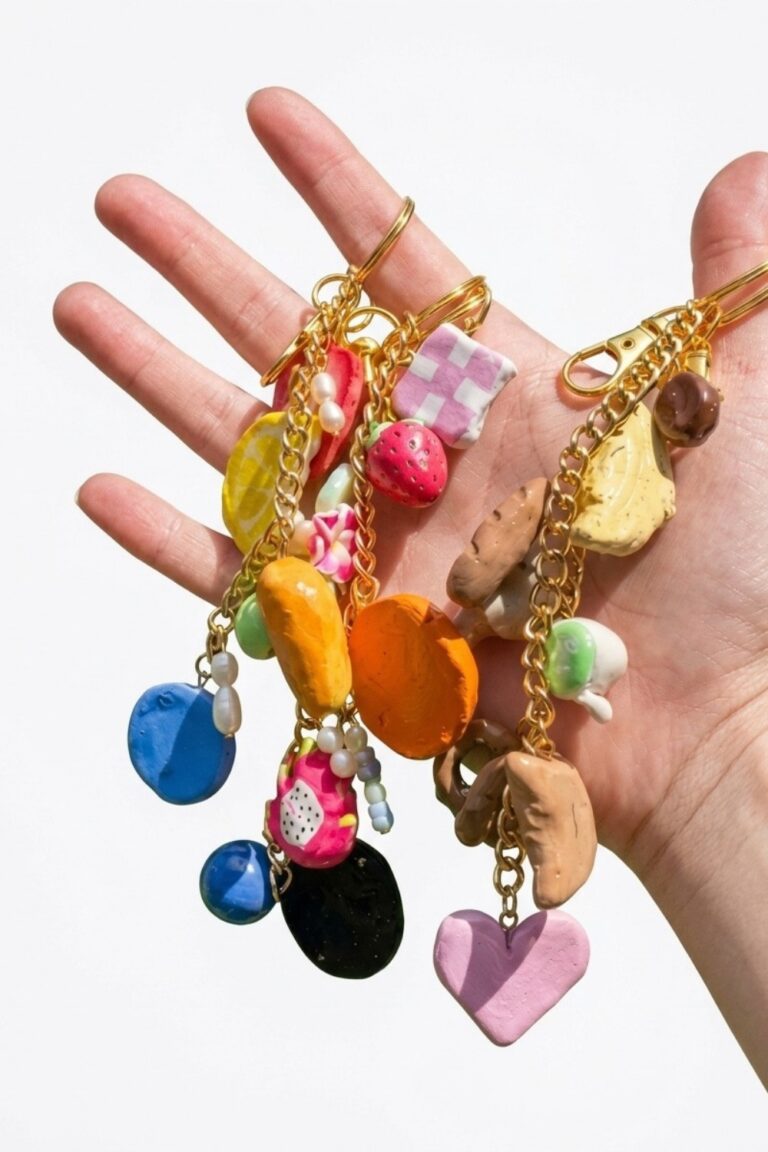
For this activity, polymer clay becomes your tool to mold designs like miniature masks, sanitizer bottles, or even cute virus shapes with a fun twist. The beauty of the project lies in its simplicity—adding tiny details and choosing playful colors makes it all the more interesting. Once the clay is baked, you’ll have sturdy, vibrant charms that can be used on keychains, bracelets, or as decorative keepsakes. It’s an enjoyable way to build tiny art pieces that hold special meaning.
These handmade creations can also serve as thoughtful gifts or conversation starters. Whether it’s to capture a memory, share a laugh, or simply enjoy a creative outlet, they’re a great way to mix crafting with storytelling. Each charm is a reflection of your own imagination and adds a playful touch to everyday life. It’s a small project with lots of charm, perfect for anyone who enjoys creative, hands-on activities.
Common Problems & Solutions
- Eye pins wobble after baking: ensure pins are dipped in liquid clay and inserted into unbaked clay, positioned straight.
- Details flatten during handling: re-sculpt final details right before baking and avoid over-pressing.
- Varnish tacky or cloudy: use a varnish compatible with your clay and follow drying instructions; allow sufficient curing time.

Cute COVID Charms Polymer Clay
Create a set of COVID-19 themed polymer clay charms: a sanitizer bottle, a face mask, and a stylized virus charm. This tutorial walks through conditioning clay, forming shapes, adding facial details, inserting eye pins, baking, glazing, and assembling hardware. The finished pieces make seasonal keychains or themed charms for bags and zippers.
Materials & Supplies
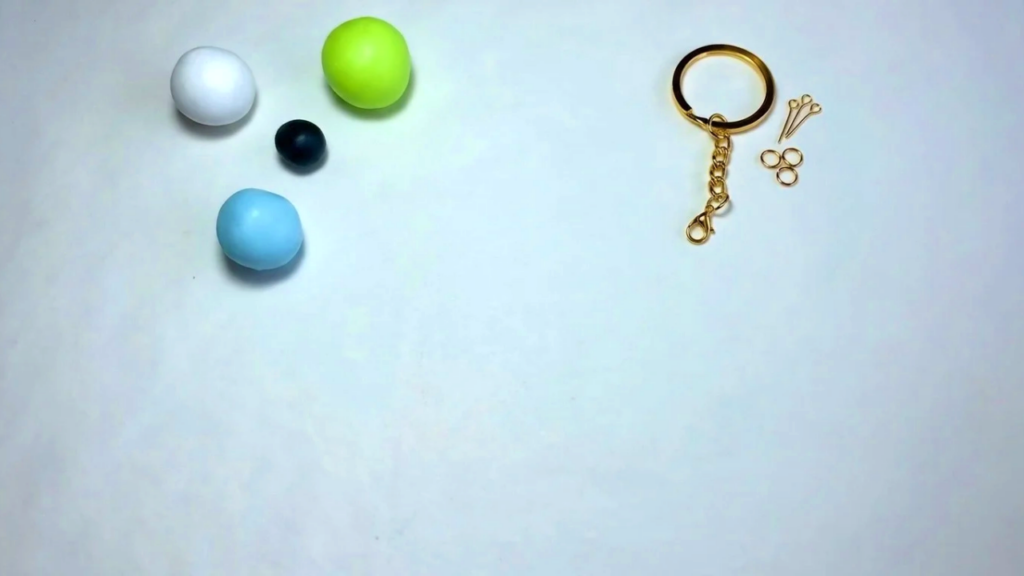
- Dark and light polymer clays as needed (white, light blue, lime green, black, pink, grey)
- Eye pins for hanging charms
- Glossy varnish (optional)
- Epoxy or jump rings and keychain hardware
Tools & Equipment
- Pasta machine or thorough hand-conditioning for clay
- Acrylic roller and flat work surface
- Cutting blade / scalpel and dotting tools
- Needle tool for small details
- Small mixing tools / toothpicks for applying liquid clay
- Oven (follow clay brand instructions)
- Pliers for opening jump rings
Project Details
- Style: Playful, cartoonish themed charms with faces.
- Output: Three charms per set (sanitizer bottle, face mask, virus).
- Complexity: Beginner-friendly; precision improves results.
- Size: Charm-scale (size depends on your rolling thickness and cutters).
Preparation
- Condition the clay by warming between fingers or run through a pasta machine until smooth and pliable.
- Prepare colors: white, light blue, lime green, black, pink, grey; set tools and workspace within reach.
- Preheat oven only when ready to bake and always follow your clay brand’s temperature/time instructions.
Start The Project
Follow all steps below. Important actions are bolded.
Sanitizer bottle charm
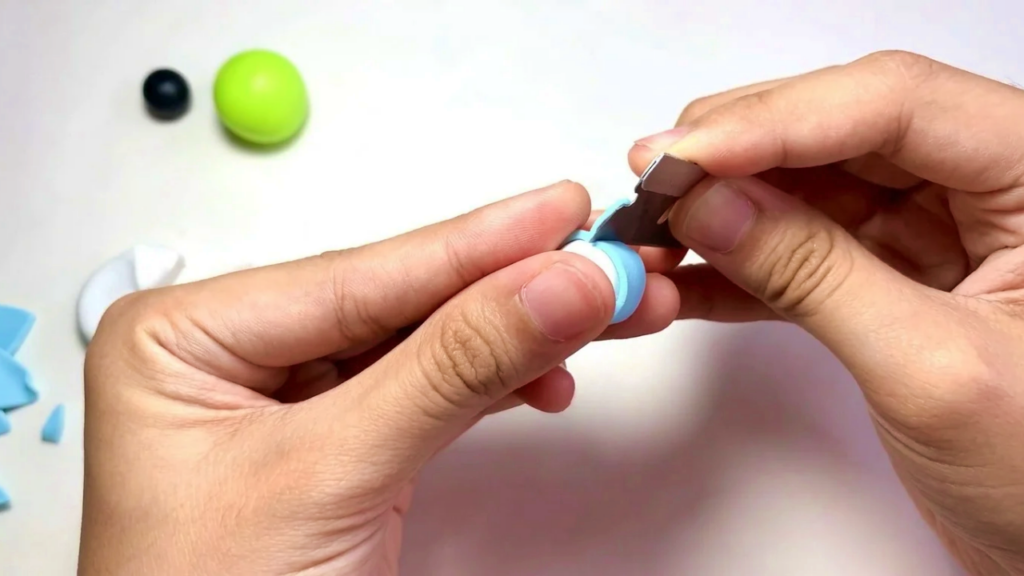
- Form the base: Take some white clay and shape into a sphere.
- Roll to cylinder: With your index finger, roll the sphere on a flat surface to elongate it into a cylinder shape that resembles a bottle.
- Create the label: Roll out light blue clay and when thickness is correct, cut a long rectangle to form the bottle label. Attach the label to the front of the cylinder.
- Add label details: Decorate the label as you like — small symbols, lines, or a smiling face.
- Make the cap: Cut a small piece of light blue clay, roll into a tiny sphere, flatten, and attach it to the top of the bottle.
- Form the pump: Shape lime green clay into the pump piece and attach to the cap area; shape to resemble a dispenser head.
- Add facial features: Roll two small black spheres for eyes and mark eye positions with a dotting tool; attach eyes at the marked spots.
- Add mouth: Roll a thin string of black clay, attach as the mouth on the label.

Face mask charm
- Roll out white clay: Use a roller to flatten a sheet of white clay to your chosen thickness.
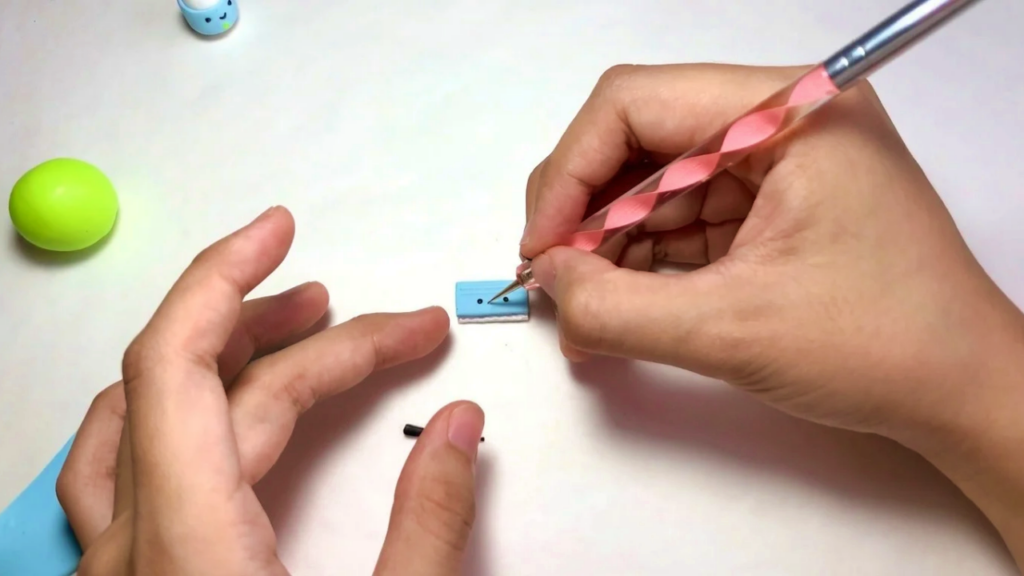
- Cut rectangle: Cut the white sheet into a rectangle to establish the mask body.
- Add blue overlay: Roll a piece of light blue clay, cut and place it on the mask as the colored center or pleat area.
- Detailing: Use a dotting tool or blade to add mask creases or decorative lines.
- Mark eyes: With a dotting tool, mark positions where eyes will be placed. Roll two tiny black spheres and attach as eyes.
- Attach mouth: Roll a thin black string and attach as a mouth if desired.
- Make straps: Roll white clay into thin strings, cut to length, and attach each side as straps.
Virus charm creation
- Form core sphere: Take lime green clay and shape into a sphere for the virus body.
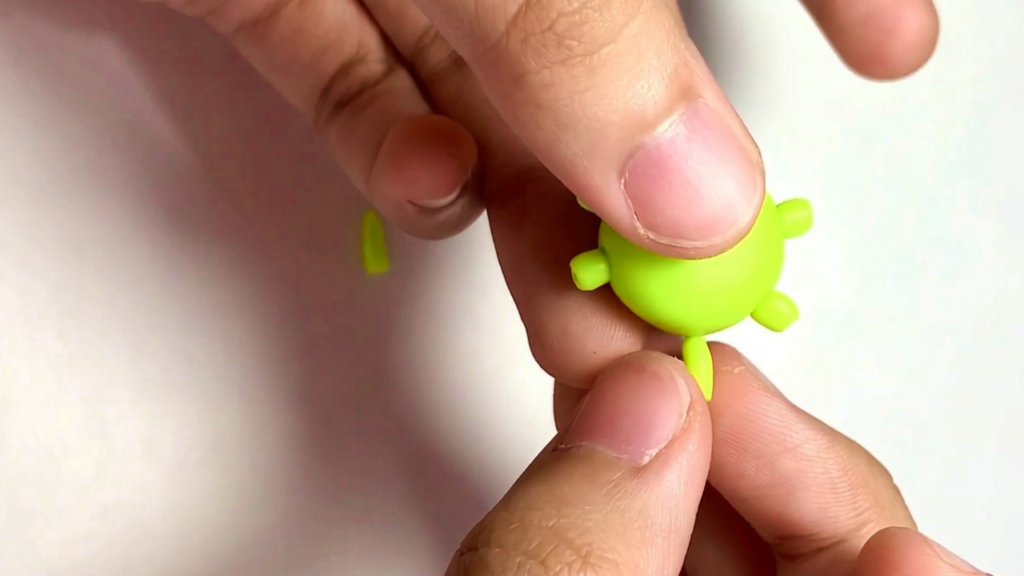
- Create spikes: Roll lime green clay into a thicker string, cut into equal parts, and form each into small cones.
- Attach spikes: Press cones onto the sphere evenly around the surface. Use a dotting tool to sculpt tiny holes at the base of each spike for texture.
- Add facial features: Cut tiny black spheres for eyes, mark positions with a dotting tool, and attach. Roll a thin black string for the mouth and attach.
- Optional expression: Add eyebrows with small grey strips to give an angry or expressive look. Use the dotting tool to add extra lime-green surface details as desired.
Eye pin insertion and prep for baking
- Dip the eye pin into liquid clay or liquid polymer medium to secure it during bake.
- Insert the eye pin into each charm so you can attach jump rings after baking. Ensure the pin is straight and centered.
Baking and glazing
- Bake charms according to your polymer clay brand’s instructions (temperature and time). Allow them to cool completely before handling.
- Optional gloss: Apply a glossy varnish or gloss glaze to coat the charms for added shine and protection. Allow varnish to dry thoroughly.
Hardware assembly
- Attach jump rings to the eye pins using pliers; then connect to keychain hardware or split rings to finish.
- Ensure all hardware is secure and oriented for easy hanging.
Tips & Techniques
- Work light to dark for details so features read well against light backgrounds.
- Make small marks for eye placement — it keeps faces symmetrical.
- Test small color mixes if you want custom shades (e.g., for syrup or highlights in other projects).
- Use liquid clay to improve the bond between inserted pins and clay.
Creative Ideas & Variations
- Make a full set of matching charms (sanitizer + mask + virus) in different expressions and colors.
- Turn charms into zipper pulls, earrings (if small), or backpack tags.
- Add text or tiny labels to sanitizer bottles for personalization.
Final Result
A charming trio of COVID-19 themed polymer clay charms: a friendly sanitizer bottle, a cute masked face, and a stylized virus with personality. Properly baked, glazed, and finished with secure hardware, these make playful keychains or awareness-themed accessories. Always follow safe crafting and hygiene practices while creating.