Quick Polymer Clay Flower Bouquet Earrings Project for Beginners
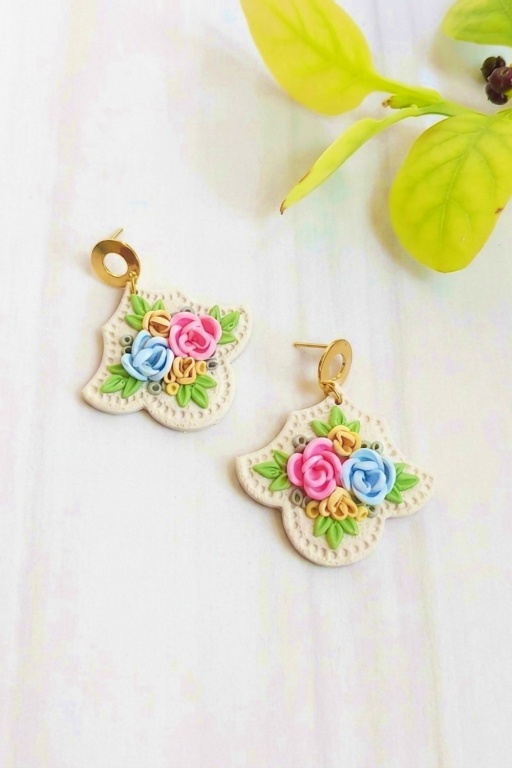
Master the art of Polymer Clay Flower Bouquet Earrings with simple steps to craft eye-catching accessories perfect for any outfit or occasion.
Jewelry making is a craft that allows anyone to add a personal spark to their style, and this project delivers just that. Using polymer clay, you can design charming flower bouquet earrings that feel like tiny works of art. These earrings aren’t just accessories — they’re handmade expressions of creativity inspired by nature. Whether you’re a beginner or a longtime DIY enthusiast, this project is easy to follow and offers limitless ways to customize your designs to reflect your unique personality.
DIY Polymer Clay Flower Bouquet Earrings for Everyday Wear

The process is full of possibilities. You’ll roll and shape colorful polymer clay into miniature petals, leaves, and blooms that come together in a delicate bouquet. The clay is easy to handle, and its versatility ensures that each pair of earrings is one of a kind. Once baked, your creations will transform into sturdy yet lightweight pieces, perfect for daily wear or special occasions. If you love experimenting, you can even add painted details or mix up different styles for a truly original look.
When you’re done, you’ll have a set of beautiful earrings that are as stylish as they are heartwarming. These flower bouquet designs are sure to bring a touch of nature to your outfits and make wonderful gifts for friends or family. Best of all, crafting your own jewelry feels incredibly rewarding, leaving you with something handmade and meaningful to treasure.
Polymer Clay Flower Bouquet Earrings
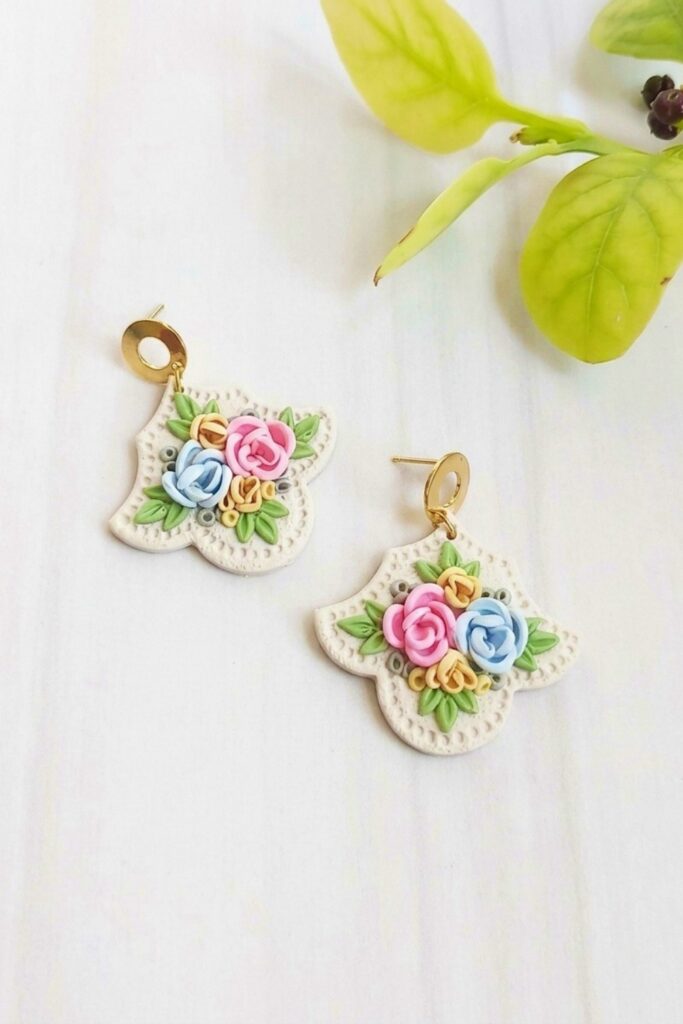
- Welcome to AHC Clay Collections — this video demonstrates how to make detailed floral polymer clay earrings using layered petals and textured bases.
- The technique focuses on small-scale floral composition, consistent mirror-image pieces, and using simple tools to achieve professional-looking results.
- Work patiently and keep tools organized; floral work is time-consuming but rewarding.
Materials
- Polymer clay in your chosen color palette (pastel greens, blues, creams suggested).
- Acrylic roller for even sheet thickness.
- Micro round cutters and micro petal/leaf cutters.
- Needle tool, dotting tools, and a round ball tool (also used in cake modeling).
- Wet/dry sandpaper (80–100 grit or similar) and a ceramic tile for baking.
- Clay glue such as Sculpey Bake & Bond (optional for extra adhesion).
- Small spatula or palette knife, work surface paper, and a tile to bake directly on.
- Oven and thermometer, fine sandpaper for finishing, varnish if desired.
Start of Making
Base
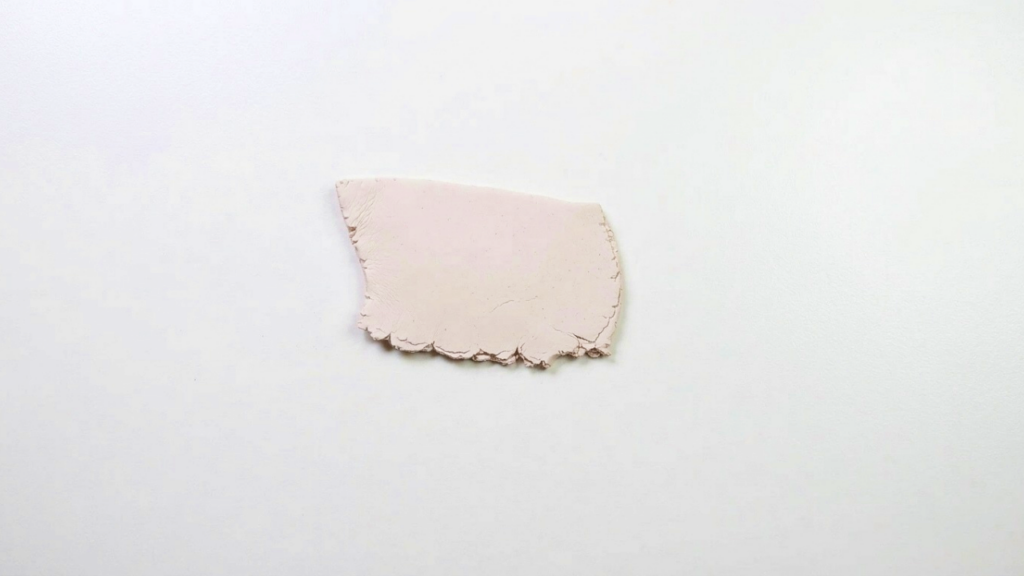
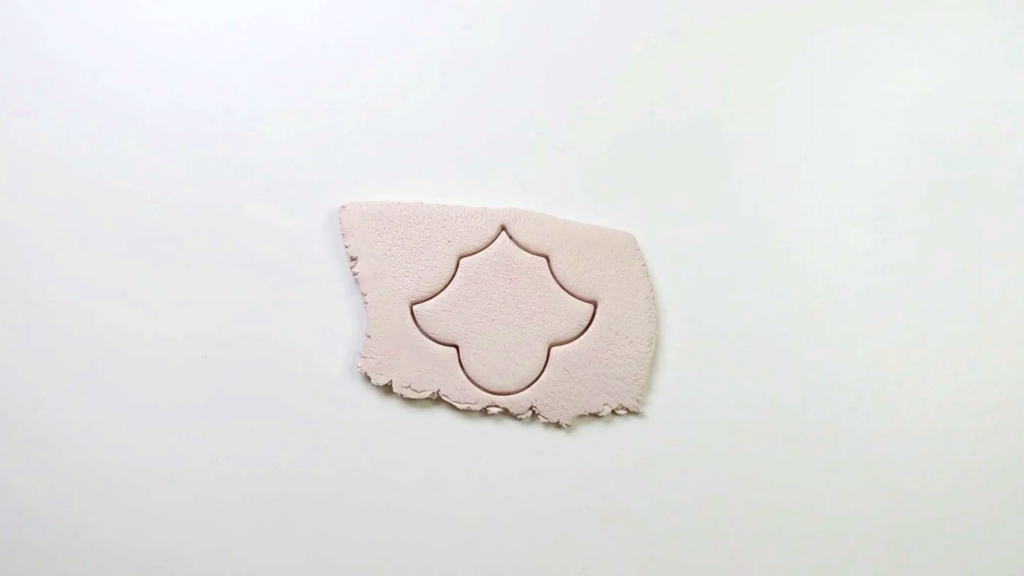
- Roll a clay sheet to your preferred thickness using the acrylic roller; medium thickness gives structure while remaining lightweight.
- Place wet/dry sandpaper lightly over the clay, spritz the sandpaper with water to prevent sticking, then roll the sandpaper over the sheet to imprint a subtle grainy texture.
- Remove the sandpaper and cut the base shape with a cutter. Use a dotting tool to add a neat border around the base if desired.
- Tips for the base:
- Work on a ceramic tile so you can bake the piece directly and avoid transfers.
- Keep the base clean of fingerprints by rotating on paper rather than touching the textured surface.
Leaves
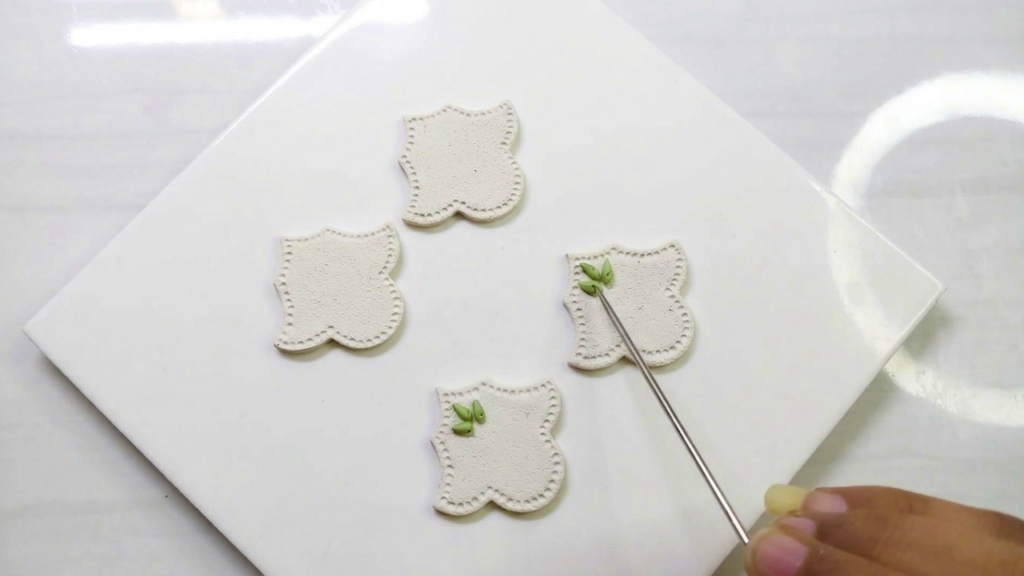
- Prepare a thin sheet of clay on a tile and use small micro cutters to shape many spike-like leaves.
- Shape each leaf gently with fingers or a ball tool to form a tapered tip; aim for uniformity so pairs mirror each other.
- Place leaves on the base using either a needle tool, a ball tool, or clay glue for extra security.
- Use the needle tool to make small indentations near the base of each leaf to help adhesion and mimic natural vein attachment.
- Assembly guidance:
- Add leaves symmetrically so both earrings remain mirror images.
- Work in sets (for example, three sets in four corners) and allow time to adjust placement before finalizing.
- Use a ceramic tile to orient the piece comfortably for detailed placement and to bake directly on it.
Fruit Details and Balls
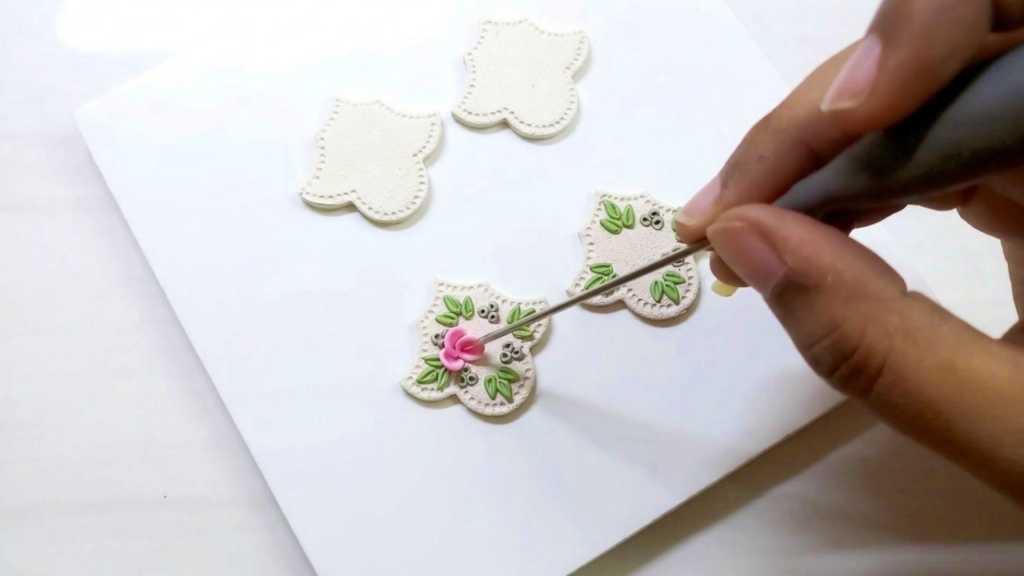
- For small fruit or bud details, take an olive-colored thin sheet and cut small rounds.
- Shape rounds into tiny balls and use the needle tool gently to create a small hole through each ball to resemble fruit or seed pods.
- Add sets of these balls in the corners or between leaves to enhance visual interest.
- Make many ahead of time so placement is efficient during assembly.
Flowers
- Use two different micro cutters to create larger and smaller petal shapes.
- Shape petals with the ball tool on your hand to form a natural curve and soft edge.
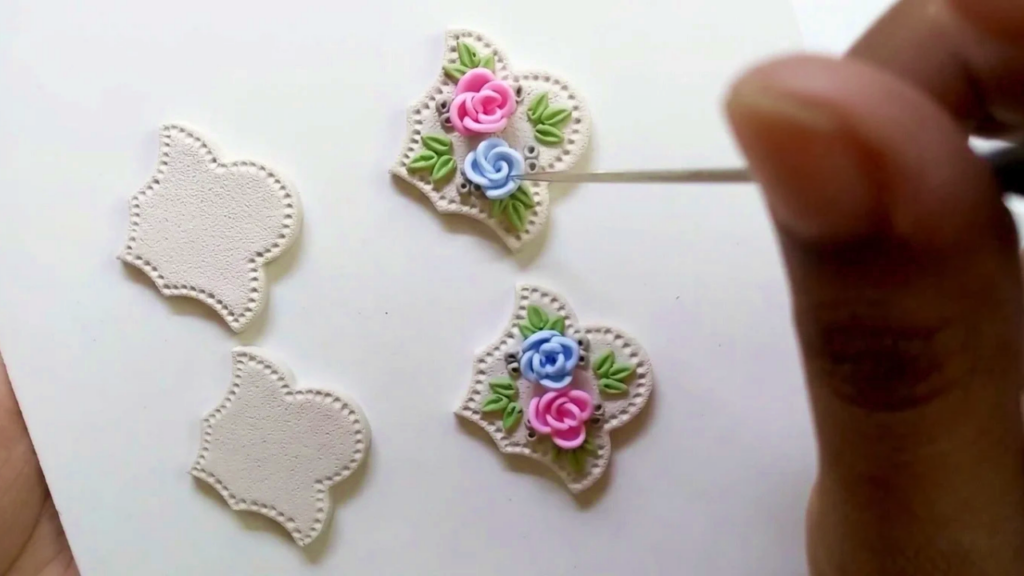
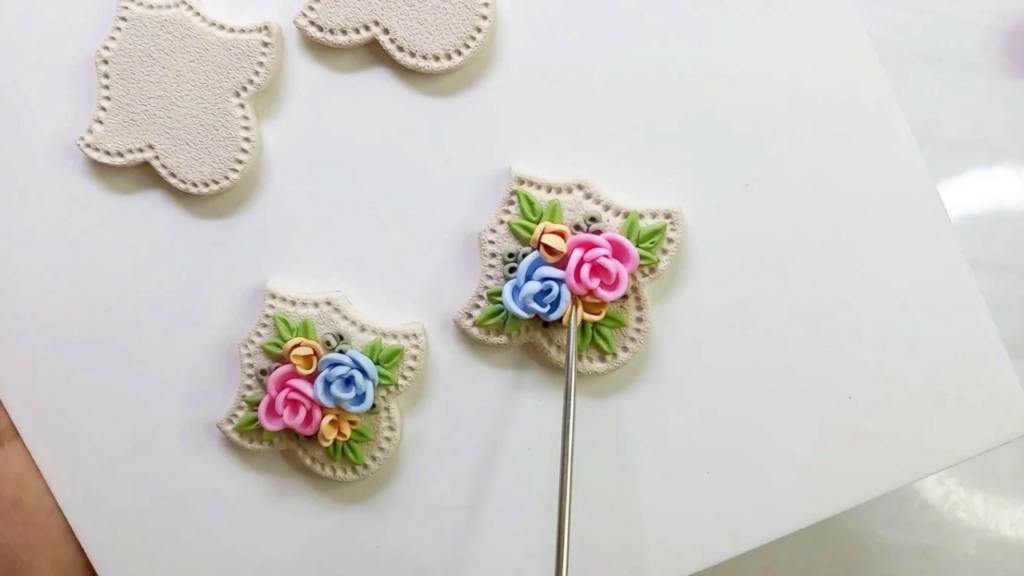
- Build each flower by layering the larger petals first and slightly pressing at overlapping corners to fuse them.
- Add smaller petals in the center to form a rose-like structure; adjust and press gently so petals nest without flattening.
- Create matching flowers for the pair so that both earrings are uniform; proceed one piece at a time to mirror the layout.
- If a petal placement mistake occurs, remove the petal and reposition before baking.
Stepwise Assembly Summary
- Base preparation:
- Roll, texture with wet sandpaper, and cut the base shape.
- Add a dotted border for a refined edge with a dotting tool.
- Leaf placement:
- Cut many leaf pieces, shape them, and place symmetrically using a needle or ball tool.
- Use clay glue for added strength when needed and make small needle indentations for bonding.
- Fruit and accent placement:
- Prepare small balls from olive clay, pierce holes, and add to corners and between leaves.
- Flower building:
- Layer larger petals in a cross formation, then add smaller petals toward the center to create roses.
- Repeat on the second earring as a mirrored match.
- Final checks:
- Correct any shifts in petals, ensure firm contacts, and remove stray clay bits.
Baking Instructions
- Bake directly on the ceramic tile according to your clay brand’s instructions (for Fimo Soft, check package recommendations).
- Use an oven thermometer to confirm accurate oven temperature and avoid scorching.
- Allow the pieces to cool completely on the tile before handling to prevent deformation.
Finishing
- After cooling, sand any rough edges lightly using fine-grit sandpaper if necessary.
- Optionally attach a small backing sheet of clay before baking to avoid sanding the back.
- Seal with a suitable varnish if you want sheen—use matte for a natural floral look or gloss on selected petals for highlight.
- Attach earring posts or hooks using a strong jewelry adhesive or embed posts prior to baking for maximum strength.
Helpful Tips
- Work slowly and in small batches; floral elements require patience and repetition.
- Use consistent petal sizing or a simple template to maintain symmetry across both pieces.
- Keep tools clean and use paper under your tile to rotate without touching the textured face.
- If clay is sticky, chill briefly or use a thin paper barrier on tools to prevent sticking.
Troubleshooting
- If petals lift during baking, ensure the base of each petal was blended well into the base and consider using Bake & Bond for future pieces.
- If a component distorts while cooling, reheat gently and reshape or reinforce with an extra thin layer of clay and rebake.