DIY Polymer Clay Necklace Ideas Featuring Color-Blocked Beads
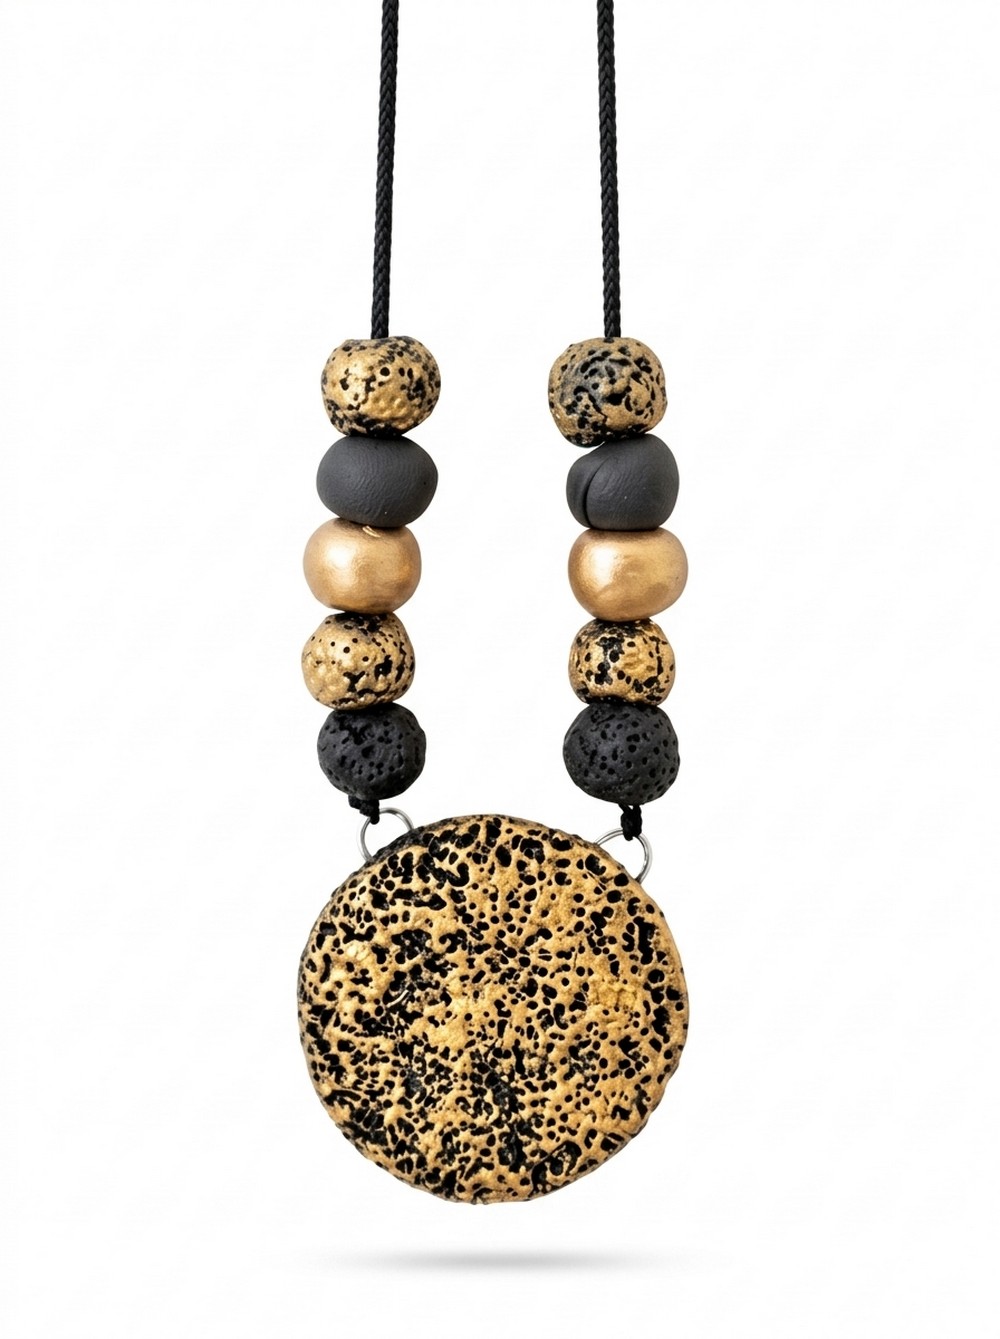
Make inviting statement jewelry with layered colors texture and metallic accents in DIY Polymer Clay Necklace Ideas for modern handcrafted looks
A bold red pendant drops like a punctuation mark at the center of a three-layered necklace, immediately drawing the eye. These DIY Polymer Clay Necklace Ideas show a polished yet playful take on statement jewelry that blends chunky presence with delicate details.
DIY Polymer Clay Necklace Ideas with Metallic Accents
The piece reads as both modern and a touch vintage: slightly flattened round beads, tapered leaf charms, and a large, textured medallion create a pleasing rhythm across the layers. Muted grays and soft pinks sit next to vibrant reds, warm oranges, and pops of yellow, while selective gold highlighting gives the darkest beads a luxe, worn-in glow. Polka-dot accents and subtle surface striations add tactile interest, so the necklace looks intriguing from every angle.

Designed to be worn as a focal accessory, it complements ethnic and contemporary wardrobes alike—pairing effortlessly with a plain blouse for daytime or a patterned dress for evening. Its character comes from contrast: soft, hand-formed shapes paired with metallic sheen; playful colors balanced by a strong central form. Small design choices—layered lengths, a rounded accent bead, and visible texture—make the piece feel curated rather than busy.
For anyone exploring statement neckwear, this design offers clear inspiration: a versatile, eye-catching necklace that reads handcrafted and refined, perfect for adding personality to simple outfits and anchoring more ornate looks.
Polymer Clay Necklace Idea
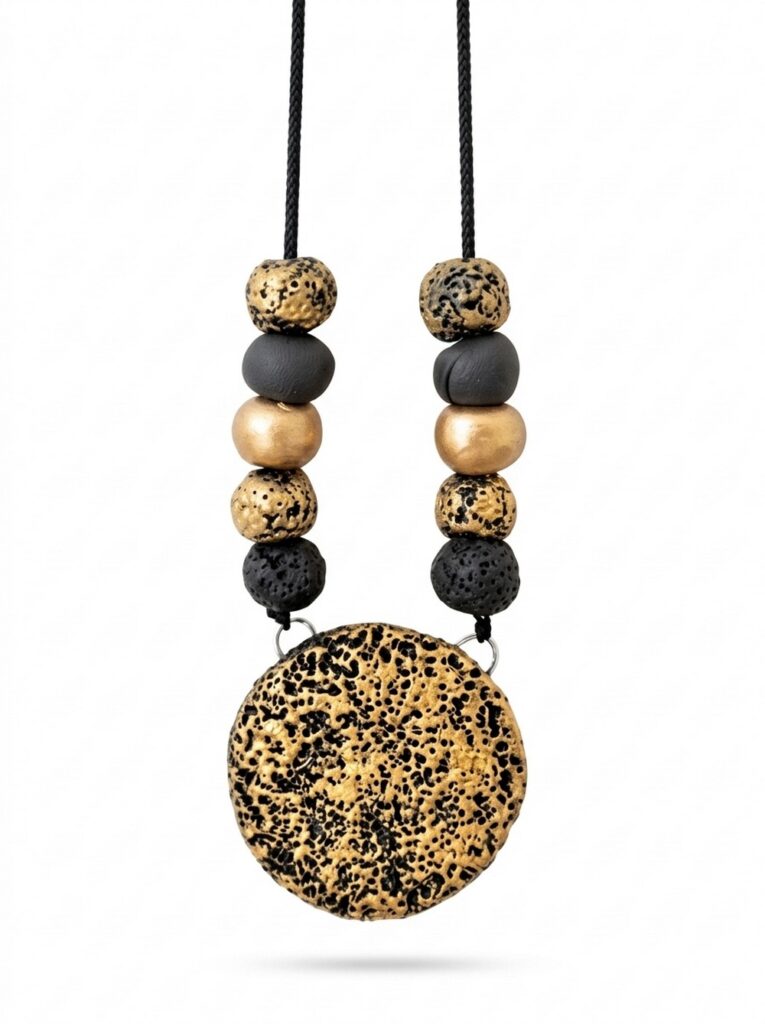
This project teaches you how to make a layered statement necklace with a central textured pendant and matching beads using air-dry or homemade clay. Follow each step to color, shape, texture, dry, paint, and assemble three coordinated chains that hang together for a bold, wearable look.
Design overview
This design pairs three complementary chains for a balanced statement:
- A long chain with slightly flattened round beads and a large textured pendant at the center
- A mid-length chain composed of tapered leaf-shaped beads with a bold round accent bead
- A short chain of small uniform beads highlighted with metallic paint
Gather Materials (why these matter)
Choosing appropriate clay, colorants, measuring tools, and finishing supplies affects the durability, consistency, and final look of your piece. Proper conditioning and color mixing ensure even tones; measuring tools help produce identical beads; and correct drying and sealing reduce cracking and protect painted finishes.
Materials & tools
- Air-dry clay or homemade air-dry clay
- Watercolor, acrylic paint, or food coloring (for coloring clay)
- White clay (for creating lighter shades)
- Straw (for making bead holes)
- Measuring spoons (1/4 tsp and 1 tbsp)
- Rolling pin or small dowel
- Jar lid or circular cutter (for pendant)
- Floral wire and white craft glue (for pendant hooks)
- Black nylon or strong beading thread
- Small sponge brush, acrylic paint (including metallic gold)
- Needle or beading needle, toothpick/skewer
- Clean work surface, damp sponge or small water dish
Important tips before starting
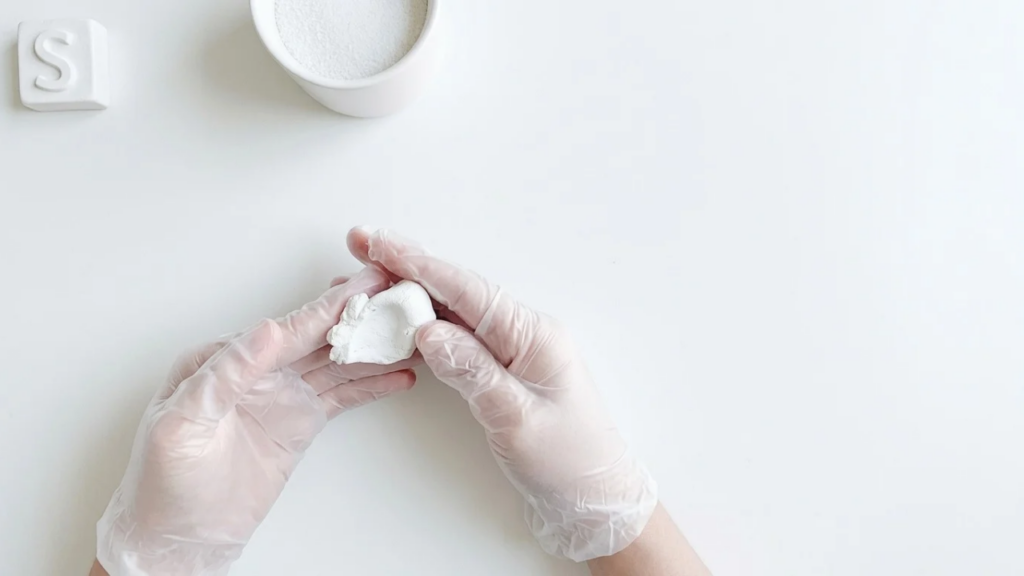
- Condition the clay thoroughly by kneading until soft and pliable; this helps it absorb color evenly.
- Add color slowly—start with a small amount of colorant and increase gradually to avoid over-darkening.
- Dry slowly at room temperature; avoid direct sunlight or heat to reduce the chance of cracks.
- Use measuring spoons and consistent rolling to get identical beads when required.
Pattern — Step-by-step instructions
1. Color the clay
- Conditioning
- Knead the clay until soft and homogeneous before adding any color.
- Coloring
- Add a tiny amount of watercolor, acrylic, or food color to a piece of clay and knead until the pigment is fully blended.
- Increase color in small increments until you reach the target shade.
- Create lighter shades
- Mix the colored clay with white clay to make tints; knead thoroughly until uniform.
2. Make round beads
Round beads — shaping and sizing
- For small uniform beads:
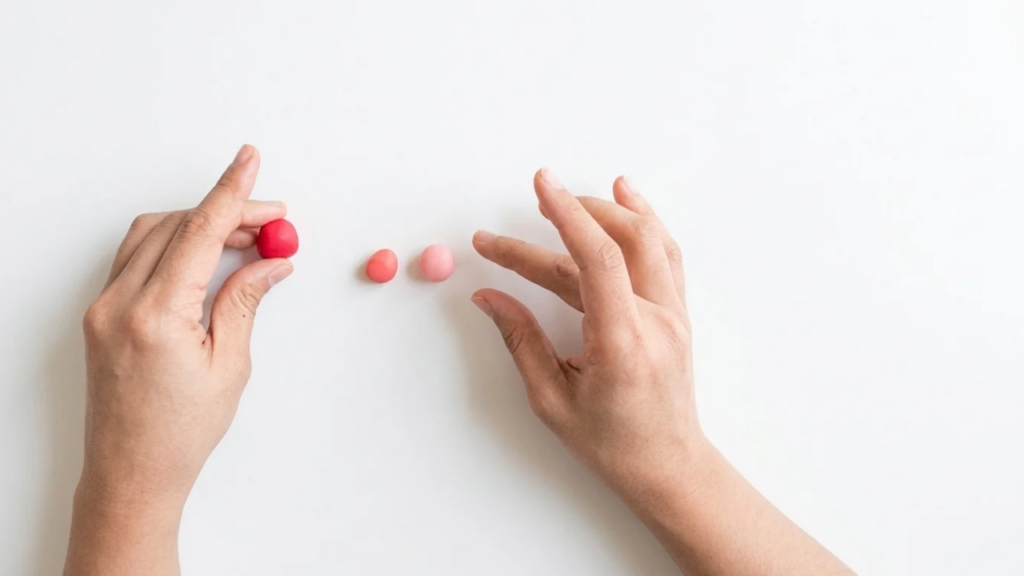
- Press clay into a 1/4 teaspoon measuring spoon to squeeze out excess, then roll into a smooth ball between palms.
- For larger beads or pendant accents:
- Use a 1 tablespoon measure, roll into a ball, and flatten if needed.
- For slightly flattened beads (first chain):
- Roll a ball and press gently between palms or on the mat to create a flattened profile.
Hole making
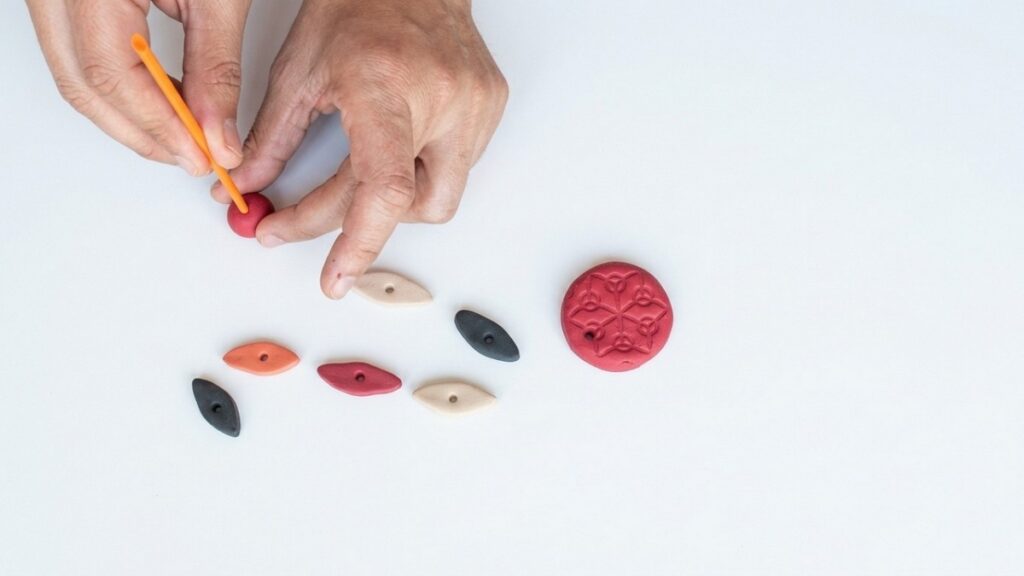
- Use a straw pushed straight through the bead center to make clean, aligned holes.
- Pull the straw through slowly; rotate slightly if it sticks, then remove carefully.
Finishing each bead
- Smooth edges with a damp finger to remove fingerprints.
- Arrange beads on a clean surface for drying.
3. Make leaf-shaped beads
Shaping
- Roll small balls and then roll them on your palm with a single finger to elongate into a cylinder.
- Lightly roll once with the rolling pin to flatten, then taper each end with your fingers to form a leaf.
Hole placement and finish
- Insert the straw lengthwise near the center so the thread will pass through the middle.
- Smooth any rough edges and set the leave beads aside to dry.
4. Make the pendant
Forming the base
- Roll a larger ball (~1 tbsp), flatten evenly with a rolling pin to a moderate thickness—do not make it too thin.
- Use a jar lid or circular cutter to cut a neat round shape.
Texturing and hooks
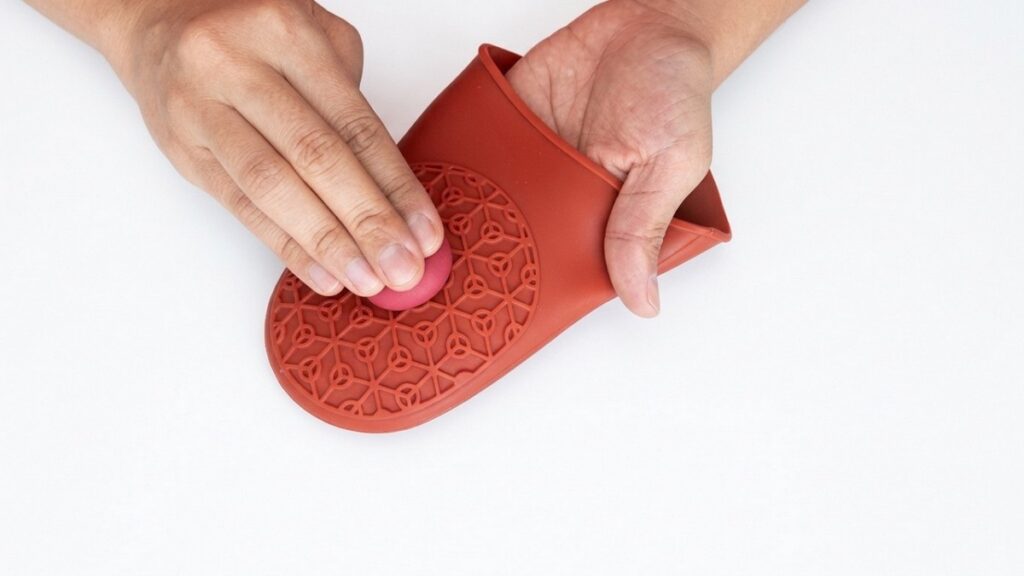
- Press a textured object (oven mitt, mesh, or fabric) lightly onto the pendant surface to create striations.
- Smooth the rim with a damp finger.
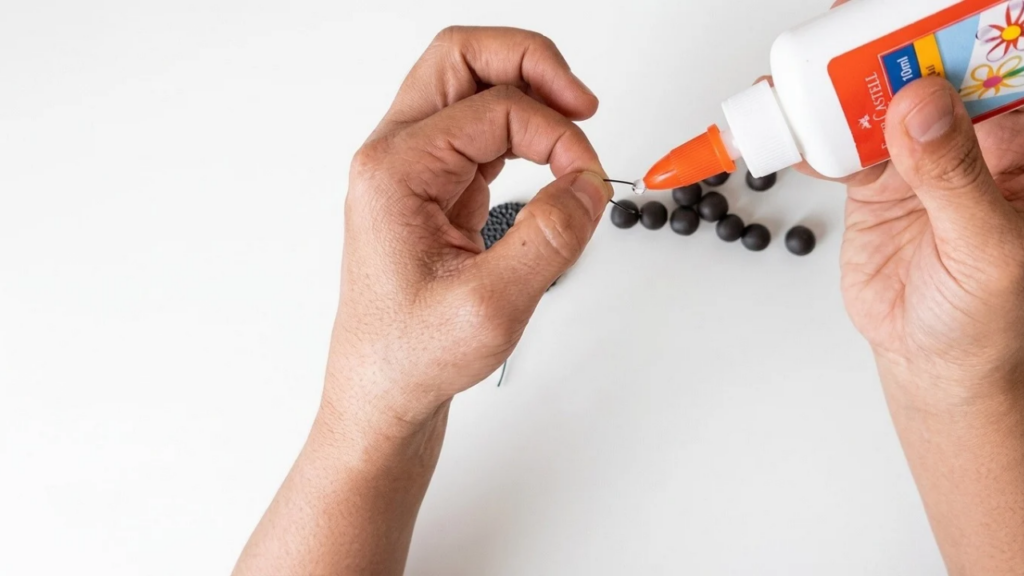
- Cut two 2-inch floral wire pieces, bend into small loops with legs, coat the legs with white glue, and insert into the pendant top to form sturdy attachment hooks.
5. Drying and painting
Drying
- Place all pieces indoors at room temperature on a flat surface. Avoid direct sun and heat.
- Allow at least 24 hours to dry slowly to minimize cracking.
Painting
- For textured black-and-gold pieces: paint base black if desired, then dab gold paint lightly on raised areas using a sponge brush—dab don’t brush for texture.
- For polka dots: use a toothpick or the tip of a small brush to apply dots with acrylic paint.
- Let all painted parts cure completely before assembly.
6. Assemble the chains
Long chain (textured pendant)
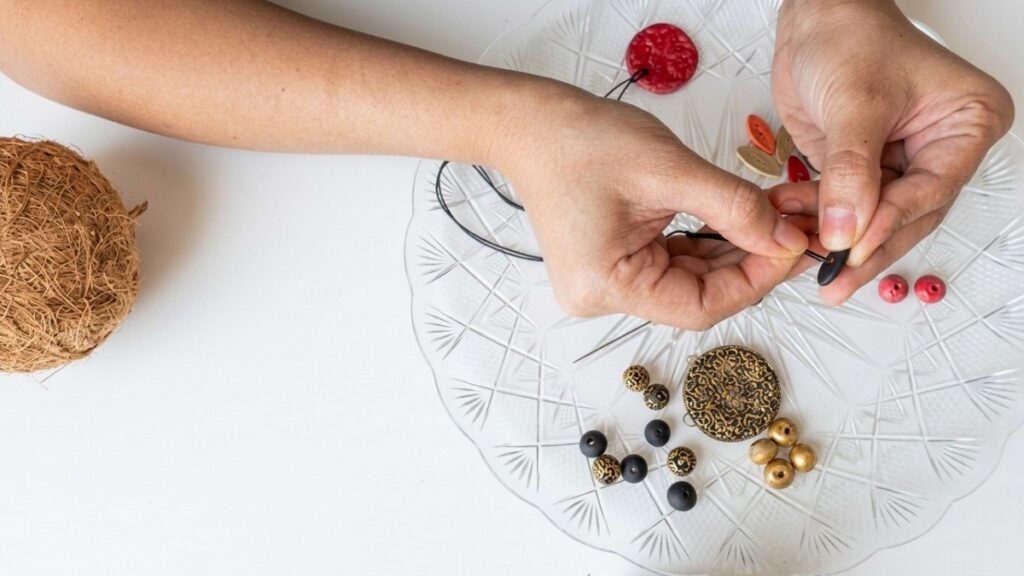
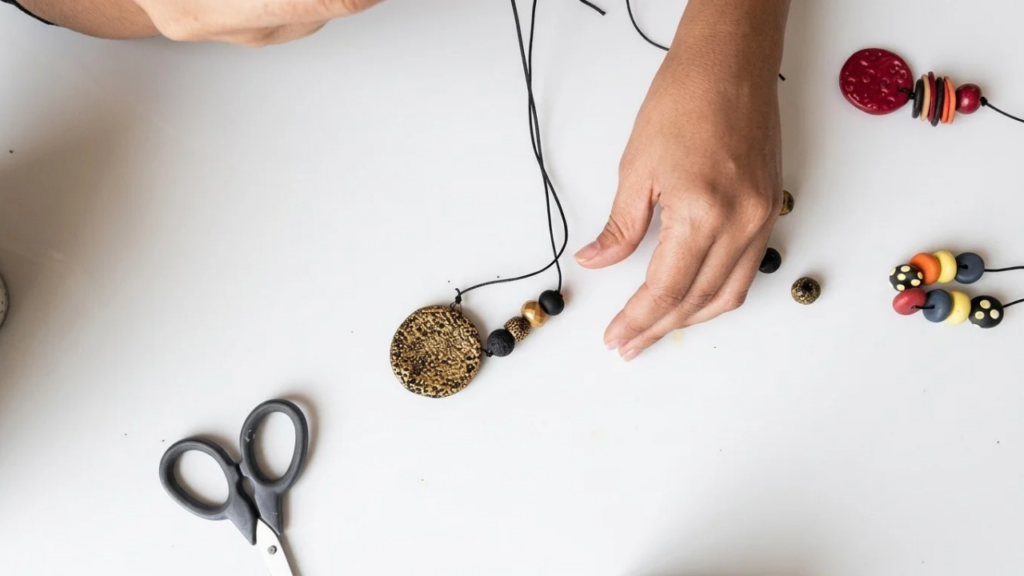
- Thread a beading needle with black nylon thread. Attach pendant hooks to thread and add five beads on each side. Knot securely and trim excess.
Mid chain (leaf beads)
- Insert both thread ends through the pendant hook and lock the thread near the hook. Add leaf beads by passing both ends through each leaf so beads lie flat. Finish with a round accent bead and knot.
Short chain (uniform beads)
- Thread identical small beads onto a second thread, knot ends, and attach this short chain to the pendant hooks so the three layers hang neatly. Use a small bead as an adjustable slider at the clasp end for length adjustment.
Final securing
- Apply a small dab of glue to critical knots for durability and trim threads. Inspect wire hooks and bead holes to ensure everything is secure.
Conclusion
This step-by-step guide shows how conditioning, consistent sizing, slow drying, and light finishing elevate a simple clay project into a polished statement necklace. Follow the pattern sections for coloring, shaping, and assembly, and adapt colors or bead counts to personalize your design. With careful drying and secure assembly, the finished piece will be both durable and stylish.