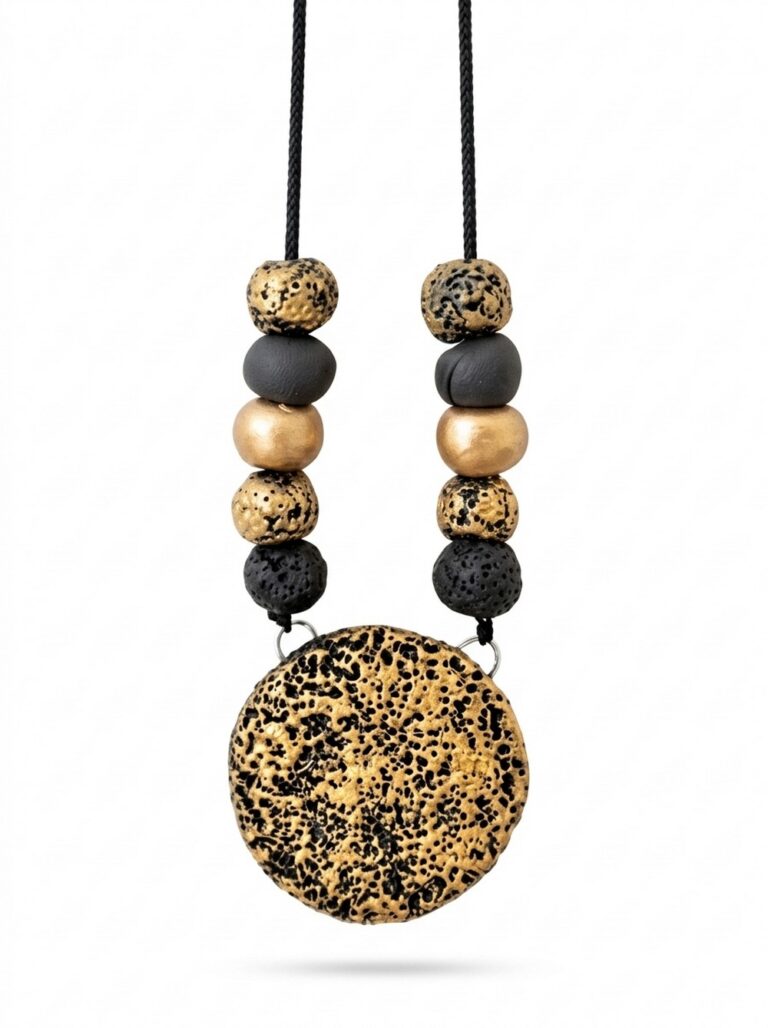
Bold Stripes Design Clay Beads DIY Ideas with Graphic Bands
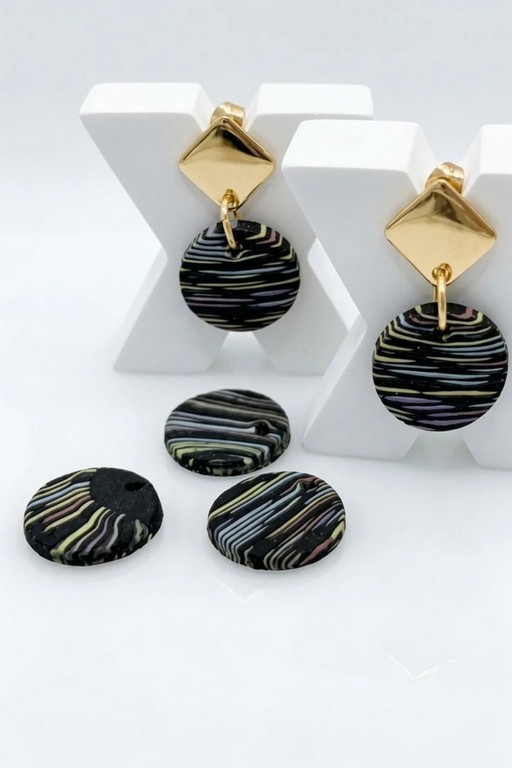
Refresh accessories with Stripes Design Clay Beads featuring crisp banded patterns for polished casual wear and effortless stacking for gift shops.
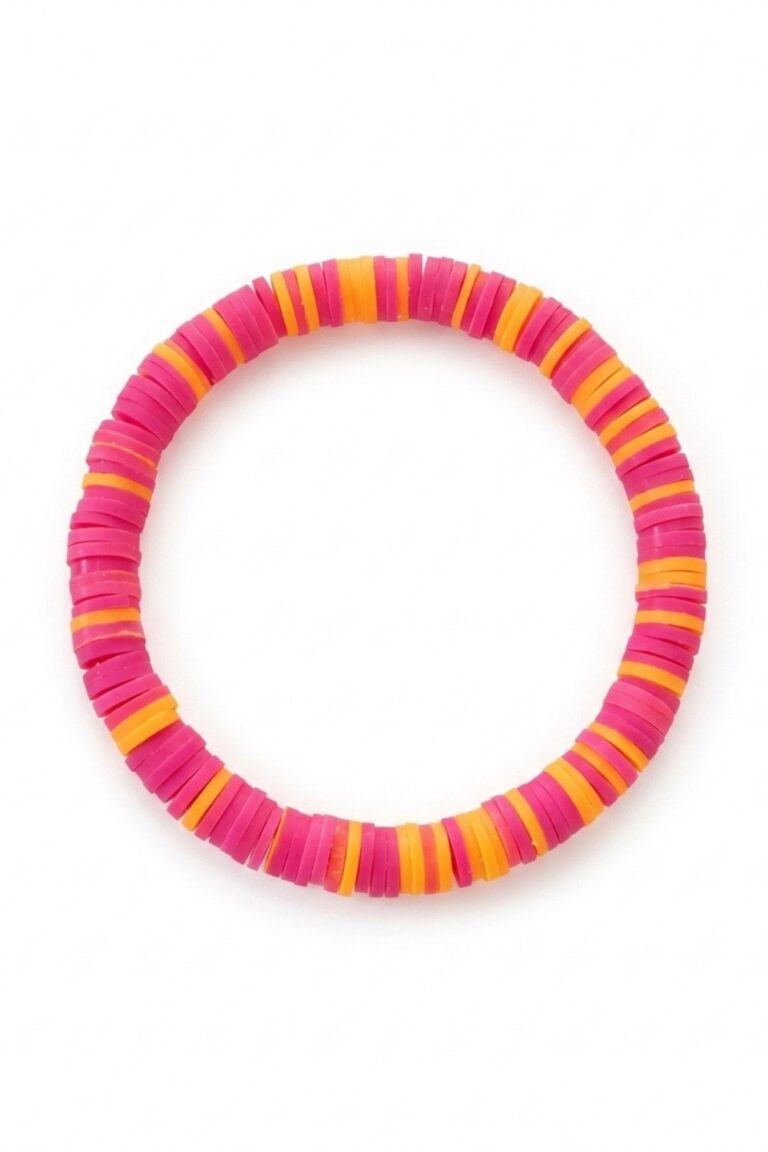
A sunlit bracelet slides over a wrist and lifts the mood with neat lines and bright notes. Stripes Design Clay Beads offer crisp banded patterns that catch the eye without overwhelming an outfit. Each bead shows steady parallel stripes in confident color pairings that read modern and playful at once. The finished look is tidy with smooth rounded beads and clean edges, giving a low-key polish that suits casual days, market stalls, and boutique displays.
Seasonal Stripes Design Clay Beads for Holiday Displays
Its style feels youthful but refined, easy to stack or wear alone as a small statement. Purpose is clear—an everyday accent that brings color and rhythm to wristwear while staying light and wearable. Character comes from the bold yet measured stripe motif which adds movement across the arm and a graphic pop that photographs well.
What makes it interesting is the way simple stripes shift tone depending on light and layering next to other pieces, turning a small bracelet into a focal touch. This look translates well into sets for gifting, seasonal collections, or a curated shelf because it reads consistent, tidy, and optimistic. They suit sellers and wearers seeking clean, modern flair.
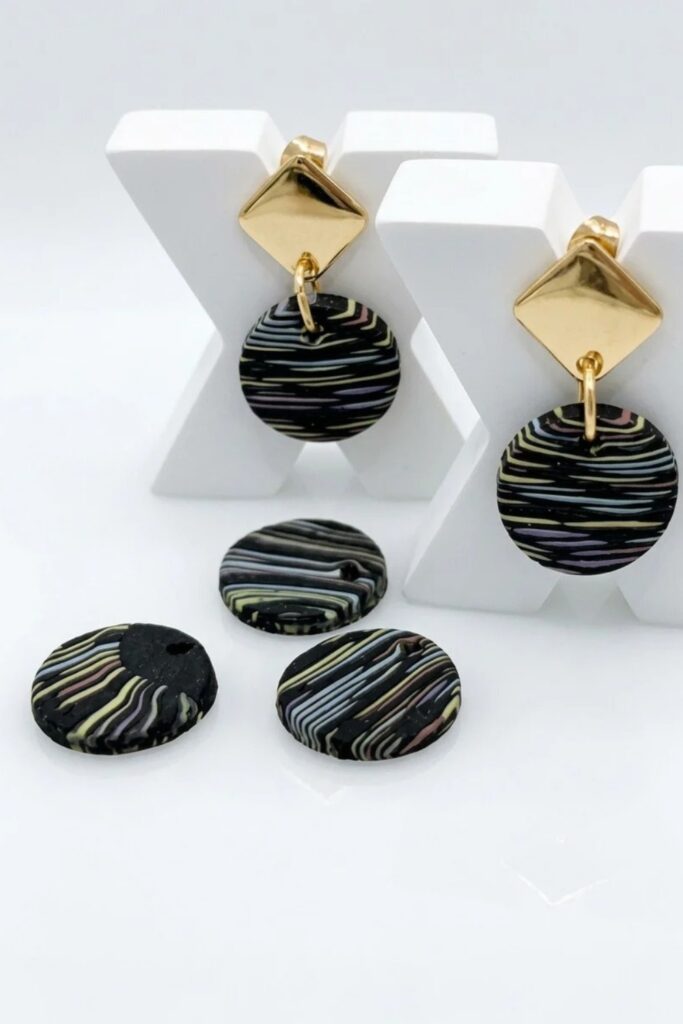
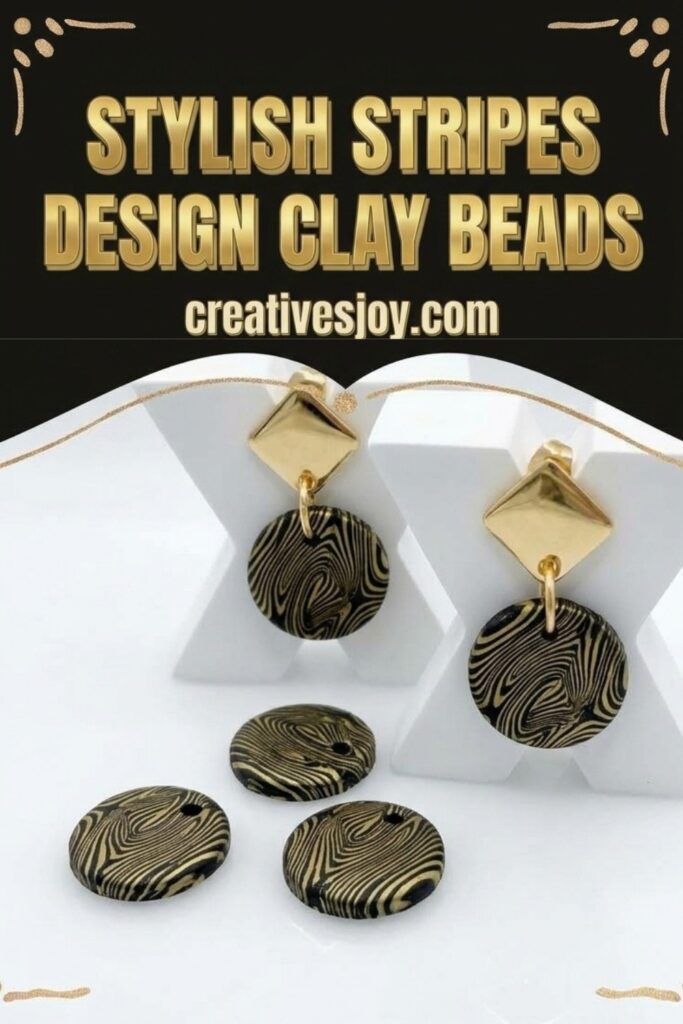
Stylish Stripes Design Clay Beads
This striped polymer clay cane technique makes bold, playful slices that suit earrings, beads, and small embellishments. The method is forgiving and encourages experimentation with color placement and shape.
Design summary
- A black background sheet anchors bright or pastel stripe elements for strong contrast.
- Repeated stacking and halving of the cane builds layered stripes that vary with each slice.
- Final slices present unpredictable, hand-made patterns suitable for many small projects.
Gather Materials — why they matter
Choosing the right clay types, tools, and a stable workspace affects finish and longevity. Good-quality polymer clay keeps color true and holds detail when compressed. Proper blades and a flat roller make strip edges crisp, while a firm baking surface ensures even curing. Investing a little time in preparation reduces frustration and improves final pieces.
Materials & Tools
- Polymer clay in black plus several accent colors
- Acrylic roller or small brayer
- Sharp blade or craft knife (thin, rigid)
- Cutting surface or tile
- Oven thermometer and oven-safe baking sheet or tile for curing
- Toothpick or needle tool for small adjustments
- Sandpaper or fine files for smoothing edges after curing
- Optional: small beads findings, earring posts, jewelry glue
Important tips before starting
- Keep clay conditioned but not overly soft; too-soft clay may smear stripes.
- Work on a cool, clean surface to prevent dust or fibers from embedding.
- Maintain consistent pressure while rolling to avoid distorting patterns.
- Follow the clay manufacturer’s baking instructions and measure oven temperature with a thermometer.
Pattern — step-by-step instructions
1. Color selection and base preparation
- Pick a black sheet for the background and two to four accent colors for stripes.
- Condition each color by warming and kneading until pliable. Evenly conditioned clay ensures smooth adhesion.
- Roll the black clay into a thin, even sheet approximately 1.5–2 mm thick on a tile or smooth surface.
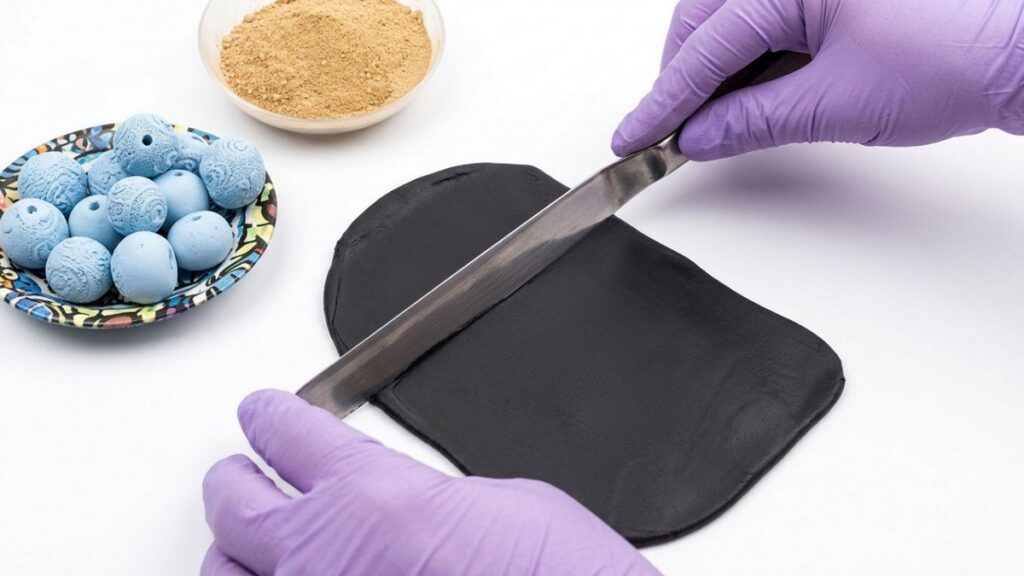
2. Tearing and placing accent pieces
- Take small bits of colored clay and rip them into irregular strips and tiny dots; perfect shapes are not required.
- Scatter the colored pieces onto the black sheet in a random layout. Keep some spacing so each piece remains visible.
- Press lightly with fingers to flatten pieces just enough to rest on the black base.
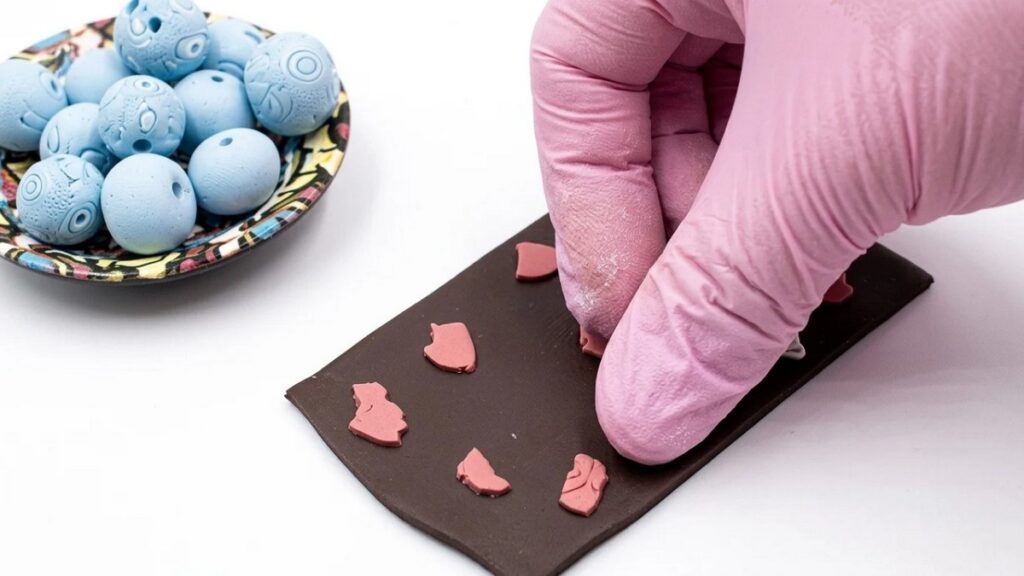
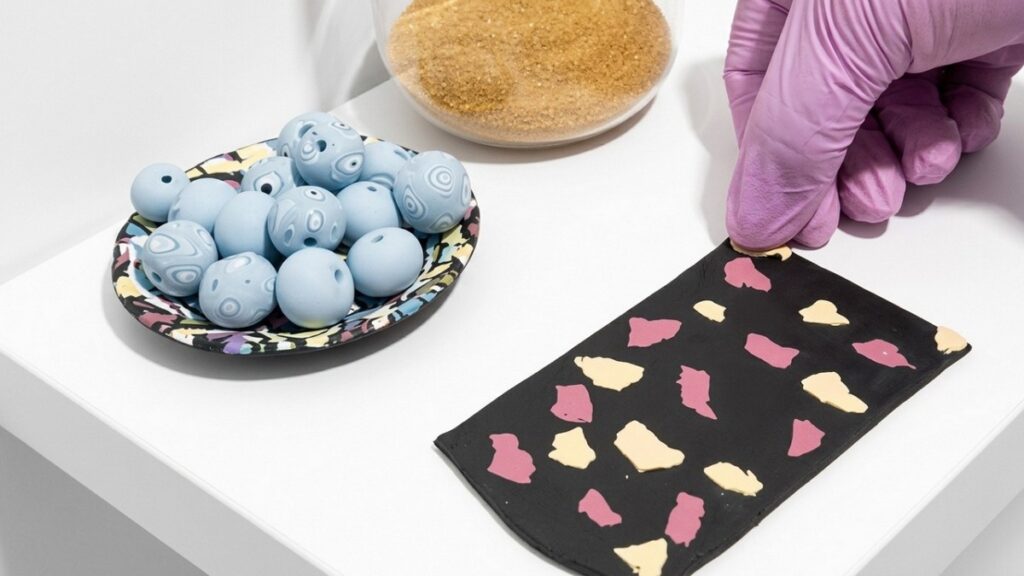
3. Bonding layers with a roller
- With an acrylic roller, roll once or twice over the assembled surface to attach colored bits to the black base. Do not press hard; gentle, even strokes are best.
- Check that each accent element lies flush against the base. Use a toothpick to reposition any pieces that need adjustment.
4. Cutting, stacking, and repeating
- Cut the assembled strip in half across its width with a sharp blade.
- Place one half on top of the other so the decorated side faces the black background of the lower piece. Aligned patterns will intensify stripe detail.
- Compress gently by rolling once to attach layers. Avoid squashing; retain some thickness for stripe clarity.
- Repeat the cut-and-stack step as many times as necessary to reach desired cane thickness and complexity. Each repetition refines stripe detail and increases pattern depth.
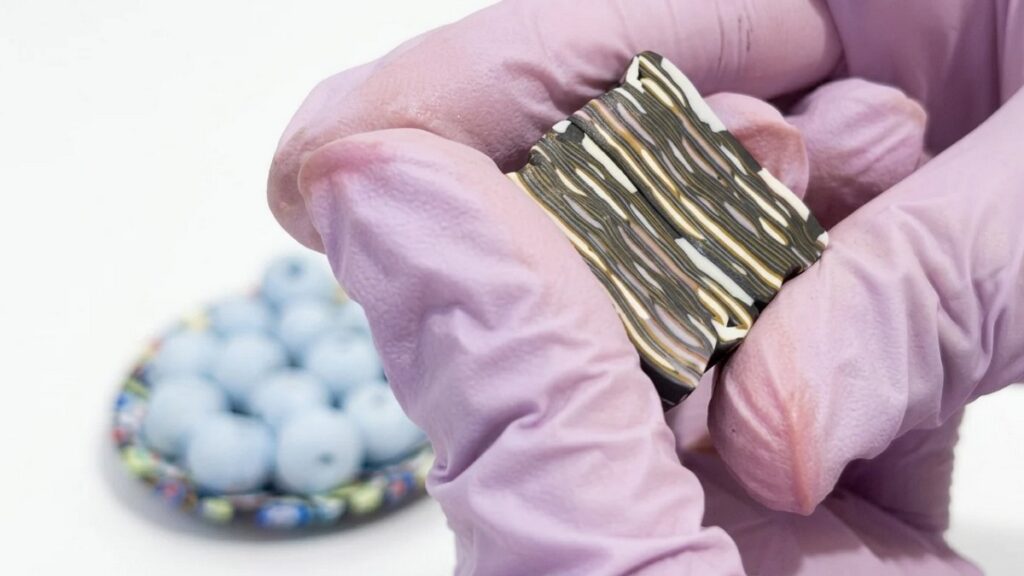
5. Forming the cane shape
- After several stacks, bring the block into a unified shape. Options: round, square, or slightly organic.
- Shape slowly and evenly. Do not over-compress; preserving internal layers keeps stripes sharp.
- Balance edges so the cane has uniform cross-section for regular slices.
6. Slicing for final pieces
- Place the cane on a cutting surface and slice thin discs or tiles with a sharp blade. Thin slices reveal more repeating pattern; slightly thicker slices allow shaping into beads.
- Make deliberate, smooth cuts to avoid dragging or tearing the cane. Clean the blade periodically for cleaner edges.
7. Finishing and cure recommendations
- Arrange slices on an oven-safe tile or sheet with parchment underneath. Leave small gaps to prevent sticking.
- Refer to the polymer clay brand instructions for temperature and time. A common guideline: cure at 265–275°F (129–135°C) for 15–30 minutes per 1/4 inch of thickness. Confirm with the manufacturer and monitor oven temperature with a thermometer.
- Allow pieces to cool completely on the baking surface before handling or sanding.
8. Post-cure finishing and assembly
- Lightly sand edges with fine-grit sandpaper to remove any roughness.
- For beads, drill gently with a small bit or form holes prior to baking with a pin tool. For flat slices, attach earring posts or jump rings with a small dab of jewelry glue after curing. Test fit fittings before final glue application.
Conclusion
This striped cane method produces vibrant, one-of-a-kind slices suited for many small projects. Practice the cut-and-stack rhythm to refine patterns and thickness control. Keep notes about color order and stack counts to reproduce favored looks for future sets.