Easy DIY Coraline Doll with Polymer Clay for Beginners
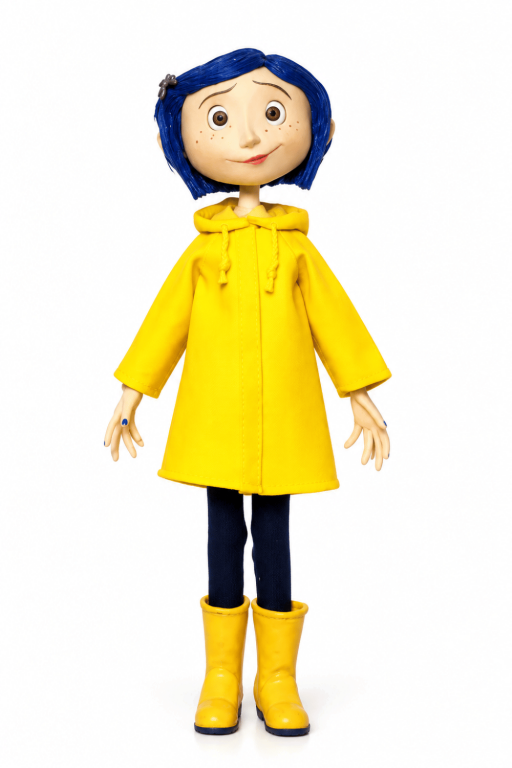
Design an eye-catching DIY Coraline Doll with Polymer Clay and enjoy crafting a whimsical piece inspired by this beloved animated character.
Fans of the magical world of Coraline will love the idea of crafting a Coraline doll using polymer clay. This DIY project lets you recreate the adventurous and bold character in amazing detail. From her signature blue hair to her bright yellow raincoat, every part of the doll is a fun opportunity to express your creativity while reliving the charm of the movie. Whether you’re an experienced crafter or trying out polymer clay for the first time, this activity is a delightful way to create something truly special.
Adorable DIY Coraline Doll with Polymer Clay Project
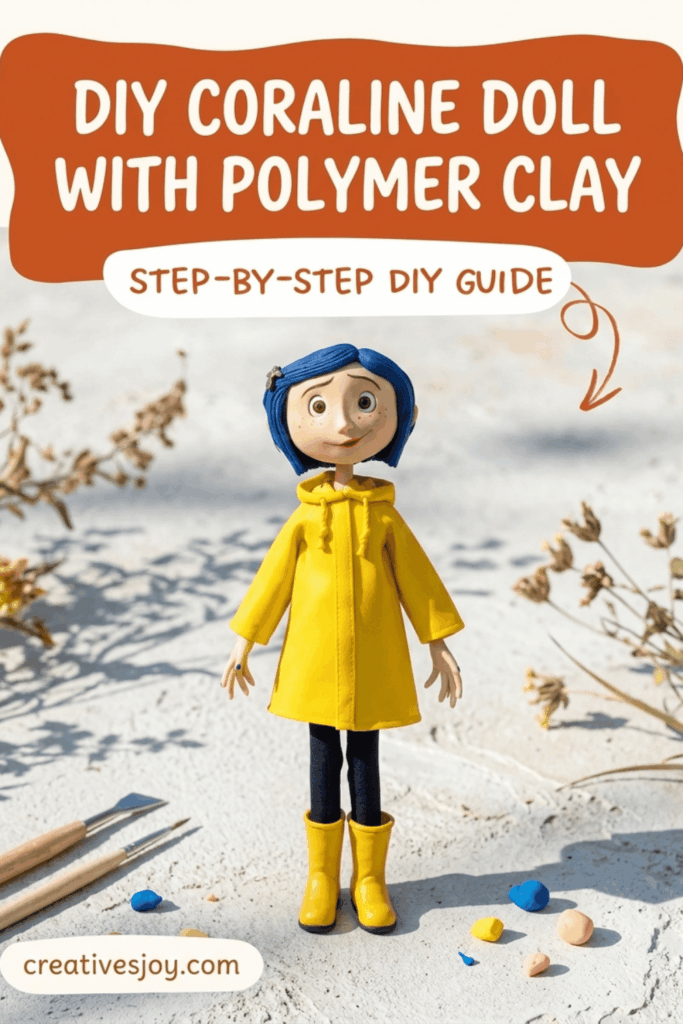
To make this miniature version of Coraline, you’ll shape her body, head, and features using polymer clay, adding textures and details that bring her character to life. Next, you’ll design her outfit: the raincoat, striped sweater, and iconic boots that are instantly recognizable. Her blue hair and button eyes give her that spooky yet playful vibe that fans adore. Focusing on the small details, such as the texture of her clothes or the expression on her face, makes the doll feel unique and personal.
Using polymer clay makes this craft simple yet rewarding. The material is easy to mold, holds intricate designs well, and hardens beautifully after baking. Once finished, your Coraline doll becomes a wonderful keepsake that’s perfect for display or as a thoughtful gift for someone who loves the movie. It’s a creative and enjoyable way to celebrate Coraline’s whimsical and adventurous story.
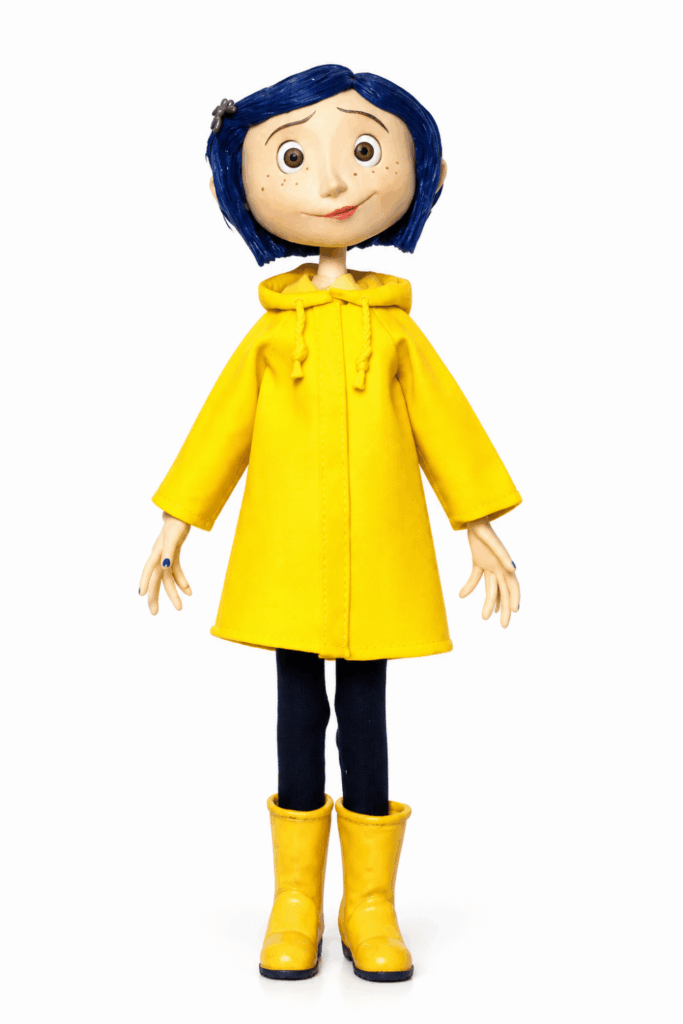
DIY Coraline Miniature Polymer‑Clay Doll
Sculpt a miniature Coraline-inspired doll using polymer clay with a simple armature, staged pre‑bakes, synthetic hair, and fabric/rubber‑glove clothing. This pattern follows the exact sequence used in the source transcription: sketch and armature, layered head sculpting with multiple pre‑bakes, alternative hand method, boots and clothing construction, hair application and finishing details.
Project Overview
- Small, poseable doll built on a basic armature.
- Facial features sculpted in stages with staged pre‑bakes for stability.
- Hands made by cutting shapes from a clay sheet (alternative method).
- Hair applied from viscose fibers, textured with paint and tacky glue.
- Outfit assembled from small fabric pieces and a yellow rubber‑glove raincoat; tiny accessories include a dragonfly hair clip and painted nails.
Materials & Supplies
- Polymer clay (pale skin tone mix — prepare enough for head, hands, small touchups).
- Scrap clay for smoothing.
- Armature wire and tools to build an armature (same method as referenced tutorials).
- Sculpting tools: dotting tools, ball tools, silicone shapers, needle tools.
- Ceramic base or another stable sculpting base.
- Small white clay pieces for eye insets.
- Exacto/precision knife, small scissors, sandpaper or smoothing tools.
- Liquid clay (for strengthening joints) and Aleene’s Tacky Glue.
- Synthetic viscose hair (blue or desired color).
- Acrylic paints (dark and light blues for hair shading, colors for face details, shoe paint).
- Fabric pieces: two rectangles for pants, materials for hoodie/coat details; stretchy fabric optional.
- Yellow rubber glove (for raincoat).
- Hypo cement or fast‑dry fabric glue, embroidery floss for hoodie strings.
- Matte glaze/sealer for finished pieces.
- Small brush, tape, toothpicks.
- Oven, tile or tray for baking.
Preparation
- Make a quick sketch at the intended finished size to guide proportions.
- Build the armature per your usual method (refer to your corp/ sprite tutorial if needed).
- Mix a pale skin tone from polymer clay and keep scrap clay accessible for smoothing.
- Prepare ceramic or other base to secure the head while sculpting.
- Cut any fabric rectangles and gather hair fiber bundles before starting hair application.
Step‑by‑Step Detailed
Sketch & Armature
- Sketch the doll at the size you want.
- Construct the armature to match the sketch dimensions.
- Ensure head/neck connection point is clear for later insertion of the head wire.
Head sculpting — initial shaping
- Mix pale skin clay and position it on the ceramic base.
- Use dotting, ball, silicone, and needle tools to refine form:
- Sculpt the basic head shape with simple facial planes.
- Insert tiny white clay pieces where the eyes will sit (pre‑insets).
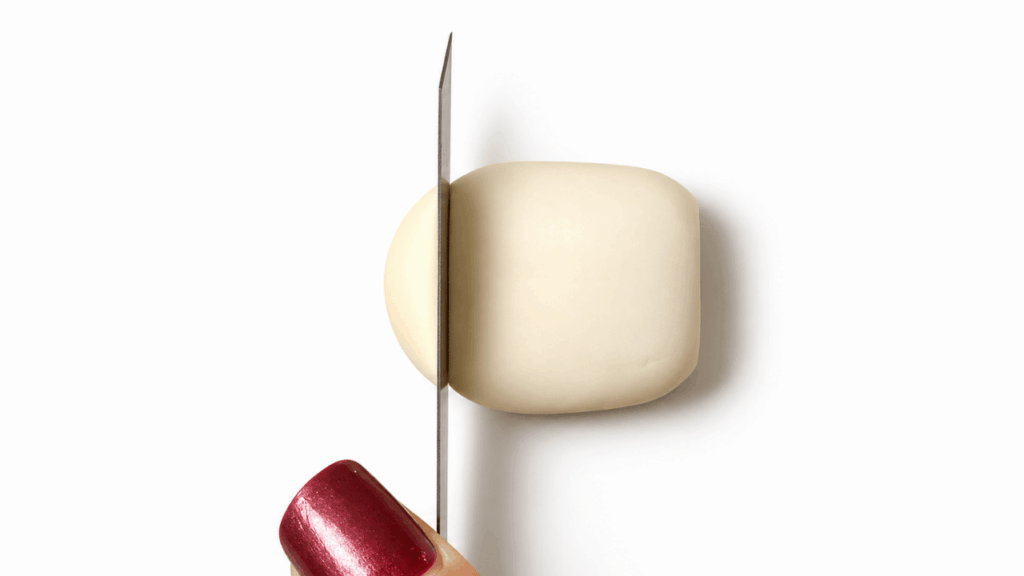
Stage 1 pre‑bake and refinement
- Before adding the bottom lip and final eye detailing:
- Cut away clay where the neck will be so the neck socket is formed.
- Pre‑bake the face to firm up core shapes (follow manufacturer times/temps).
- After pre‑bake, smooth face surfaces using a small piece of light scrap clay.
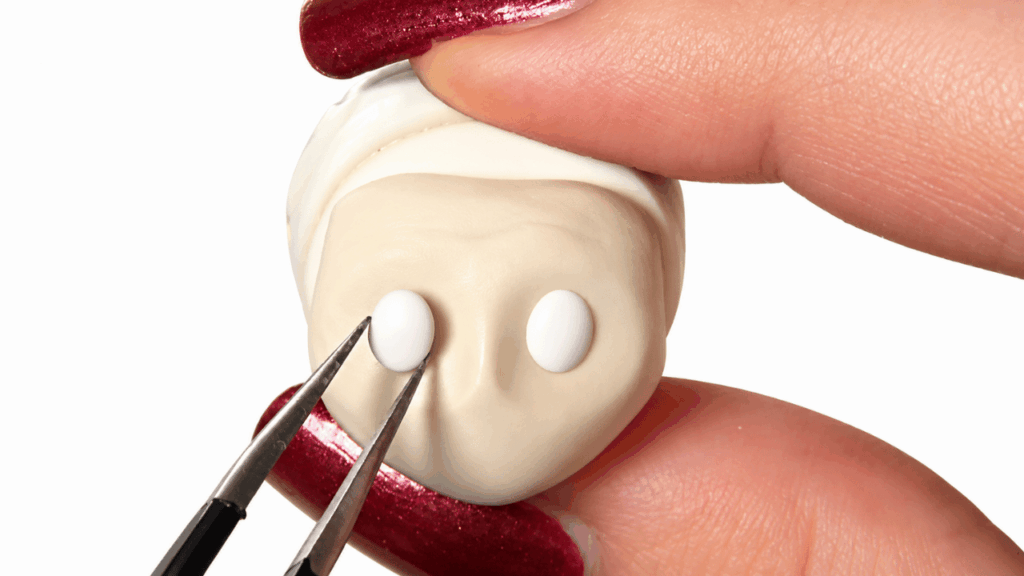
Stage 2 additions and pre‑bakes
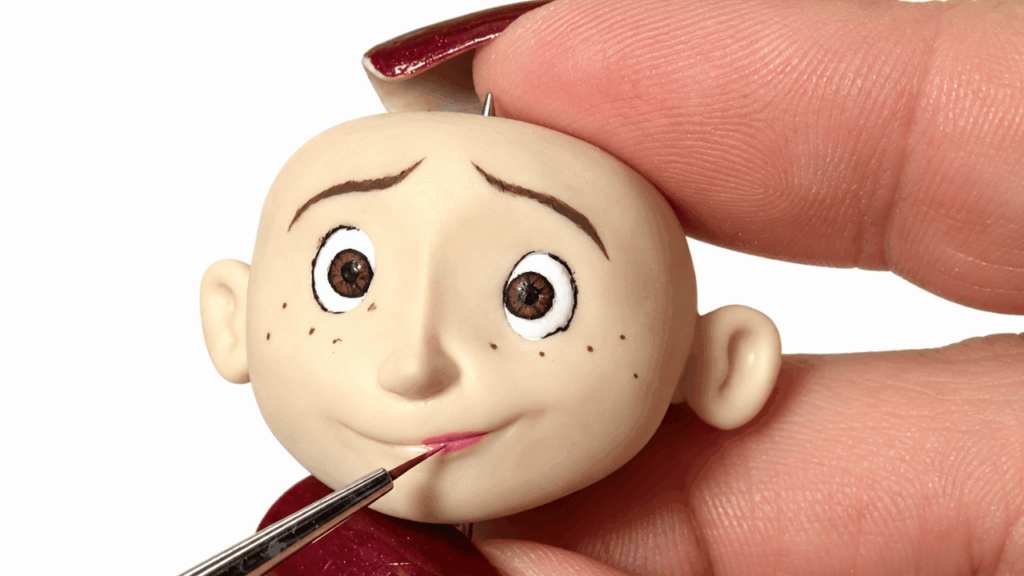
- Add clay to the back of the head and insert a needle tool or wire through the added clay (this creates a robust head attachment point).
- Attach ears and any further rear/head shaping.
- Pre‑bake again to fully stabilize the head before final ear/neck finishing.
- Final full bake for the head once ears and back details are complete.
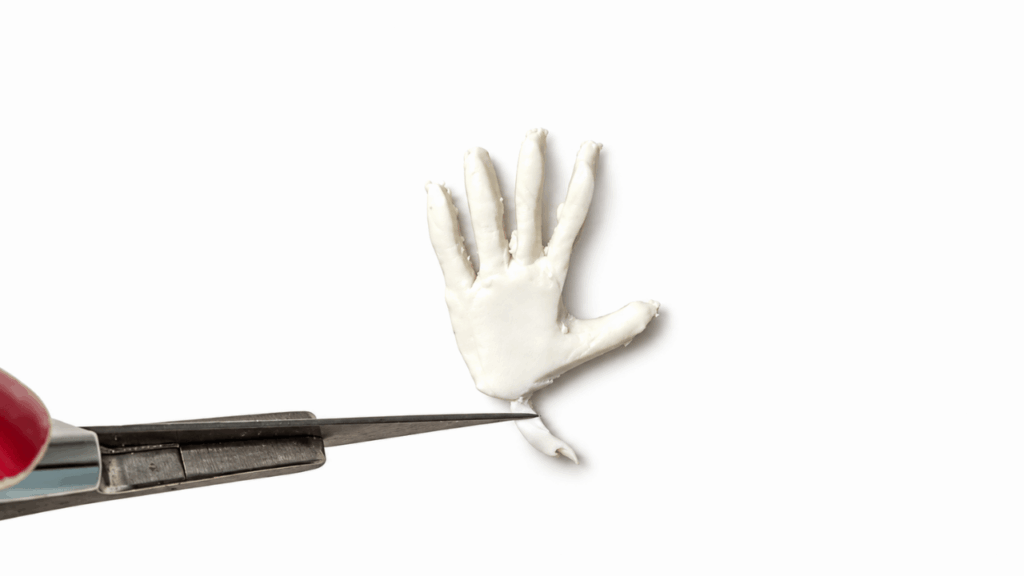
Hands — alternative sheet method
- Roll out a thin sheet of clay.
- Sketch hand outlines on the sheet and cut them out with an Exacto knife.
- Smooth edges and refine finger separations using needle or silicone tools.
- Add surface details and shape as desired.
- Bake the hands once shaped and detailed.
Attaching hands and reinforcing
- Wrap clay around the arm end (if needed) and attach the baked hand.
- Bake the assembly again to fuse hand to arm.
- Apply liquid clay at the joint after baking to strengthen the connection.
- Add and shape clay on the opposite side of the wrist for a neat finish and bake if required.
Boots
- Sculpt basic shoe shapes from clay.
- Pre‑bake the shoe bases to firm them.
- After pre‑bake, add a strip of clay to create the boot shaft; refine shape.
- Bake again and later add details with acrylic paint rather than heavy sculpting for simplicity.
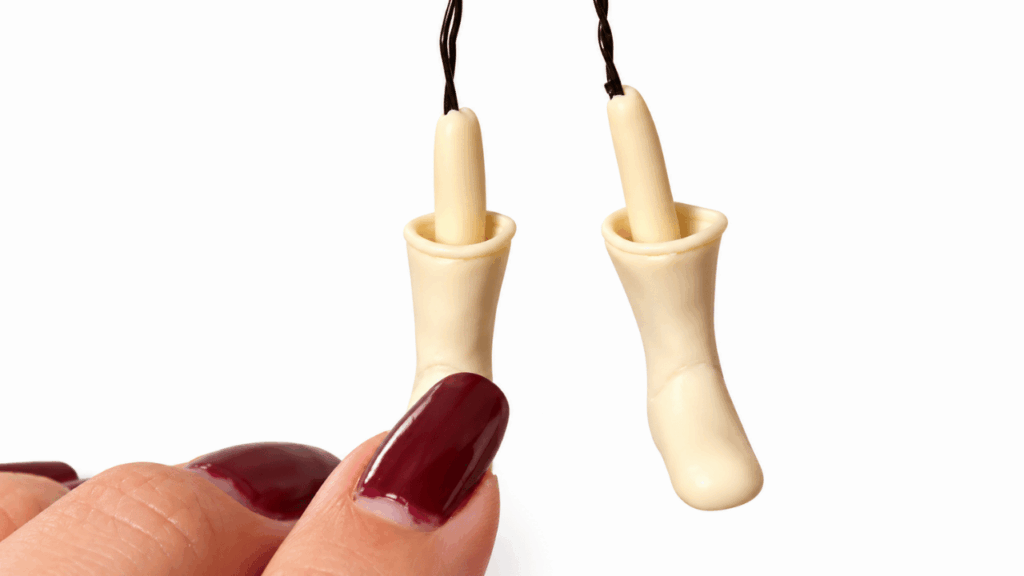
Painting body details
- Once major clay parts are baked and assembled, use acrylic paints to add facial details, shoe color, and clothing accents.
- Add painted details progressively, building shadows and highlights.
- Seal painted areas with matte glaze when satisfied.
Hair application
- Use blue viscose hair (or chosen color).
- Divide hair into small sections before gluing.
- Apply glue (Aleene’s Tacky Glue) to the ends of sections and let dry slightly to reduce shedding.
- Glue hair sections onto the scalp, starting at the front (bangs) and moving back. Use tape to protect finished areas during application.
- Add acrylic darker/lighter blue shades to parts of the hair to increase texture and dimension — this acts like a colored hairspray.
- Brush a layer of tacky glue over the hair (acts as hairspray) to set strands and add hold.
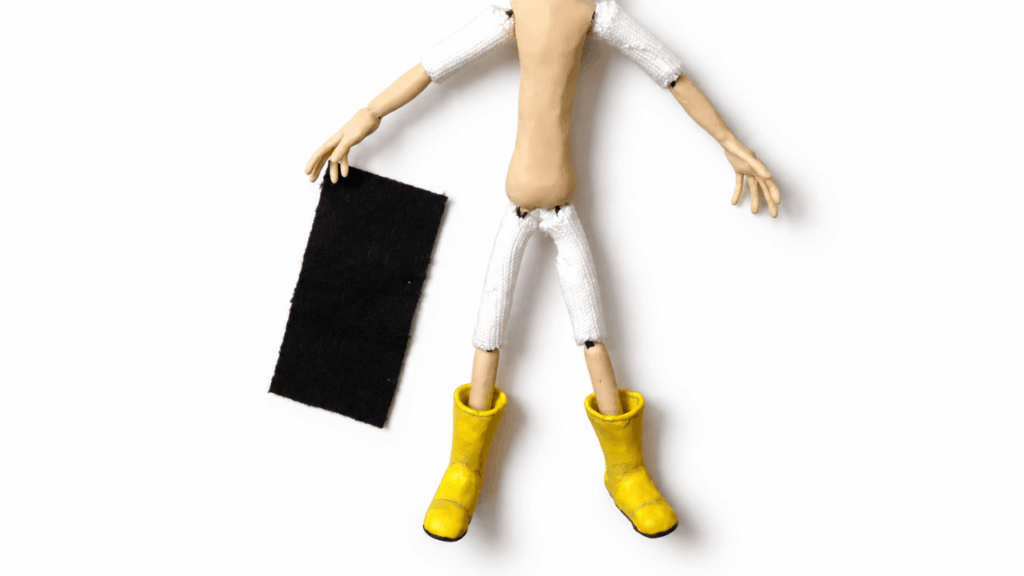
Clothing
- Pants: cut two rectangles (front and back); sew or glue together into small pants.
- Keep colors neutral if avoiding extra blue in the outfit (black chosen for pants).
- Raincoat: cut and shape from a yellow rubber glove using hypo cement for quick adhesion.
- Cut holes for hoodie strings where needed.
- Insert embroidery floss through the holes and glue in place as tiny drawstrings.
Accessories
- Make a small dragonfly hair clip from clay, bake, paint, and glue into the hair.
- Paint nails with a small brush and acrylic paint.
- Seal pastel/painted face areas with matte glaze to prevent smudging.
Finishing Instructions
- Allow all glue, paint, and glaze to fully cure before handling.
- Trim stray fibers and clean seams on fabric and rubber coat edges.
- Store the doll flat or in a small display stand to protect delicate hair and accessories.
Tips & Techniques
- Use staged pre‑bakes: prebake after core shapes and after adding structural elements (back-of-head wire, ears) to prevent distortion.
- Work from front to back when gluing hair (bangs first) to get a natural hairline.
- Thin hair bundles before attaching to avoid a bulky ponytail or crown.
- Use hypo cement for non‑porous materials like rubber glove pieces; it bonds quickly.
- Protect finished painted areas with tape when applying glue nearby.
Common Problems & Solutions
- Head wobble after attachment: ensure the needle/wire is embedded deeply in head clay and bent or anchored inside the torso; secure with added clay or liquid clay.
- Hair shedding or messy glue: pre‑dry glue on hair tips and press gently into place; seal with a thin tacky glue layer once attached.
- Raincoat material tears: cut slowly and use a small amount of glue to prevent further tearing; reinforce edges with tiny glue beads.
- Details smudge during painting: allow earlier layers to dry fully and use thin paint applications.
Creative Ideas & Variations
- Change hair color or add streaks for different moods.
- Create alternate outfits from tiny fabric scraps: a striped sweater, different pants, or tiny boots with sculpted buckles.
- Make a display base with a miniature scene (e.g., tiny door or button motif) to emphasize Coraline theme.
- Swap dragonfly clip for other tiny charms (buttons, stars).
Final Result
A small, stable Coraline‑style doll with staged, well‑supported head sculpt, alternate hand construction, painted boots and face, textured blue viscose hair secured with glue and painted highlights, a weather‑ready yellow raincoat made from rubber glove material, tiny pants and hoodie details, and a finished dragonfly hair clip—ready for display after all finishes cure.