Cute DIY Polymer Clay Strawberry for Unique Jewelry Designs
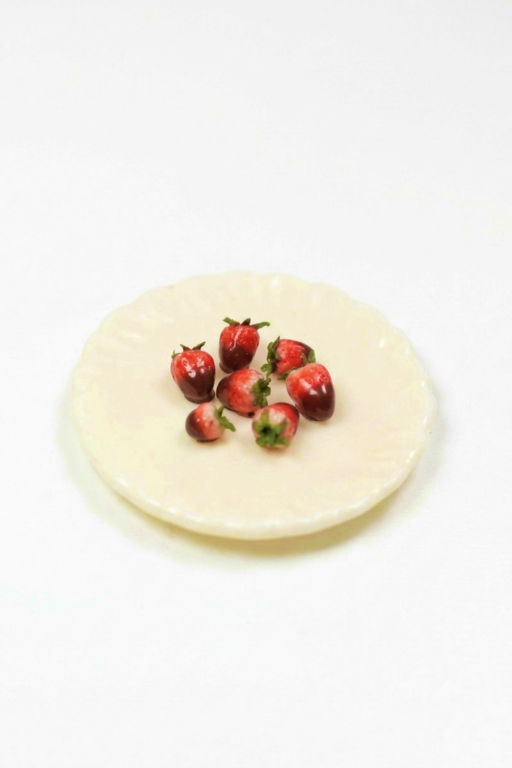
Bring a pop of fruity fun to your creations with this DIY Polymer Clay Strawberry project perfect for cute accessories or charming decor pieces.
Not every DIY project is easy to start, but creating a DIY Polymer Clay Strawberry is simple enough for almost anyone to enjoy. This project is all about making small, cute strawberries from soft clay that you can shape with your hands. You don’t need special skills or fancy tools, just a bit of time and a love for tiny, colorful things. These little strawberries can be used as decorations, jewelry pieces, or just fun items to keep on your desk or shelf.
Create Stunning DIY Polymer Clay Strawberry at Home
In this project, you gently shape the red clay into small berry forms, then add tiny seed marks and a green leafy top. Each step is easy to follow and feels relaxing, almost like playing with soft dough. You can make your berries look realistic or change the colors for a playful style. Because the clay is simple to handle, it’s a great way to try out new ideas without feeling stressed or worried about making mistakes.
When your strawberries are finished, they become sweet little accents you can enjoy every day. Turn them into earrings, keychains, phone charms, or display them in a tiny bowl. They add a cheerful touch anywhere you place them and are fun to share with friends or give as small handmade gifts. This project is a gentle and enjoyable way to bring a bit of fruity charm into your crafting time.
Project Overview
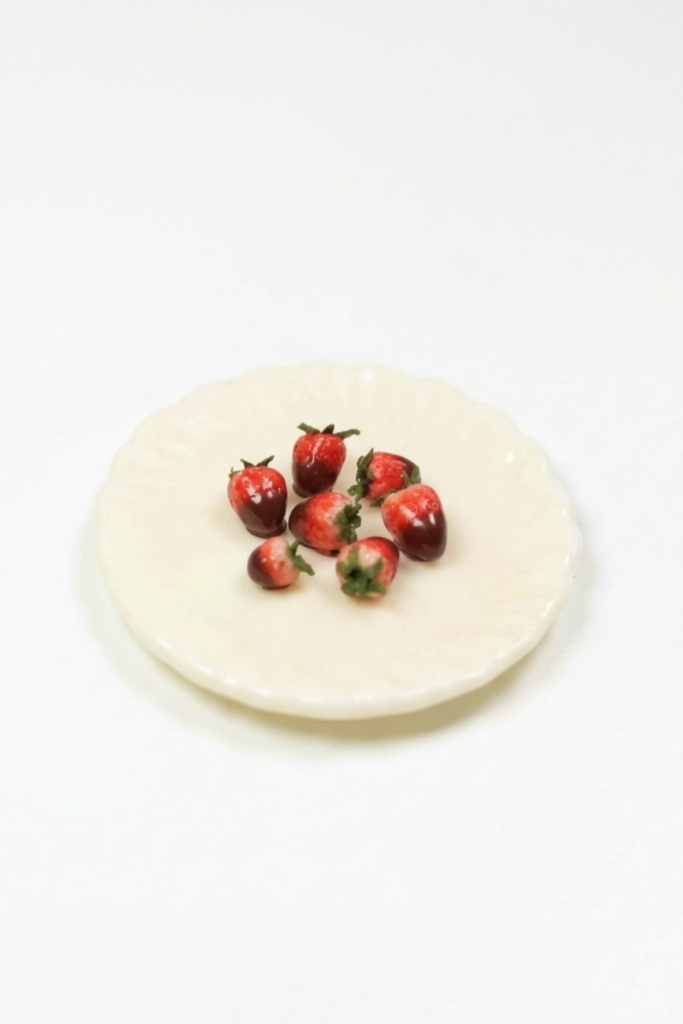
Create realistic polymer-clay miniature chocolate-covered strawberries. The process uses a translucent/white clay base for a natural berry core, surface seed texturing, layered pastel and acrylic shading for a smooth color transition, handcrafted leafy stems, polymer-clay chocolate sauce, and a final glossy varnish for a convincing finish.
Materials & Supplies
- White polymer clay (Fimo Soft)
- White translucent polymer clay (Fimo Effect Translucent)
- Red soft pastels (for preliminary shading)
- Acrylic paints (red shades for gradient)
- Green, blue, yellow, red clay (for stem color mixing)
- Brown clay (for chocolate sauce)
- Fimo Liquid (liquid polymer clay) — for attaching and making chocolate sauce consistency
- Glass varnish / glaze (for final shine)
- Baby powder (to prevent sticking)
Tools & Equipment
- Dotting tool / small holder (to support the berry while working)
- Needle tool (for seed texture)
- Small soft brush (for pastel application)
- X‑Acto knife (for cutting stem pieces)
- Small mixing bowl / blade (for clay mixing)
- Oven (follow clay manufacturer baking instructions)
- Paintbrushes (for acrylics and varnish)
Project Details
- Difficulty: Beginner–Intermediate (basic shaping, small-detail work).
- Size: Miniature berries (variable by your initial ball size).
- Time: 30–90 minutes active work, plus baking and cooling time.
- Output: Multiple chocolate-covered strawberries suitable for mini-food displays, dollhouses, or jewelry.
Preparation
- Condition both white soft and white translucent clay thoroughly and mix equal parts to achieve a slightly translucent, natural berry base.
- Collect pastels, paints, Fimo Liquid, and tools so everything is at hand.
- Preheat oven only when ready to bake; always follow your clay brand’s bake schedule.
Step-by-Step Detailed
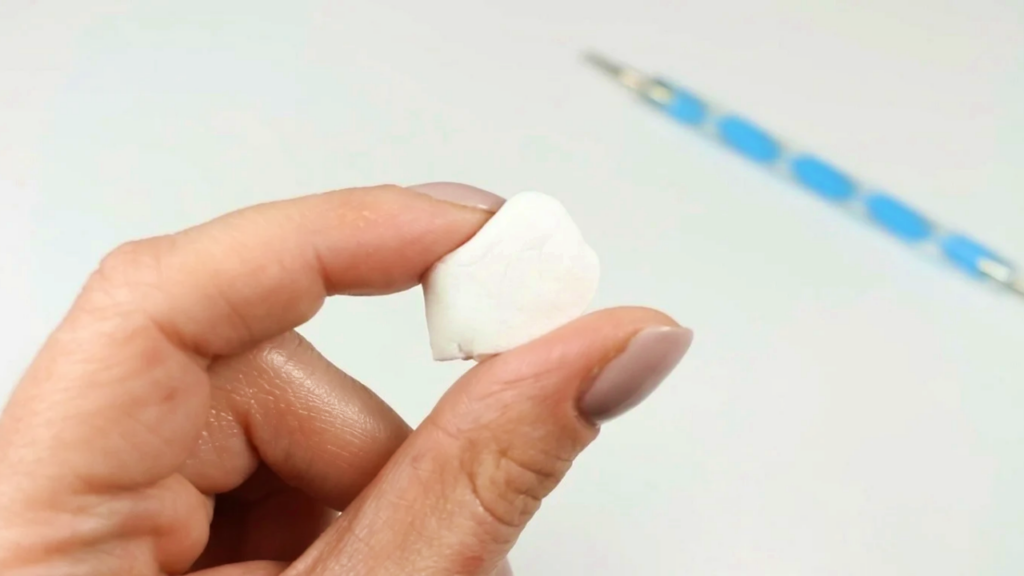
1) Form the Berry Base
- Roll the mixed white/translucent clay into a small ball.
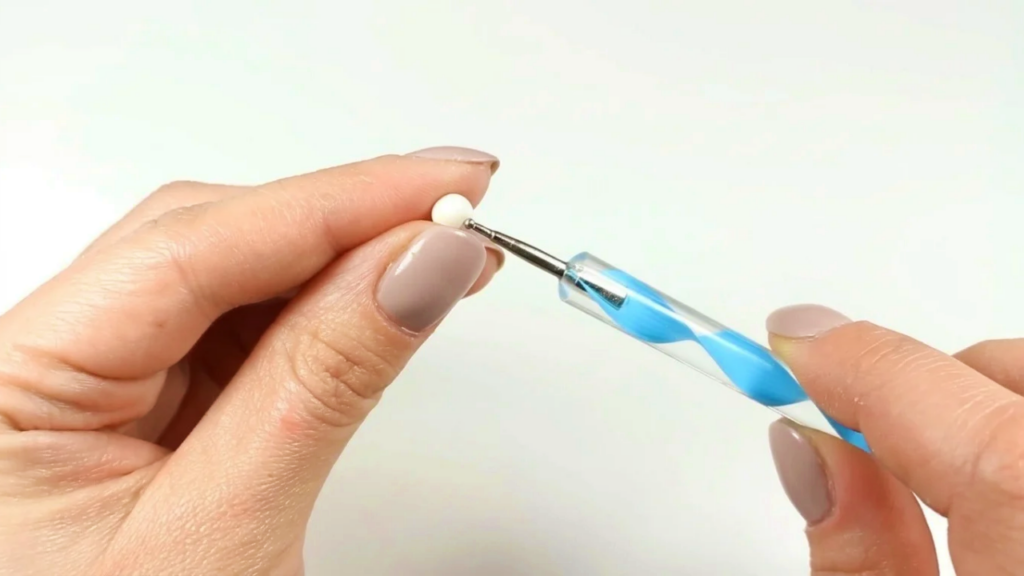
- Place the ball onto a dotting tool or similar holder so it’s easier to work on all sides.
- Use your fingers to shape a pointed cone (strawberry silhouette).
- Important: keep proportions consistent if making multiples.
2) Texture Seeds
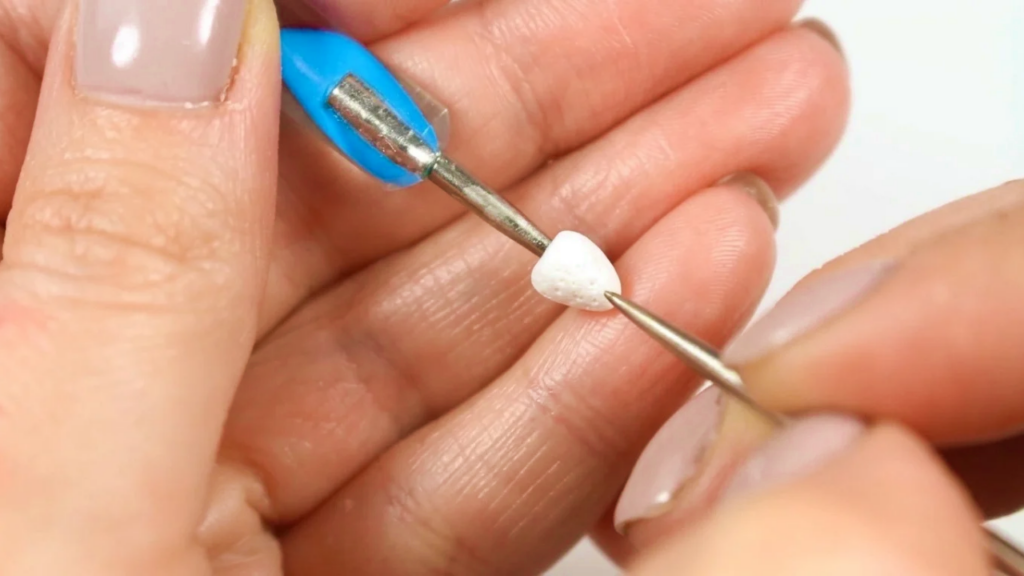
- Use a needle tool to create tiny dots across the surface — these represent the seeds.
- Work evenly around the berry so the texture reads naturally from every angle.
- Tip: a light, controlled touch yields small shallow seed impressions rather than deep holes.
3) Apply Base Pastel Shading
- Lightly scrape some red soft pastel and pick it up with a small soft brush.
- Dust the top area of the strawberry very lightly — this establishes a base tone for later painting.
- Keep the pastel application subtle; it’s a foundation for the acrylic gradient and should not overwhelm.
4) Remove From Dotting Tool
- Gently remove the shaped berry from the dotting tool to continue work off the holder.
5) Make the Stem
- Mix green clay by combining blue + yellow; if too vibrant, add a touch of red to mute and earth the tone.
- Dust your hands with baby powder to prevent sticking.
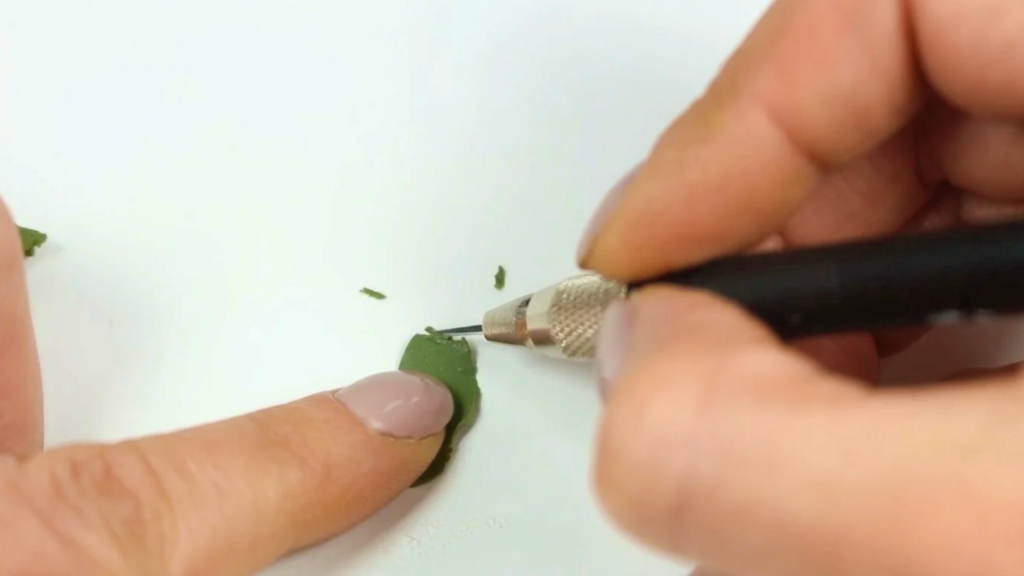
- Roll out a very thin sheet of the green clay using a needle tool or roller.
- Use an X‑Acto knife to cut small leaf/stem pieces from the thin sheet.
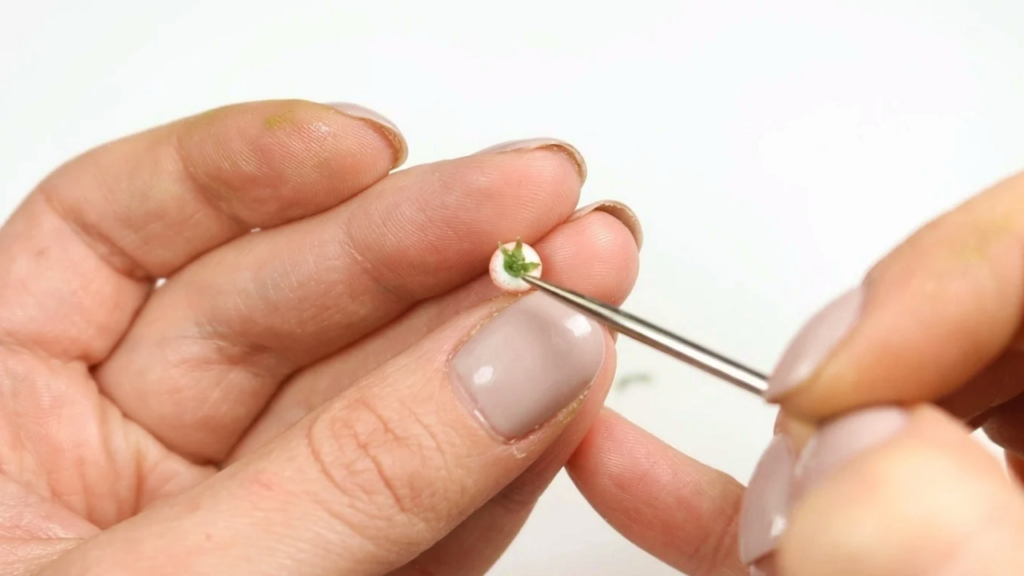
- Press a small green piece into the dimple at the top of the berry and smooth with the X‑Acto knife to blend.
- Repeat to build a small crown of leaves as desired.
6) Secure Stems with Liquid Clay
- Spread a tiny amount of Fimo Liquid on the top of the berry where the stem will attach.
- Attach leaf pieces and press to secure; the liquid helps mechanical and chemical bonding during baking.
7) First Bake
- Bake the strawberries according to your polymer-clay manufacturer’s instructions so the berry and stem cure and stabilize.
- Allow them to cool completely before any wet-phase painting or chocolate application.
8) Paint the Color Gradient
- Use red acrylic paint with a small brush to create a smooth color transition: darker at the pointy end, lighter toward the center/top.
- Blend carefully for a natural look — you can thin paint slightly with water to create gradual transitions.
- Let paint dry thoroughly before proceeding.
9) Make Chocolate Sauce
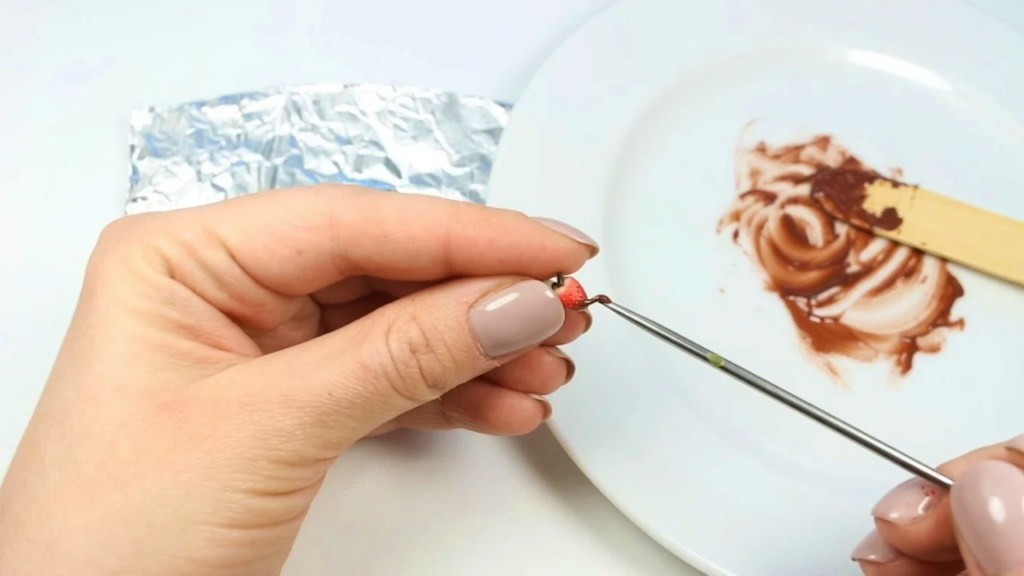
- Mix tiny pieces of brown clay with a little Fimo Liquid until you achieve a smooth, spreadable consistency (like melted chocolate).
- Adjust brown shade with small amounts of other clay colors if needed.
10) Apply Chocolate
- Spread a little of the chocolate mixture onto the pointy end of each strawberry to create a dipped look.
- Work quickly but neatly — shape the drip lines or smooth edges as desired.
11) Final Bake (Chocolate)
- Bake the completed items again so the added chocolate cures and bonds. Follow recommended temperature/time for multi-stage bakes (check your clay brand).
Finishing Instructions
- Once fully cooled, apply a thin coat of glass varnish / glaze over the chocolate area (and optionally the entire berry) to create a realistic glossy chocolate sheen.
- Let the varnish dry and cure per product instructions before handling.
Tips & Techniques
- Mix equal parts white soft + translucent to mimic strawberry flesh translucency.
- Use baby powder on fingers to avoid unwanted fingerprints while shaping stems.
- Keep pastel dust light — it should be an underlayer to aid acrylic blending.
- Work in stages and bake when the piece reaches a stable phase; multi-stage baking is normal.
Common Problems & Solutions
- Seed impressions too deep:
- Solution: lightly smooth and re‑dot with a gentler touch on a fresh piece.
- Pastel or paint smudges:
- Solution: bake after pastel application to set pigments, or let paint dry fully before touching.
- Chocolate runs off the berry:
- Solution: thicken the chocolate mixture with a bit more brown clay and less Fimo Liquid for better body.
- Stems detach:
- Solution: ensure a small mechanical recess (dimple) is present and use Fimo Liquid to adhere before baking.
Creative Ideas & Variations
- Make white chocolate or ruby chocolate dips by changing clay color for the sauce.
- Add tiny sugar crystals (craft sand) to the chocolate for texture before final bake and glaze.
- Create half-dipped designs, drips, or sprinkle tiny clay “nuts” for variety.
- Turn them into charms by inserting an eye pin into the top before baking.
Final Result
A set of convincing miniature polymer-clay chocolate-covered strawberries with realistic seed texture, smoothly blended red coloring, handcrafted green stems, glossy chocolate coating, and a professional varnished finish — ideal for mini food displays, jewelry, or diorama accessories.