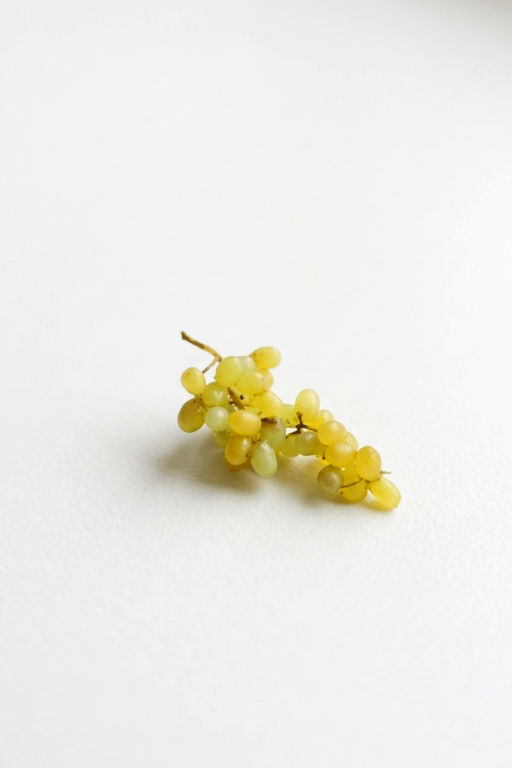
Handmade DIY Lampwork-Inspired Polymer Clay Beads Guide

Make DIY Lampwork-Inspired Polymer Clay Beads effortlessly and give your jewelry a vibrant, handcrafted touch with these detailed steps.
Creating handmade beads is a fun and inspiring way to personalize your jewelry or craft projects. Using polymer clay, you can design beads that look just like lampworked glass without needing advanced tools or techniques. This DIY project allows you to explore colorful designs, like swirls, dots, and layers, giving your beads a vibrant and artistic style. It’s easy to work with polymer clay, making this project accessible to anyone who enjoys crafting, no matter their skill level.
Lampwork-Inspired DIY Polymer Clay Beads Crafting Tips

These beads are inspired by traditional lampwork glass, known for its intricate shapes and patterns. However, instead of using glass, polymer clay allows you to achieve a similar effect while being much simpler to handle. You can experiment with bold colors, playful designs, or even softer, natural tones to fit your personal style. The lampwork-inspired finish adds a polished, creative touch that instantly elevates your work. Each bead feels like its own little piece of art.
Crafting beads this way is not only enjoyable but also incredibly versatile. They can be used to make necklaces, bracelets, earrings, or even decorative items like keychains. The process itself is relaxing and lets you bring your ideas to life while designing something meaningful. It’s a creative and straightforward project that results in colorful, one-of-a-kind beads you’ll love showing off.

Gorgeous Lampwork-Inspired Polymer Clay Beads
Create realistic Faux Lampwork beads using white polymer clay, alcohol inks and gold metal leaf. This technique produces glossy, dimensional beads that mimic lampwork glass, finished with UV resin or varnish for protection and shine.
Materials & Supplies
- White polymer clay (well conditioned)
- Alcohol inks (e.g., Clover green, Tropical green, Sun Bright Pinata yellow — glitter inks optional)
- Gold color metal leaf
- Parchment paper and paper towels
- Head pins, bead caps (for embedding prior to molding)
- UV resin (and UV lamp / pocket lamp) or dimensional varnish
- Small bowl of water (for cleanup)
- Disposable aluminum pan (for tenting during baking)
Tools & Equipment
- Gloves (recommended when using alcohol inks)
- Atlas pasta machine (setting #4 for the strip sheet; other largest setting for conditioning)
- Rigid blade (for cutting thin strips)
- Heat gun (to speed ink drying)
- Skewers and a metal cutter (to bake beads on)
- Silicone resin molds (for encapsulating beads)
- Dotting tool or small tool for pressing strips
- Round nose pliers (for making loops)
Project Details
- Bead type: drop / faux lampwork beads with decorative gold strips.
- Bake time used in demo: 45 minutes (follow clay manufacturer recommendations).
- Finishes: UV resin cured 8–9 minutes (demo) or brush-on resin/varnish.
Preparation
Condition clay & safety
- Condition the white polymer clay thoroughly until smooth and tack-free.
- Wear gloves if you plan to work with alcohol inks to protect skin and prevent contamination of the inked surface.
Prepare inks & metal leaf
- Have alcohol ink bottles (droplet application) and a heat gun ready for faster drying.
- Prepare a white clay sheet (pass through Atlas pasta machine, setting #4) to decorate with gold metal leaf for the strips.
Start Making
Making the Bead Shape
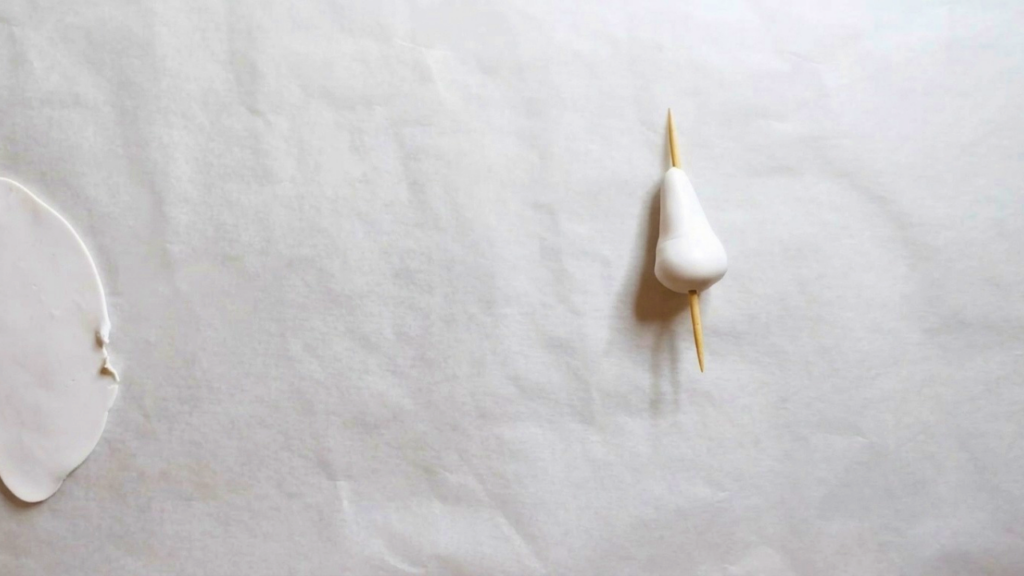
- Roll conditioned white clay into a ball in the palm.
- Use the side of your right hand to shape a neck and form a drop bead.
- Poke a hole through the bead with a toothpick or skewer to form the bead hole; keep hole centered and large enough to remove the toothpick after baking.

Coloring with Alcohol Inks
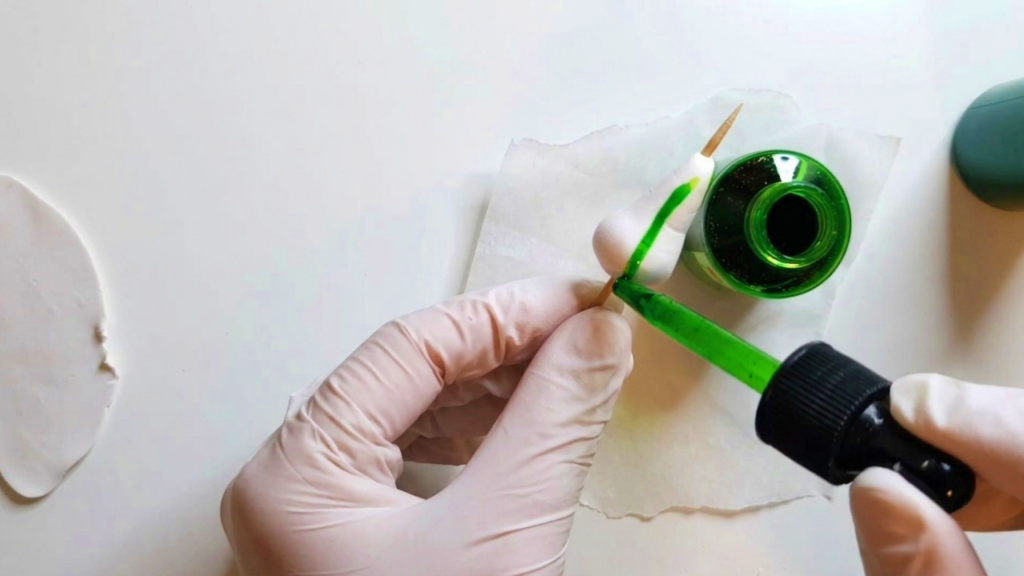
- Choose inks: Clover green, Tropical green, Sun Bright Pinata yellow (glitter variants optional).
- Apply inks using the droplet directly from the bottle:
- Apply lines from one side to the other, spacing them so you can add different color lines between.
- Add Sun Bright yellow accents in select areas.
- Alternatively, use a brush to paint inks if preferred.
- Use a heat gun briefly to speed up ink drying while decorating.
Making Gold-Decorated Thin Strips
- Pass white clay sheet through Atlas setting #4 to create a flat sheet.
- Apply gold metal leaf over the sheet.
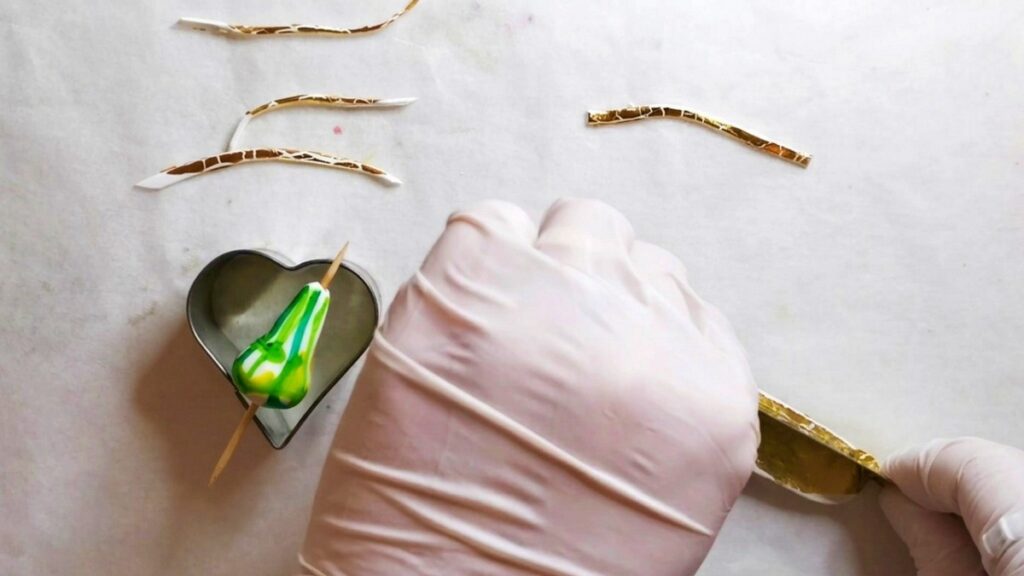
- Use the rigid blade to cut very thin strips.
- Pull on the strips gently to produce a crackled effect and to thin them further.
- Trim ends with a blade for neat edges.
Applying Strips to Beads
- Choose a very thin gold-decorated strip and place it across the bead from side to side.
- Press the ends and middle of each strip into the bead so they adhere and sit flush.
- Repeat to apply four or five strips around the bead for a decorative banded look.
- If a strip is too long, trim the excess with the blade.
- Use a dotting tool to press and neaten strip ends and ensure clean edges.
- Re-check the hole size to ensure the toothpick/skewer can be removed after baking.
Baking
- Thread beads onto a skewer, rest the skewer on a metal cutter to elevate.
- Tent with a disposable aluminum pan to protect white clay from direct heat.
- Bake for 45 minutes (demo time) following your clay’s recommended temperature and time.
- Allow pieces to cool completely before removing.
Applying Resin — Two Methods
- Method 1 — Brush-on resin/varnish:
- Apply resin with a small brush covering the bead surface; this protects metal leaf and raised strips.
- Ensure no drips form; cure per product instructions.
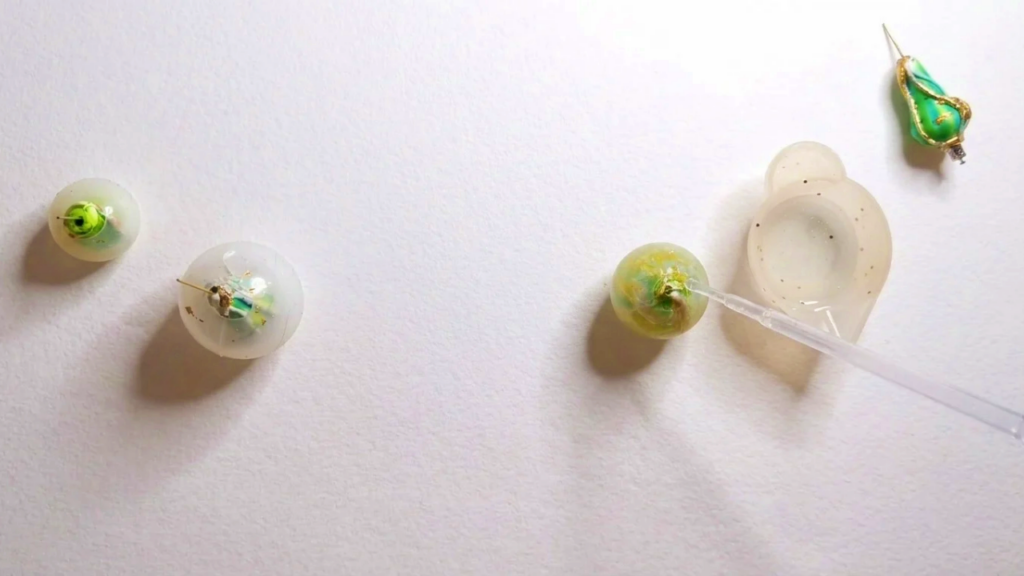
- Method 2 — Encapsulating in silicone molds:
- Insert a head pin, bead cap and bead assembly into the silicone mold cavity.
- Use a droplet of UV resin to fill the mold around the bead; press sides to open a gap if needed to insert the droplet.
- Monitor resin level from the side and add more if necessary.
- Use a pocket lamp to begin curing, then finish under a larger UV lamp for approximately 8–9 minutes (demo).
Finishing & Assembly
- After resin curing, remove bead from mold and inspect for drips or tacky spots.
- Use round nose pliers to form a double loop on the head pin for jewelry assembly.
- Attach beads to earring hooks, chains, or charms as desired.
Finishing Instructions
- Ensure resin is fully cured and no tacky areas remain.
- Trim any resin flash or smooth rough edges with fine sanding if needed.
- Seal if desired with an additional clear coat for extra protection.
Tips & Techniques
- Gloves protect both you and the bead finish when using alcohol inks.
- Use white clay for the best color pop from alcohol inks.
- Thin, pulled strips give an attractive crackle texture—experiment with thickness.
- Tent with foil or an aluminum pan when baking white clay to avoid scorching.
- Check resin level from the side of the mold frequently to prevent air gaps.
Common Problems & Solutions
- Ink blotching or feathering: Dry inks thoroughly with a heat gun and avoid over-saturating.
- Strips not adhering: Press firmly into slightly tacky clay before baking or use a tiny bit of liquid clay as adhesive.
- Hole too small after baking: Enlarge carefully with a hot needle or ream with a skewer while warm (use caution).
- Resin bubbles: Use a torch/pocket lamp flick or wait for bubbles to rise before curing; pour slowly.
Creative Ideas & Variations
- Vary ink palettes (blues, purples, sunsets) or use pearl/glitter inks.
- Create mixed-media beads by embedding mica flakes or tiny inclusions under resin.
- Make coordinating sets: focal bead + smaller spacer beads using the same strip technique.
- Try translucent clay bases for a different depth effect under inks.
Final Result
- The finished Faux Lampwork beads combine the soft, marbled look of alcohol inks with metallic crackle accents and a glossy, protective resin finish — ready to become statement jewelry with secure double-looped head pins. This method offers durable, museum-like lampwork appearance using accessible polymer-clay techniques.