Create Stunning DIY Mushroom Ornaments with Polymer Clay

Design enchanting DIY Mushroom Ornaments with Polymer Clay perfect for adding a whimsical touch to your decor gifting or creative craft collection.
Creating charming decorations with polymer clay can be a delightful and simple activity for anyone who enjoys bringing a touch of nature indoors. Inspired by the whimsical shapes of mushrooms, this project involves crafting ornaments that add a creative and natural element to your home. Anyone can have fun working on this DIY project, whether you are a beginner in crafting or someone who loves DIY projects. It’s all about enjoying the creative process and ending up with beautiful mushroom pieces that can enhance any space.
How to Craft DIY Mushroom Ornaments with Polymer Clay Easily
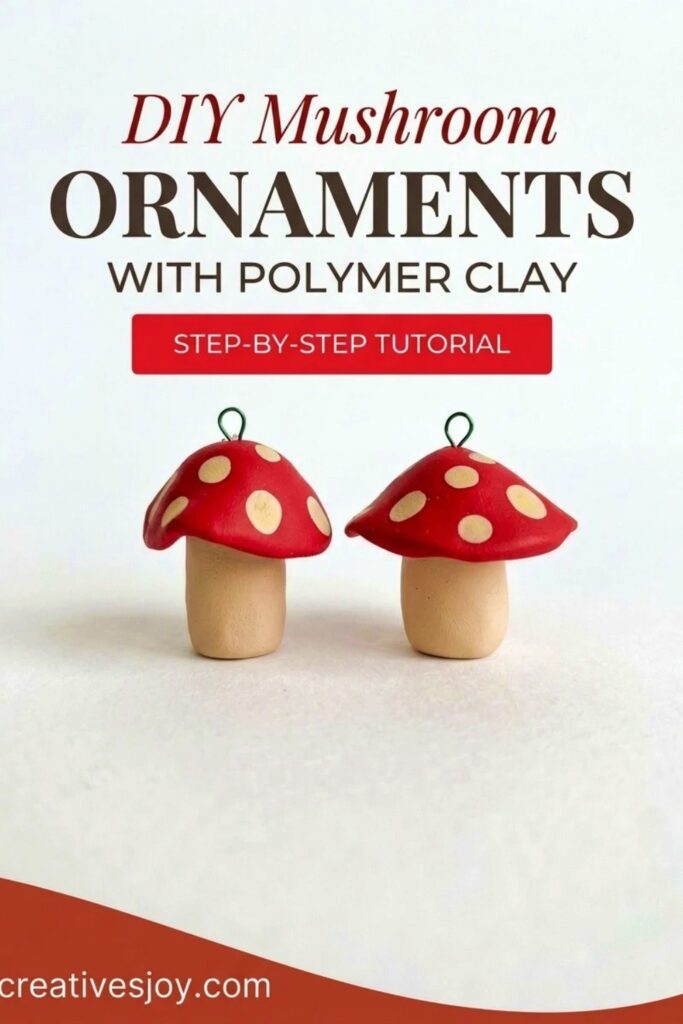
The most enjoyable section of this project is shaping and decorating each mushroom. You can experiment with different sizes and styles, from tiny, delicate mushrooms to larger, more striking versions. Adding little details, like textured caps and stems, can make each ornament feel lifelike and unique. Using clay means you can choose from various colors and finishes, customizing the mushrooms to suit your style and preferences. Your finished pieces can be both simple and eye-catching, making them a sweet addition to any display.
These handmade mushrooms are perfect for adding to your own home decor or gifting to friends and family. They can be used as tree ornaments, displayed on shelves, or even added to plant pots for a quirky touch. The project combines creativity and a love for natural forms, resulting in charming ornaments that are sure to draw attention. Enjoy the process, and let these delightful clay mushrooms brighten any setting with their playful, natural look.
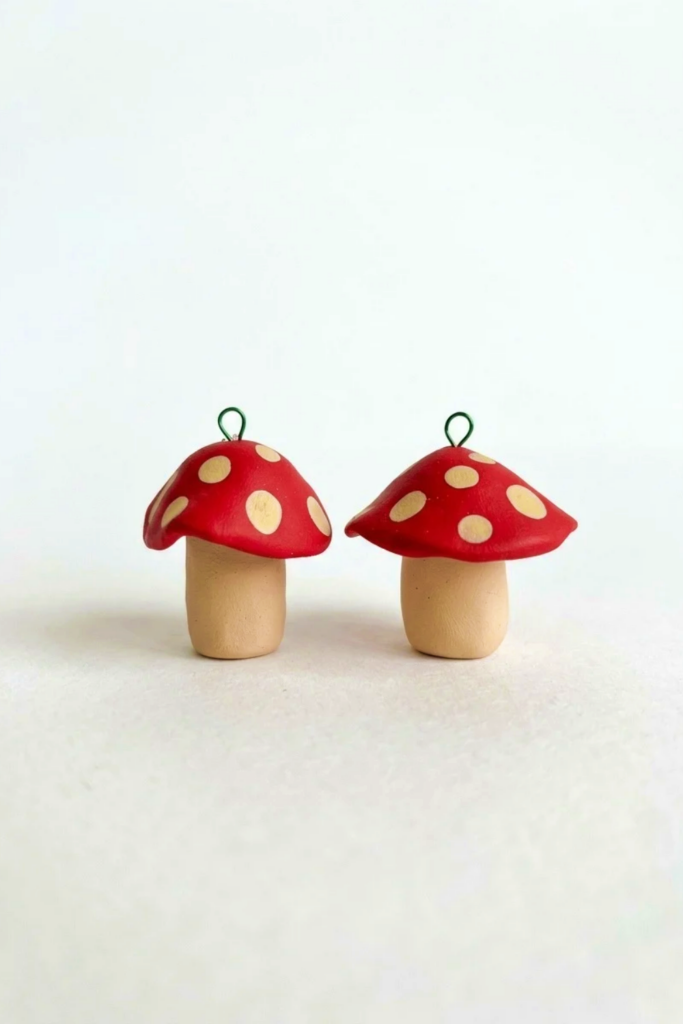
mushroom ornaments from polymer clay
Create simple, adorable mushroom ornaments from polymer clay that are perfect for holiday decorations, gifts, or keychains. This project focuses on easy hand-forming techniques, minimal tools, and a quick assembly method using a bakeable adhesive and eye pins so the finished mushrooms can hang.
Materials & Supplies
- Polymer clay (any brand) — two colors shown: red (cap) and tan (stem/base)
- 2-inch eye pins (for hanging)
- Bakeable adhesive (e.g., Sculpey Bake & Bond or equivalent) — important for securing cap to base
- A pan you do not cook in (for warming clay by hand or placing near a warm source)
- Optional: gloss varnish, string, hooks
Tools & Equipment
- Hands (primary shaping tool) — no sculpting tools required
- Craft knife or wire cutters (to shorten eye pins)
- Flat work surface (clean table or cutting mat)
- Oven for baking (follow clay manufacturer directions)
- Small brush or toothpick for adhesive application
Project Details
- Difficulty: Beginner-friendly — suitable for crafters of all levels.
- Time: Active crafting about 20–40 minutes for a set; plus baking/cooling time.
- Output: Small hanging mushroom ornaments; scale demonstrated uses roughly 2–3 cm tall stems and caps sized to fit eye pins.
Preparation
- Warm up clay in your hands until soft and workable — this improves blending and reduces cracking.
- Keep colors separate and wash your hands between colors to avoid unintended color transfer.
- Pre-read your polymer clay packaging for recommended bake temperature and time.
- Prepare oven, work surface, and a cutting tool to trim eye pins before assembly.
Step-by-Step Detailed
Form the Base / Stem
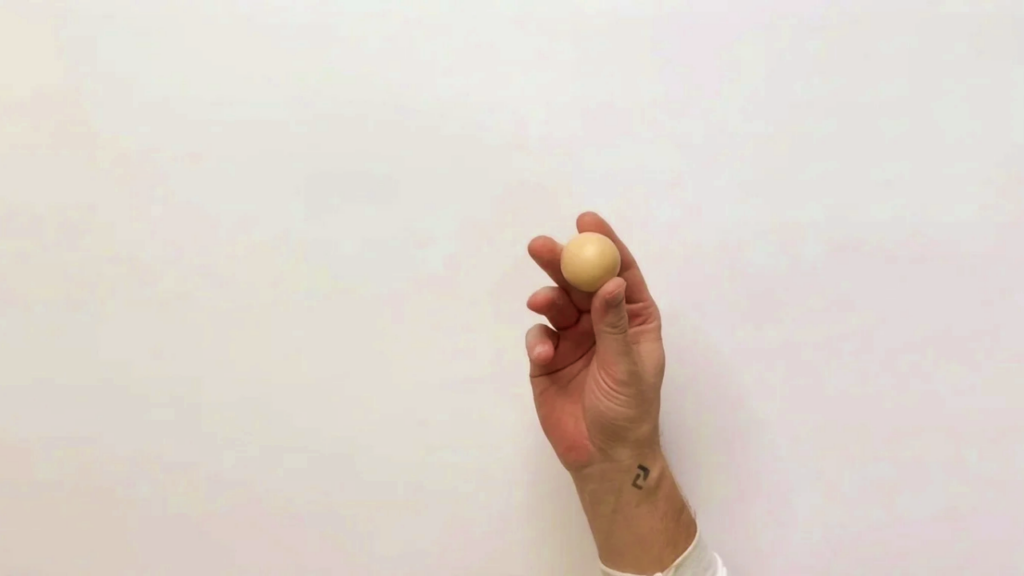
- Warm up half the pack of tan clay by kneading it between your palms until soft.
- Make a smooth ball from the warmed clay.
- Roll the ball out into a short cylinder/oval and break it in half to create two bases if making multiple mushrooms.
- From the first half, form a smaller ball, then roll it out and squish down the top to flatten both ends — this becomes the mushroom base/stem.
- Repeat the same process with the other half for a second mushroom.
Make the Cap
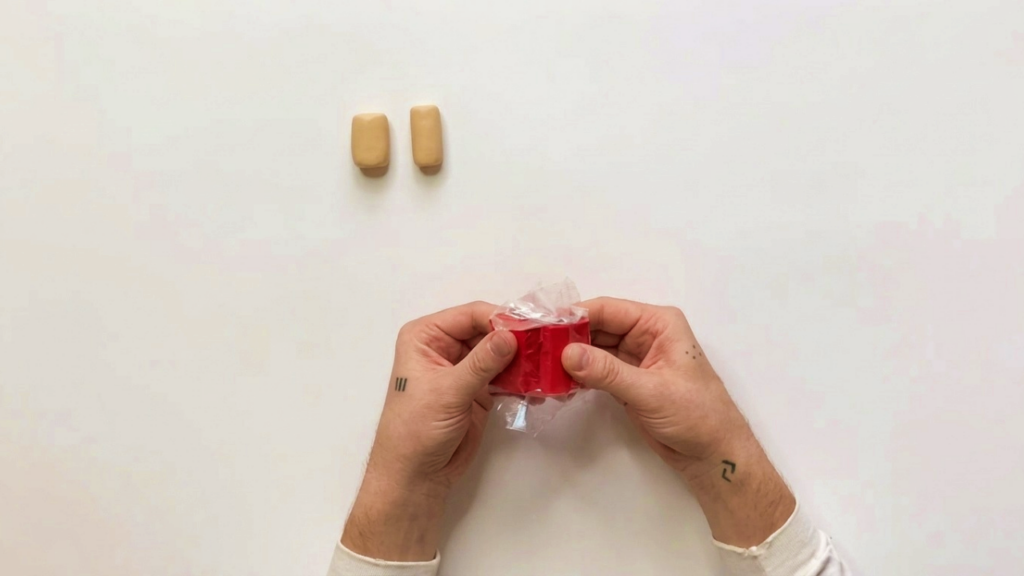
- Warm up a new piece of clay for the cap (red in the example).
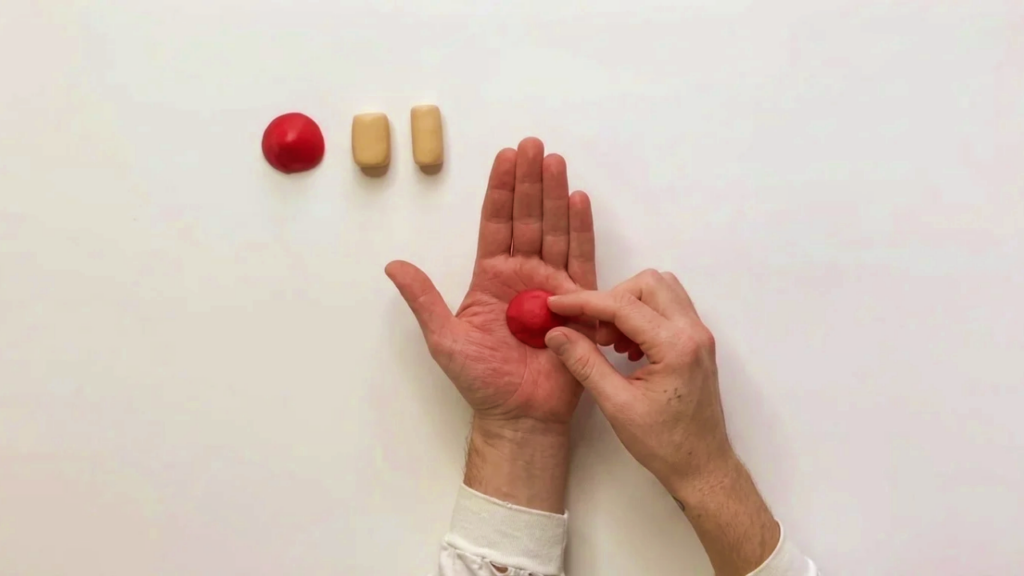
- Form another smooth ball, then roll and split it in half if making multiple caps.
- From a cap half, make a small ball and then shape into a little triangle (this triangular shorthand helps form a rounded cap when flattened).
- Avoid overworking the cap clay; you’ll refine shape when placing the dots and joining to the stem.
Create and Attach Dots (Spots)
- Break a small piece off the tan block for the cap dots and warm it.
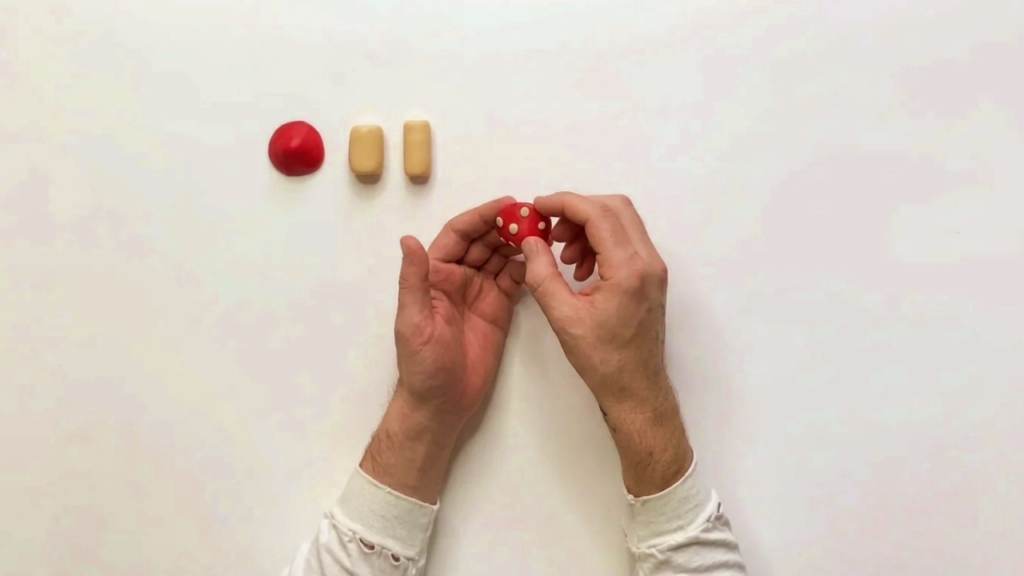
- Roll the tan into a long skinny strip, then pinch off tiny pieces for the dots.
- Roll each tiny piece into small circles, flatten them with your finger, and press them into the cap in your desired arrangement.
- Continue adding dots until the cap looks balanced and the pattern feels right.
Assemble Cap and Base
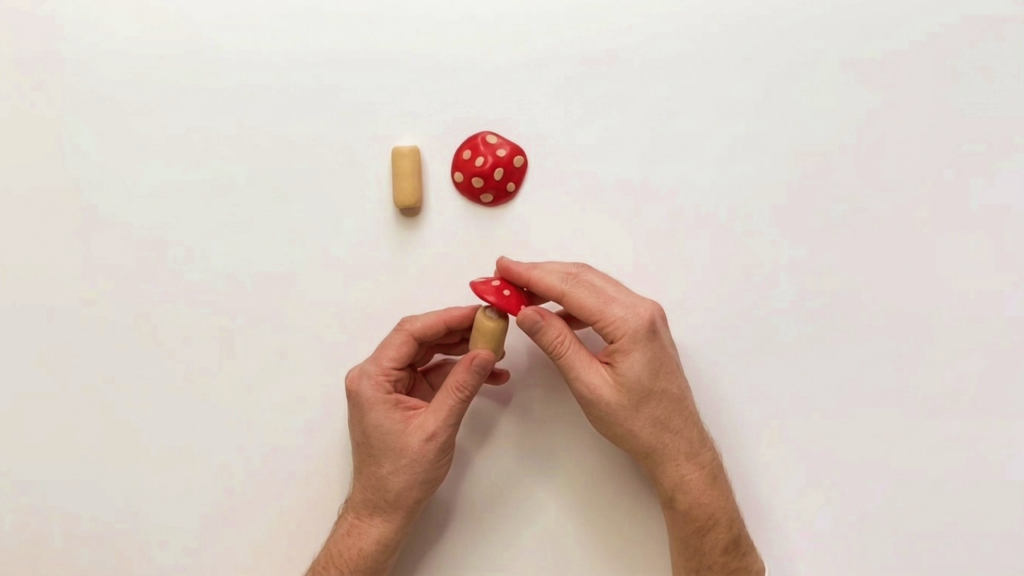
- Apply a small amount of bakeable adhesive where the cap will meet the base.
- Press the base and cap together, aligning so the seam is neat.
- Place the assembled mushroom on a flat surface and perform any final shaping or smoothing to the cap and base junction.
Insert Eye Pin for Hanging
- Insert the eye pin through the center of the cap and down into the stem and base.
- If the pin is too long, cut it about 1/2 inch shorter than the height of the mushroom for a clean fit.
- Re-poke through the center after trimming to ensure the pin is straight and secure.
Bake
- Preheat your oven and follow the clay manufacturer’s directions for temperature and time.
- Place mushrooms on a baking sheet (parchment or ceramic tile).
- Bake according to instructions, then remove and allow to cool completely before handling or hanging.
Finishing Instructions
- After cooling, check the eye pin; if loose, add a tiny drop of bakeable adhesive and rebake briefly if needed.
- Optionally apply a light coat of gloss varnish to the cap for a shiny, finished look — test sealant compatibility on scrap clay first.
- Thread string or wire through the eye pin and hang your ornaments.
Tips & Techniques
- Warm clay thoroughly in your hands until pliable; it’s easier to shape and blends better.
- Flatten dots with your fingertip for organic, imperfect spots. Perfect imperfections make handmade mushrooms charming.
- Use a flat surface when pressing caps onto bases to keep shapes stable and symmetric.
- Keep a damp wipe nearby to clean fingers between colors so your caps stay vibrant.
Common Problems & Solutions
- Pin too long and pokes out bottom:
- Cut pin to length (about 1/2 inch shorter than mushroom height) and reinsert.
- Cap separates after baking:
- Ensure you use bakeable adhesive at the seam and press parts firmly during assembly; rebond with adhesive and a short rebake if needed.
- Colors mix unintentionally:
- Wash hands or use gloves between colors and work on clean surfaces.
- Clay warps during baking:
- Follow manufacturer temperatures exactly and avoid overheating; use a thermometer to confirm oven accuracy.
Creative Ideas & Variations
- Change colors: use pink, blue, or gold for whimsical holiday themes.
- Add glitter or mica to the cap for sparkle before baking.
- Make a family of mushrooms in varying sizes and cluster them on a hanging mobile or wreath.
- Paint fine details after baking with acrylics, then seal for durability.
- Convert into keychains by using a sturdier eye pin and small jump ring.
Conclusion
This is a fast, beginner-friendly polymer clay project that yields charming, customizable mushroom ornaments. By following the simple steps—warm clay, form base, shape cap, press dots, glue, insert eye pin, and bake—you’ll have delightful handmade decorations ready to hang or gift. Have fun experimenting with colors and finishes, and enjoy the satisfaction of crafting something cute and personal.