Handmade DIY Polymer Clay Snowman Inspiration
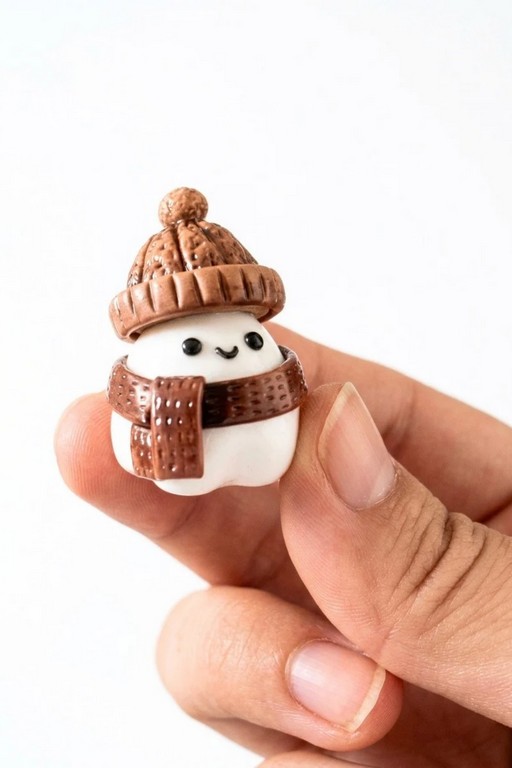
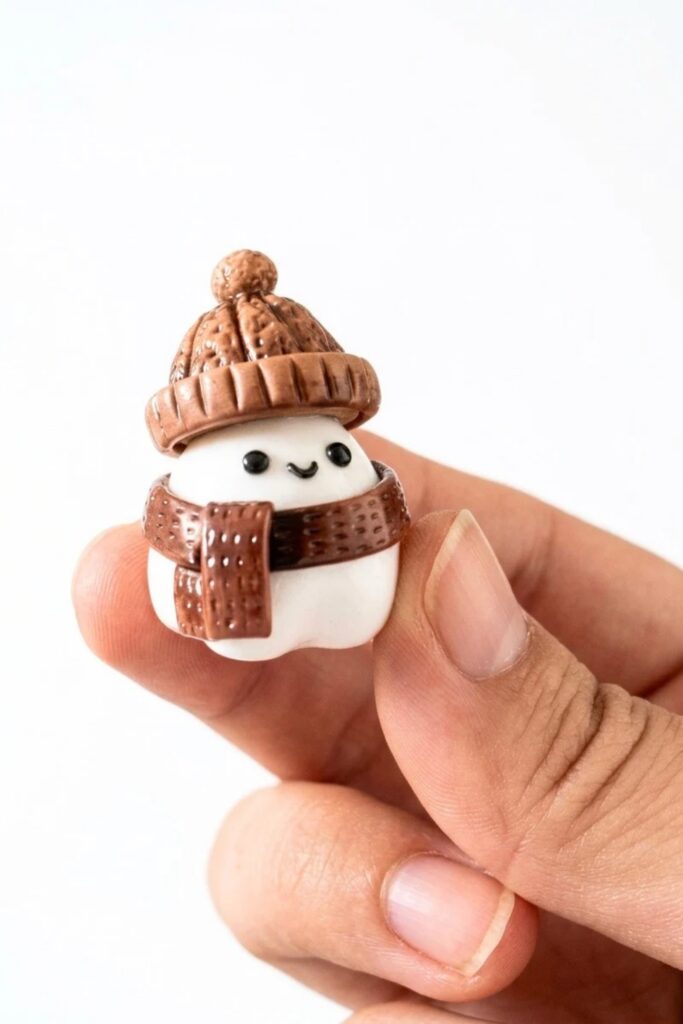
Bring winter cheer to life with this DIY Polymer Clay Snowman project. Follow simple steps to craft a cute, festive decoration for the holiday season.
Winter crafts are always a joy, and this project lets you create an adorable snowman using polymer clay. This simple and fun activity is perfect for all ages, whether you’re a crafting beginner or already familiar with clay work. Shaping and assembling the snowman is easy to learn and gives you the chance to personalize your design with accessories like scarves, hats, or even tiny buttons. It’s a great way to celebrate the winter season with a handmade decoration or gift.
DIY Polymer Clay Snowman Ideas for Christmas
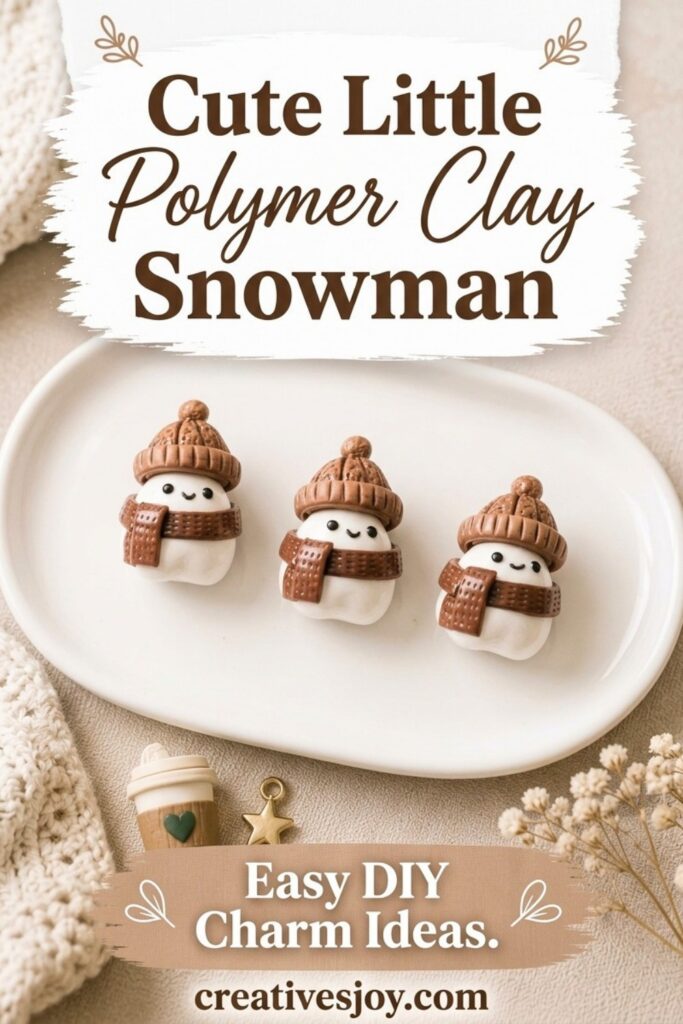
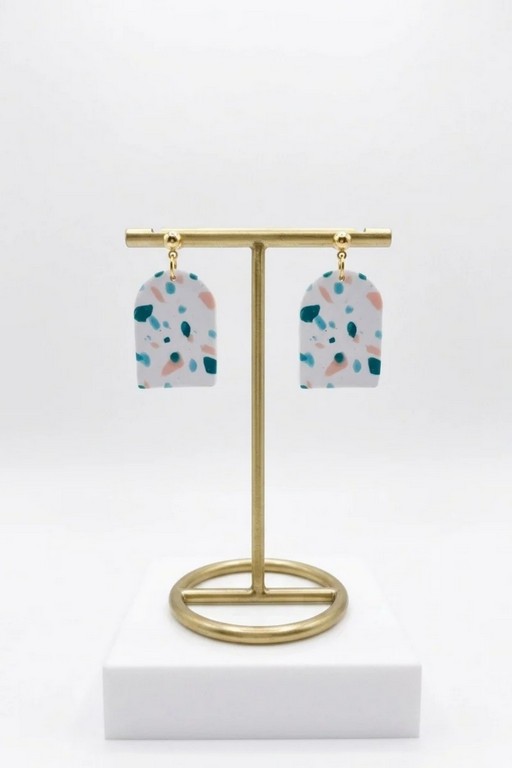
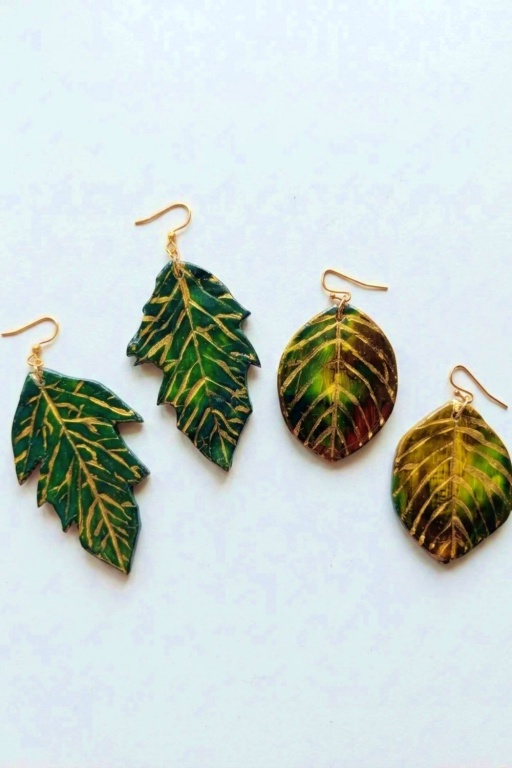
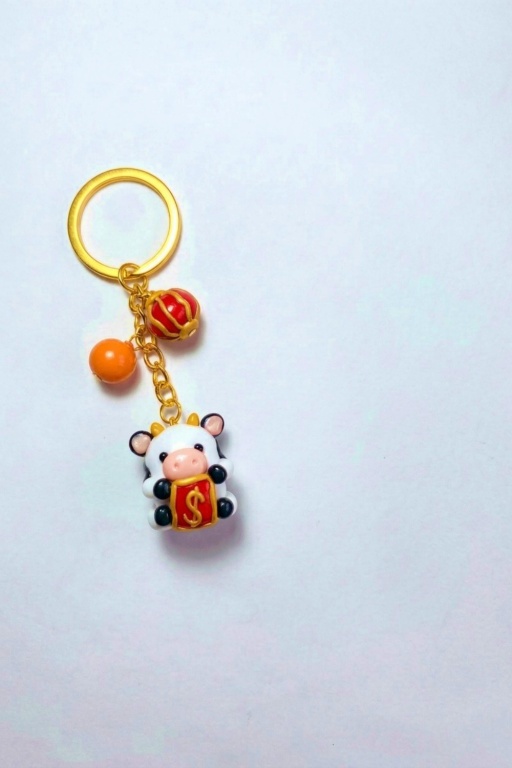
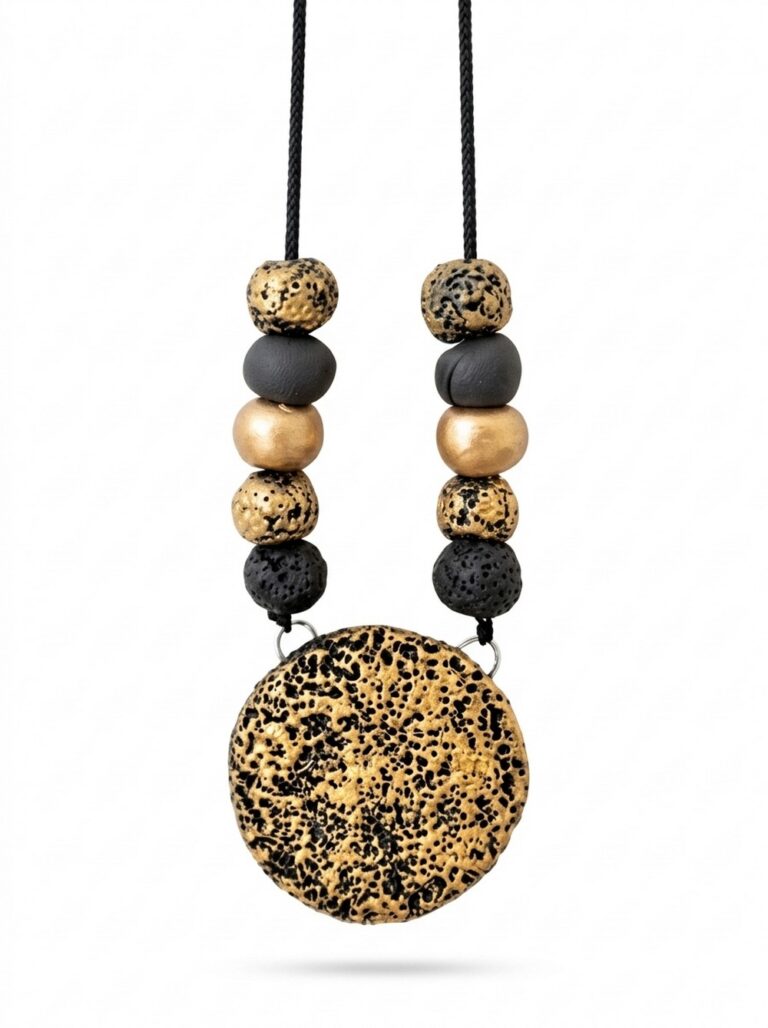
What makes this project so special is how versatile it is. Using polymer clay, you can sculpt your little snowman in any style you like—whether it’s a classic look with a top hat or a playful one with a colorful scarf. The clay is soft and easy to mold, giving you the freedom to explore your creativity. After baking, your snowman becomes a durable, lightweight decoration that you can use for ornaments, keychains, or just a cute desk display. It’s a quick, creative, and rewarding project.
This craft is all about spreading holiday cheer in a personal way. Your finished clay snowman will bring a touch of winter magic wherever you place it. Whether you make one as a gift for a loved one or just to brighten up your home, this DIY project is sure to bring smiles and showcase your creativity.
Clay Basics: Starter Guide for Polymer & Air‑Dry Clay
What Are We Making?
A concise primer to learn basic clay techniques for small handmade projects: selecting clay, prepping and mixing colors, shaping, attaching elements, preventing sticking, baking (for oven‑bake polymer clay), and finishing. This guide uses oven‑bake polymer clay as the main reference but notes air‑dry alternatives where relevant.
Materials at a Glance
- Oven‑bake polymer clay (recommended starter brands: Sculpey, Premo, Fimo, Craft Smart)
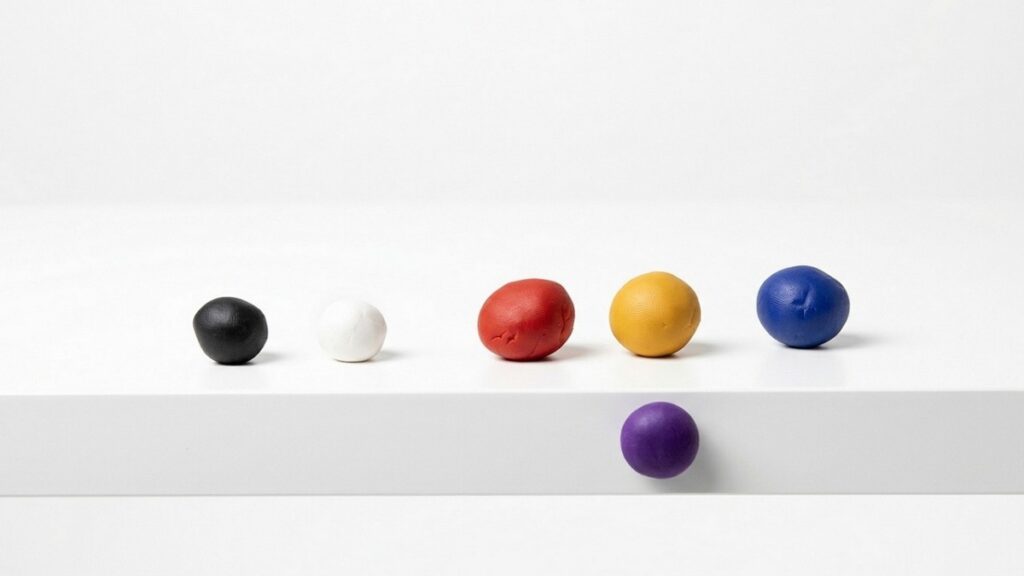
- Basic colors to begin: white, black, red, yellow, blue (mix to expand palette)
- Optional: air‑dry clay if you prefer no‑bake projects
Tools You’ll Need
- Acrylic roller or small rolling pin (pasta maker optional for even sheets)
- Straight‑edged shaping tools, fine and blunt needle tools (or a cake‑decorating set)
- Cutting blade or craft knife
- Small containers for storage (original packaging, foil, or saran wrap)
- Toothpicks, thin wire, or paper clips for internal supports
- Parchment paper or tile for work surface
- Oven and oven thermometer (for polymer clay)
- Sandpaper, craft glaze or UV resin (optional) for finishing
Things to Know Before Starting
- Polymer vs. air‑dry: polymer clay requires oven curing; air‑dry hardens at room temperature. This guide focuses on oven‑bake polymer recommendations.
- Brand differences: firmness and texture vary—Sculpey is beginner‑friendly; experiment to find your preferred feel.
- Storage: keep clay sealed in original packaging or wrapped to prevent drying; foil works but hides color. Saran wrap can degrade with some clays over long periods.
- Expect handmade texture: small imperfections add character; you can sand, paint, or glaze later.
Let’s Get Started
Step 1: Get Ready
- Condition clay by kneading until soft and consistent; avoid overheating.
- Gather straight tools, needle tools, roller, and your work surface (parchment paper or tile).
- If mixing colors, prepare basic shades: white, black, red, yellow, blue.
- Decide whether to work on a single color piece (painted later) or colored clay layers.
Step 2: Make the First Part — Mixing & Smoothing
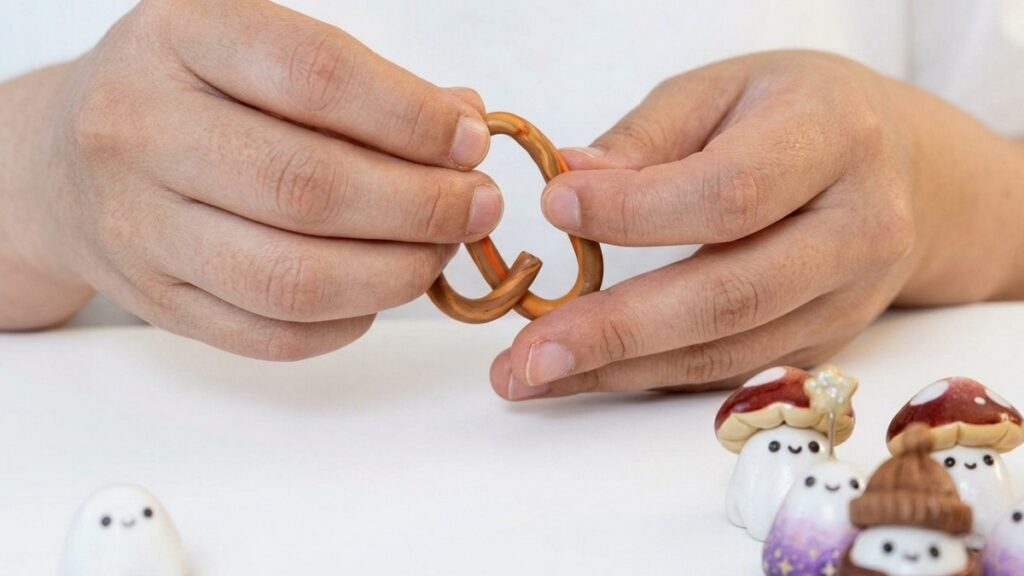
- Mixing techniques:
- Smoosh technique: press and fold colors repeatedly until blended.
- Twist and roll: roll two or more colors into thin logs, twist together, then roll flat and repeat for faster, even blends.
- Smoothing:
- Use fingers to gently stroke surfaces to smooth and impart a slight shine.
- For ultra‑flat work, use a roller or pasta machine set to a consistent thickness.
- Tips:
- Start with small amounts when color‑mixing to avoid waste.
- Keep hands clean to prevent unintended color transfer.
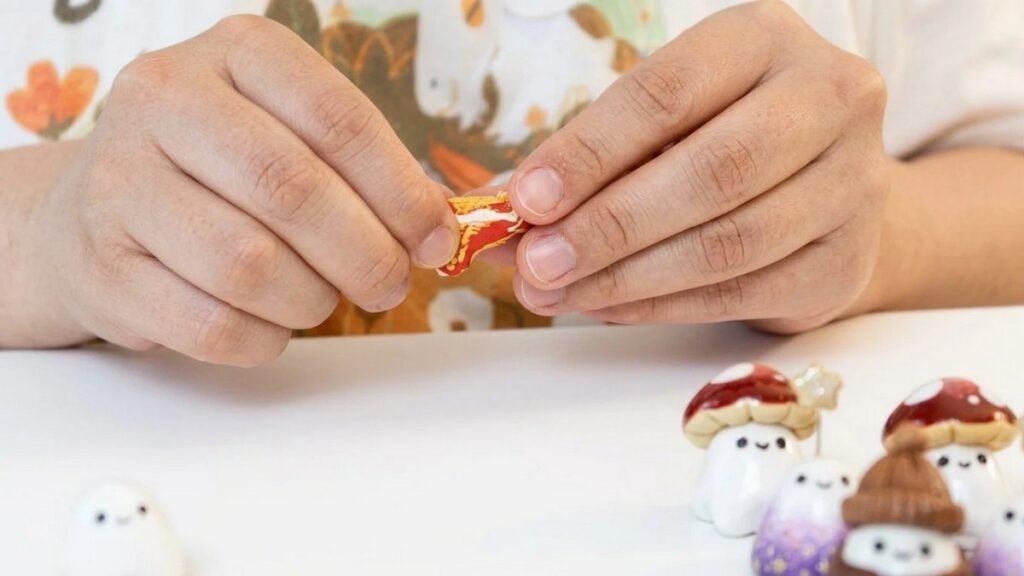
Step 3: Continue the Pattern — Shaping & Attaching
- Shaping:
- Use straight‑edged tools and needle tips to define edges and details.
- For flat projects (2D), use optional pasta maker settings to maintain uniform thickness.
- Attaching components:
- Rely on the clay’s natural stickiness for small parts (faces, small features).
- For larger components (hats, heavy elements), insert a toothpick, small wire, or paper clip to reinforce the joint.
- Press joints firmly and blend edges with a tool or fingertip to improve adhesion.
- Prevent accidental separation by planning the placement and support before curing.
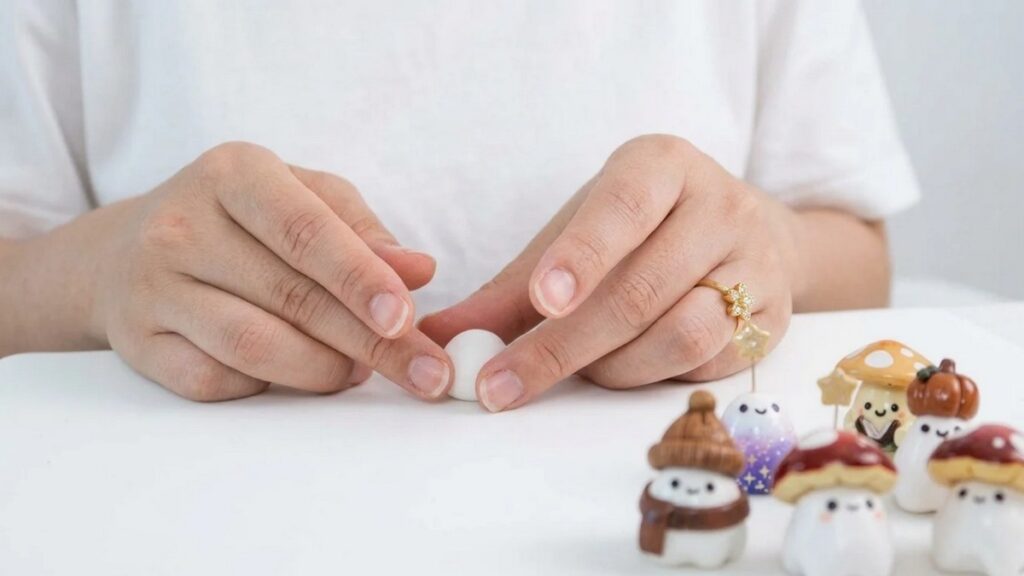
Step 4: Put the Pieces Together — Preventing Stick & Work Habits
- Prevent sticking to work surface:
- Use parchment paper or a tile as a nonstick base. Some brands cling less to parchment.
- Keep tools and hands slightly dust‑free; minimal cornstarch can reduce tack but affects finish—use sparingly.
- Storage note:
- Wrap unused clay in original packaging, foil, or new plastic; avoid long‑term saran wrap if it becomes tacky.
- Workflow:
- Work in small batches to maintain control and reduce lint contamination.
- Rotate and inspect pieces frequently to keep surfaces clean of dust and fibers.
Step 5: Finish the Design — Baking & Final Touches
- Baking (oven‑bake polymer clay):
- Follow the manufacturer’s temperature and time. As a common reference, Sculpey often uses 275°F (135°C) for about 15 minutes per 1/4″ (check your brand).
- Use an oven thermometer for accuracy and bake on a tile or parchment for even heat.
- Allow pieces to cool completely before handling to avoid distortion.
- Finishing:
- Sand imperfections and lint with fine‑grit sandpaper if needed.
- Glaze options:
- Craft glazes (Sculpey glaze) for an accessible glossy finish.
- UV resin gives a glassy coat but requires caution—follow safety and ventilation guidelines.
- Painting: use acrylics to add details if you worked in single‑color clay.
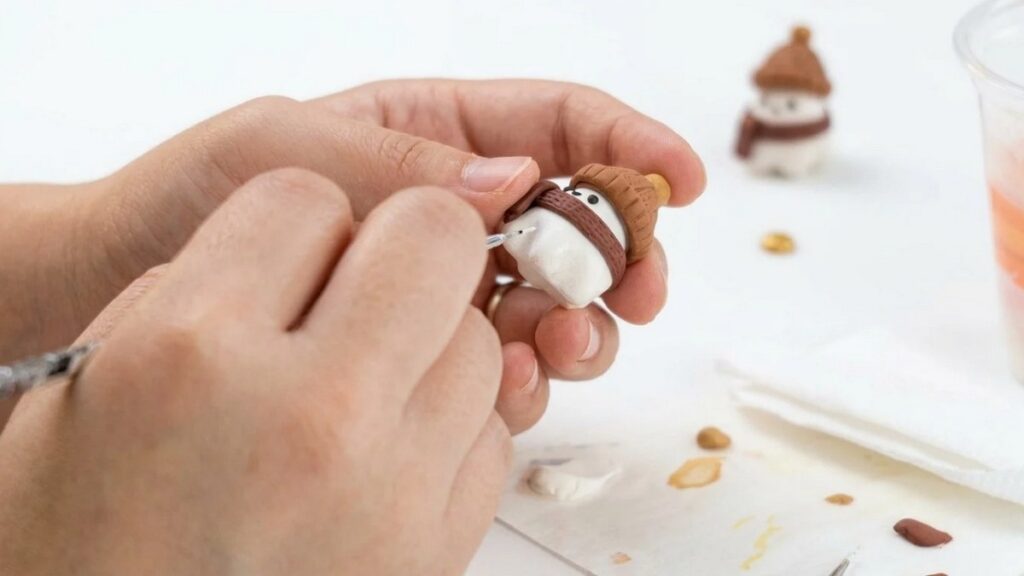
Easy Finishing Tips
- Remove lint proactively by keeping a clean workspace and using a soft brush pre‑bake.
- Sand lightly with fine grits for a smooth result before glazing.
- Test varnish compatibility on scrap pieces to verify desired sheen and durability.
Common Beginner Mistakes
- Overheating clay while conditioning—work slowly and stop if clay becomes too soft.
- Incorrect baking temperature/time—always verify brand instructions and thermometer readings.
- Using excessive adhesive or supports—small pieces often bond without reinforcement; only add internal support for heavier parts.
- Skipping test pieces—practice color mixes and finishes on scraps before committing to a main piece.
Ways to Personalize It
- Mix pigments or mica powders into clay for subtle shimmer.
- Combine air‑dry elements for mixed‑media texture.
- Carve or stamp surface patterns before baking for a unique tactile result.
- Use embedded findings or metal wire for structural and stylistic variation.
Final Look
- Accept handmade charm—tiny variations and texture make each piece unique.
- After finishing, photograph your work in good lighting to document color and detail, then share or gift confidently.