Handmade DIY Silver Clay Plant Pendant Jewelry Tips
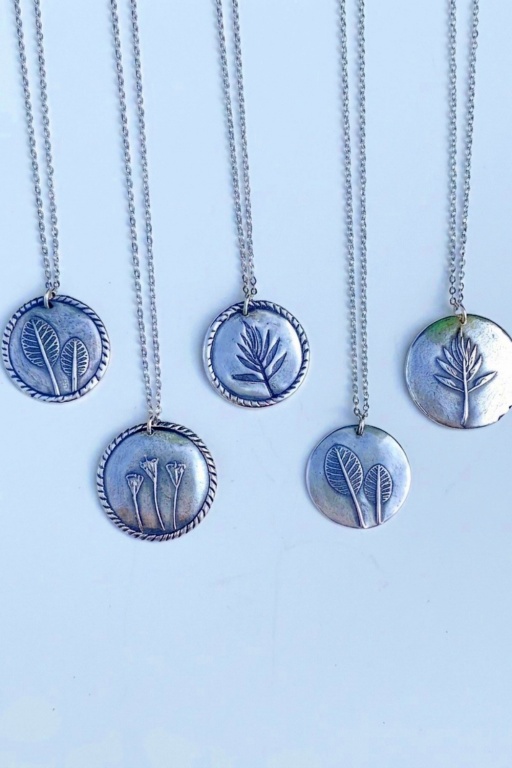
Learn how to make a DIY Silver Clay Plant Pendant with simple techniques, perfect for creating a stylish and nature-inspired accessory for any outfit.
Crafting jewelry is a wonderful way to express yourself, and this project focuses on creating a unique pendant with plant designs using silver clay. Silver clay is a fascinating material that transforms into pure silver when fired, making it perfect for creating personalized, high-quality pieces. You’ll design a beautiful, nature-inspired pendant featuring leaves, flowers, or other plant patterns, allowing you to bring a touch of the outdoors into wearable art. Whether you’re new to jewelry-making or looking for a fresh DIY idea, this project offers an exciting opportunity to explore your creativity.
Elegant DIY Silver Clay Plant Pendant You Can Make at Home
The charm of this project lies in working with silver clay. Soft and easy to mold, the clay can be shaped into intricate patterns that look organic and delicate. From engraving textures to layering leaf shapes, you’ll have the ability to create a detailed and elegant design. Once the clay is fired, it becomes a sturdy, real silver piece, giving your pendant a polished and professional look. The steps are simple and fun to follow, making the process enjoyable and relaxing.
By the end of the project, you’ll have a beautiful silver plant pendant that’s both stylish and meaningful. The design is perfect for everyday wear or as a thoughtful gift for someone special. This DIY guide is not just about making jewelry—it’s about crafting something unique with your own hands, celebrating nature in a timeless way.
About This Project
This project guides you from plant selection and mold-making through firing, patina (liver of sulfur), and final finishing to create botanical silver pendants. Two mold methods are shown—pressed polymer (Sculpey) for ease and two‑part silicone for finer detail—plus techniques for reversing impressions (stamps), framing the pendant, joining edges, firing, darkening, and revealing texture by sanding. Follow each step carefully and observe safety when using sulfur solutions.
What You’ll Need
- Fresh plant material (leaves, flowers with clear veins)
- Sculpey (or similar oven‑bake polymer clay) for quick, inexpensive molds
- Two‑part silicone rubber for fine, shallow detail molds
- Acrylic roller (clear preferred to monitor shifting)
- Release agent compatible with your mold material
- Fine blade or craft knife and circle/template cutters (optional)
- Silver clay (metal clay suitable for kiln firing)
- Water and small brush or fingertip for joining seams
- Silver clay paste (optional reinforcement)
- Hand drill or awl for pilot holes
- Kiln and firing supplies for silver clay
- Liver of sulfur (sulfur patina) and container for safe outdoor use
- 3M ultra‑fine sanding pads or similar fine grit sanding sticks
- Tumbling media/polish or polishing tools
- Chains or bails to finish pendants
- Safety gear: gloves, eye protection, and good ventilation for chemicals
Before You Begin
- Choose plants with clear surface detail (veins, petal texture). Work quickly with fresh specimens for crisper impressions.
- Prepare a clean workspace and lay out tools. Have release agent and roller ready.
- If using Sculpey as a mold medium, precondition and flatten a sheet slightly larger than the pendant size you want. If using silicone, mix parts thoroughly and work quickly to avoid early cure.
- Consider desired final effect: plants raised in the silver (pressed into mold so plant is an “outie”) or recessed (use silicone stamp to invert an impression). This choice impacts patina and polishing results.
How to Make It
Step 1: Prepare Molds
- Press Method (Sculpey):
- Condition and roll Sculpey to a bit larger than final pendant size.
- Apply release agent sparingly to the clay and plant to prevent sticking and to protect the roller.
- Arrange plant on the clay, press evenly with a clear acrylic roller to avoid shifting, then lift slowly to reveal the impression.
- If edges stick or release unevenly, nudge the clay up around the perimeter before lifting.
- Silicone Method (two‑part silicone):
- Mix parts thoroughly and press into a thin layer larger than the pendant area.
- Place plants onto the uncured silicone and press gently; free the edges before pulling the cured piece to avoid warping.
- To reverse an impression (make a stamp for recessed designs), press silicone into a fired Sculpey mold to create the opposite relief.
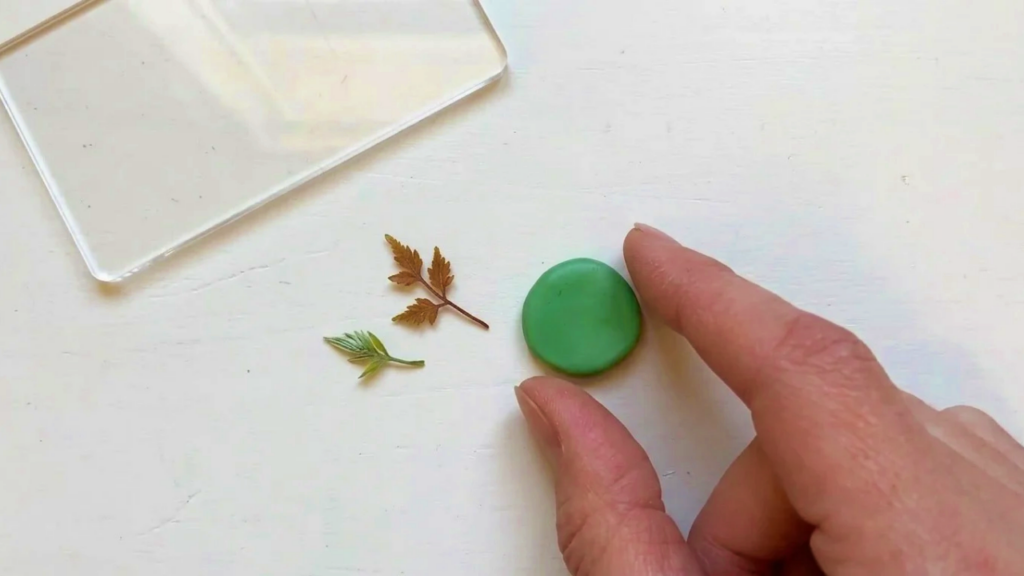
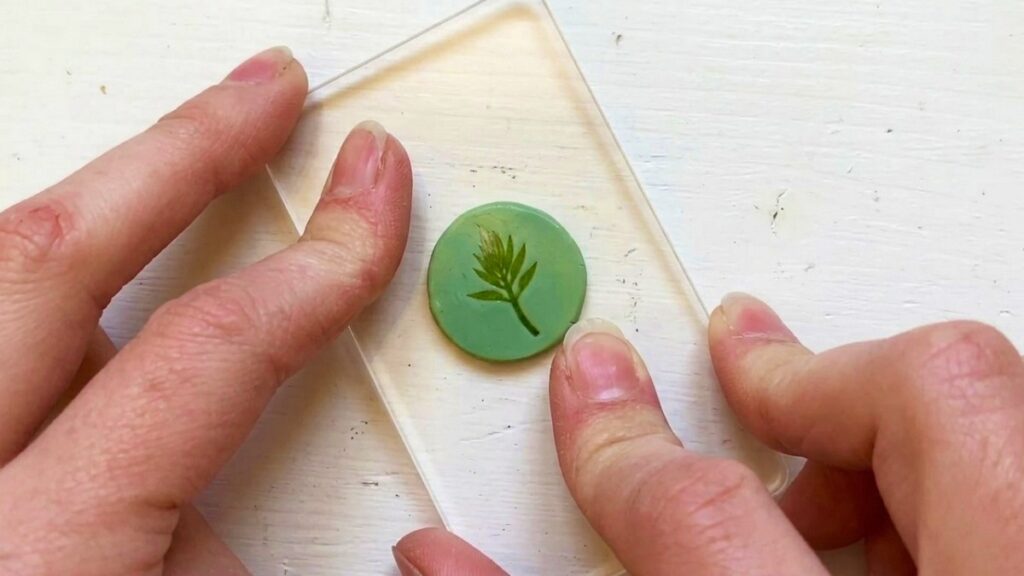

Step 2: Cut and Shape Silver Pieces
- Choose whether your plant will be raised or recessed in the silver and use the corresponding mold or stamp to impress silver clay.
- Use a template sized for your pendant, remembering metal clay shrinks (approx. 12–15% depending on product).
- Press the template gently to mark shape, then cut out the medallion with a blade following the template line for a clear edge.
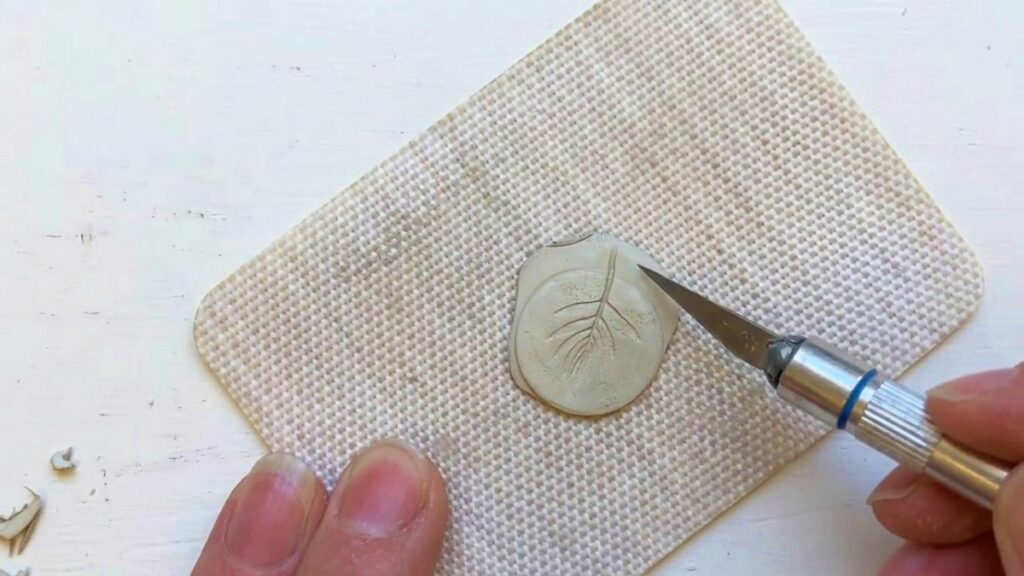
Step 3: Add a Frame and Prepare for Firing
- Roll a “snake” of silver clay evenly long enough to wrap the pendant circumference with a small overlap.
- Wet the joining surfaces lightly with water and press the frame onto the medallion all the way around for good contact.
- Reinforce from the back if needed; use silver clay paste at seams for added strength.
- Let the joined piece rest briefly (a few minutes) to set before adding fine details such as drilled pilot holes.
- Create a pilot hole or hand‑drill through the frame where you intend to attach chain or jump ring.
Step 4: Fire and Patina
- Fire the prepared silver clay pieces in the kiln according to your clay manufacturer’s schedule.
- After firing and cooling, prepare for patina: set up liver of sulfur in a well‑ventilated outdoor area—never boil sulfur in an enclosed space and follow all safety instructions.
- Submerge or expose pieces to the sulfur solution, moving them gently to ensure even darkening. Colors progress through a spectrum until reaching dark gray/black; remove at your preferred tone.
- Rinse thoroughly after patination and dispose of sulfur solution safely per instructions.

Step 5: Reveal Detail and Finish
- Use ultra‑fine sanding pads (3M ultra‑fine or similar) to sand high points and reveal contrast—this removes sulfur from raised areas and enhances texture.
- If you sand away too much dark and want a deeper tone, you can repeat the sulfur process and resand selectively.
- Final polish options:
- Tumbling for an even shine and smoothing of edges.
- Hand polishing selective high spots to keep recessed details dark and dramatic.
- Attach chains, bails, or jump rings to finish the pendant.
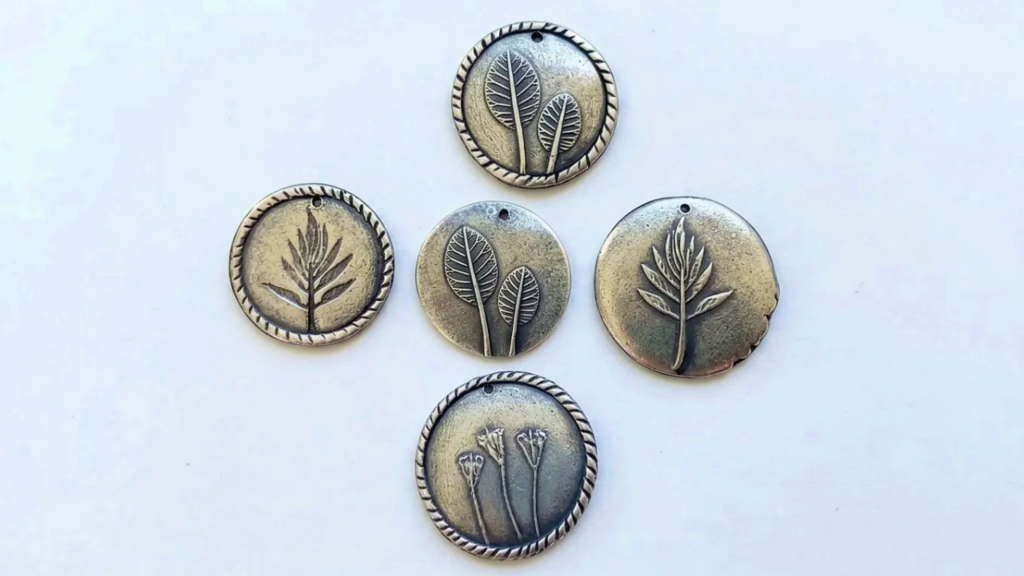
Finishing Details
- After polishing and adding chain, inspect edges and drill holes for any roughness; smooth with fine files or re‑pad sanding as necessary.
- Consider a light patina fixative if you need corrosion resistance, but test compatibility with silver clay finishes first.
Helpful Tips
- Fresh plants give crisp impressions—press firmly and evenly. If details are too shallow in Sculpey, switch to two‑part silicone.
- Use the clear roller to monitor plant movement while pressing. Release agent keeps plants from sticking to roller or mold.
- Make molds larger than the final piece to allow for clean cutting and framing.
- Remember shrinkage percentage for metal clay when sizing templates.
- Work outdoors or under a fume hood with liver of sulfur and follow product safety directions; never heat sulfur indoors.
Your Finished Craft
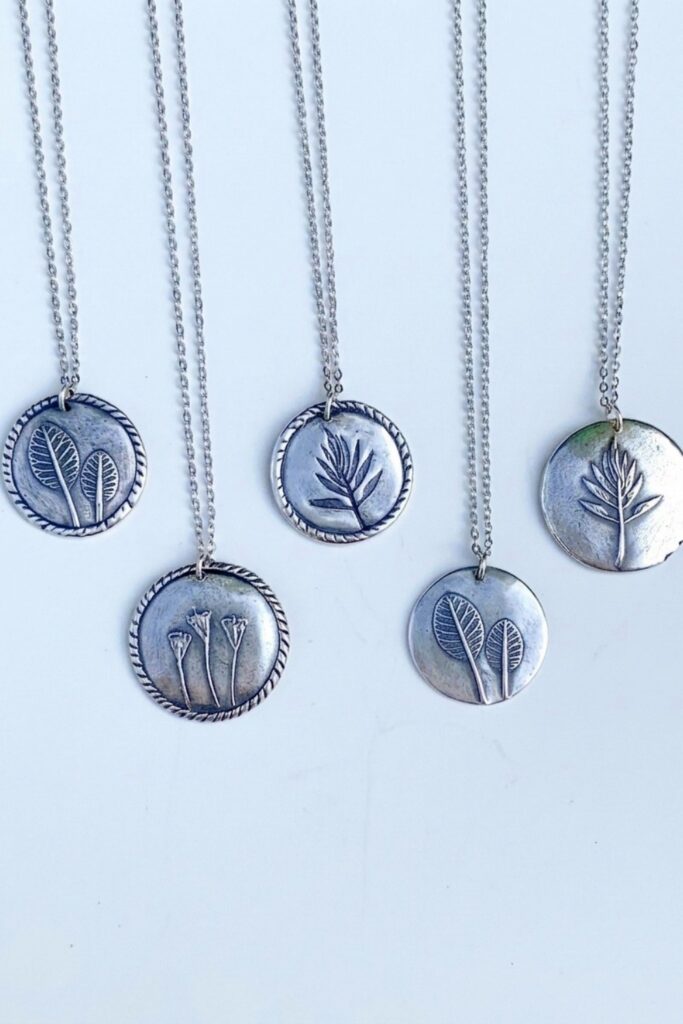
By following these steps you’ll produce botanical silver pendants where texture and positive/negative relief can be emphasized through patina and sanding. Experiment with different plants, reversed impressions (stamps), framing styles, and levels of darkening to create a unique series of wearable botanicals.