Easy DIY Dog Polymer Clay Creations for Beginners
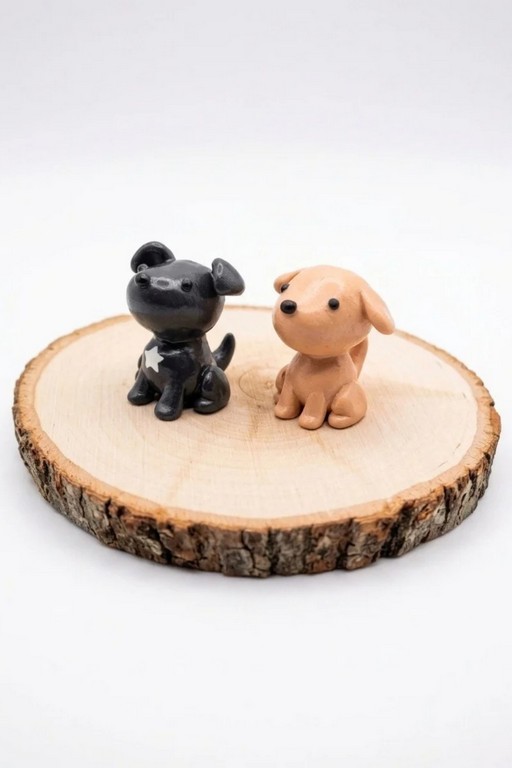
DIY Dog Polymer Clay Creations offer a fun way to shape adorable and custom dog figurines, perfect for unique gifts or enhancing your décor style.
Who doesn’t love creating something adorable and unique with their hands? This project lets you design delightful dog-themed creations using polymer clay—perfect for dog lovers and craft enthusiasts alike! Whether you want to make cute figurines, charms, or small keepsakes, this activity gives you a chance to translate your love for dogs into fun, handmade designs. With simple steps and room for creativity, it’s a craft that anyone can enjoy, regardless of skill level.
Beginner-Friendly DIY Dog Polymer Clay Creations Craft
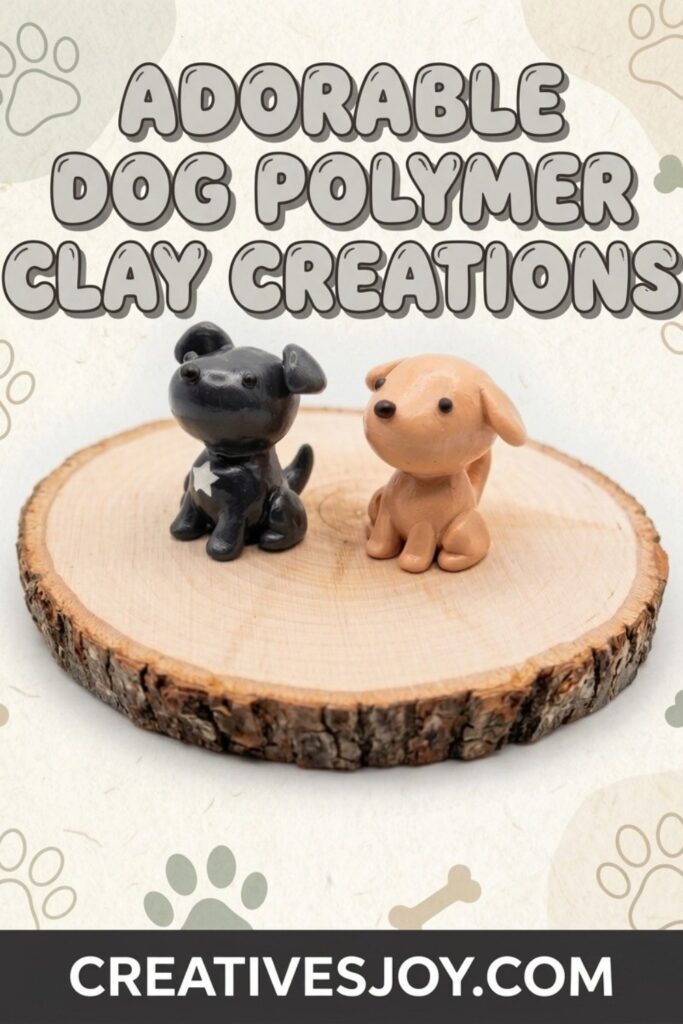
Polymer clay is a fantastic material for this project because it’s soft, easy to shape, and allows incredible detail. You can sculpt your favorite dog breeds, complete with floppy ears, wagging tails, or tiny collars. Add playful elements like paw prints or dog bones for extra charm. Once baked, your creations turn into sturdy, lightweight pieces you can use as decorations, gifts, or accessories like keychains. No matter the design you choose, every piece will be unique and special.
This DIY activity is more than just crafting, it’s a chance to turn simple clay into meaningful items that celebrate your love for dogs. These personalized creations make wonderful gifts for fellow dog lovers or can be displayed proudly as handmade art. So, gather your materials and unleash your creativity—you’re just a few steps away from crafting something heartwarming and totally pawsome.
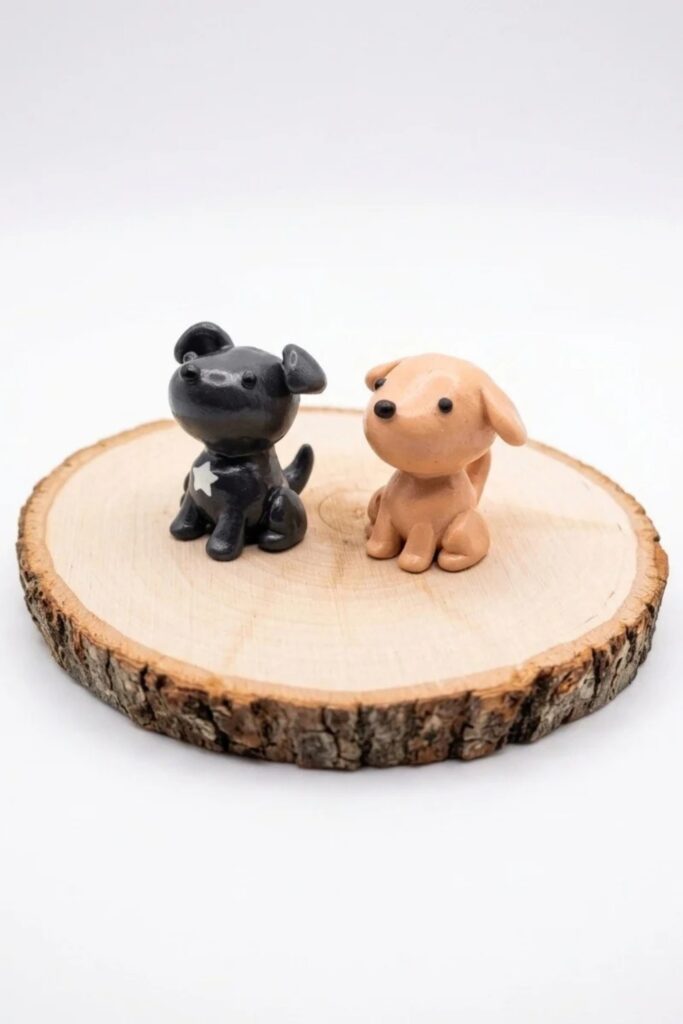
Miniature Clay Dog (Labrador‑Style) Tutorial
What Are We Making?
A small, stylized miniature clay dog inspired by a Labrador retriever. The project covers sketching for reference, mixing clay to reach a desired blonde tone, sculpting the head, torso, legs, ears, tail, and simple finishing (baking, sanding, glazing). The design is customizable to resemble any breed, including a personalized version called “Penny.”
Materials at a Glance
- Oven‑bake polymer clay in: white, yellow, brown, black (or pre‑mixed blonde shade)
- Small amounts of colored clay for accents (optional)
- Fine acrylic paint (optional) for post‑bake details
Tools You’ll Need
- Acrylic roller or small rolling pin
- Needle tool (fine‑tipped) and a slightly blunter needle tool
- Straight‑edged shaping tool and a craft blade
- Toothpicks, thin wire, or paper clips (for internal support when needed)
- Small sanding paper or sanding sponges (fine grit)
- Craft glaze or varnish (optional)
- Oven and oven thermometer for accurate baking
Things to Know Before Starting
- This guide uses oven‑bake polymer clay; air‑dry clay can be used but requires different curing instructions.
- Beginners should expect some practice to perfect proportional shapes—head and torso are not perfect spheres or cylinders.
- Fresh sketches help plan shapes and color mixing. Keep tools and hands clean to avoid unwanted marks.
- Baking times depend on clay brand, piece size, and oven accuracy—always follow manufacturer recommendations.
Let’s Get Started
Step 1: Get Ready (Sketch & Color Mixing)
- Sketch your dog to define proportions, head tilt, ear style, and tail length.
- Mix a blonde color by combining yellow + white + a touch of brown:
- Start with white as a base, add small amounts of yellow, then a tiny amount of brown until desired warmth is reached.
- Condition blended clay thoroughly by kneading until uniform in color and pliable.
- Prepare your workspace with roller, needle tools, blade, and a clean tile or parchment paper.
Step 2: Make the Head
- Form a round ball for the head and smooth surface with fingers.
- Pinch out the nose area gently to form the snout bridge (small pinch at the front).
- Add a small black ball for the nose and two tiny black dots for eyes:
- Use the fine needle tool to position and slightly press eyes and nose into place.
- Adjust proportions by comparing head size to your sketch; refine with gentle pinching rather than cutting.
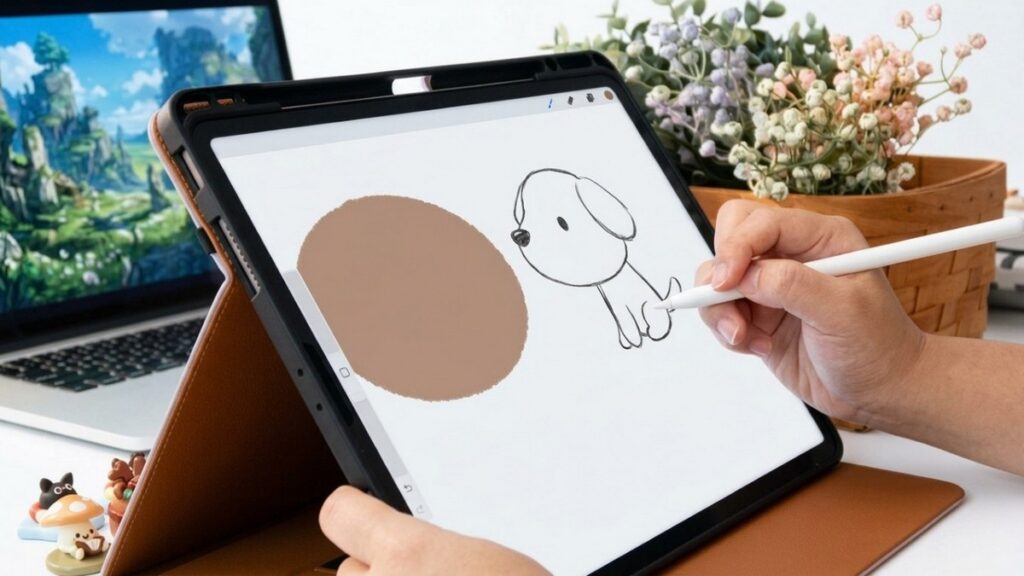
Step 3: Build the Torso
- Create a near‑cylindrical torso, slightly leaning forward (think “Leaning Tower of Pisa”):
- Roll clay into a cylinder, then taper or angle one end to simulate a seated posture.
- Smooth joins and remove visible seams with your fingers or a shaping tool.
- Attach the head to the torso:
- Press the head onto the torso and blend a small bit of clay at the junction to secure; keep the neck subtle, not bulky.
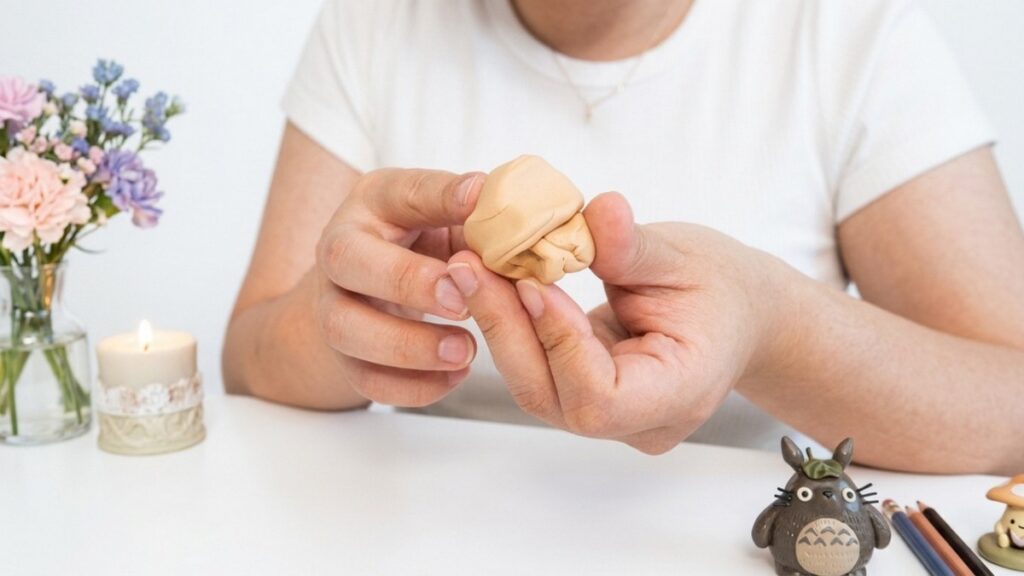
Step 4: Add Limbs, Ears, and Tail
- Back legs (harder shape—use small flat circle + slight pinch):
- Make tiny flat circle pieces and pinch a small bottom portion to form the foot (speech‑bubble shape).
- Position them as seated hind legs, attach to the lower rear of torso, and blend at the seams.
- Front legs:
- Roll two thin cylinders for front legs, pinch one end slightly to form paws, and attach to the front underside of the torso.
- Ensure they are proportionate and support the figure when seated.
- Ears:
- Start with small balls, flatten and pinch into teardrop or triangular shapes depending on desired breed—attach near the top sides of the head.
- For Penny variant: use more triangular ears and refine ear angle to match reference.
- Tail:
- Roll an elongated cone shape for a tail; attach to rear and slightly curve for a natural look. Adjust length and fluffiness to preference.
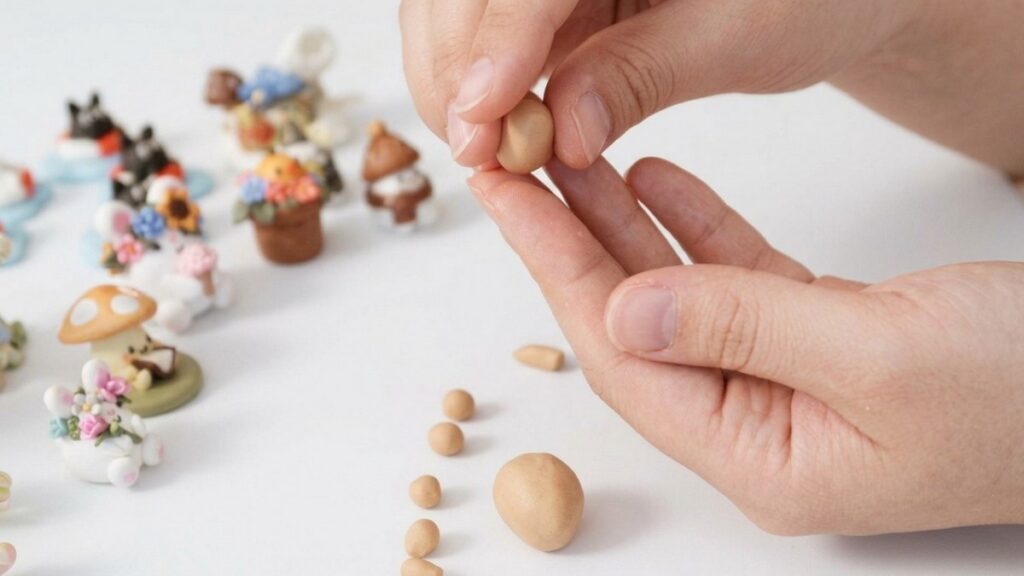
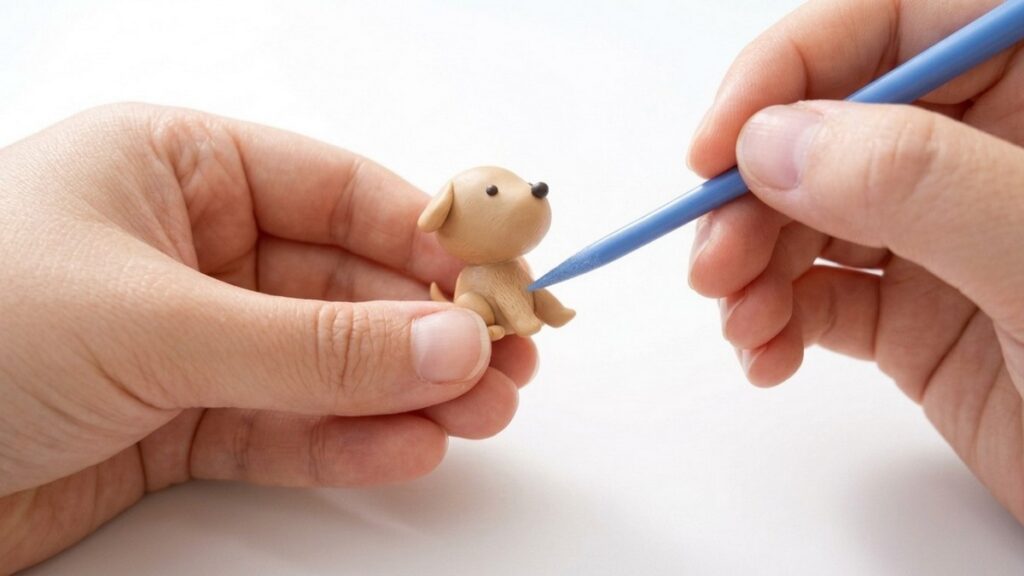
Step 5: Final Assembly & Details
- Inspect overall balance and proportions; reposition or trim any pieces before baking.
- Optional: insert tiny toothpick or thin wire inside larger attachments (torso/head, heavier tails) for extra support—trim flush and blend clay over it.
- Smooth surfaces with fingers or silicone tool; small fingerprints can be left for character or sanded later.
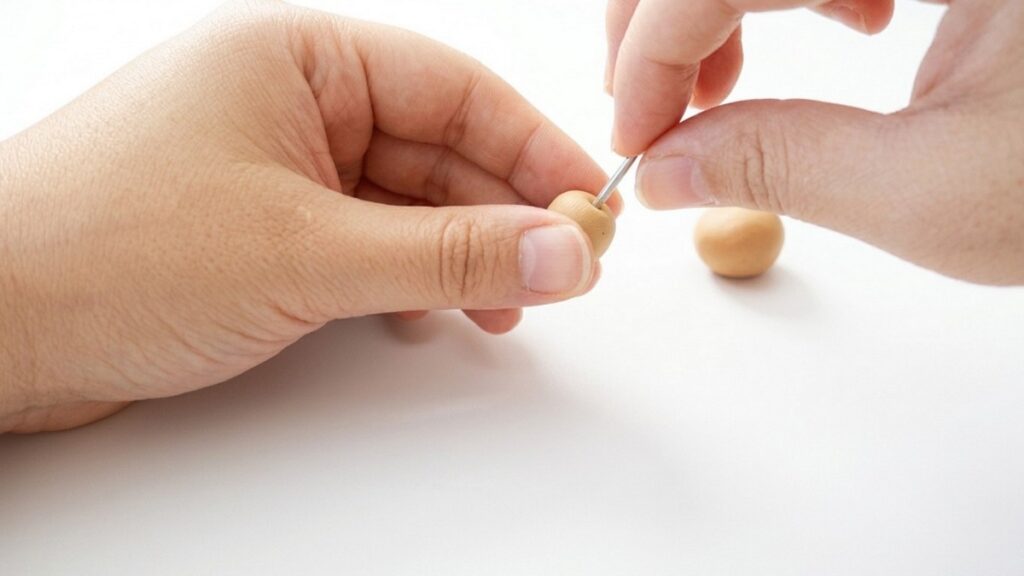
Finish the Design
- Baking:
- Preheat oven per your clay brand. Common reference: 275°F (135°C) for 15 minutes per 1/4″ thickness—adjust for size and brand.
- Place the figure on a tile or parchment and bake; monitor oven temperature with a thermometer.
- Let the piece cool completely before handling to avoid distortion.
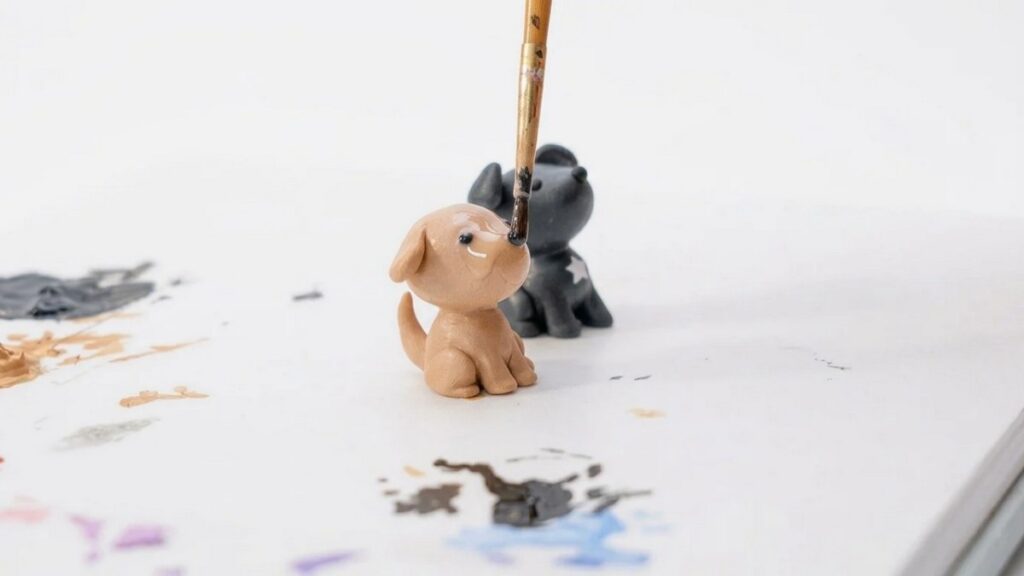
- Post‑bake details:
- Lightly sand any rough spots with fine sandpaper.
- Paint small features if desired (eye highlights, nose sheen).
- Apply a thin coat of craft glaze for a glossy finish or leave matte based on preference.
Easy Finishing Tips
- Bake on a ceramic tile for steady heat distribution and to avoid warping.
- Test glaze compatibility on a scrap before applying to the final piece.
- For a smooth finish, sand between coats of varnish or glaze.
Common Beginner Mistakes
- Overconditioning clay (becomes too soft)—stop when pliable but not greasy.
- Incorrect baking time/temperature—always verify with manufacturer instructions and an oven thermometer.
- Attaching heavy parts without reinforcement—use tiny supports inside larger joins to prevent cracking.
- Skipping test fitting—assemble loosely first, then finalize positions before baking.
Ways to Personalize It
- Change ear, tail, and snout shapes to create different breeds.
- Mix small patches of color to mimic markings.
- Add mini collars, tags, or painted details for character.
- Scale up or down to create keychains, charms, or tiny sculptures.
Final Look
- Your miniature dog should be balanced, with a friendly stylized silhouette. Minor handmade imperfections add charm—photos under good light will show off the character. If you want, share your variant (like Penny) by adjusting ears, markings, and painted details.