Fun DIY Polymer Clay Leaf Designs for Creative Projects
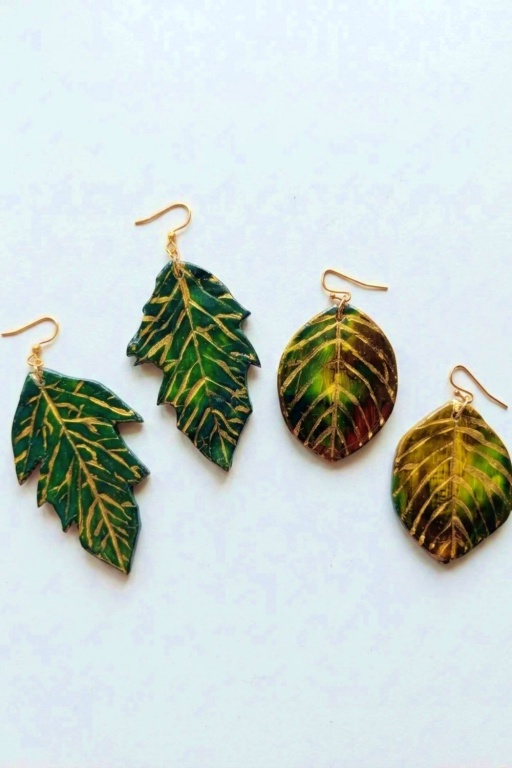
Craft stunning DIY Polymer Clay Leaf Designs with this simple detail for making elegant jewelry, decorations, or personalized handmade gifts.
Making polymer clay leaf designs is such a fun and relaxing experience that sparks your creativity in all the best ways. There’s something so satisfying about turning a blob of soft clay into delicate, detailed leaves right in the palm of your hand. You can get lost in experimenting with shapes, colors, and textures, letting your imagination guide you as you create. Best of all, you don’t need to be an expert—this project is perfect for anyone who loves crafting, whether it’s your first try or you’re a seasoned pro.
Unique DIY Polymer Clay Leaf Designs for Decoration

Working on polymer clay leaf designs feels like playing with nature. You can create realistic leaves by pressing real ones into the clay to leave behind intricate patterns, or go all out with bright, vibrant colors and whimsical shapes for an artistic twist. The fun of painting or shading the clay to mimic autumn tones—or even adding a touch of glitter for a magical look—makes every step exciting. And since the clay is so forgiving, you can keep reshaping and trying new ideas without worrying too much about mistakes.
The best part? Once your leaves are baked and finished, they become unique little works of art that you made yourself. Whether you string them into a necklace, pin them to a bag, or just keep them as reminders of a creative afternoon, the process of making them is as enjoyable as the result. It’s a simple and joyful craft that you’ll love doing again and again.
Leaf Air Dry Clay Earrings
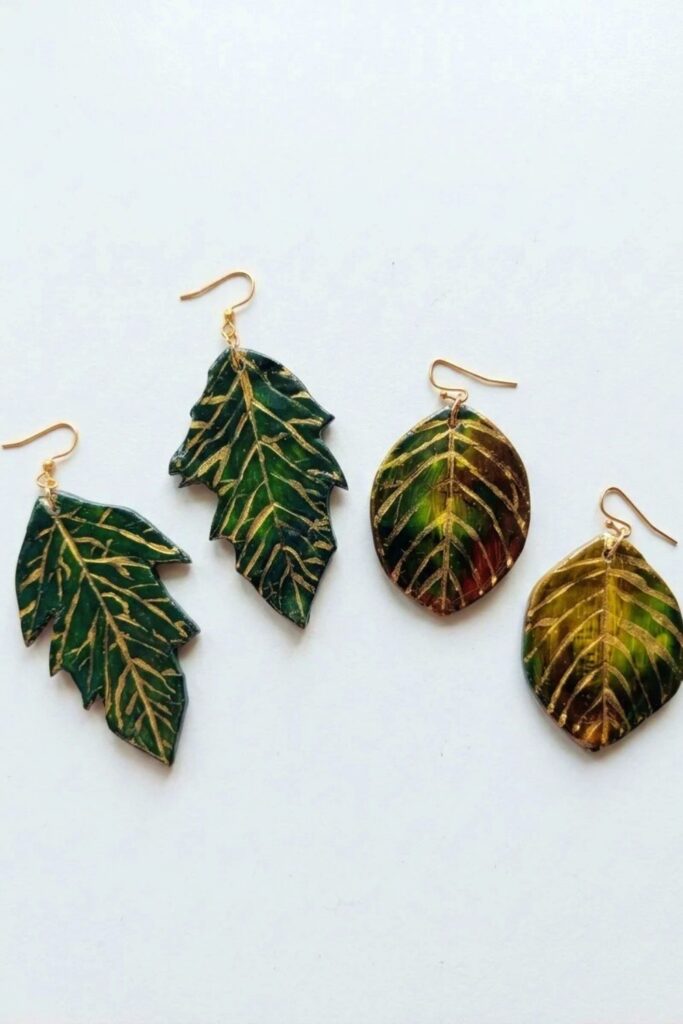
My goal is to guide you through making delicate leaf-shaped earrings from DAS air dry clay using simple tools, natural leaves for texture, and minimal painting. This project produces lightweight, wearable jewelry suitable for beginners and can be customized in color and size.
What You’ll Need
- DAS air dry clay
- Leaves (fresh or pressed) for imprinting
- A rolling pin or pasta roller
- Baking paper or silicone mat
- A leaf-shaped cutter or small round cutter
- A wooden stick or needle for hole making
- Fine sandpaper for smoothing edges
- Acrylic paints and brushes, including a thin detail brush
- Varnish suitable for earrings
- Jump rings, earring hooks, and pliers
Before We Start
Prepare a clean workspace and protect surfaces. Condition the clay by kneading until soft and pliable. Select leaves with clear veins and wash them if needed to remove dirt.
Start Making
First, Prepare the Base
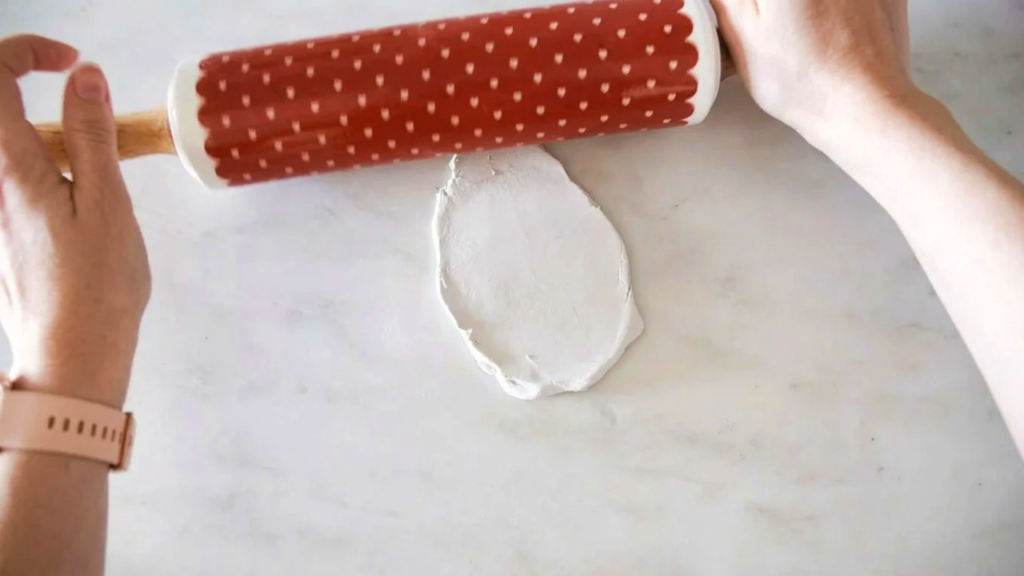
- Roll the clay to about 2–3 mm thickness using a rolling pin or pasta machine.
- Place baking paper or silicone mat beneath to prevent sticking and wrinkling.
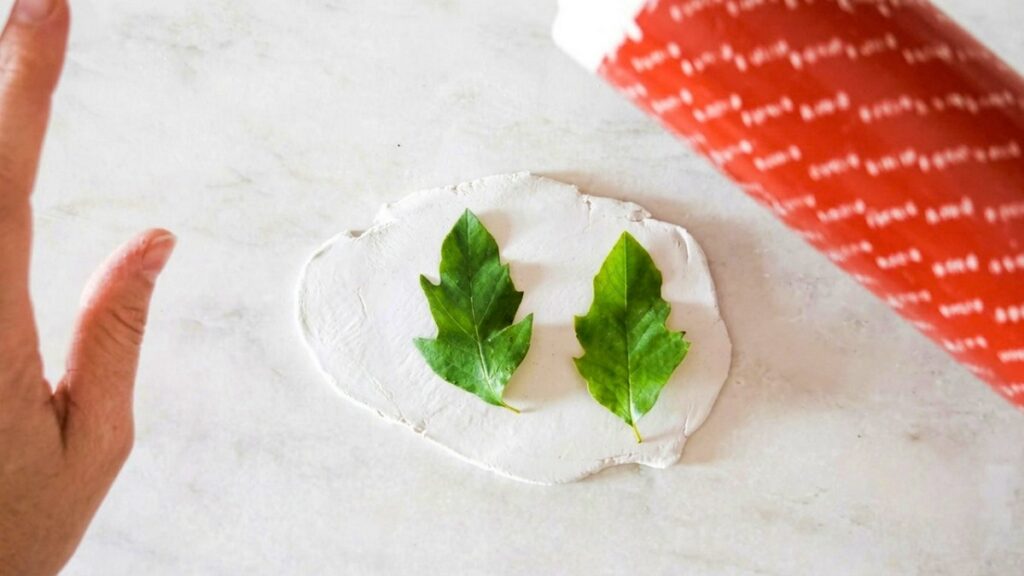
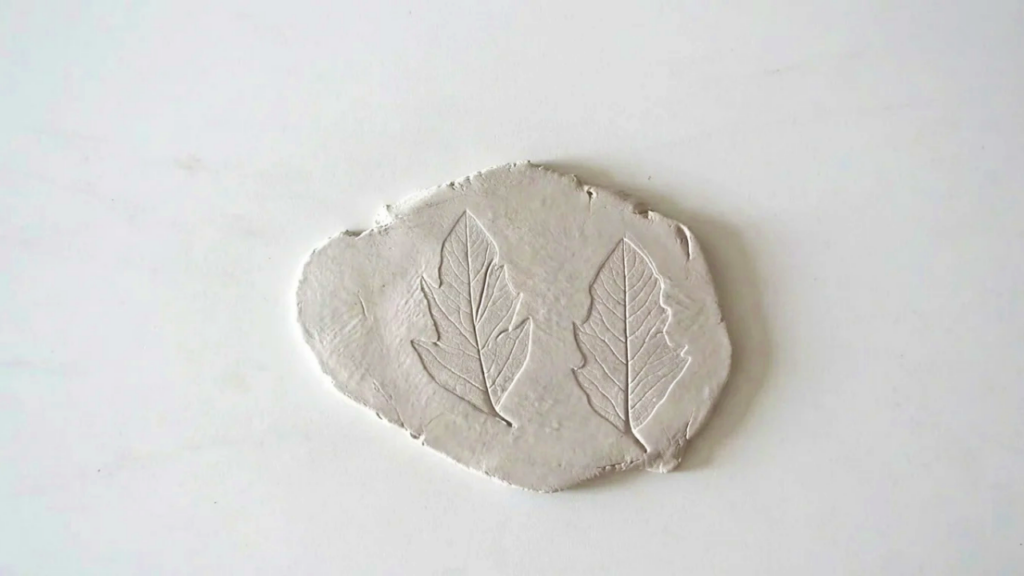
- Gently press a leaf onto the clay and roll over it with light pressure to transfer veins.
Next, Create the Main Piece
- Cut around the impressed leaf shape with a cutter, trimming excess clay neatly.
- Transfer the cut shape onto baking paper or a silicone mat to dry.
- Use a wooden stick or needle to make a small hole near the stem for attaching hardware.
Then, Add the Details
- Allow pieces to dry completely; drying time varies by clay brand and thickness.
- Sand edges with fine sandpaper once dry to smooth rough areas and refine shape.
- Wipe dust off with a soft cloth before painting.
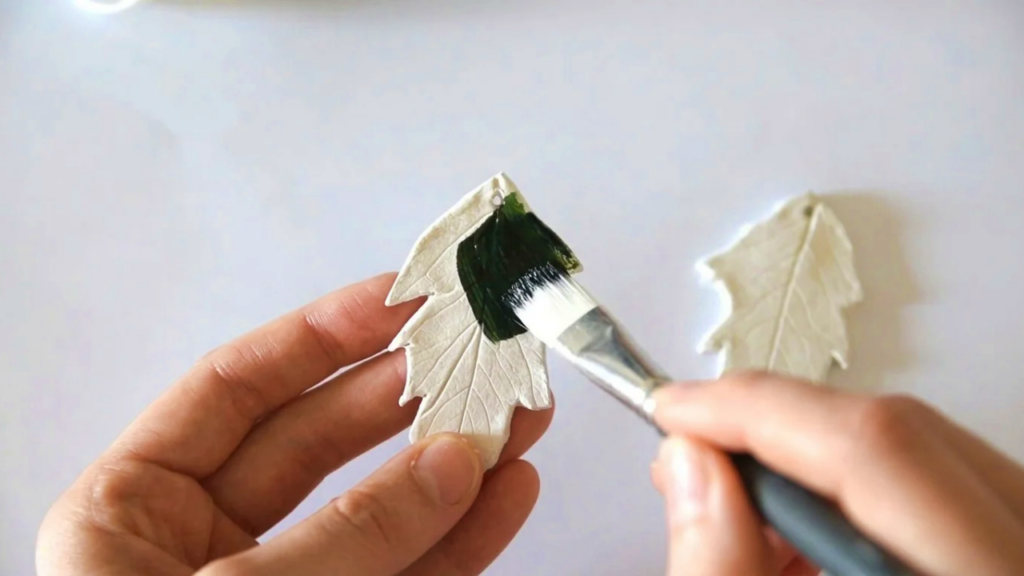
- Paint both sides with acrylic paint, allowing each layer to dry thoroughly.
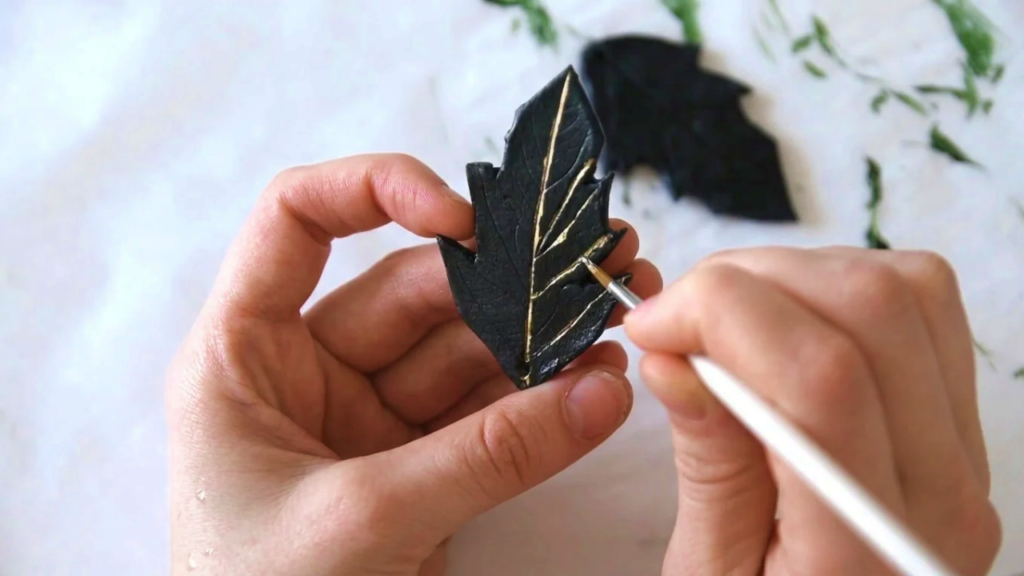
- Use a thin brush and metallic gold or contrasting color to highlight the leaf veins for a professional look.
Now, Assemble Everything
- Brush a thin layer of varnish on both sides to protect paint and increase durability.
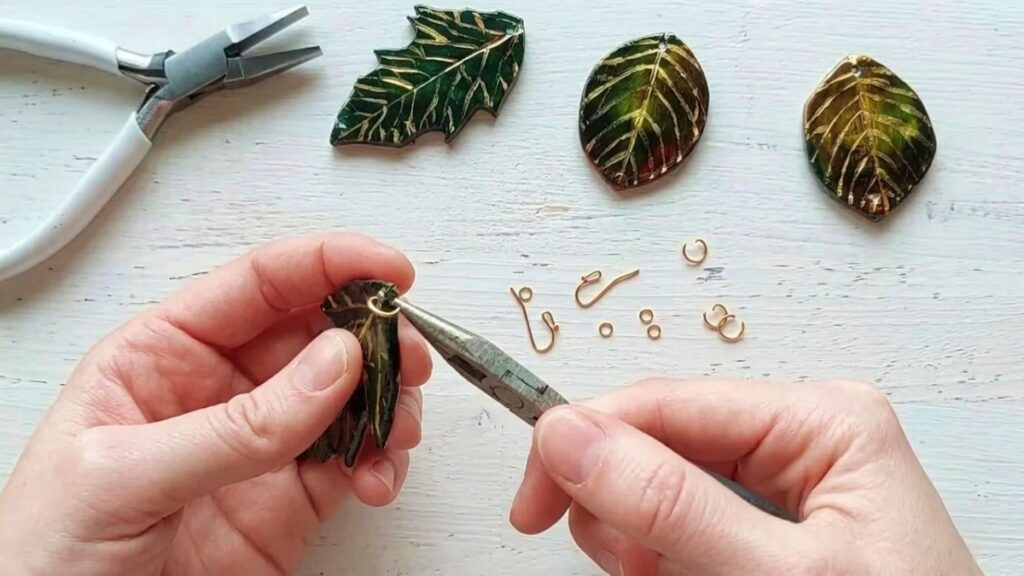
- When varnish is dry, use jump rings and pliers to attach earring hooks through the pre-made holes.
- Test the connection for security and adjust with pliers if necessary.
Finally, Complete the Craft
- Let the assembled earrings cure fully according to varnish instructions before wearing.
- Store them separately to prevent scratches or tangling with other jewelry.
Give It a Finished Look
Consider subtle variations like ombre paint, speckled edges, or tiny crystal accents glued to the base for extra flair. Matte varnish keeps a natural look while gloss gives a polished shine.
Little Tips That Help
- Use a silicone mat to avoid baking paper wrinkles; it lies flat and cleans easily.
- Test paint on a scrap piece to check color after drying.
- Keep leaf templates of different sizes to produce matching pairs quickly.
Make It Your Own
Customize by embedding metallic flakes, stamping initials, or combining multiple leaves into a layered design. Try color blocking with two tones or paint delicate gradients for seasonal themes.
The Finished Project
You will end with lightweight, handmade leaf earrings that celebrate nature through texture and color. The project reinforces basic sculpting, surface imprinting, sanding, and painting skills while yielding wearable art you can gift or sell.
Common Problems and Solutions
- Clay cracks while drying: ensure even thickness, avoid drafts, and consider covering with a thin cloth during initial drying to slow moisture loss.
- Leaves stick to clay: dust leaf lightly with cornstarch or talc before pressing, or use a release layer such as very thin plastic film.
- Paint chips after wear: apply two thin coats of varnish and allow full cure; avoid bending the clay repeatedly at the painted edge.
Safety and Care
Air dry clay is generally safe, but avoid ingesting or breathing dust when sanding. Work in a ventilated area and clean surfaces after use. Keep small parts away from children and pets. Follow varnish manufacturer warnings for ventilation and skin contact.
Advanced Variations
For more elaborate pieces combine different leaf shapes into layered earrings and use translucent clay for delicate, frosted effects. Embed thin wire around the edge before drying to create durable hanging loops integrated into the design. Try gold leaf accents under clear varnish or mix pigments into clay before rolling to achieve marbled or speckled textures.
Drying Times and Storage
Typical air dry clay pieces take between 24 and 72 hours to dry depending on thickness, humidity, and brand. Thin leaf earrings generally dry within one to two days; thicker bases or layered pieces may require longer. Flip pieces periodically during drying if possible to encourage even moisture loss and reduce warping. Store unfinished clay and leftover scraps in airtight containers or plastic bags to prevent drying out.
Selling and Gifting Tips
Photograph finished earrings on neutral backgrounds and include closeups of texture and paint details for online listings. Package pairs on simple cards with care instructions such as avoid prolonged water exposure and store flat. Price items considering material cost, time, and market. Bundle multiple color options to attract buyers and offer custom color commissions.
Troubleshooting Quick Guide
- Warped leaves: gently dampen the concave side with a small amount of water and press flat on a smooth surface under a weight until dry.
- Uneven paint: sand very lightly between coats and apply thin layers to build color slowly for smooth coverage.
- Holes torn during drying: reinforce holes with a tiny drop of varnish and re-drill once dry or embed a small metal eye pin before the clay fully dries.
Enjoy creating your own collection of leaf earrings by practicing these steps and experimenting with different leaf types and color palettes. Keep notes about drying times and paint mixes that work best so you can reproduce favorite results. Share your process on social media to get feedback and inspire others. With simple tools and a little patience you can produce professional-looking earrings that are durable and charming. Have fun, and happy crafting! Contact me with questions or share your finished pieces anytime please.