Simple DIY Polymer Clay Mushroom Creations for Decorations
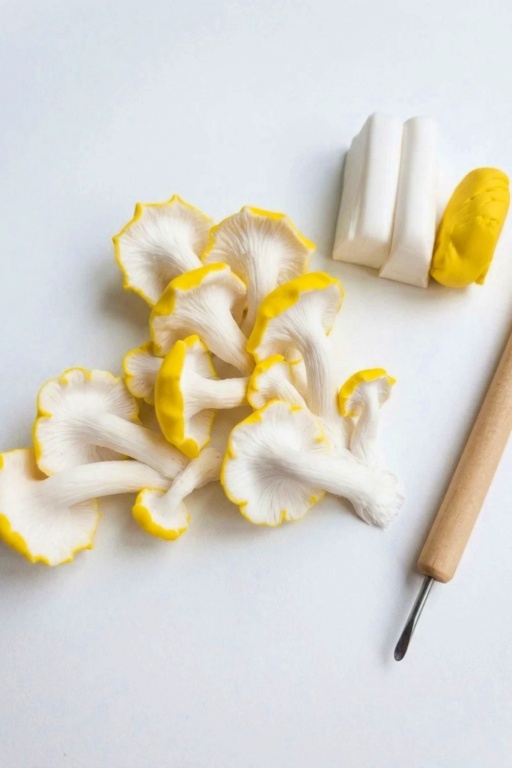
DIY Polymer Clay Mushroom Creations made simple with this guide, ideal for anyone looking to shape fun and unique decor or thoughtful handmade gifts.
If you’re looking for a fun and imaginative project, making tiny mushrooms out of polymer clay is a fantastic choice. These little creations can be anything you want them to be—tiny forest mushrooms, colorful decorations, or even magical mushrooms straight out of a fantasy world. They’re simple to create, making them a great activity for beginners, kids, or anyone who loves crafting.
Easy DIY Polymer Clay Mushroom Creations for Beginners
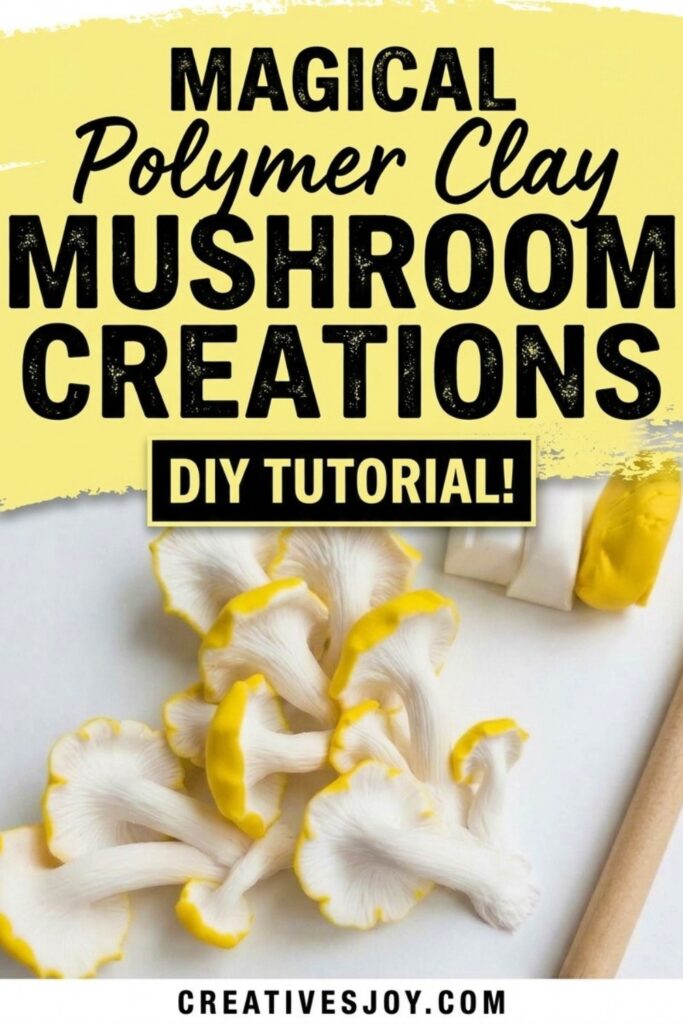
For this project, you’ll craft the mushrooms from polymer clay, shaping tiny stems and caps either by hand or with simple tools. You can play around with colors to make classic red-and-white toadstools, glowing mushrooms in bright shades, or earthy tones for a more natural look. Adding little details, like textured spots on the cap or tiny grooves on the stem, makes your clay creations look even more special. After shaping, you just bake them in the oven, and they’ll harden into solid, durable keepsakes.
These colorful clay mushrooms are not only fun to make but also perfect for so many uses. You can turn them into keychains, jewelry, or magnets, use them to decorate plant pots or fairy gardens, or even gift them to friends as a handmade surprise. It’s a small and enjoyable project that sparks creativity and leaves you with delightful mushroom keepsakes.
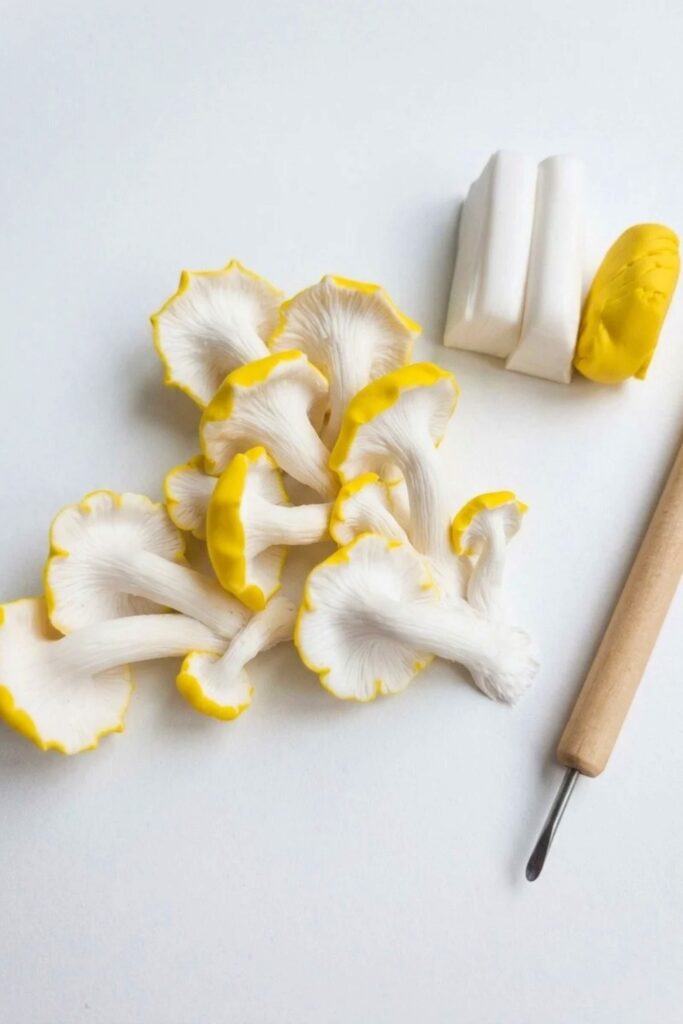
Mushroom Polymer Clay Sculptures
Create a realistic cluster of small polymer clay mushrooms using simple shaping, pinching, and surface-texturing techniques. This project focuses on making thin cap edges, adding a white inner flesh, forming stems, carving gills, assembling varied sizes, and securing pieces with liquid clay before baking. Ideal for charms, dioramas, and mixed-media decorations.
Materials & Supplies
- Polymer clay: white, yellow (or desired cap colors)
- Liquid polymer clay (for final adhesion)
- Lightweight paper or parchment (to bake on, prevents glossy underside)
- Optional varnish for finished sheen
Tools & Equipment
- Pasta machine or clay roller
- Round cutters (various sizes)
- Ball-ended sculpting tool
- Tweezers or precision pliers
- Spatula, needle tool, pin, or craft knife (for carving gills)
- Small paintbrush (for liquid clay application)
- Baking oven (follow clay manufacturer temperature/time)
- Smooth work surface and clean hands
Project Details
- Finished size: variable depending on cutter size; make a mix of large and small mushrooms for realism.
- Skill level: beginner to intermediate.
- Time: 1–2 hours active sculpting, plus baking and optional varnishing time.
- Outcome: a small cluster or set of individual mushrooms with textured underside and matte caps.
Preparation
- Condition clay thoroughly by rolling and passing through a pasta machine until soft and even.
- Stack thin sheets of white and yellow (or chosen colors) and roll together to achieve a subtle marbled or blended cap color.
- Cut circles with round cutters in several sizes; prepare a piece of paper to place shapes on during baking to maintain a non-glossy underside.
Step-by-Step Tutorial
Step 1: Thin Sheets and Cutting
- Roll clay very thin using a pasta machine or roller for consistent thickness.
- Stack and re-roll sheets to blend colors if desired.
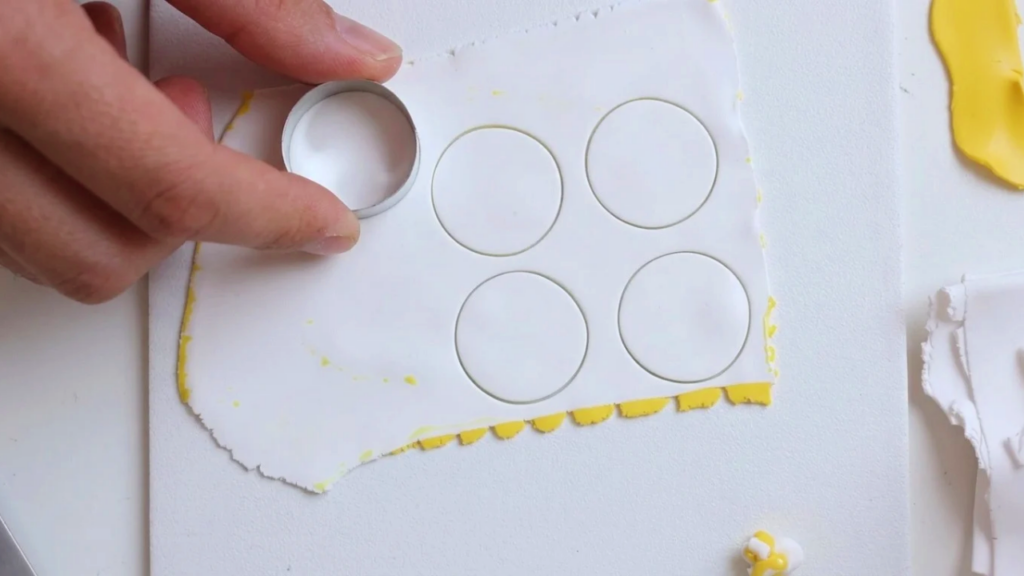
- Cut multiple circles with round cutters in varying sizes; these will become the mushroom caps.
- Place circles on paper to keep underside matte after baking.

Step 2: Thinning and Pinching Cap Edges
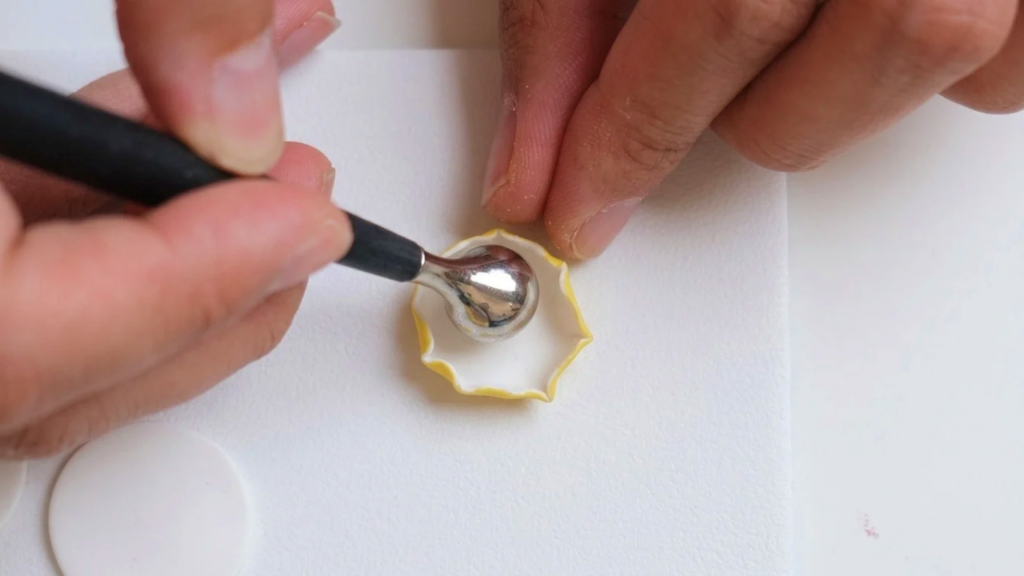
- Gently flatten each circle’s edges by pinching around the rim to create thinner, delicate margins.
- Use fingers or tweezers for smaller caps where fingertips are too large.
- Keep the center slightly thicker so the cap can be shaped into a shallow bowl.
- Continuously round the cap edge with a ball-ended tool to avoid sharp pinched marks.
Step 3: Shaping Cap into a Bowl
- Form each circle into a rounded bowl shape by pinching and slightly lifting edges.
- Work evenly around the cap to maintain a uniform curve; alternate between pinching and smoothing.
- Use the ball-ended tool inside the cap to avoid collapsing the center or creating unwanted dents.
- Aim for a natural dome that can later receive the white inner flesh.
Step 4: Baking Caps Partially
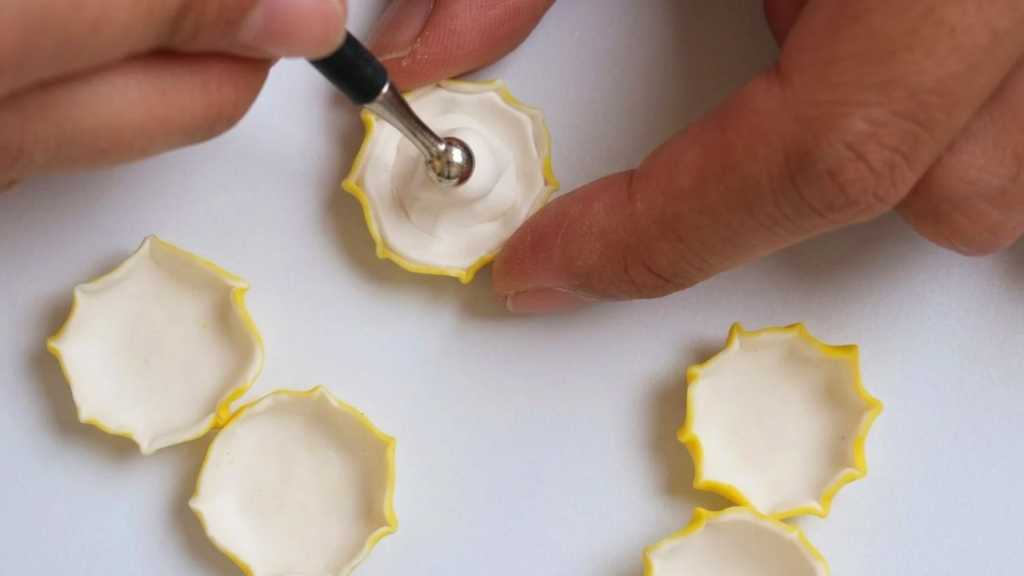
- Bake the shaped caps on paper according to manufacturer instructions; baking before attaching central flesh makes handling easier.
- Allow pieces to cool completely before adding details to avoid distortion.
- Note: baking on paper prevents glossy bottoms; a tile would create a plastic-like sheen you may not want.
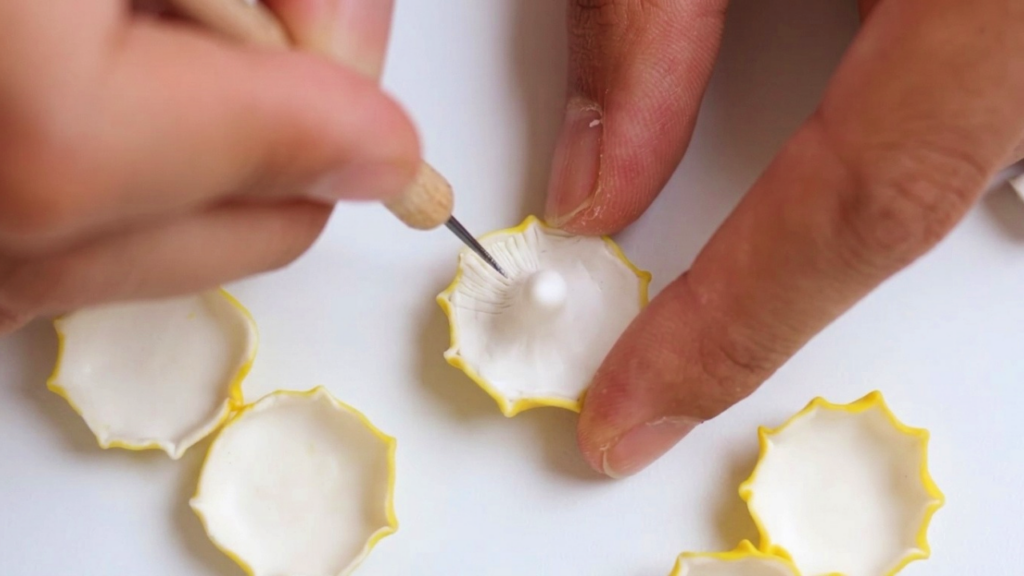
Step 5: Adding Inner Flesh and Stems
- After cooling, press a small round of white clay into the center of each cap to simulate mushroom flesh; smooth flush with a ball-ended tool or fingers.
- Create stems by cutting clay cylinders, flattening one side for attachment, and pinching or rolling between fingers to taper.
- Attach stems to caps by pressing and smoothing the joint with the ball tool; ensure good surface contact.
- Optionally texturize the stem slightly with light rolling or pinching for realism.
Step 6: Carving Gills and Surface Details
- Use a spatula, needle, pin, or craft knife to carve radiating gill lines under the cap; vary depth for a natural look.
- Draw lines from the center outward toward the edge, some deeper, some shallower, to mimic real structures.
- Add subtle texture to the cap surface if desired, but avoid overworking thin edges.

Step 7: Assembly and Final Adhesion
- Arrange multiple mushrooms into clusters without liquid clay first to test composition.
- Once satisfied with placement, apply a small amount of liquid polymer clay with a brush to joints and bases to secure pieces.
- Bake the fully assembled piece following polymer clay instructions; monitor to prevent overbaking.
- Cool completely before handling or applying varnish.
Finishing Instructions
- After baking and cooling, consider a matte or satin varnish for protection; avoid gloss if you prefer a natural, soft appearance.
- Clean any excess liquid clay or hardened residues gently with a craft knife if needed.
- Mount finished mushrooms on bases, jewelry findings, or diorama scenes as required.
Tips & Techniques
- Use paper during baking to keep the cap underside matte; this retains a realistic look.
- Work slowly when pinching thin edges; rushed pinching can tear or create unevenness.
- Keep a reference photo handy to guide gill spacing and stem proportion.
- For very small mushrooms, use precision tweezers or a needle tool to shape and pinch.
Common Problems & Solutions
- Edges tear while pinching: warm and condition clay more, and thin edges slightly less aggressively.
- Cap collapses while shaping: support the inside with a ball tool and work gradually.
- Glossy bottom after baking: always bake on paper or parchment rather than a tile.
- Parts detach after baking: ensure proper use of liquid clay and press surfaces firmly before final baking.
Creative Ideas & Variations
- Experiment with marbled caps, speckles, or gradient colors for fantasy mushrooms.
- Make miniature clusters of varying sizes for more natural composition.
- Combine with faux moss, tiny logs, or crystals for mixed-media scenes.
- Create charms by adding eye pins into stems before baking.
Final Result
A cohesive set of realistic polymer clay mushrooms with thin, delicate caps, textured gills, and well-blended stems suitable for display, jewelry, or decorative dioramas. The techniques practiced—rolling thin sheets, controlled pinching, internal smoothing, and careful carving—translate to many small-scale organic sculptures.