DIY Polymer Clay Trinket Dishes Idea for Home Organization
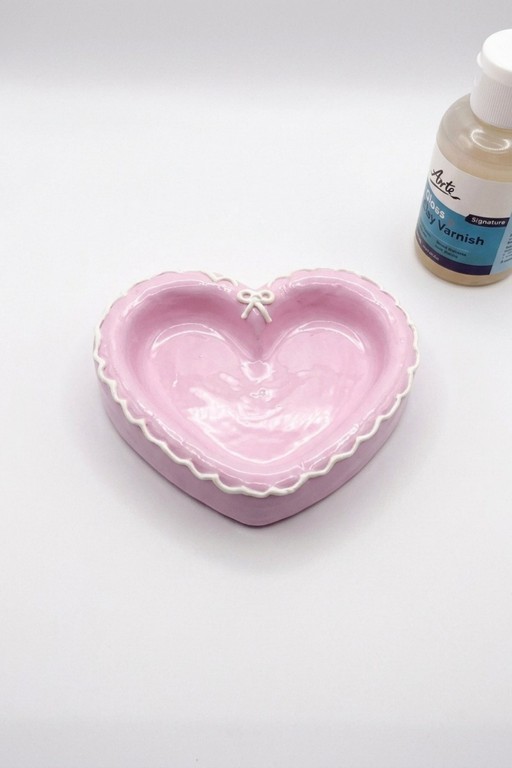
Personalize colors and patterns effortlessly with DIY Polymer Clay Trinket Dishes, perfect for keeping small treasures organized in style.
Creating trinket dishes with polymer clay is a fun, practical, and rewarding craft project. These handmade dishes are perfect for holding small items like jewelry, keys, or coins, while adding a touch of personal style to your space. The process is beginner-friendly yet creative, making it an exciting project for crafters of all levels. Whether you want to make a set of matching dishes or experiment with unique designs, this DIY activity offers endless possibilities.
DIY Polymer Clay Trinket Dish Craft for Custom Organizers

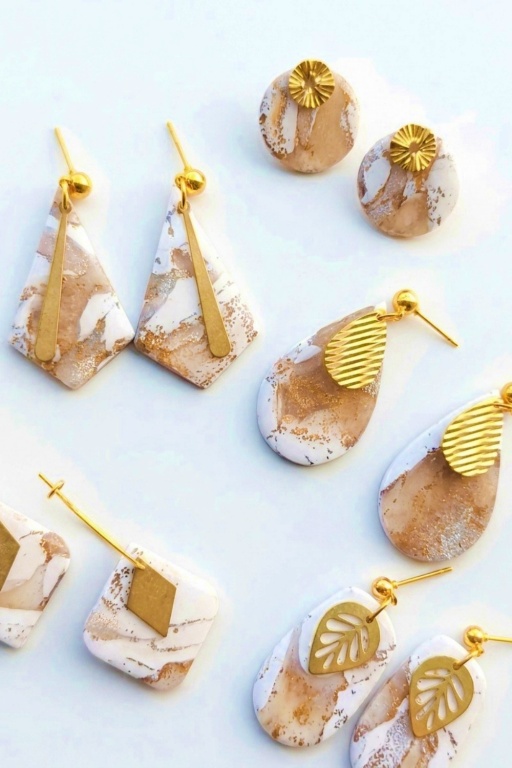
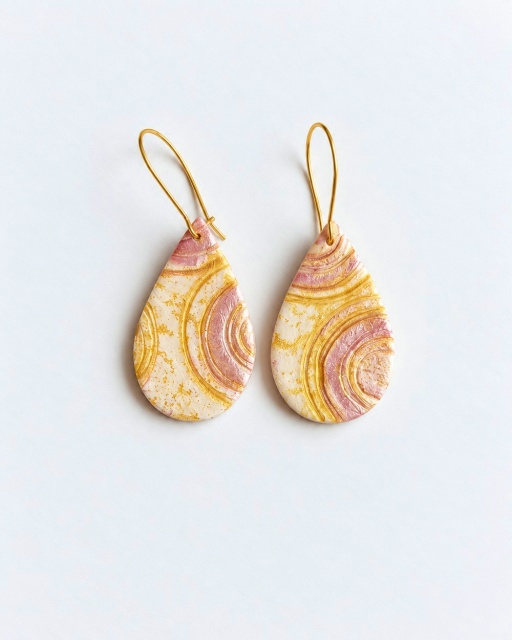
Polymer clay is ideal for crafting trinket dishes because it’s soft, easy to shape, and comes in a variety of colors. You can explore techniques like marbling, layering different colors, or even creating textured patterns to make your dishes stand out. Once you’ve designed your dish, baking the clay will harden it into a sturdy, functional piece. The best part? You don’t need any special tools—just a little creativity, patience, and a standard oven to bring your ideas to life.
This project provides more than just pretty decorations; it allows you to make personalized pieces that are both aesthetic and useful. These DIY dishes also make thoughtful gifts for loved ones or a great way to add a handmade touch to your home. By the end, you’ll not only learn a new skill but also have beautiful, durable creations to enjoy or share.

Charming Polymer Clay Trinket Dishes
Welcome to a step‑by‑step guide for creating a heart‑shaped jewelry dish from air‑dry clay. This tutorial follows the video sequence and focuses on practical techniques: preparing clay, rolling and cutting, building coil walls, joining with slip, smoothing, drying, painting, decorative piping, and sealing. Work in a clean, organized space to minimize dust; follow each chapter in order and respect drying times for best results.
Preparing and Cutting Clay
- Materials to prepare:
- Air‑dry clay (fresh or well‑wedged)
- 1/4″ dowels (or guides) and an acrylic rolling pin
- Heart template, craft blade, and flat work tile or board
- Water in a spray bottle, sponge, and fettling knife
- Key steps:
- Check clay condition and wedge if older to remove air pockets and equalize moisture.
- Position dowels on either side of your work area to set slab thickness (1/4″ in this project).
- Roll the clay between dowels until slab reaches even thickness.
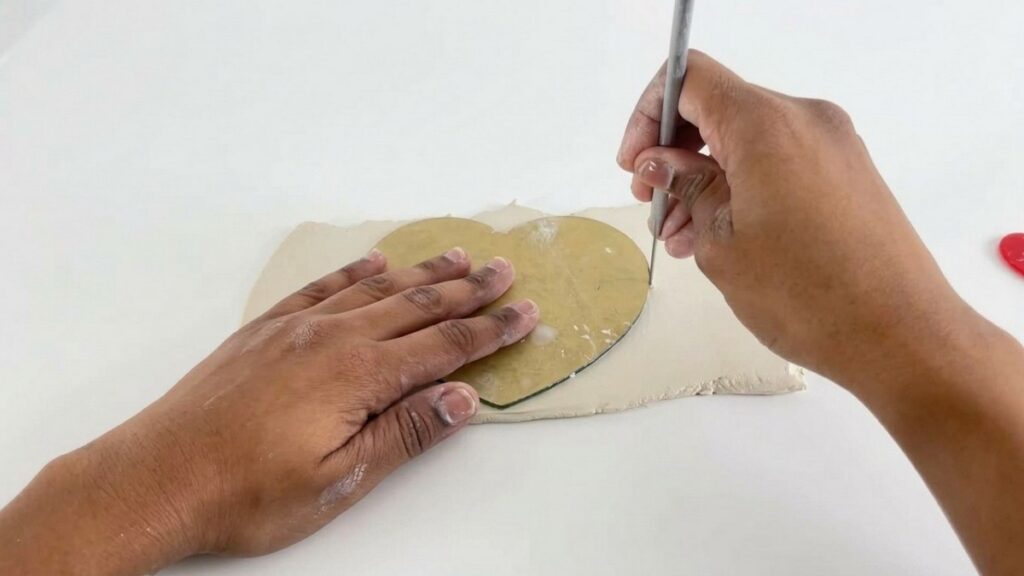
- Place heart template on slab and cut cleanly with a blade to form the base.
- Wait ~20 minutes after cutting the base so it firms slightly before adding coils; this reduces distortion when attaching walls.


Creating the Side Wall
- Materials and tools:
- Reserved clay for coil, water, rubber or metal ribs, serrated scoring tool
- Process:
- Recondition remaining clay by compressing and wedging to remove stiffness.
- Roll a long, even coil with your hands; dip fingers lightly in water to prevent drying and aid rolling.
- Wrap the coil around the heart base, aligning the bottom edge precisely.
- Trim coil ends at an angle where the heart curves meet using a fettling knife.
- Score both mating surfaces and apply slip (clay + water to a peanut‑butter consistency).
- Press and hold the joint, then smooth with a metal or rubber rib.
- Let the join firm for ~20 minutes before further smoothing to prevent sagging.

Smoothing and Refining
- Tools and materials:
- Serrated metal rib, regular metal rib, rubber rib, wooden modeling tools, sponge
- Steps to refine:
- Re‑score and add slip at any weak joints; the scratches help mechanical bonding.
- Use a serrated metal rib to re‑score stubborn seams and a regular rib to compress and smooth.
- Alternate between metal and rubber ribs for control and to avoid overworking one surface.
- Avoid excessive water—too little causes cracking, too much softens joins; add water sparingly.
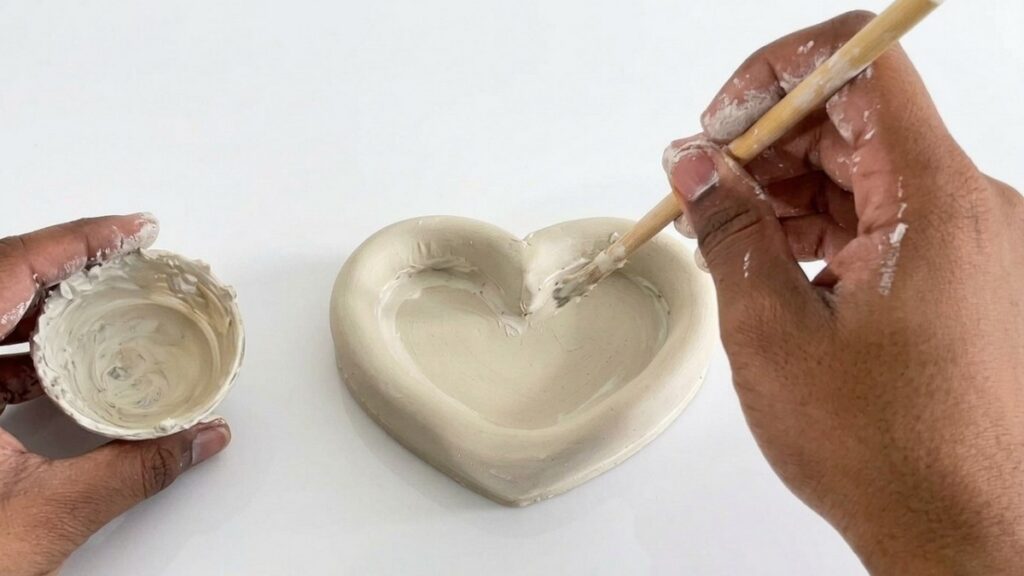
- Fill interior gaps with thin coils dipped in water, pressing and smoothing them with a wooden tool.
- Finish interior smoothing with a damp sponge and fingertip passes until seams look continuous.
- Repeat smoothing passes rather than relying on sanding later; this reduces finishing work.
Drying and Timing
- Drying guidance:
- Allow the assembled dish to dry undisturbed for at least three days; longer in high humidity.
- Place on a flat, breathable surface to prevent one side drying faster than the other; flip occasionally if needed.
- If hairline cracks appear, rehydrate the affected area slightly and add a thin coil with slip to reinforce before smoothing.
- Avoid artificial direct heat (radiators, ovens) which can cause rapid drying and more cracking.

Painting the Dish
- Paint materials:
- Acrylic paints, small brushes, palette, water, optional fine sandpaper
- Painting steps:
- Confirm the piece is completely dry before painting; the underside may look whiter—this is normal.
- Mix acrylics to achieve your color; apply thin, even coats.
- Let the first coat dry about an hour before applying a second coat for uniform coverage.
- For detailed motifs (bows, scallops), use fine brushes and steady strokes; practice on scrap if needed.
- Lightly sand between coats only if necessary to remove texture; wipe dust before the next coat.
Adding Decorative Piping
- Materials and prep:
- Modeling paste or craft whipped clay, acrylic paint tint, piping bag and craft piping tips (separate from food-use tips)
- Piping steps:
- Tint modeling paste slightly with acrylic paint and thin with a few drops of water to a creamy consistency.
- Practice piping pressure and motion on a scrap surface before applying to the dish.
- Pipe bow elements, scalloped edges, or fringe around the rim; if a section is unsatisfactory, wipe and retry quickly.
- Allow piped decorations to dry at least 24 hours before sealing to avoid distortion.
Sealing the Finished Project
- Sealant options:
- Clay varnish (easy, may yellow over time) or UV resin (glossier, requires ventilation and care)
- Sealing process:
- Choose varnish for beginner‑friendly application; apply thin coats and let each fully dry.
- If using UV resin, work in a ventilated area, cure in short passes to control heat, and follow safety instructions.
- Seal the bottom as well, but dry pieces on nonstick supports to avoid paint sticking to paper.
- Allow the sealant to cure completely before handling or gifting.
Final Tips and Troubleshooting
- Common fixes:
- Cracks: rehydrate, add a thin coil with slip, and smooth.
- Warping: support edges while drying and avoid rapid temperature changes.
- Yellowing varnish: consider a UV‑resistant topcoat or use resin when appropriate.
- Best practices:
- Keep a scrap board for practicing color mixes, piping, and pressure control.
- Document dowel thickness and paint mixes to reproduce results.
- Be patient—smoothing before drying reduces sanding and yields a cleaner final finish.