How to Make a Cute DIY Polymer Clay Snail Step by Step
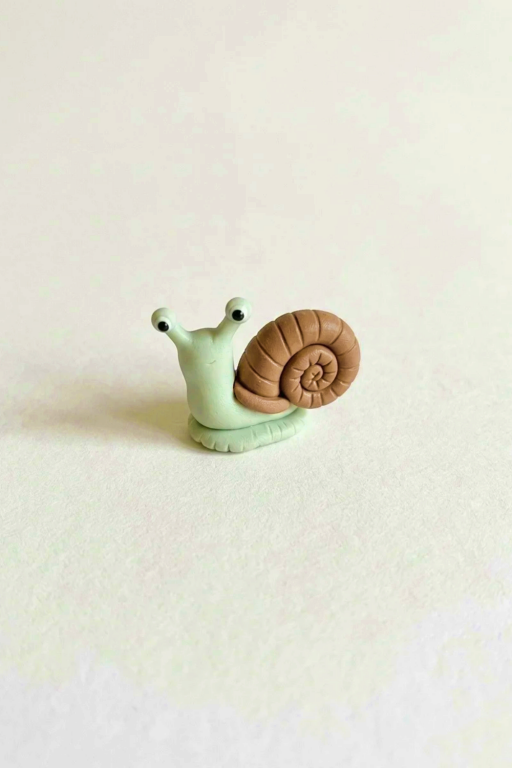
Learn how to make a cute and professional-looking DIY Polymer Clay Snail with our easy step-by-step guide perfect for beginners and crafters alike.
Creating adorable little critters from polymer clay is a relaxing and fun way to get creative. One of the easiest and cutest projects you can try is crafting a tiny, colorful snail. With just a few simple tools and soft clay, you can shape your own cheerful snail to keep as a decoration, gift, or even turn into a charm for jewelry. This project is beginner-friendly and doesn’t require any special skills, making it perfect for kids and adults alike.
Fun and Simple DIY Polymer Clay Snail Tutorial for Beginners
The process involves shaping the snail’s smooth shell, its rounded body, and tiny antennae using different clay colors. You can mix and match shades to give your snail a personality, like a bright pink shell or a striped rainbow pattern. Once baked and hardened, these small creations are both sturdy and adorable. The best part is you can personalize them however you like, adding dots, swirls, or even a little smile to their faces!
What makes crafting this cute snail so enjoyable is how accessible and customizable it is. Whether you’re a beginner or a seasoned crafter, this project is a fantastic way to spark creativity and relax. Plus, it’s a wonderful activity to do with family or friends, turning a simple DIY into a memory-filled experience.

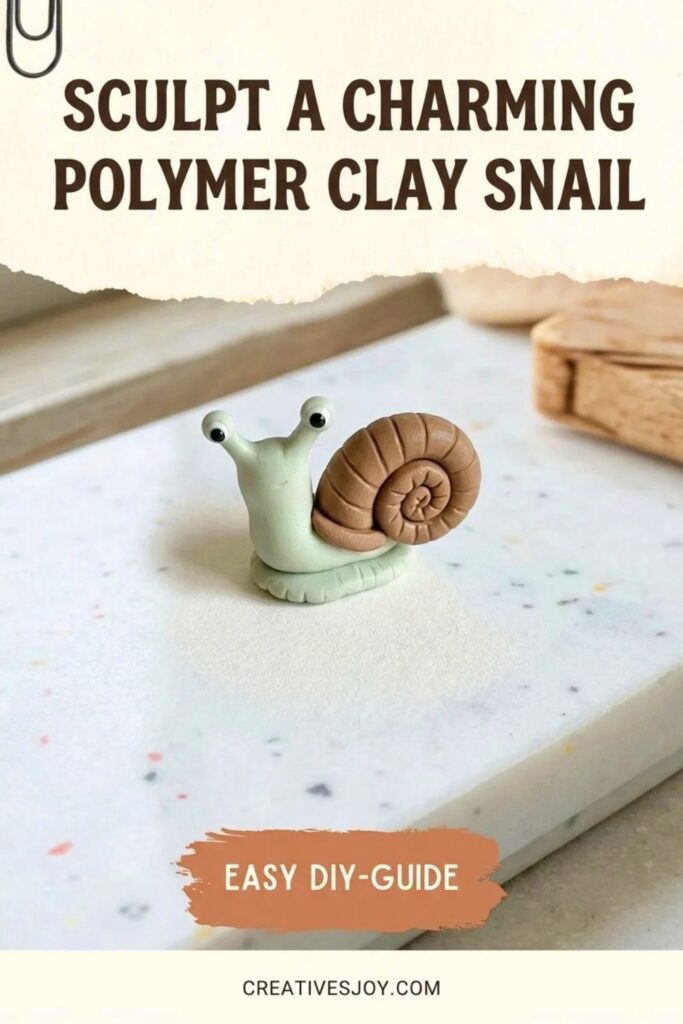
Sculpt a Charming Polymer Clay Snail
Create a small polymer-clay snail sculpture using simple hand-building techniques. This project produces a charming miniature snail with a coiled shell, sculpted body, antennae, and detailed eyes. It’s beginner-friendly and uses basic tools found in most clay kits.
Materials & Supplies
- Polymer clay in three colors: shell color, snail body color, white and black for eyes
- Work mat or scrap paper to protect your tabletop
- Optional: varnish or gloss for sealing after baking
Tools & Equipment
- Potter’s needle or toothpick (for details and flicks)
- Silicone dowel tool, pen tip, or similar shaping tool (for smoothing and indents)
- X-Acto knife or butter knife (for cutting clay cleanly)
- Chopstick (or other stuffing/pushing tool to smooth small areas)
- Oven for baking polymer clay (follow clay manufacturer instructions)
Project Details
- Skill level: Beginner
- Size: Small tabletop decor (scale depends on how large you roll clay)
- Time: 30–60 minutes (plus baking time)
- Outcome: A fully sculpted snail with textured shell and expressive eyes
Preparation
- Lay out your work mat to protect surfaces.
- Choose and warm up each clay color a little to make it pliable and less likely to crack in the oven.
- Have all tools within reach before you begin.
Step-by-Step Detailed
Form the Shell
- Warm your chosen shell color until soft and smooth.
- Roll into a ball, then roll between your fingers or on the table into a snake (even thickness).
- Decide where the thickest portion (the largest part of the shell spiral) will be and stop rolling there.
- Taper one end by applying more pressure to create a gradually smaller tip.
- If desired, add a contrasting thin string of clay along the snake for a two-tone spiral; otherwise fold the tapered end over itself.
- Loop the clay around itself continuously to form a spiral shell until you reach the desired shell size.
- Use your X-Acto knife to cleanly cut the starting/ending edge where needed.


Sculpt the Body
- Warm the snail body color and roll into a ball, then into a cylinder.
- Smooth one edge to create a neat front section; size the cylinder so its thickness matches the shell’s thickest part.
- Place the cylinder at the cut junction of the spiral shell so a bit of the body tucks under the shell.
- Pinch and shape the body to form a raised head area; you can pinch up for height or pull and smooth to alter posture.
- Tap and smooth the body with fingers to flatten the underside so the snail sits naturally.

Attach Shell Base & Seam
- Roll a smaller amount of shell-colored clay into a small snake, about the size of the beginning of your spiral.
- Smooth one edge and set it at the junction where shell meets body, looping it around and trimming the excess.
- This creates a seamless transition and reinforces the shell attachment.
Form the Head & Neck Detail
- Take about a quarter of the body clay amount and roll into a small ball for the head.
- Press and smooth it onto the front of the body; use a silicone dowel or pen tip to blend and hide seams.
- Work patiently—smoothing takes a few passes to conceal creases.
Make Antennae & Eye Stalks
- Roll a tiny snake of body-colored clay slightly smaller than previous snakes.
- Eyeball locations roughly halfway between head and shell edge (slightly offset) and cut antennae to the same height as the head.
- Attach antennae to the head and smooth with your tool.
Create the Eye Bulbs & Pupils
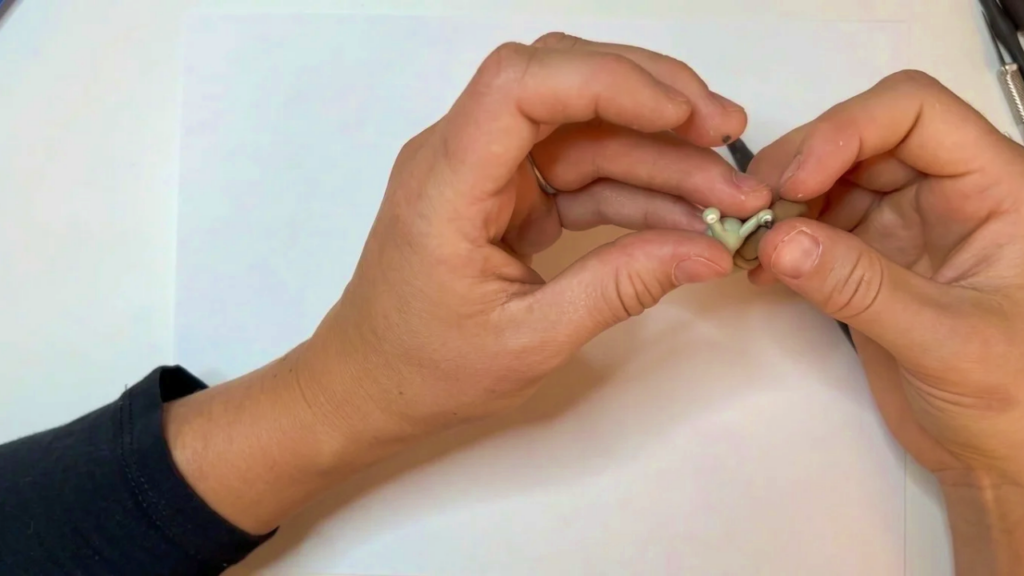
- Split a small piece for each eye stalk and roll into two small balls; flatten slightly and set atop the antenna tips.
- Make a shallow indent in each eye bulb using the silicone dowel tool.
- Roll white clay into two small flattened discs and press into the indent as the white of the eye.
- Make very small black clay discs for pupils, flatten and press into smaller indents within the whites.
- Add two tiny white flicks on each pupil with a toothpick or potter’s needle for highlights.
Eyes, Mouth & Facial Details
- Use the potter’s needle to add a subtle mouth line or gentle smile on the front of the head.
- Add any subtle base lines under the shell or small body ridges using the needle for texture.
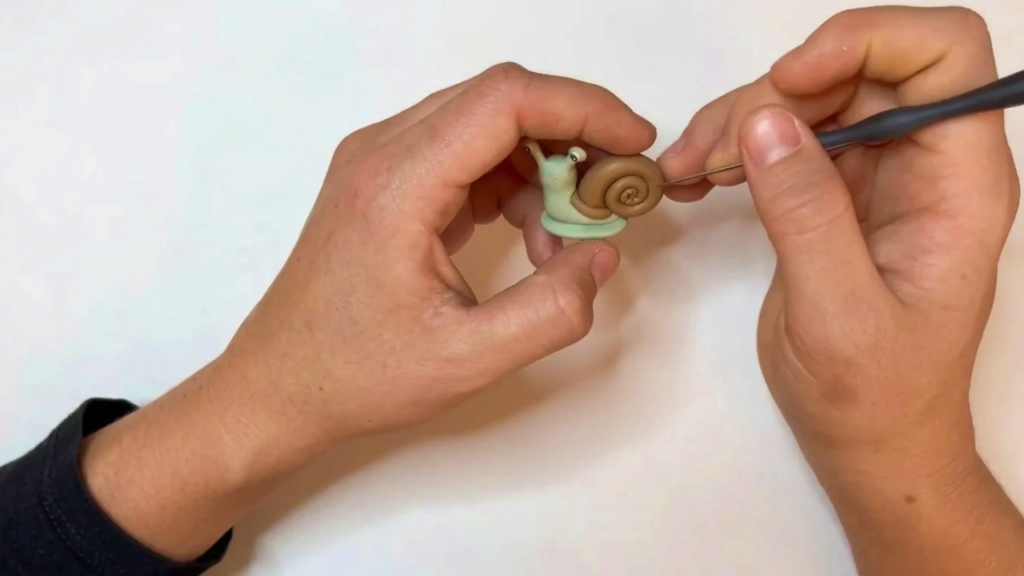
Add Shell Ridges & Texture
- Roll a thin cylinder of shell-colored clay and flatten slightly; position on the front of the shell and wrap around, trimming the excess.
- To create ridges, lightly tap the inside of each spiral curve with the potter’s needle or toothpick as you rotate the shell; these small taps give consistent texture.
- Work around the spiral and use the needle along the edges to even out spacing and appearance.
Final Smoothing & Signing
- Smooth all joins again with the silicone tool or your fingers, cleaning up stray marks.
- Optionally, make faint lines at the base of the snail body for added realism.
- Sign your name on the back of the snail with the needle.
Finishing Instructions
- Bake following the polymer clay manufacturer’s temperature and time guidelines.
- Allow the piece to cool completely before handling.
- Optionally apply a gloss varnish to the eyes or shell for added shine after baking.
Tips & Techniques
- Keep clay warm but not greasy; warmth improves blending.
- Use small amounts for antennae and eyes—less is easier to refine.
- Rotate the piece rather than moving the tool to keep detail lines even.
- Use test pieces to practice eye placement and ridge spacing.
Common Problems & Solutions
- Shell detaching during shaping:
- Solution: reinforce the junction with a small coil of clay and smooth thoroughly.
- Uneven eye placement:
- Solution: mark positions lightly before attaching, and adjust while clay is soft.
- Visible seams:
- Solution: smooth repeatedly with the silicone tool and blend edges into surrounding clay.
Creative Ideas & Variations
- Make the shell multicolored by adding thin stripes or caning.
- Create a family of snails in different sizes and colors.
- Add glitter or mica powders to the shell for a shimmery finish.
Final Result
A delightful miniature snail with a neat spiral shell, expressive eyes, textured ridges, and a smooth, seated body—ideal as a small gift, desk buddy, or addition to a miniature scene. Sign and seal your piece, then enjoy your handcrafted snail!