How to Make Polymer Clay 3D Botanical Floral Earrings

Create stunning DIY Polymer Clay 3D Botanical Floral Earrings with this guide, perfect for adding a pop of nature-inspired elegance to your look.
Nature lovers and jewelry fans will enjoy this simple and charming craft project. Here you will learn how to make earrings with tiny raised flowers and leaves using polymer clay. The design looks like small garden scenes you can wear. You don’t need to be an expert crafter to try it. With clear steps and a little patience, you can shape soft clay into beautiful floral details and turn them into unique accessories that feel special and handmade.
Stylish DIY Polymer Clay 3D Botanical Floral Earrings Project

In this guide, you will work on a pair of earrings that feature three‑dimensional petals, buds, and foliage. The clay is easy to roll, and cut, so you can build up gentle layers that give a real 3D look. After baking, the pieces become strong yet light on the ears. The pattern encourages you to play with color, from soft pastels to bold garden shades, and to try different flower styles to match your taste.
You can expect a relaxing craft session and a stylish result. Your finished earrings will look like tiny botanical art pieces, perfect for adding a touch of nature to any outfit or gifting to someone who loves flowers. This project is designed to be friendly and approachable, helping you grow your confidence with clay while creating something beautiful you’ll be proud to show off.
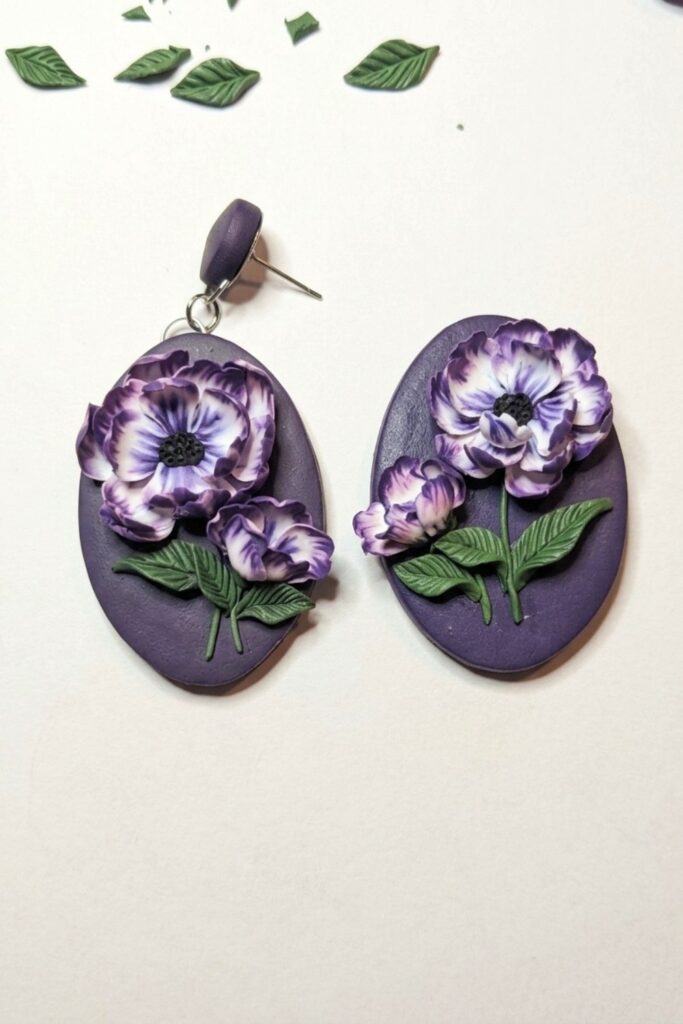
3D Botanical Floral Earrings
Create delicate 3D botanical earrings using pre-made polymer clay flowers and leaves, combined with small hand-rolled stems and transition pieces for a seamless, natural composition. This guide walks through preparation, precise placement using FIMO liquid translucent gel where needed, creating structural stems, and finishing for a wearable, durable piece.
Supplies and Equipment
- Two large pre-made clay flowers (matching pair)
- Two small pre-made clay flowers (matching pair)
- Three pre-made clay leaves (per earring set)
- Polymer clay for stems and transition pieces (green shades recommended)
- FIMO liquid translucent gel (adhesive/bridge)
- Needle tool (for texture and securing bases)
- Silicone sculpting tool (for smoothing and shaping)
- Work surface (tile or ceramic plate), craft knife, and small rollers
- Oven and oven thermometer for final baking
- Fine sandpaper and varnish (optional) for finishing
Measurements and Specifications
- Overall earring face: design to fit within 20–30 mm diameter for comfortable wear.
- Stem diameter: roll thin strips approximately 0.8–1.2 mm to maintain proportion but remain sturdy.
- Transition pieces: small blobs about 1.5–2 mm in diameter to bridge flowers to stems.
- Use pre-made components sized to complement each other; large flowers around 8–12 mm, small flowers 4–6 mm, leaves 6–10 mm.
Getting Everything Ready
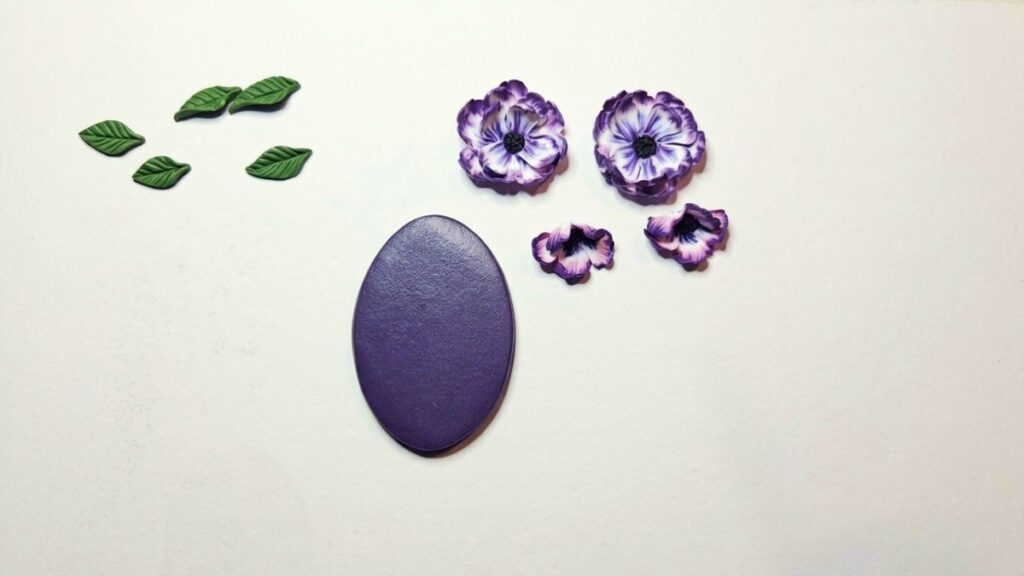
- Arrange all pre-made components grouped by earring (left and right) to ensure mirrored assembly.
- Condition stem clay until pliable and consistent in color; avoid overheating clay while conditioning.
- Prepare a small pot of FIMO liquid translucent gel and a fine applicator (toothpick or small brush).
- Work on a clean tile so you can bake directly if desired; have silicone and needle tools at hand.
Making Instructions
1: Leaf Preparation
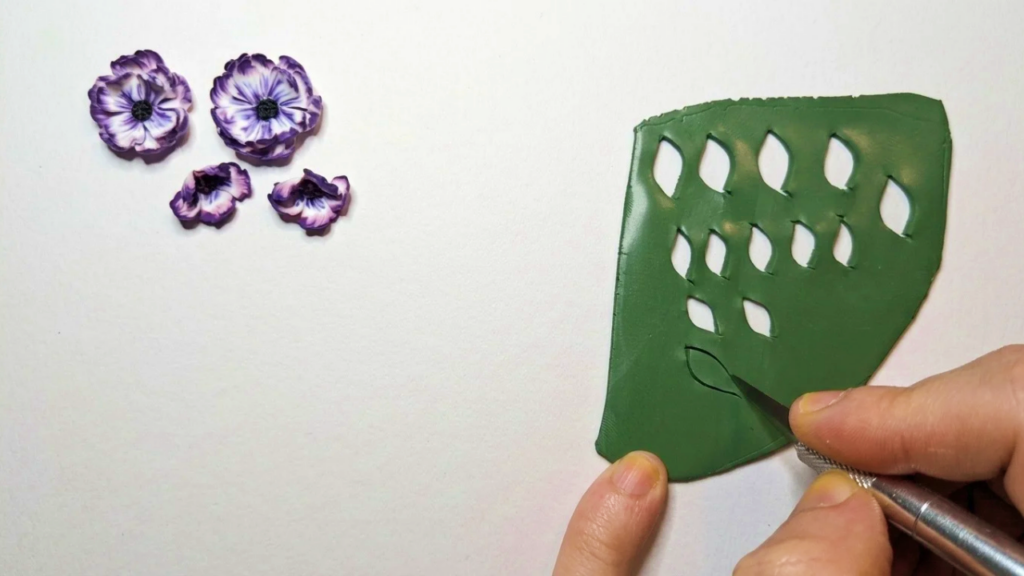
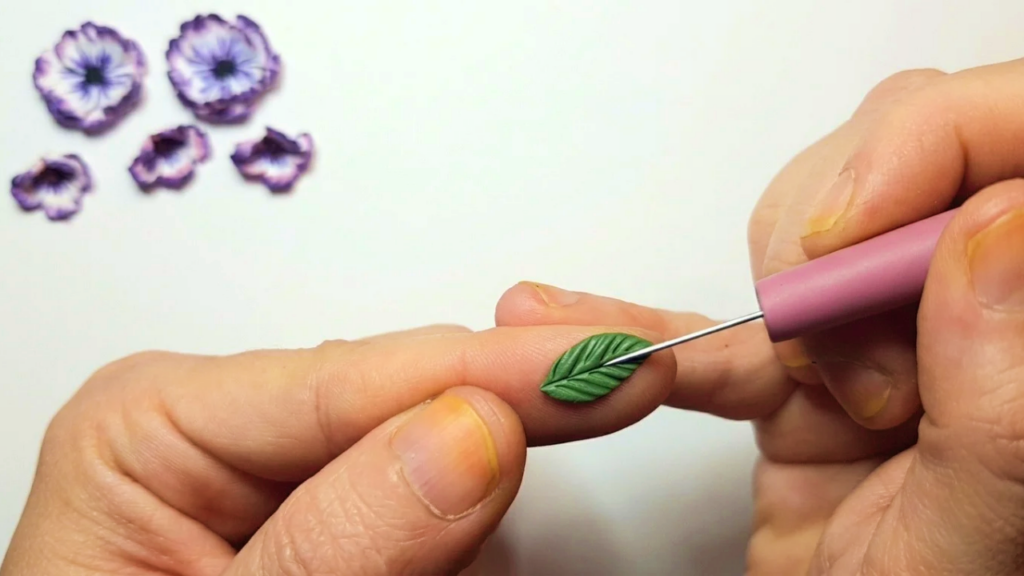
- Cut rough leaf shapes from pre-made leaf components or trim edges to refine silhouette.
- Curve each leaf by gently pressing and attaching it to your finger or a rounded surface so it acquires a natural convex shape.
- Use the needle tool to add central veins and subtle lateral vein marks; score shallowly to avoid weakening thin edges.
- Test-fit leaves around the base composition to decide final positions before any adhesive is applied.
2: Position and Adhere Large Flowers
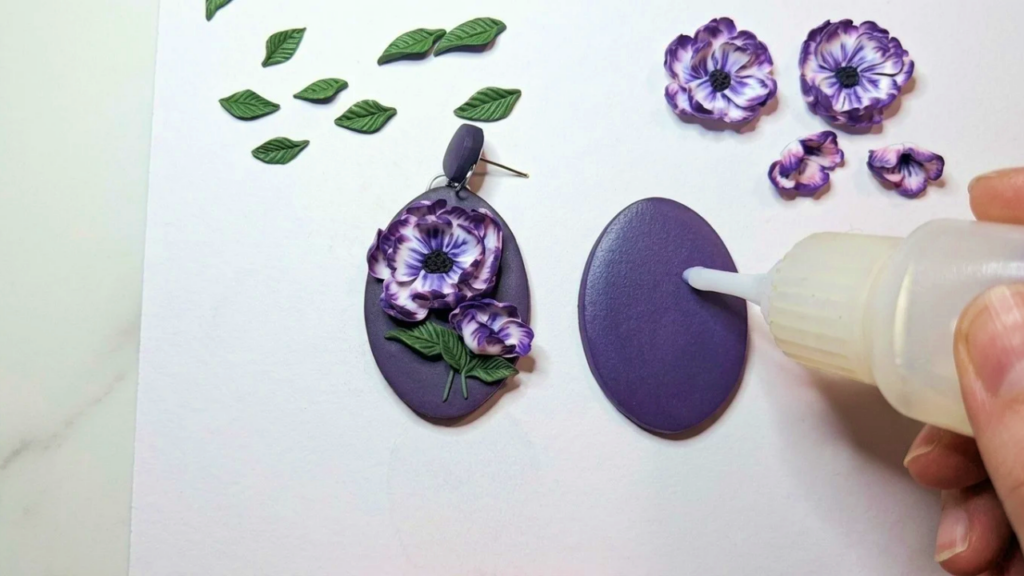
- Apply a small amount of FIMO liquid translucent gel to the base contact area of the large flower using a toothpick or precision applicator.
- Place the large flower onto the intended spot on the earring base and hold briefly until initial tack sets.
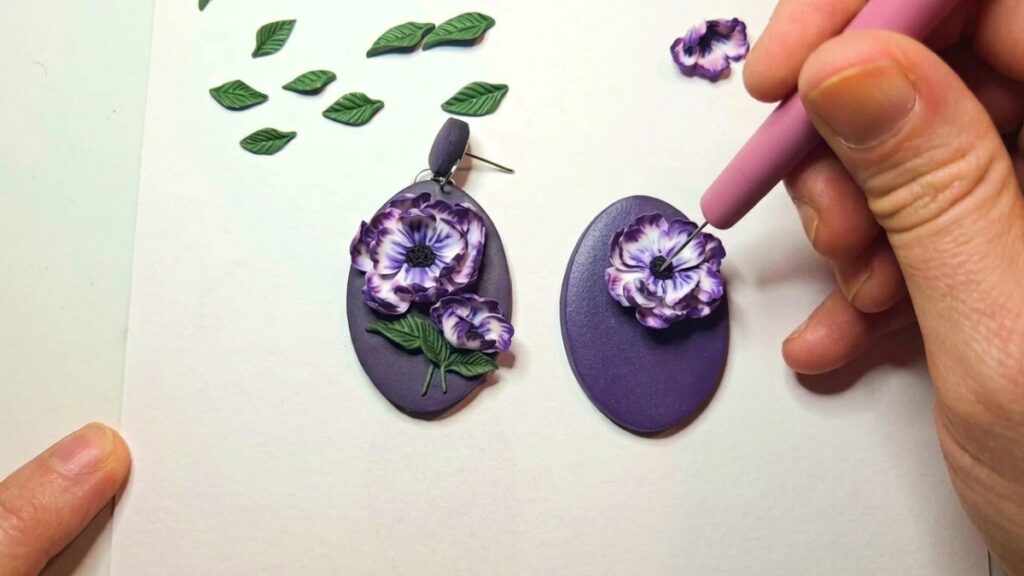
- Gently adjust petal orientation with a silicone tool to refine silhouette and ensure petals do not overlap in an awkward way.
- Wipe any excess gel from visible areas with a clean tool to prevent cloudy residue after baking.
3: Attach Small Flowers (3:46–4:18)
- Position the small flower in the intended complementary location; because it is pre-made and will adhere during baking, apply no gel unless pieces need immediate stabilization.
- Tuck the small flower so its base slightly overlaps with the large flower or nearby transition point for visual integration.
- Use the needle tool at the base to press marginally, ensuring contact without flattening delicate petals.
4: Create and Place Stems
- Condition a small amount of green clay and roll it into two thin, even strips for stems; keep lengths proportionate to the layout.
- Tuck the rolled stems beneath petals where they will be partially hidden, routing them naturally outward or downward according to your composition.
- Press stems lightly so they adhere to the base and sit snugly under petals without lifting them.
- Refine stem curves with the silicone tool to avoid sharp bends and to emulate organic growth.
5: Transition Details and Final Leaf Assembly
- Form tiny transition pieces from green clay—small cones or flattened blobs about 1.5–2 mm—that bridge the stem to the flower base, creating a calyx-like effect.
- Attach each transition piece with fingertip pressure and smooth joins with a silicone tool so clay blends visually into petals and stems.
- Arrange the three leaves around the arrangement, tucking their bases beneath petals or stems; secure each leaf base with the needle tool by making a shallow pressed mark that increases surface contact.
- Shape leaves in 3D by curving tips upward or downward as desired and ensure spacing creates depth without overcrowding.
Assembly
- Assemble components in the order above for reliable results: leaves (pre-shaped), large flower (gel where necessary), small flower (positioned for bake adhesion), stems (under petals), transition pieces (blend joints), leaves final placement (secure and shape).
- Check symmetry by laying out both earring halves side-by-side throughout assembly and making mirrored adjustments to maintain a pair match.
Final Touches
- Use a silicone tool to smooth out fingerprints and blend small seams; refine petal edges if needed.
- Inspect under magnification for excess gel or dust; remove any stray debris.
- Bake according to your polymer clay brand’s instructions; if using FIMO gel, follow the gel’s curing guidelines as well.
- After cooling, lightly sand any rough areas and apply varnish selectively: matte over the base, satin or gloss highlight on petals if desired.
Tips for Better Results
- Work in small increments and test-fit frequently—once adhesive or baking starts, repositioning becomes difficult.
- Use minimal gel—just enough to secure large elements; excess causes cloudiness or seepage between petals.
- Keep stems thin but not hairline-thin; overly thin stems risk breaking, too thick looks unnatural.
- To ensure mirrored pairs, assemble one earring to completion and use it as the template for the second.
Troubleshooting
- If a petal lifts after baking: next time blend more clay into the junction or increase contact area; you can also reattach post-bake with jewelry epoxy.
- If gel appears cloudy after curing: gently sand and buff the area or cover with a thin varnish layer to restore clarity.
- If stems snap: rebake with a slightly thicker stem or embed a fine metal wire inside for reinforcement before rebaking.
Creative Variations
- Swap soft pastel colorways or add mica powder to petals for shimmer.
- Scale the composition smaller for studs or larger for pendants.
- Introduce tiny bead centers or mixed-media accents (metal findings, seed beads) for a more ornate look.