Quick DIY Polymer Clay Earrings Designs for All Crafts Lovers
Polymer Clay Earrings Designs provide endless options for unique handmade jewelry, offering a simple way to create stylish and modern accessories at home.
Creating jewelry is a fun and creative way to express yourself, and making polymer clay earrings is a perfect DIY project for beginners and seasoned crafters alike. With endless shapes, patterns, and styles to explore, you can design earrings that reflect your personality and match your wardrobe. Whether you love bold statement pieces or subtle everyday designs, this craft allows you to make something truly unique and handmade.
Unique Polymer Clay Earrings Designs You Can Make
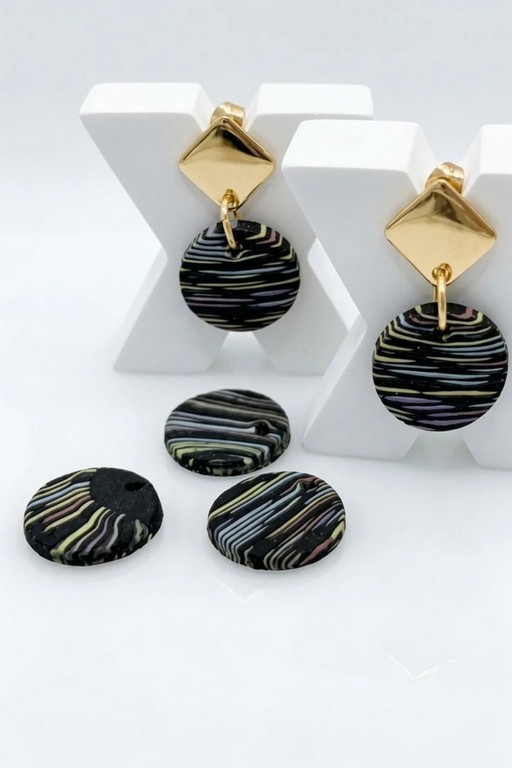
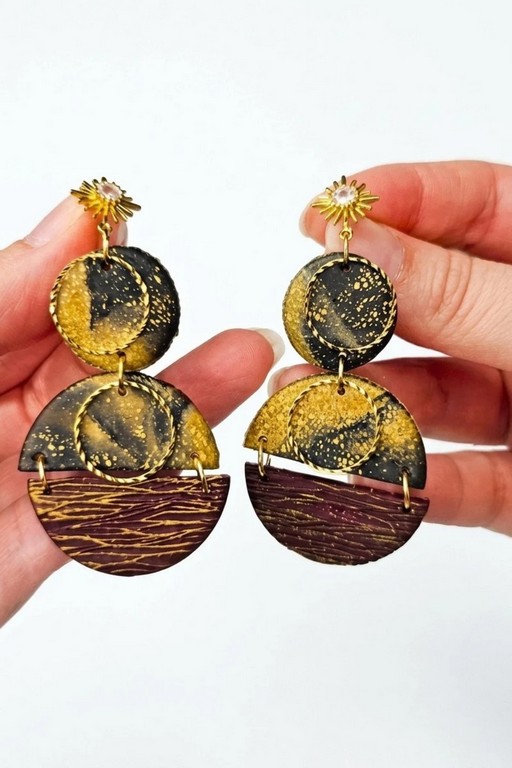
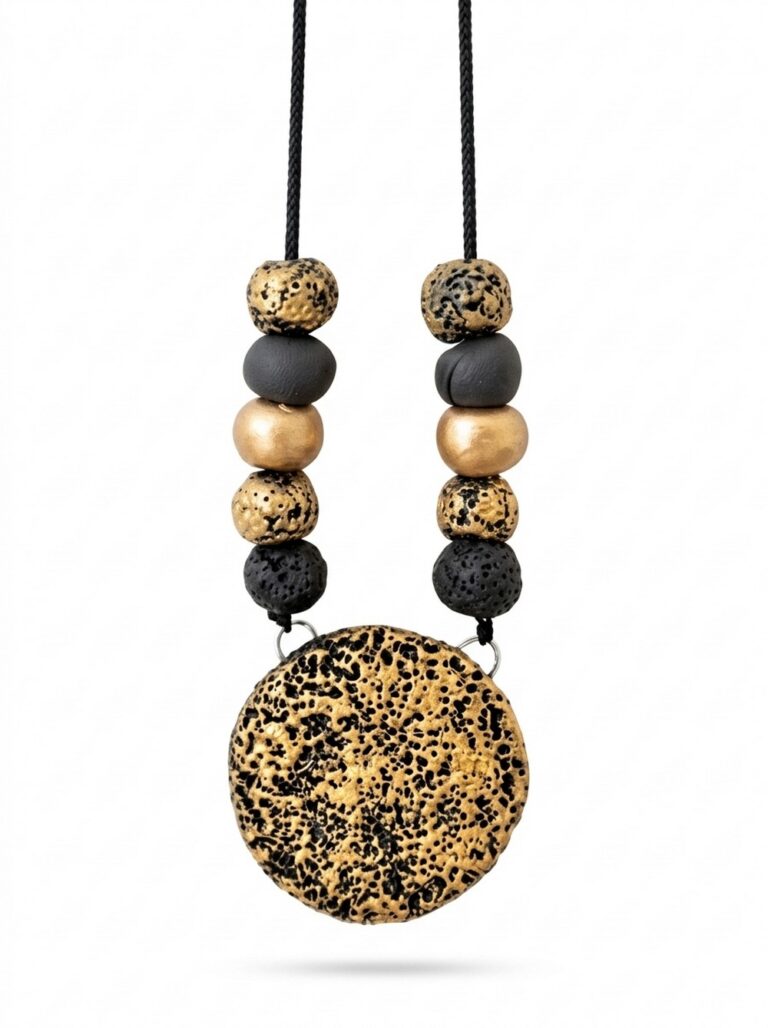
When working with polymer clay, you can experiment with interesting techniques like marbling, layering, or stamping to create standout pieces. From trendy geometric shapes to playful abstract designs, there are so many options to explore. By blending colors, cutting out fun shapes, and adding textures, the process becomes both enjoyable and rewarding. Once you bake the clay and attach earring hooks, you’ll have a finished accessory you’ll love to wear or gift to someone special.
Exploring different polymer clay earrings designs makes this craft exciting and versatile. You can create simple, chic pieces for casual outfits or eye-catching, colorful earrings for special occasions. Plus, handmade earrings are lightweight, affordable, and perfect for experimenting with new styles. This project is a wonderful way to enjoy crafting while creating personalized accessories that are both fashionable and meaningful. Let your imagination guide you, and have fun designing earrings that are truly one of a kind!
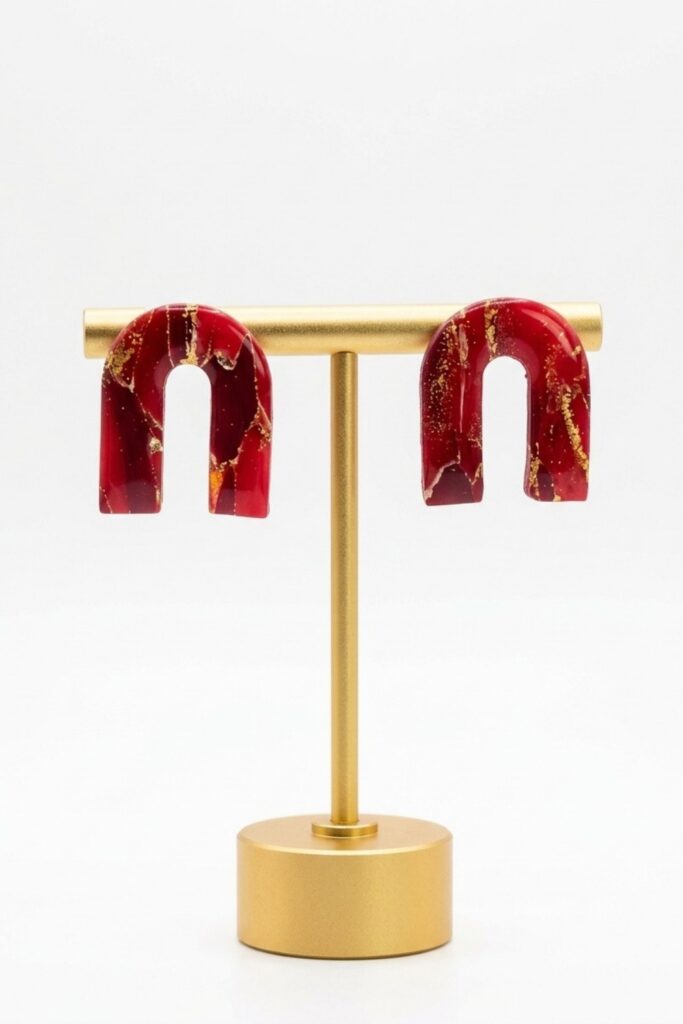
Red & Gold Marbled Faux Stone Earrings
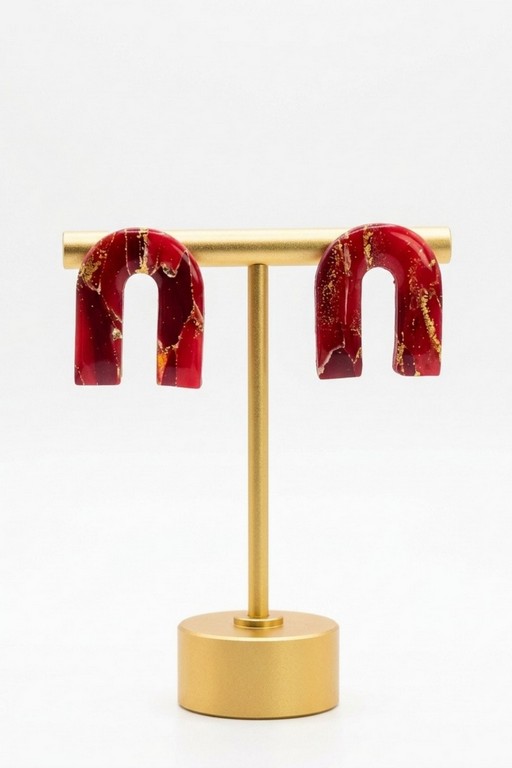
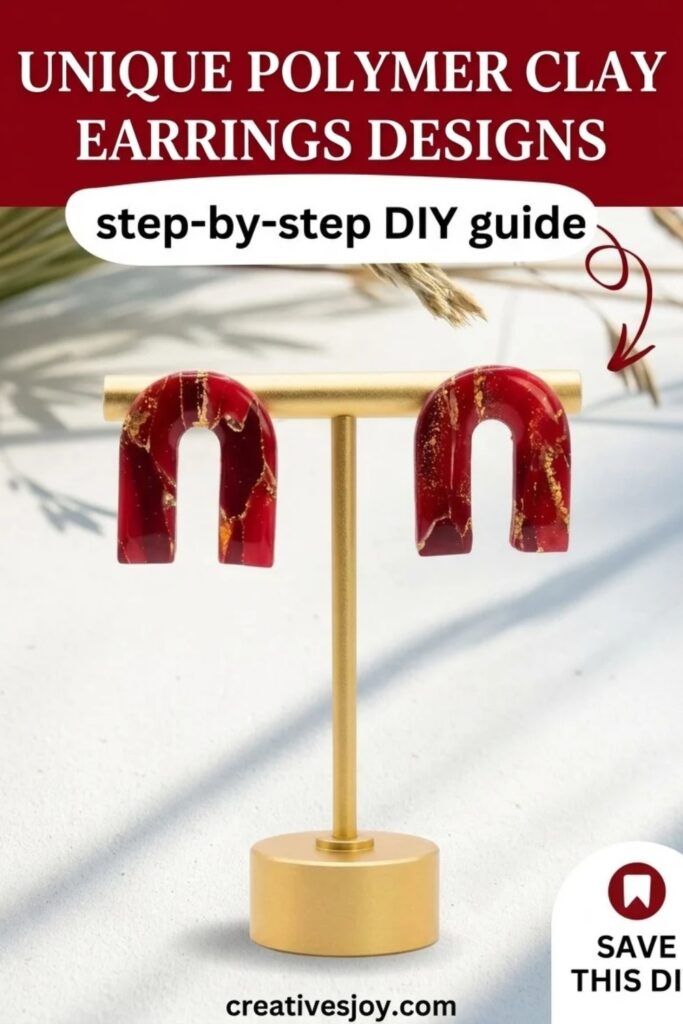
Create lightweight, polished faux-stone earrings using polymer clay marbled in shades of red, accented with gold mica and gold leaf. This tutorial covers every step: color mixing, cane creation, slicing, laminating, cutting, baking, finishing (Dremel/sanding), optional resin topcoat with bubble removal and UV curing, and secure backing attachment with E6000. The result is elegant faux-stone dagger earrings ready to wear or sell.
What You’ll Need
- Translucent polymer clay (base, optional)
- Red clays in 2–3 shades (deep, mid, light)
- White acrylic paint (small amount)
- Gold mica powder and gold leaf flakes
- Liquid polymer clay (Bacon Bond or similar)
- Cornstarch (optional, for dusting cutters)
- UV resin and UV lamp (optional)
- E6000 glue (or equivalent industrial adhesive)
- Baking tiles, parchment paper
Prepare the Materials
- Condition each clay color until soft and even using a pasta roller or by hand.
- Lay out work surface with parchment on a movable board for portability.
- Pre-cut gold leaf and measure mica powder into a small dish.
- Prepare baking tile and preheat oven to 275°F (135°C) per clay manufacturer instructions.
Tools And Equipment
- Long blade or sharp craft knife for chopping clay
- Pasta machine for flattening and laminating slabs
- Clay roller or acrylic roller
- Dagger-shaped cutter (or desired shape)
- Dremel or sanding tools for edge cleanup
- Pipette or toothpick for resin handling (if using)
- Lighter or small torch for popping resin bubbles
- Pliers and flush cutters for hardware, jewelry backs
Project Details
- Skill level: Beginner–Intermediate
- Time: ~2–3 hours active (conditioning, mixing, shaping) plus baking and resin curing time
- Output: Multiple earring pairs depending on slab size; one set uses minimal clay
Preparation
- Mix 2–3 shades of red clay into small blocks; ensure similar conditioning so they blend without one being softer.
- Apply a thin coat of white acrylic paint to clay scraps and allow fully to dry before slicing (prevents tackiness).
- Keep work area ventilated, and wear a dust mask if sanding or using mica powders.
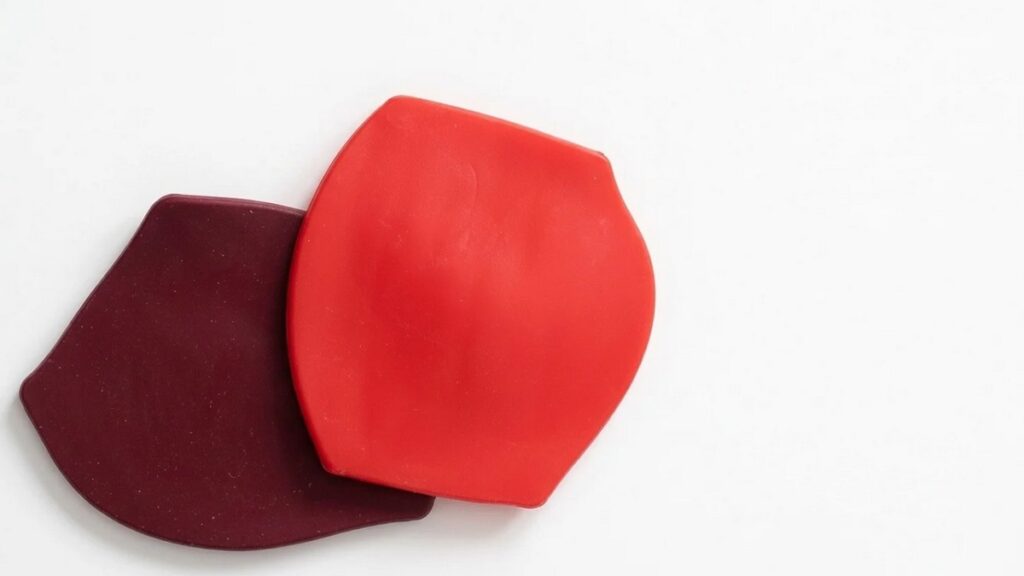
Stepwise Procedure
Step 1:
- Chop red clay blocks into small, even pieces with the long blade.
- Place chopped pieces into a bowl or on the tile and toss to mix distribution of shades.
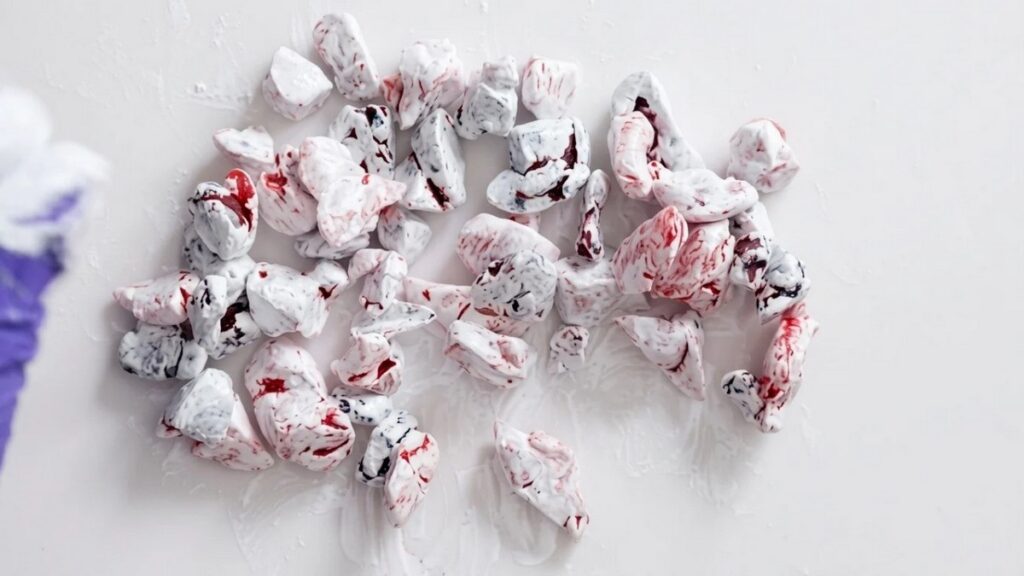
- Add a light squiggle of white acrylic paint and blend until each piece has a thin coating; let pieces dry completely to avoid gumminess.
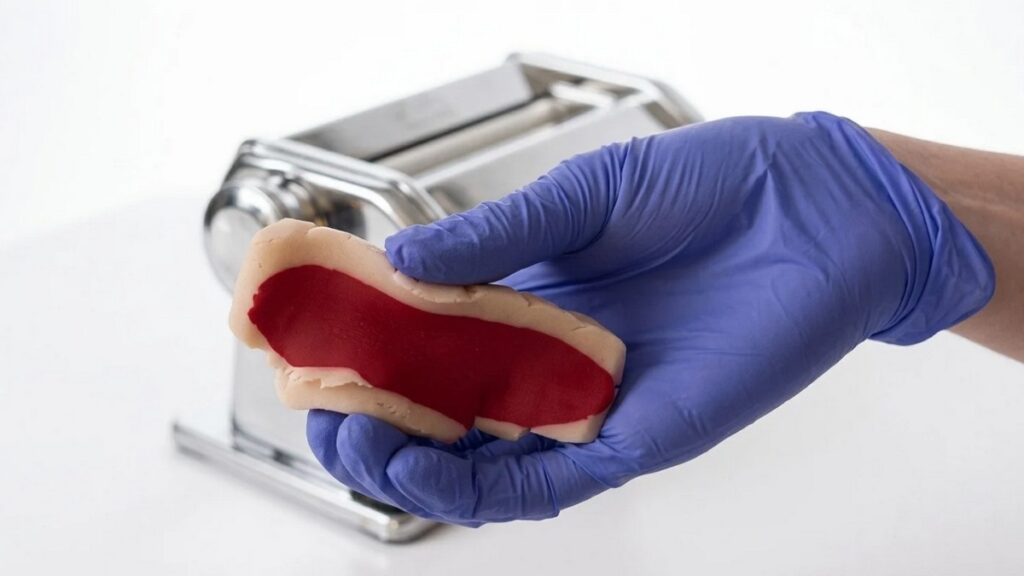
Step 2: Make the Main Part (Forming the Cane/Slab)
- Sprinkle gold mica powder lightly over the dried mixed pieces; distribute small flakes of gold leaf over the mix.
- Add a thin line (squiggle) of liquid polymer clay (Bacon Bond) across the mixture—this bonds the elements and prevents flaking.
- Compress and knead the mixture with your hands (or inside a plastic bag) until the pieces stick and form a coherent cane; squeeze out air and ensure even distribution.
- Roll the assembled cane slightly and then place onto a thin slab of translucent clay OR overlap pieces directly (if no translucent sheet available).
- Pass the combined assembly through the pasta machine at a low setting to form an even thin slab. Fold and pass once if needed to enhance marbling; avoid overworking which will blend colors too uniformly.
Step 3: Add the Details (Cutting & Refining Slab)
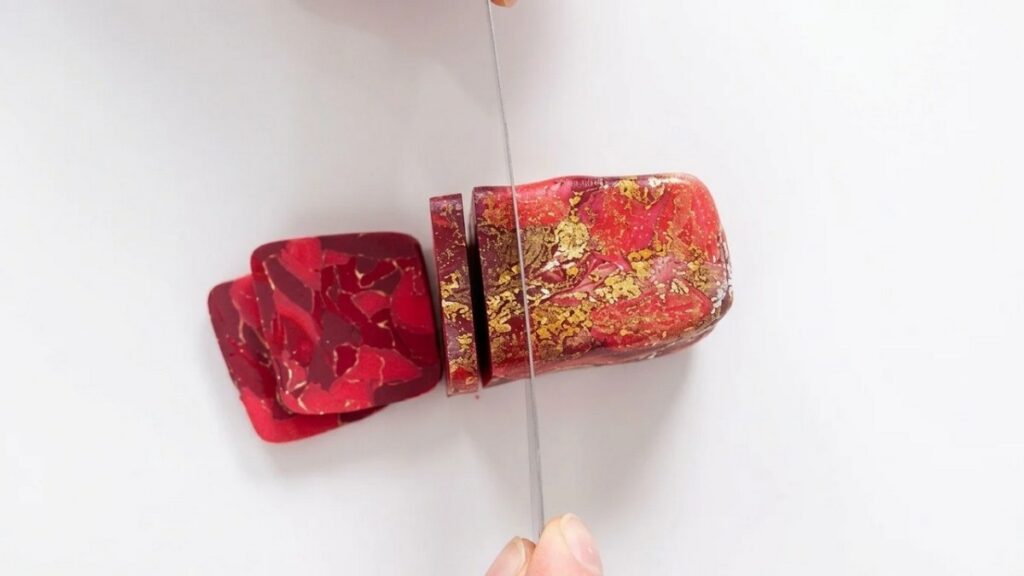
- Inspect the slab for desirable gold streaks and marbling before cutting.
- Position your dagger cutter to maximize the gold streak placement and cut shapes cleanly, using a glass cup or roller to press the cutter evenly if necessary.
- Remove cut pieces and use an X‑Acto or dremel to tidy any ragged edges pre-bake if needed.
- Bake all pieces on ceramic tile at 275°F (135°C) for 30 minutes (follow the clay brand’s instructions), then allow to cool completely on the tile before touching.
Step 4: Put the Pieces Together (Post-bake Finishing)
- Once cooled, refine edge profiles with a Dremel or fine sanding tools to remove any burrs from cutting. Smooth edges progressively with finer grits for comfort.
- If applying resin: clean pieces with isopropyl alcohol, then apply a thin, even layer of UV resin over each piece using a pipette or brush. Work in a well‑ventilated area and avoid overfilling.
- Remove surface bubbles by waving a lighter briefly above the resin (do not hold too close or ignite) or use a small heat gun on low. Immediately cure in the UV lamp following resin manufacturer times (typically 60–120 seconds depending on thickness). Repeat thin coats if needed until desired sheen is achieved.
Step 5: Add the Finishing Touches (Hardware Attachment)
- After resin is cured and surface is tack‑free, drill or punch holes if needed for jump rings (if you prefer drilling, do it before resin or re‑drill a second time after resin but be careful to avoid chipping).
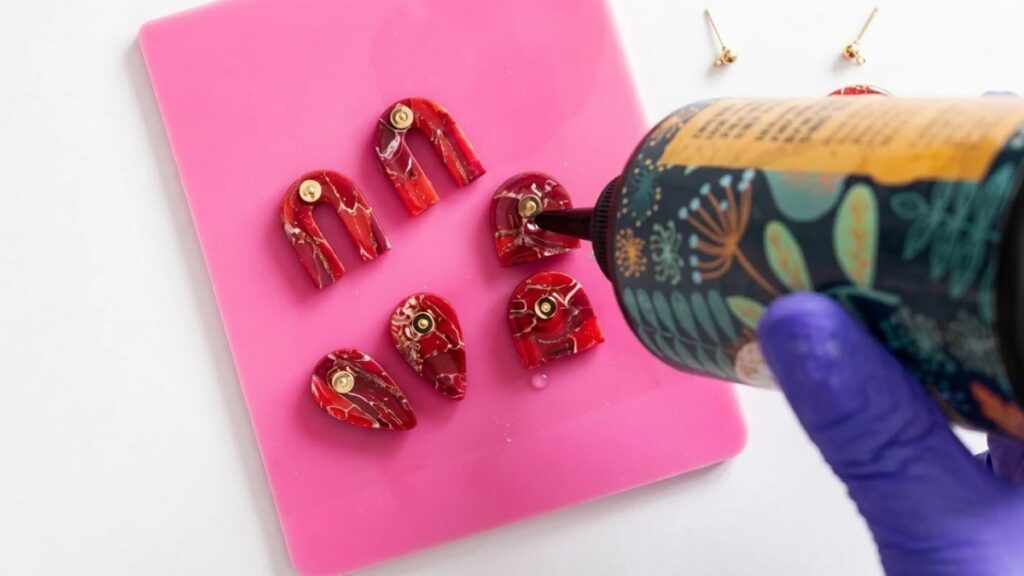
- Apply E6000 glue to the metal backing/post base and press firmly against the back of the earring piece. Hold in place for a few seconds and let set per adhesive instructions; allow 24 hours for full cure.
- Attach jump rings/ear wires or studs and close with pliers; check alignment and symmetry across the pair.
Finishing Instructions
- Allow adhesives and resins to cure fully before wearing—24 hours for adhesives, minutes to hours for UV resin depending on layers.
- Clean residue with isopropyl alcohol and a soft cloth; buff lightly for extra shine.
- Store flat and separately to prevent scratching.
Tips & Techniques
- Dry any paint additions thoroughly; wet paint causes tackiness and slab crumble.
- Less is more: use small amounts of mica and gold leaf to avoid overwhelming the marbled look.
- Use thin resin layers; multiple thin cures give clearer, bubble‑free results vs one thick pour.
- Pop bubbles quickly with a brief pass of a lighter or heat gun before UV curing.
Common Problems & Solutions
- Gummy/sloppy slab: ensure acrylic paint is fully dry, or reduce paint quantity next time.
- Resin cloudiness: cure in short bursts, ensure resin is fresh and not contaminated; wipe off dust prior to curing.
- Adhesive failure: roughen the clay surface lightly before gluing and use E6000 or industrial adhesive; clamp if possible during initial set.
Creative Ideas & Variations
- Swap color palette (blues/teals with silver leaf) for a different faux stone.
- Add crushed glass or metallic powders for extra depth.
- Make matching necklace pendants or hairpins from extra slices.
Final Result
You will have glossy, marbled red-and-gold faux-stone earrings with clean edges and secure hardware—wearable art that showcases rich color, gold accents, and a professional finish suitable for craft fairs or gifting.