DIY Hanging Spider-Man Clay Sculpture with Detailed Instructions
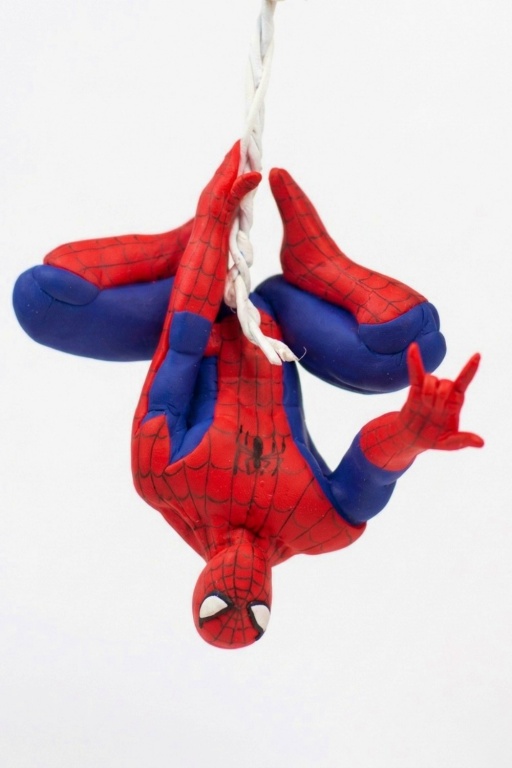
Jump into this DIY Hanging Spider-Man Clay Sculpture tutorial to design a dynamic piece of art that’s perfect for fans or as a unique gift.
Creating your own superhero decorations can transform any space into something exciting and dynamic. One fantastic project to try is sculpting a tiny Spider-Man out of clay, capturing his iconic pose as if he’s swinging through the city. This DIY project is perfect for Spider-Man fans of all ages and is a great way to bring your favorite character to life in a unique and artistic way.
Handmade DIY Hanging Spider-Man Clay Sculpture Step-by-Step

You’ll use soft clay to form Spider-Man’s recognizable shape, complete with his signature mask and costume details. The beauty of this project is that you can focus on the details that make Spider-Man so iconic, like the web patterns or his agile stance. It’s simple to mold the clay, allowing you to position Spider-Man in his classic hanging pose—like he’s just leapt off a skyscraper. Once baked, your sculpture will harden into a durable decoration that looks both playful and impressive.
Having your own hanging Spider-Man sculpture is not only a fun decoration but also a personal piece of art. It’s perfect for adding a touch of superhero flair to any room, whether it hangs by your desk, in a kid’s room, or even from a window ledge. This engaging project offers a hands-on way to celebrate a beloved character and adds a dash of adventure and creativity to your home decor.

Polymer Clay Spider‑Man Figure
This guide turns your transcript into a complete, step‑by‑step tutorial for sculpting the Spider‑Man figure shown. It follows the entire procedure in the transcription and keeps every stage in order. Important actions and materials are bolded.
Project Requirements
Materials
- Polymer clay in: dark rich blue, red, black, white, and any flesh/neutral color for internal supports if needed.
- Wire (aluminum or armature wire) for arms/hands/structure.
- Thin black pen/liner for drawing web pattern.
- Thin white wool (for spider‑strings) or similar fiber.
- Acrylic paint (white) for painting the wool/web string.
- Glue (strong adhesive for fixing spider emblem and wires).
- Optional: small piece of thin red sheet/clay for the spider emblem.
Tools
- Clay mixing tools and shaping tools (blades, smoothing tools).
- Needle or fine stylus for detail.
- Wire cutter and pliers.
- Drill (for making holes to anchor wire or strings).
- Oven for baking polymer clay (follow clay manufacturer instructions).
- Thin black liner pen/paint pen.
- Small brush for touch ups and glue application.
- Sanding tools (optional) for postbake smoothing.
Measurements / Notes
- No strict dimensional measurements given in transcript — work proportionally (torso, arms, legs sized to match head).
- Make sure wire thickness fits inside the clay limbs and holes you will create.
Preparation
Workspace & Clay Prep
- Arrange all materials on a clean, well‑lit workspace.
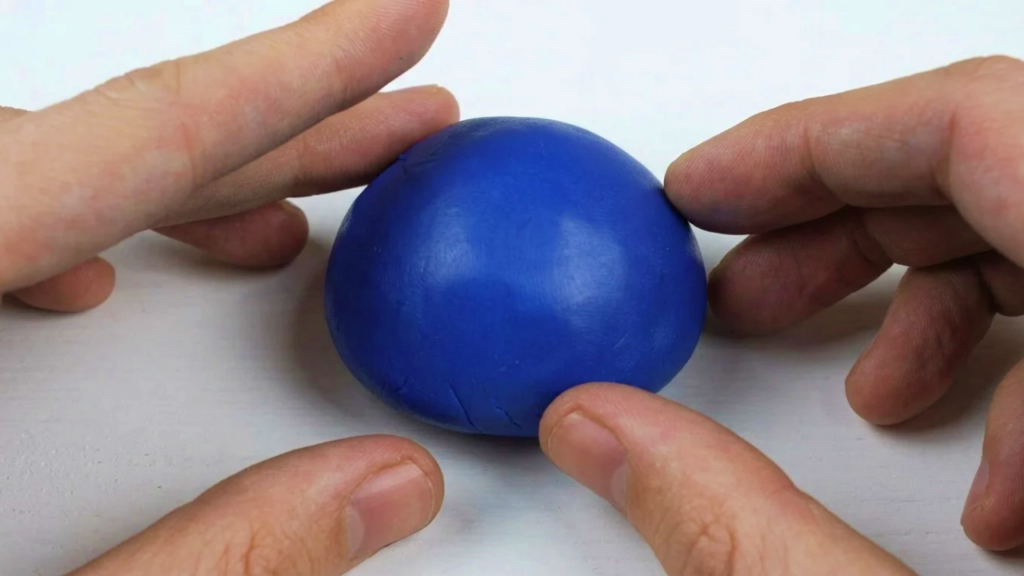
- Mix the blue clay to a very dark, rich blue as desired for Spider‑Man’s suit (the instructor specifically mixed to get a rich dark blue).
- Keep water, paper towels and hand‑washing facilities nearby. Wash hands before handling red clay to avoid contamination/smudging of the bright red areas.
Making Process
Stage 1: Build the Torso
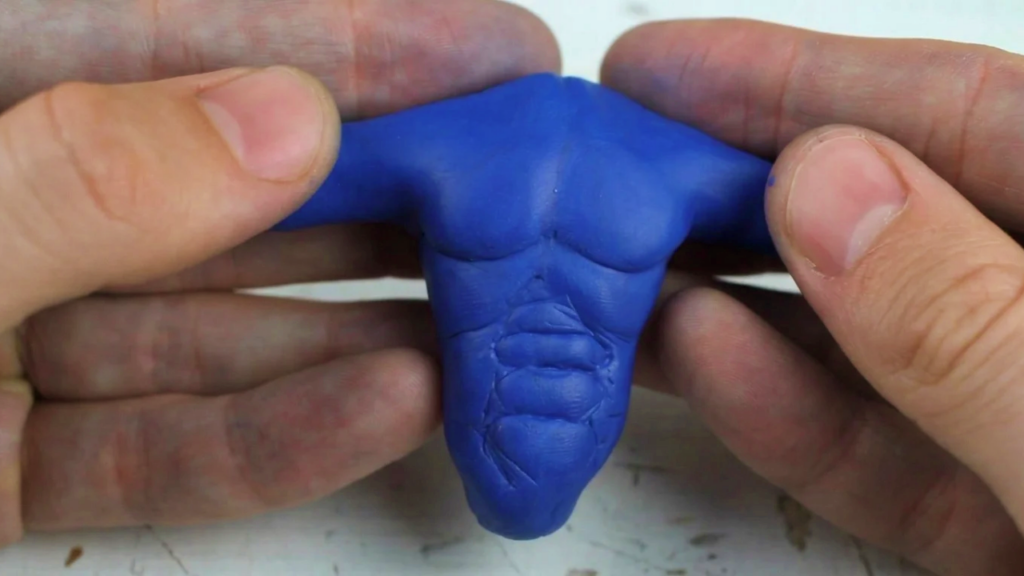
- Start with a torso block of the mixed dark blue clay.
- Sculpt muscle definition: add the 6‑pack (abdominal muscles) and chest muscle shapes. Make the musculature pronounced — the tutor emphasized visible muscles, especially on belly and chest.
- Smooth the surface carefully — aim for a very smooth finish where needed.

Stage 2: Attach and Position Arms
- Shape arm forms and position them onto the torso. Prepare the area where the head will be attached later and set the arms in the desired pose.
- When adding red suit details that border the arms and torso, try to get a sharp edge between blue and red areas — clean hands help avoid smudging red clay.
- For lower arm sections: chop away the red clay where the internal wire will go, insert wire into the arm (so the arm can be posed/anchored), and position properly. Do the same for the other arm.

Stage 3: Sculpting the Hands (challenging detail)
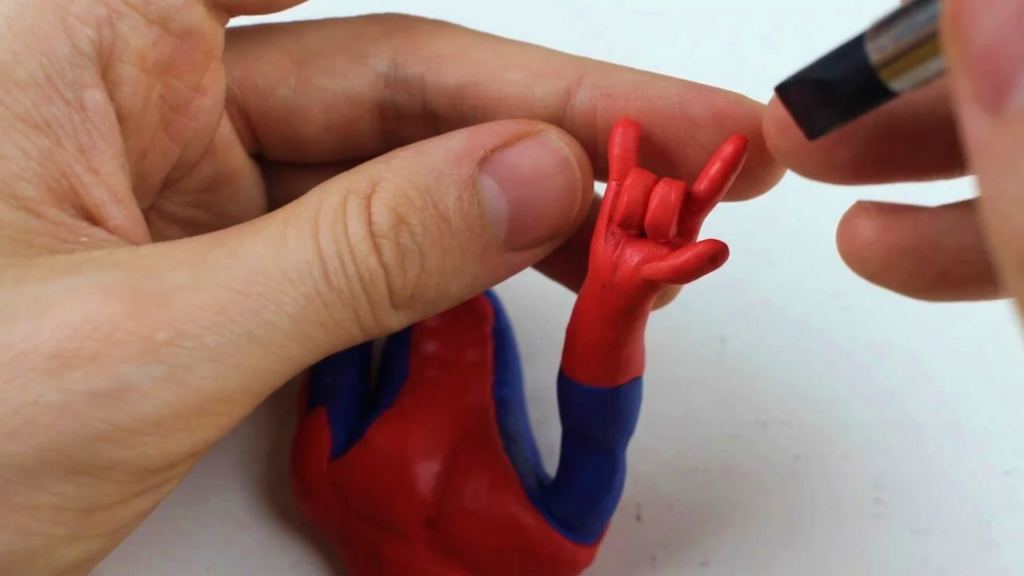
- Focus on hand poses. For the classic Spider‑Man shooting pose, sculpt the fingers accordingly: index and pinky extended, middle and ring curled.
- If the first attempt fingers are too thick, rework and thin them — the transcript shows the instructor restarted the hand to achieve finer, thinner fingers. Aim for thin, delicate finger details.
- Sculpt the thumb too, and refine the wrist area where it meets the arm wire.
Stage 4: Neck & Head Attachment Area
- Form the throat/neck region with prominent shoulder and neck muscles — the neck and shoulder muscles should be pronounced because Spider‑Man’s pose implies hanging strength.
- Ensure the head attachment point is shaped to accept the head later.
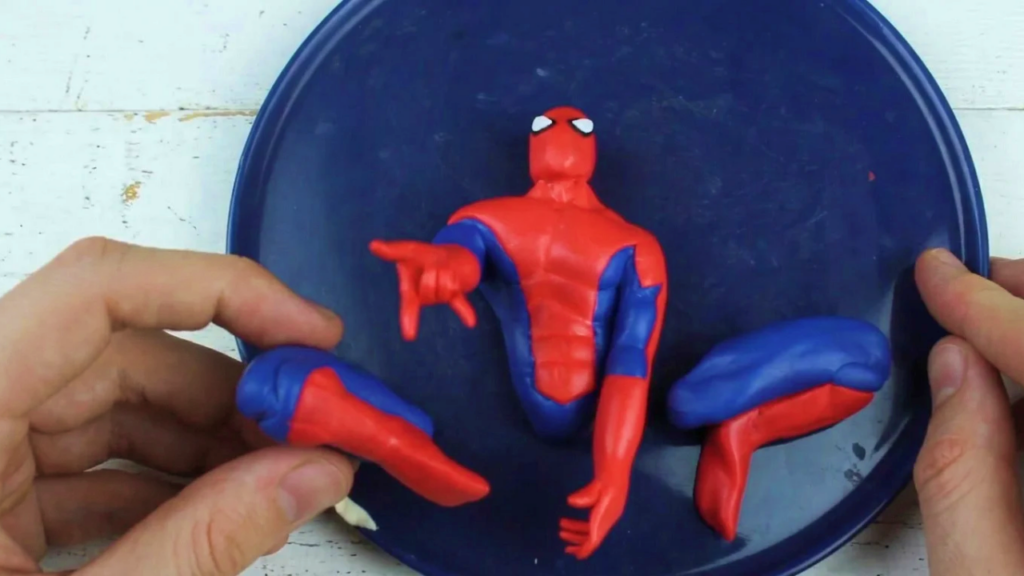
- join the legs.
Stage 5: Eyes & Mask Base
- Prepare a thin black clay layer for the eye ground layer (the black outline shape of the eye).
- Place thin white clay shapes onto the black base to form Spider‑Man’s eyes — place and shape them so they look correct and balanced. Adjust as needed.

Interlude: Gameplay Segment (optional)
- The creator interleaves a gameplay showcase of Marvel Puzzle Quest while sculpting. This is optional to reproduce: if you want to include a gameplay clip or break, you can. The transcript shows a short fight with Juggernaut using a team (Spider‑Man, Black Widow, Iron Man); this is a sponsorship mention and not required for the sculpting steps.
Stage 6: Prepare Spider Emblem (back)
- Sculpt a thin red spider emblem on a thin sheet of red clay (make it quite thin so it sits well on the back).
- Sculpt the eight spider legs carefully and keep the emblem thin — you will glue it onto the baked figure later.
Stage 7: Add Guideline Cuts for Web Pattern
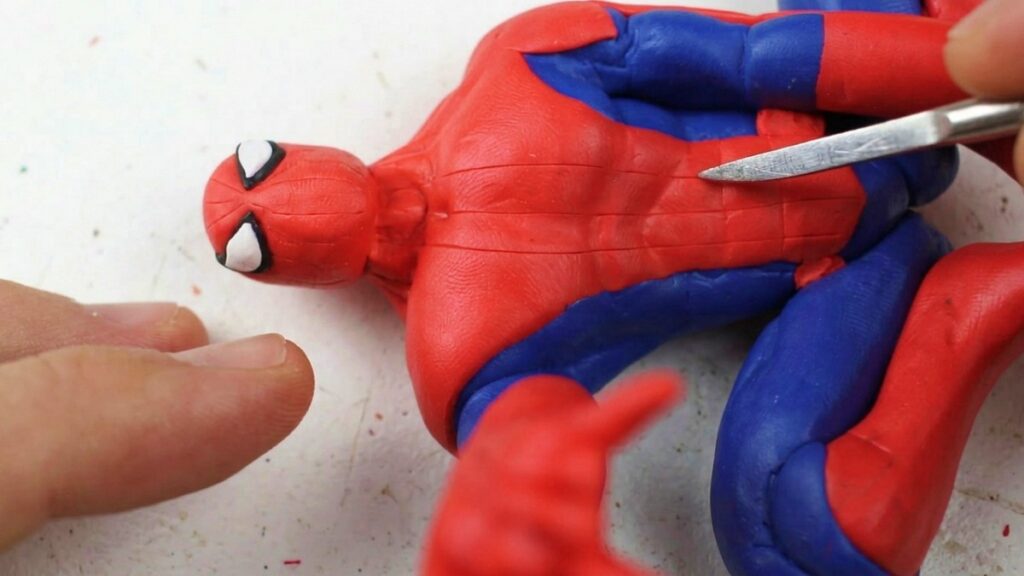
- Make small cut lines or grooves on the surface to act as guides for drawing the web pattern later. These cuts will help the thin black pen stay on track when painting/drawing.
Stage 8: Final Prep and Baking
- Ensure all parts intended to be baked together are properly attached and supported by internal wire as needed.
- Create any tiny holes you’ll need to anchor wires or strings after baking (if not drilling postbake).
- Bake the assembled figure according to your polymer clay manufacturer’s instructions (temperatures and times vary by clay brand). The transcript indicates “we are ready to go into the oven!” and later shows the baked Spider‑Man.
Stage 9: Postbake: Draw Web Pattern
- After baking and cooling, use a very thin black pen/liner to draw Spider‑Man’s web pattern over the red areas.
- Work slowly — the tutor admits this is very difficult on an uneven, rounded surface. Use the guide cuts previously made to keep lines steady.
- If lines waver, take your time and refine. It may require patience and multiple passes.
Stage 10: Attach Red Spider Emblem
- Glue the thin red spider emblem onto Spider‑Man’s back using a suitable adhesive, pressing gently to secure.
Stage 11: Make Web Strings
- Prepare wire for the strings (aluminum wire pieces for hands) and white wool to form webbing.
- Drill the holes needed for anchoring the wire pieces where the hands and body will connect.
- Wrap the white wool around the wire/string structure and tie small knots for detail (the creator made about 4–5 knots to get the look).
- Paint the wool white with acrylic paint to achieve a bright white spider string (paint after knots and shaping). Let the paint dry.
Stage 12: Assemble Strings & Wire Into Figure
- Put glue on the string/wire ends and insert them into the drilled holes (one in the front of Spider‑Man and one in the back per transcript). Ensure secure adhesion and proper placement for the posed look.
Assembly Process
- Confirm both aluminum wire hand pieces are in place and secured.
- Insert and glue the painted wool/web strings into the predrilled holes.
- Check the balance and pose — adjust wires while glue is curing if needed.
Decorative Details
- Eye shapes: black ground layer then white highlight for classic Spider‑Man eye look.
- Web pattern: thin black liner over red suit, guided by prior cuts.
- Emblem: thin red spider glued on back.
- Web string: white painted wool with knots for texture.
Final Finishing
- Let all adhesives and acrylic paint fully cure before handling.
- Make any final touchups to web lines, eye whites or emblem edges with a fine brush or pen.
- If desired, lightly sand or buff any rough baked clay edges before final sealing.
Tips for Success
- Wash hands before working with bright red clay to avoid contamination.
- Use guide cuts on curved surfaces to keep pen lines straight.
- If a hand or finger is too thick, redo while clay is still workable — thin, precise fingers look best.
- Work slowly when drawing web lines — a steady hand and thin liner pen are essential.
- Make spider emblem thin so it adheres flat to the baked back.
- Allow all glues/paints to dry fully before final assembly.
Customization Options
- Change suit color or add different emblem styles.
- Use different types of web materials (prepainted thread, thin fishing line painted white) for different looks.
- Create multiple poses by adjusting internal wire armatures before baking.
Care and Maintenance
- Handle gently to avoid bending wire or breaking thin fingers.
- Avoid soaking; clean with a damp cloth if needed.
- Store upright or in a box to protect delicate webs and fingers.