DIY Polymer Clay Bracelet Jewelry with Personalized Designs
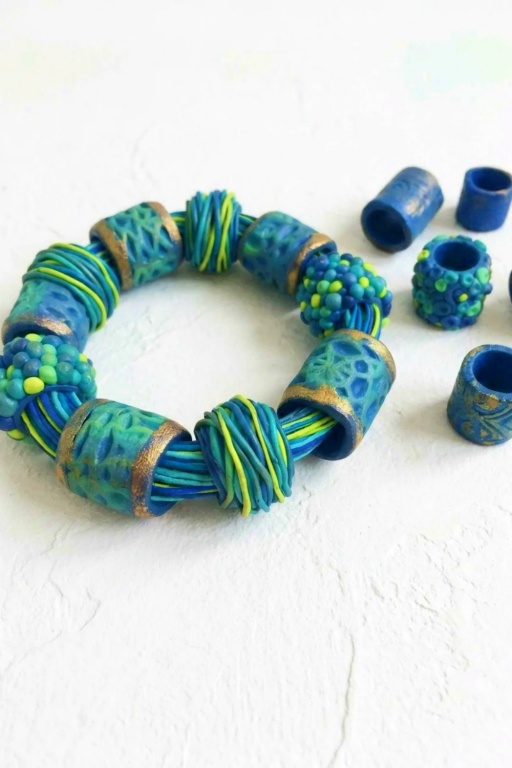
Learn fun and easy DIY Polymer Clay Bracelet Jewelry Ideas to make trendy, handmade bracelets perfect for gifts or personal style upgrades.
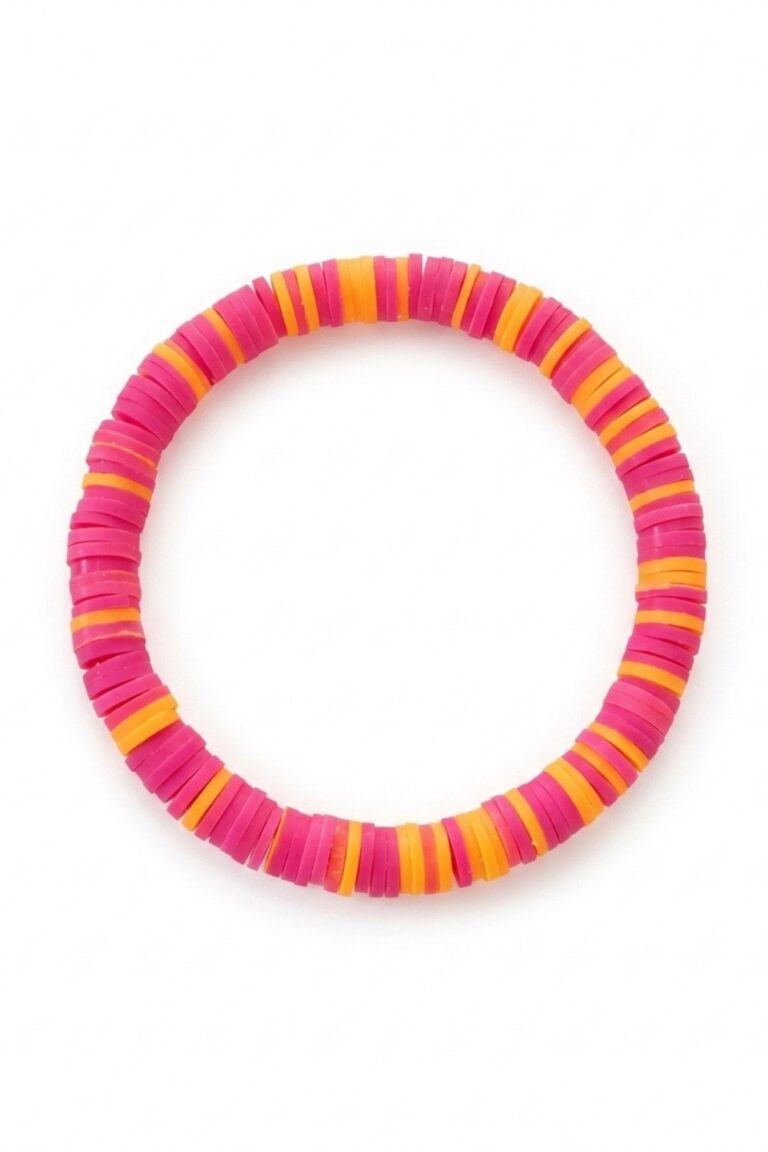
Making your own stylish bracelets can be a fun and rewarding way to explore your creativity while crafting something truly unique. Polymer clay is an amazing material for designing personalized jewelry because it’s so easy to shape and customize. With endless possibilities in colors, patterns, and textures, this DIY project is a perfect choice for anyone, whether you’re a beginner or an experienced crafter. The best part? You’ll have beautiful bracelets to wear or gift that reflect your personal style.
DIY Polymer Clay Bracelet Jewelry with Personalized Designs
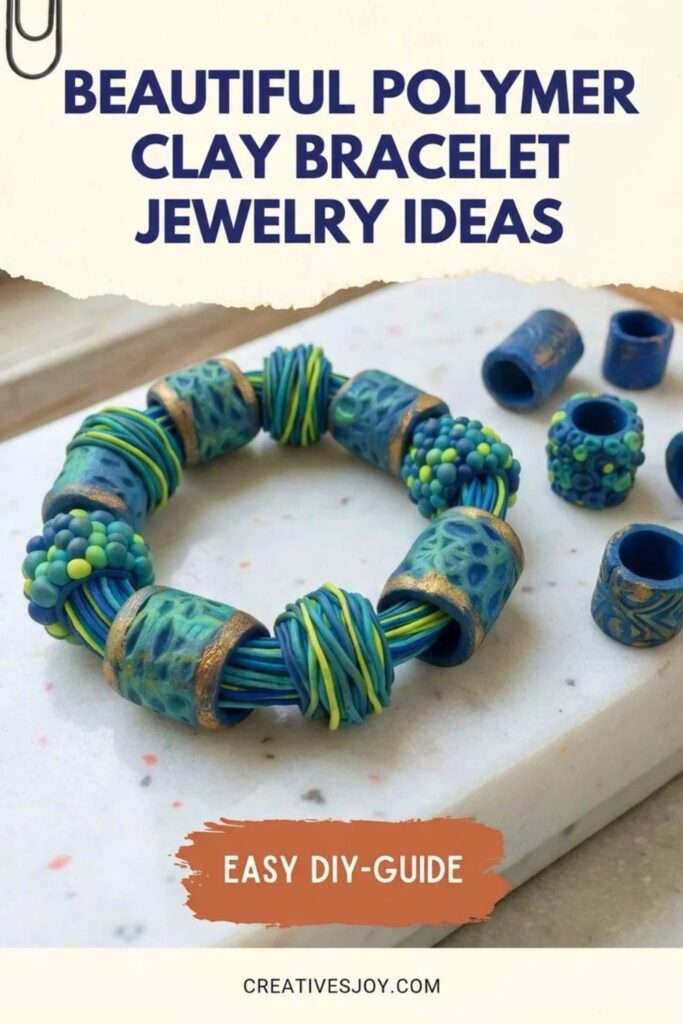
Using polymer clay, you can design bracelet beads in nearly any shape or size, from simple rounds to intricate designs like marbled patterns or embossed textures. There’s a lot of room for creativity—you can mix colors to create swirls, add stamped details, or even carve tiny designs into the clay before baking. Once the clay is hardened and strung together, your bracelets will look professional and one-of-a-kind. It’s surprisingly effortless, but the results are always impressive.
These homemade accessories offer a wonderful way to showcase your personality through wearable art. Whether you want bright, bold colors or soft, subtle designs, a polymer clay bracelet lets you express yourself in a fun and hands-on way. Making jewelry like this isn’t just enjoyable—it’s also a thoughtful activity that can turn into memorable gifts for friends or family, all while letting your creativity shine.

Textured Tube‑Bead Bracelet (KeepsakeCrafts — Sandy)
This is a detailed, step‑by‑step rewrite of Sandy’s tutorial on making a rich, textured bracelet with polymer clay tube beads. It follows the entire procedure from the transcript — nothing skipped. Important actions and warnings are bolded.
Project Requirements
Materials
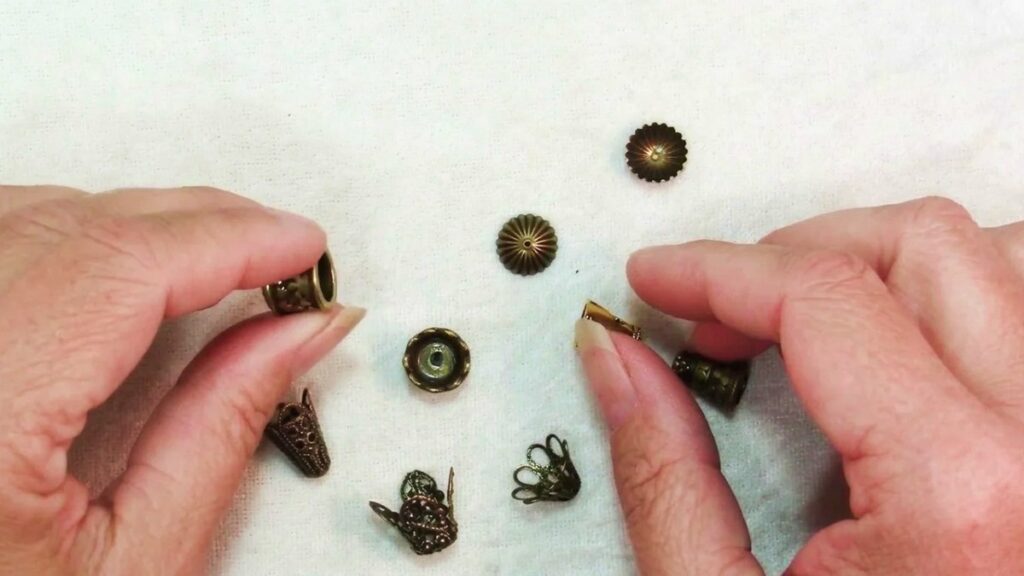
- Deep cylindrical bead caps (not shallow or heavily pierced/filigreed ones)
- Various fibers/cords (Sandy used hemp in several colors)
- Head pins, small spacer beads or flattened bead cap (to create a flat base inside cap)
- Five‑minute epoxy (for gluing cord into bead caps) or two‑part epoxy for final fastening
- Polymer clay (main colors + supporting colors; e.g., Wasabi, Peacock Pearl, Ultramarine Blue in transcript)
- Translucent liquid Sculpey (or similar liquid clay for bonding)
- TLS (or another clay gloss/sealant) for coating beads while building textures
- Photographer’s wax (sticky wax to hold beads on a handle)
- Texture sheets/plates or rubber stamps
- Armour All (spray) as release for texture sheets
- Gilders Paste (Patina, Antique Gold, African Bronze or similar)
- Baby wipes and paper towels
- Sanding/polishing supplies (if desired)
- Jump rings, clasp, short chain
- Glue alternatives (E6000) — Sandy prefers two‑part epoxy for strength
Tools
- Pasta machine
- Dapping punch / glass vial / forms for making tubes
- Paper and tape (to make paper forms)
- Blade/knife, clay smoother, ball tool, needle tools
- Extruder (for edging strips) or shaped extruder tips
- Small brushes, soft cloths
- Pliers (for jump rings and clasp)
- Scissors
- Oven (for baking clay) — follow clay manufacturer’s temps/times
Measurements / Quantities
- Tube bead length Sandy made: between 1/2″ and 5/8″ (approx 12–16 mm)
- Cord yardage used: Sandy used 3 yards each of 5 colors = 15 yards (she recommends 4 yards each = 20 yards if repeating)
- Cord cutting: cut into 1‑yard lengths, then fold twice and tie in the middle for bundling
- Pasta machine setting used for texture plate pass: #2 (second thickest)
- Finished bracelet length Sandy made: about 9″ (bulky bracelet)
Preparation
Choose Your Findings First
- Select bead caps that are deep and cylindrical so all cord ends can be glued inside and hidden.
- Avoid shallow cups and filigree caps with many holes — glue can ooze through and show.
- Solid bead cones can work (glue only escapes top/bottom), but Sandy prefers cylindrical caps that fit the cords well.
- Use the chosen cap to decide tube bead outer diameter and form size — the tube should just fit inside the cap so cords will fill the cap well.
Prepare Cord Bundles
- Select fibers (Sandy used hemp in several colors; pick a palette you like).
- Cut cords into 1‑yard lengths.
- Fold each cord in half, then fold in half again and tie them in the middle so you have a bundled looped group.
- Secure the tied bundle with an extra bit of cord, trim ends neatly.
- Later these bundles are glued into the bead cap.
Prepare Head‑Pin / Spacer in Cap (if needed)
- If your bead cap hole lets the head pin pass through, add a small bead or flattened bead cap as a spacer so the cord ends sit evenly.
- Sandy flattened a tiny bead cap with pliers and placed it inside — it lays flat and helps the cord ends seat evenly.
- Put a small amount of five‑minute epoxy into the cap, position the spacer/head pin, then leave to dry completely before adding cord.
Making Process — Forms & Cores
Make or Choose Forms for Tube Beads
- Use objects that match the cap inner diameter: dapping punches, glass vials, Tim Holtz vials, or make your own by wrapping paper around a form.
- Cut strips of paper, wrap around the form several times for rigidity, and tape the seam. These paper forms are your mandrels.
- You can slide finished beads off the paper form and reuse the form to make more beads.
Two Approaches to Tube Beads
- Core + Textured Layer: make a plain inner core bead (baked), then add a textured sheet or sculpted pieces on top and bake again.
- Fully Textured Tube: texture the sheet first, then wrap and form it on the core/form and bake.
Make the Core Beads
- Cut three straight edges (forming a tube band) sized to your form — Sandy aimed for ~1/2″–5/8″ length.
- Place the form back inside while rolling the clay so it keeps shape.
- Wrap clay onto form, trim just inside the seam mark, smooth seam with tools/blade, and bake the cores according to clay instructions.
- After baking and cooling, flex the paper away and tug to remove the cores.

Making Process — Textures & Surface Treatments
Simple Texture Options
- Slices of mokume gane, canes, sheeted surface treatments, or sculpted dots/snakes.
- Sandy created multiple texture styles; choose whichever you like.

Color Blends & Pivot Color Technique
- Choose a lighter and a darker color (Sandy used Wasabi and Peacock Pearl).
- Mix a blend, cut into little pieces, then combine small pieces with a pivot color (Sandy used Ultramarine Blue) to shift the palette and create varied tones.
- Add scrap bits from your bin to the blend for richness and variation.
Tiny Balls (Dot Texture)
- Roll many tiny balls from your blended colors (tedious but great texture).
- Coat the base bead with TLS (thin coat) so dots adhere.
- Use photographer’s wax on the form to give you a handle; insert baked core or temporary bead onto the form for handling.
- Apply a thin coat of TLS — too thick causes slippage.
- Place dots randomly onto the bead — don’t overthink placement.

S‑Curl & Divot Variation
- Roll thin snakes of clay, shape small ‘S’ curls, press into the tube surface and add dots among them.
- Use a small ball tool to make a slight divot in each dot for added texture.

Wrapped Snake Texture
- Roll very thin snakes as long as needed.
- Coat the tube with TLS and wrap snakes around irregularly for an organic texture.
Embossed Texture with Texture Plate (Sandy’s favorite)
- To keep variation/striations, mix a log of primary color with thin snakes of supporting colors, roll in and twist to create striations.
- Flatten, run through the pasta machine and fold/repeat until you like the striation pattern.
- Use texture sheets that fit through the pasta machine for a deeper impression:
- Spray the texture sheet lightly with Armour All as a release.
- Wipe excess with a paper towel.
- Place sheet and clay through the pasta machine at setting 2 (send back through at 2) — it will stretch and lengthen, producing a deep embossed sheet.
- Cut your sheet to have three square edges that will form the tube seam.

Wrap Textured Sheet Around Core
- Apply translucent liquid Sculpey to the core bead.
- Wrap the textured sheet around the baked core (or a new core), trim, and smooth seam with a clay smoother and blade.
- Bake according to manufacturer instructions.
- After baking and cooling, add any edging if desired.

Add Edging
- Extrude a strip for edging (Sandy wished for a half‑circle extruder around 4–5 mm). She used triangle extruder and modified it:
- Apply translucent liquid Sculpey to the edge area.
- Place extruded strip, overlap the two ends and cut both at once at an angle with a blade so they meet cleanly.
- Remove excess and blend/smooth the seam; if the shape is triangular, flatten and round the point to approximate a semicircular edge.
- Bake if adding unbaked edging and follow baking instructions again as needed.
Finishing & Surface Enhancement
Coating & TLS
- For many textures, coat with TLS to hold additional elements and to finish surface.
Gilders Paste Accent
- Once beads are baked and cooled, enhance texture with Gilders Paste.
- Sandy experimented with:
- Patina (applied all over — very pronounced)
- Antique Gold and African Bronze (applied more subtly)
- If the gilders paste is too strong, wipe back with a baby wipe while still wet to achieve a subtler look. Dry with a paper towel.
- You can always add more if you want stronger accents.
Assembly Process
Decide Bracelet Configuration & Length
- Lay out baked beads in the order you want; once glued you can’t easily change the order.
- Sandy’s finished bracelet ended up about 9″ because of the bulky beads — check length with spare twine before final gluing.
Prepare Cord Ends to Glue Into Caps
- Use the previously prepared bundled cord groups (folded/tied).
- Tie a spare piece of twine to measure and test fit.
- Trim the cord ends straight across so they fit neatly into the bead cap.
Glue Cords into Caps
- Mix your two‑part epoxy (Sandy prefers two‑part for strength; five‑minute epoxy is used inside caps for spacer/head pin earlier).
- Fill the bead cap with epoxy — don’t overfill or cords will push glue out and make a mess.
- Stuff the cord bundle firmly into the epoxy‑filled cap so ends are tight and neat.
- If glue oozes, wipe off immediately; if not, leave to dry fully until completely cured.
- Trim any ties or excess cord ends before final seating if they look bulky (Sandy snipped off a tie that bunched up).
- Make sure cords are seated nicely and tight inside the cap.
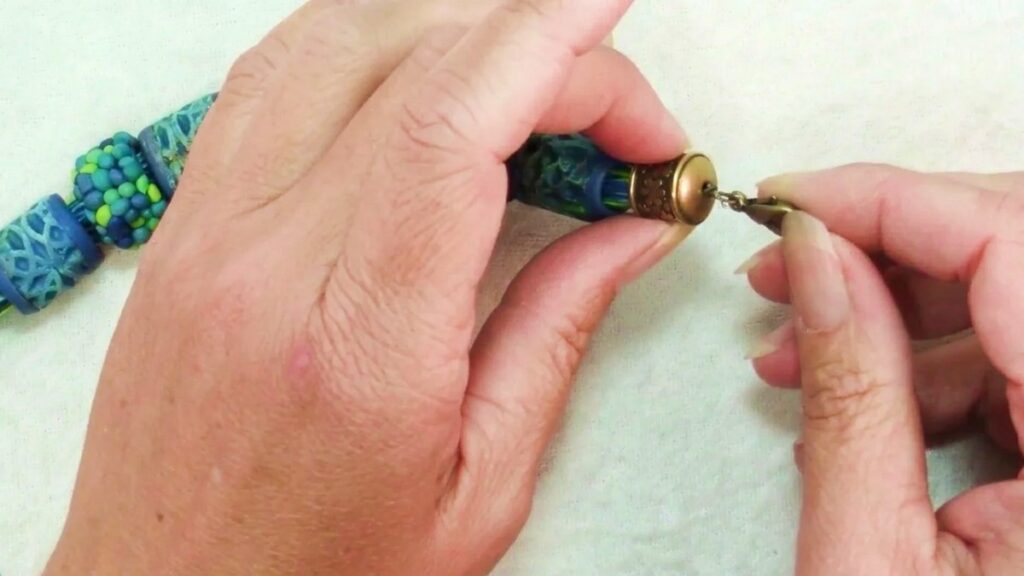
Add Clasp & Closure
- Add a jump ring to the clasp side for movement (makes fastening easier).
- Attach chain on the end opposite the cap to finish the bracelet length and clasp connection.
- Close jump rings properly with pliers.
Final Finishing
- Ensure epoxy and any varnish/gilders paste are fully cured/dry before wearing.
- Clean off any glue smears or excess gilders paste.
- Inspect all jump rings and closures; make sure all are secure.
Tips for Success
- Choose deep, cylindrical cap findings before making beads — they determine bead size and cord fill.
- Avoid filigree caps with many holes where glue can show.
- Use a spacer or flattened bead cap inside the cap when needed so cord ends seat evenly.
- Make forms from paper strips if you don’t have exactly sized mandrels.
- When using TLS or adhesives for surface dots/snakes, apply thin coats to prevent slippage.
- Texture plates often give deeper impressions than stamps; use Armour All release before sending plates through the pasta machine.
- If gilders paste is too strong, wipe back while wet for a subtler effect.
- Use two‑part epoxy for gluing cords into caps for the strongest hold; allow full cure time.
Customization Options
- Try different fiber types (linen, silk, cotton, synthetic) and thicknesses for different looks.
- Change color palettes — Sandy loved teal + chartreuse; pick your favorite pairings.
- Use mokume gane slices, canes, or metallic leaf inserts for unique beads.
- Vary bead lengths and sizes for a graduated bracelet or necklace.
Care and Maintenance
- Avoid soaking in water — wipe clean with a damp cloth.
- Store flat to prevent heavy beads from stressing connections.
- Check jump rings and epoxy periodically; re‑glue if you see loosening.