Quick and Easy DIY Rainbow Sprinkle Donut Clay Charm Idea
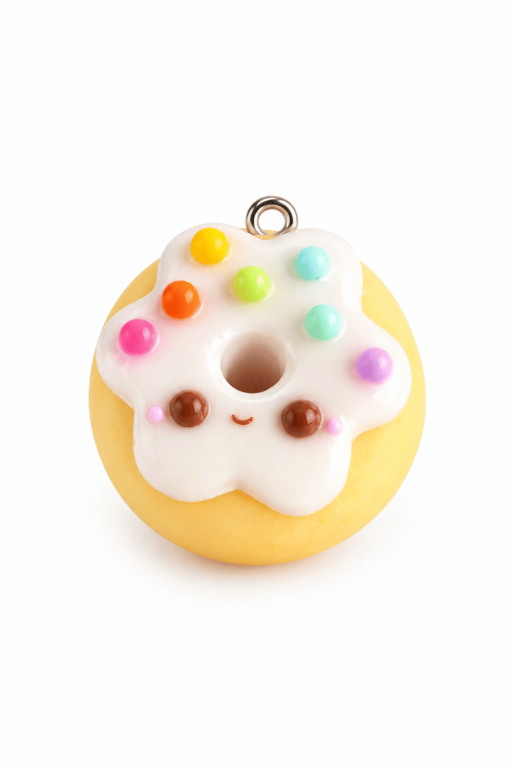
Follow this beginner-friendly guide to craft a cute DIY Rainbow Sprinkle Donut Clay Charm, a perfect addition to your charm collection.
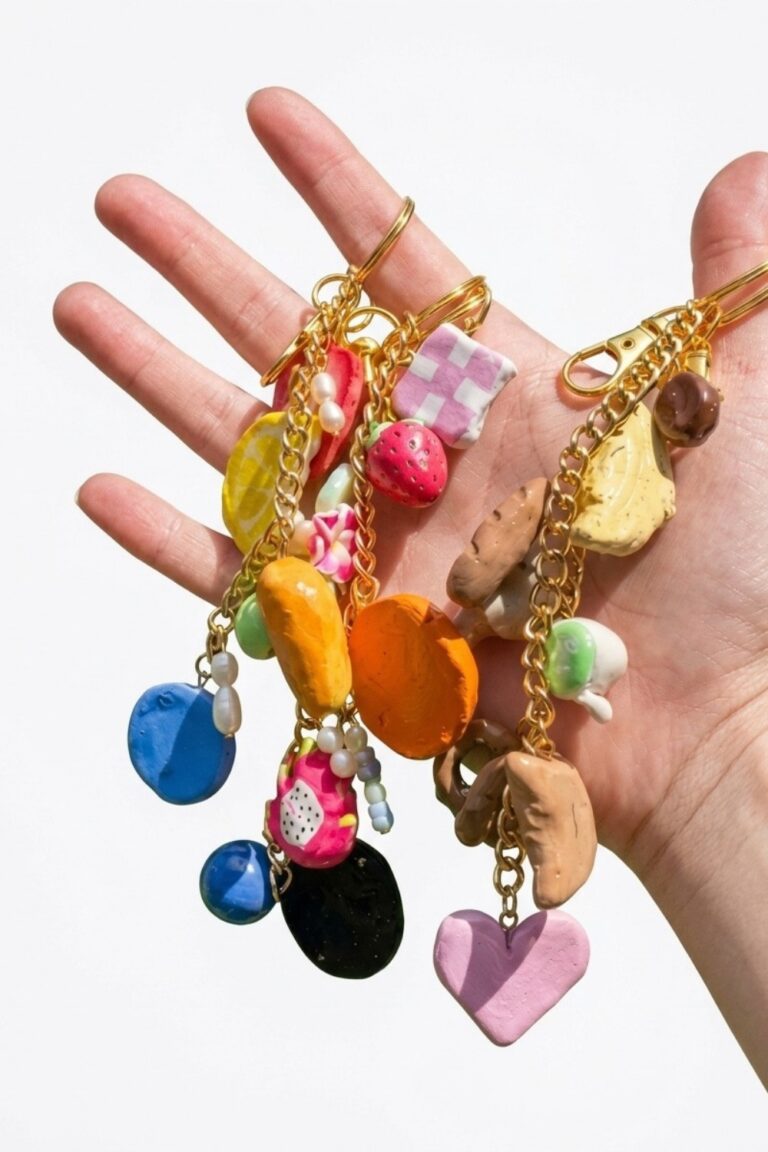
If you love fun and colorful projects, creating miniature donut charms is a fantastic idea. These tiny treats are crafted using polymer clay and decorated with vibrant rainbow sprinkles, making them look adorable and playful. Perfect for beginners or seasoned crafters, they can be used as keychains, necklaces, or even little decorative trinkets for your desk or shelf. This project is a great way to add a pop of color to your day and showcase your creativity.
Step-by-Step DIY Rainbow Sprinkle Donut Clay Charm Craft
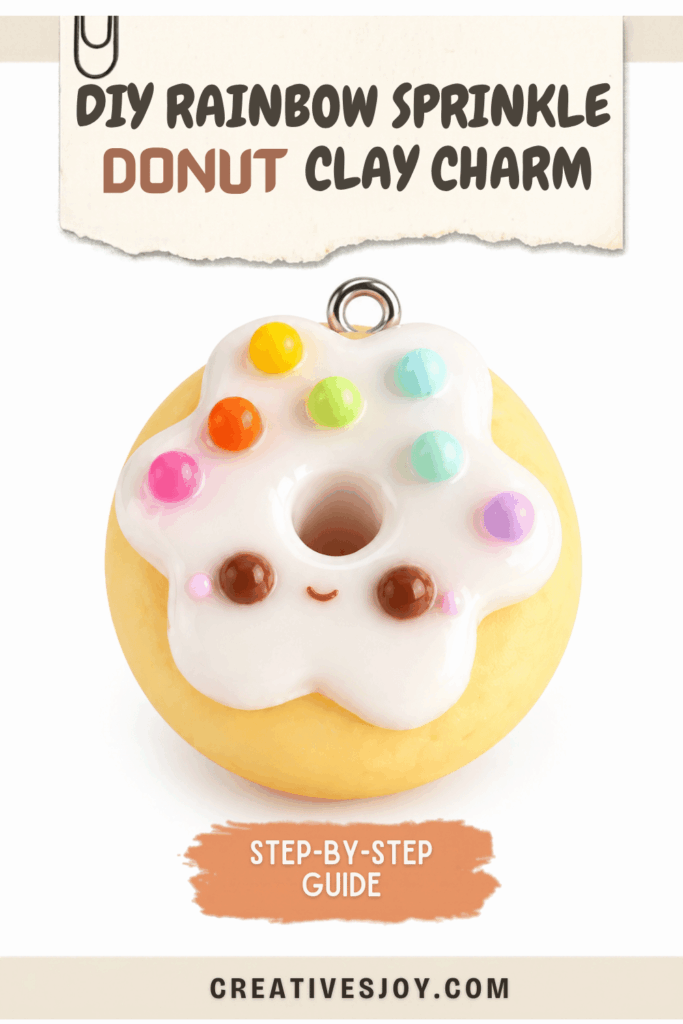
There’s something so charming about a mini donut design. The soft, dough-like texture, topped with colorful sprinkles, gives it that cheerful, sweet look everyone loves. These tiny charms allow you to combine beautiful colors and details in a fun way, whether you make them in classic glazed styles or experiment with wacky colors and sprinkle patterns. Each one feels personal and unique, making them great gifts or accessories for friends who enjoy cute, handmade items.
Polymer clay is perfect for this type of project because it’s simple to shape and holds onto the small details beautifully after baking. Once finished, these donut-inspired charms are lightweight yet sturdy, so they’re both practical and long-lasting. Whether you’re exploring clay crafts for the first time or just want an enjoyable way to spend your creative time, this is an easy-to-love project with delicious results.

DIY Rainbow Sprinkle Donut Clay Charm
A kawaii rainbow‑sprinkle donut charm made from polymer clay, combining a baked vanilla donut base, a soft white glaze layer, tiny colorful sprinkles, a cute face, and a shiny UV resin finish. The process emphasizes small‑scale shaping, texturing for realism, careful alignment for the glaze hole, and secure hardware attachment to turn the piece into a wearable charm.
Project Overview
- Create a miniature donut base from vanilla‑toned polymer clay.
- Add surface texture and bake the base.
- Cut and apply a thin white glaze layer with a central hole that aligns to the donut.
- Add kawaii facial features and rainbow sprinkles.
- Insert an eye pin, bake, secure with glue, and finish with UV resin for gloss.
Materials & Supplies
- Polymer clay: vanilla (or pale beige/cream) and white; small amounts of rainbow colors for sprinkles; light brown for eyes/mouth if desired.
- Needle tool, dotting tool, paintbrush handle (for enlarging holes).
- Toothbrush (for surface texture).
- Yellow and brown chalk pastels (for toasting/coloring).
- Popsicle sticks (single sticks) and plastic wrap (for smoothing glaze).
- Small flower or circle cookie cutter sized for glaze.
- Rolling tool or small roller.
- X‑Acto knife or blade (optional).
- Eye pin for charm hardware.
- Oven and baking surface; follow clay manufacturer instructions.
- Super glue (to secure eye pin after baking).
- UV resin and UV lamp for glossy finish.
- Small brushes, dotting tools for eyes/cheeks, and clean workspace.
Preparation
- Condition the clay until pliable and free of visible seams.
- Form a small ball of vanilla clay sized for your desired charm scale.
- Prepare white clay sheet by flattening between two single popsicle sticks for consistent thickness; cover with plastic wrap to prevent sticking and to produce a smooth glazed surface.
- Preheat oven only when ready to bake, following the polymer clay manufacturer’s recommendations.
Step‑by‑Step Detailed
Forming the donut base
- Create the base:
- Roll a small ball of vanilla clay and gently flatten it with your finger to a donut thickness.
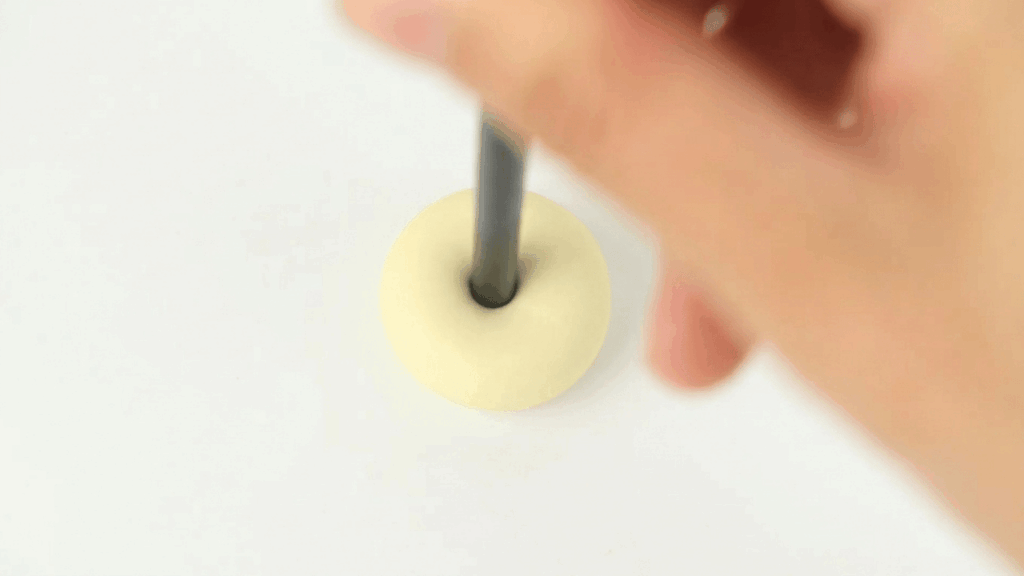
- Use a needle tool to poke a small hole through the center, then enlarge the hole with the end of a paintbrush handle until it matches the desired donut hole size.
- Texture the surface by dabbing a toothbrush all over to add subtle pores and a baked look.

Adding toasted color
- Shade the base:
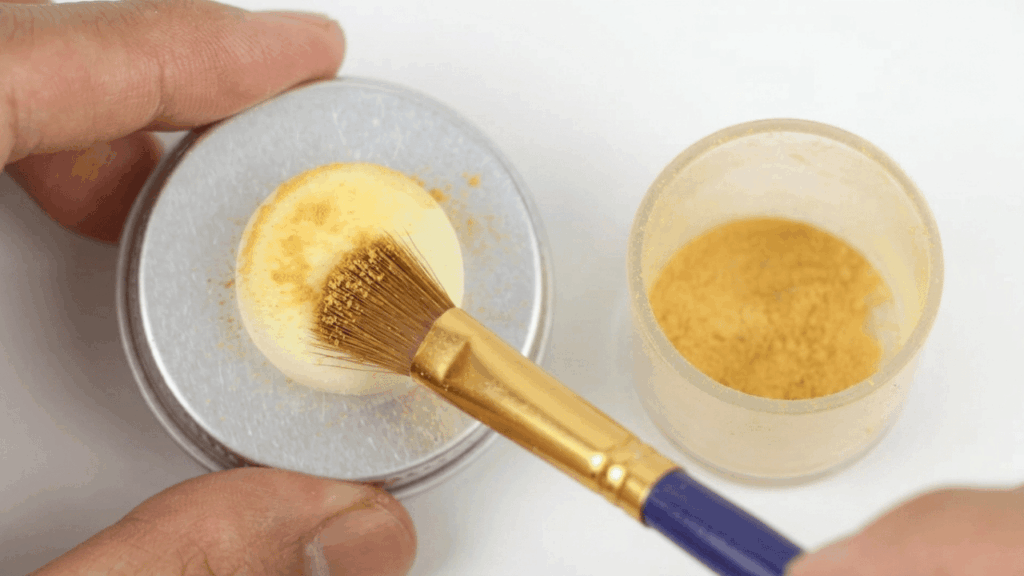
- Brush a mix of yellow and brown chalk pastel lightly over the surface to achieve a golden‑brown, freshly baked appearance.
- Apply sparingly and build up until the color looks natural; blend with a soft brush for even coverage.
Preparing the glaze
- Roll and smooth the glaze layer:
- Flatten a small ball of white clay between two single popsicle sticks to get an even thin sheet.
- Lay plastic wrap over the top and smooth it to create rounded edges and a polished surface.
- Use a small flower cookie cutter to cut the glaze shape (the cutter creates a decorative edge reminiscent of a frosted top).
- Remove the plastic wrap and trim away excess clay to leave only the glaze piece.

Applying and sizing the glaze hole
- Fit the glaze to the donut:
- Place the glaze piece on the donut, then turn the assembly over to access alignment from the underside.
- Use the needle tool to poke a small guide hole through the glaze using the donut hole as a guide.
- Turn the piece right side up and enlarge the hole with the end of a paintbrush handle until it matches the donut center hole and sits flush without gaps.
Adding kawaii facial features
- Create the face:
- Use a dotting tool to make two small indentations for the eyes.
- Roll tiny balls of brown clay for eye inserts and press them into the indentations.
- Form a tiny smile from a thin roll of brown clay and place it under the eyes.
- For cheeks, roll very small balls of light pink clay and press gently onto the glaze surface to create soft blush dots.
Applying sprinkles
- Make and place sprinkles:
- Roll many tiny balls in rainbow colors (red, orange, yellow, green, blue, purple).
- Place them across the glaze surface, spacing naturally and varying sizes slightly for realism.
- Press each sprinkle lightly so it adheres to the white glaze without flattening.
Inserting the eye pin
- Turn into a charm:
- Insert an eye pin through the top of the donut, positioning it so the loop will sit centered above the face.
- Ensure the pin pierces the clay but does not distort the glaze design. The eye pin will be fully secured after baking and glueing.

Baking
- Cure the piece:
- Bake the assembled charm according to the clay manufacturer’s instructions, taking into account combined thickness of donut and glaze.
- After baking, allow the charm to cool completely before handling.
Finishing Instructions
- Secure hardware and gloss:
- Once cooled, apply a drop of super glue to the eye pin base inside the charm to ensure it won’t wiggle; allow glue to cure fully.
- Coat the glazed surface with UV resin to achieve a bright, shiny finish; cure under a UV lamp according to resin instructions.
- Inspect for any resin overflow and remove or sand lightly if necessary.
Tips
- Consistency in thickness: using popsicle sticks ensures an even glaze layer.
- Build chalk pastel color gradually for a natural bake look.
- Use plastic wrap to achieve gently rounded glaze edges without fingerprints.
- Roll sprinkles very small and vary sizes to avoid mechanical uniformity.
- Cure UV resin in thin layers to avoid warm spots and pooling.
Common Problems & Solutions
- Glaze hole misalignment: re‑poke the center with a needle tool before enlarging; if miscut, trim the hole carefully with a blade and fill minor gaps with a thin white clay slip then reheat briefly.
- Sprinkles detaching after bake: press sprinkles gently into the soft glaze before baking; if detached, glue with a tiny resin dot and recoat.
- Eye pin wobble: use a stronger epoxy or add a small bead of cured clay under the loop before glueing to stabilize.
- Bubbles in UV resin: apply resin in thin layers and use a toothpick to pop trapped air; cure each layer thoroughly.
Creative Ideas
- Change glaze shapes with different cutters (hearts, stars) for themed charms.
- Add metallic luster dust to some sprinkles for sparkle.
- Create matching sets (coffee cup charm, ice cream) for charm bracelets.
- Use colored clay base (chocolate, strawberry) and tinted resin for flavored looks.
Last Words
A kawaii rainbow‑sprinkle donut charm with a textured, toasted base, smooth white glaze, tiny kawaii face and colorful sprinkles, finished as a durable, glossy charm with a securely attached eye pin—perfect for jewelry, keychains, or miniature displays.