Simple Tortoise Shell Polymer Earrings for Everyday Wear
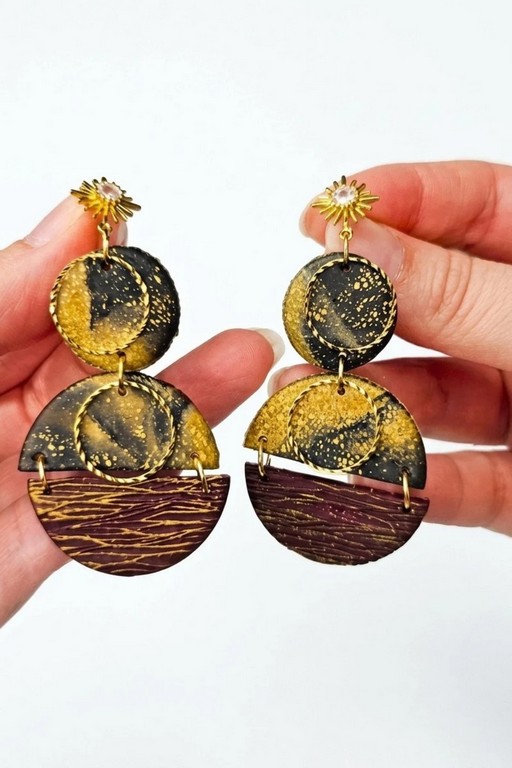
Design chic Tortoise Shell Polymer Earrings with this easy DIY tutorial to create timeless, stylish accessories to elevate your jewelry collection today.
Handmade jewelry is always a fun way to add a personal touch to your style, and creating your own earrings is even better. For those who love a timeless, elegant vibe, making Tortoise Shell Polymer Earrings is the perfect DIY project. Inspired by the classic tortoise shell pattern, this craft lets you recreate the rich, blended tones of caramel, brown, and black using polymer clay. These earrings are visually stunning and will instantly elevate any outfit, making them a must-try for jewelry lovers.
Modern Tortoise Shell Polymer Earrings You Can Create
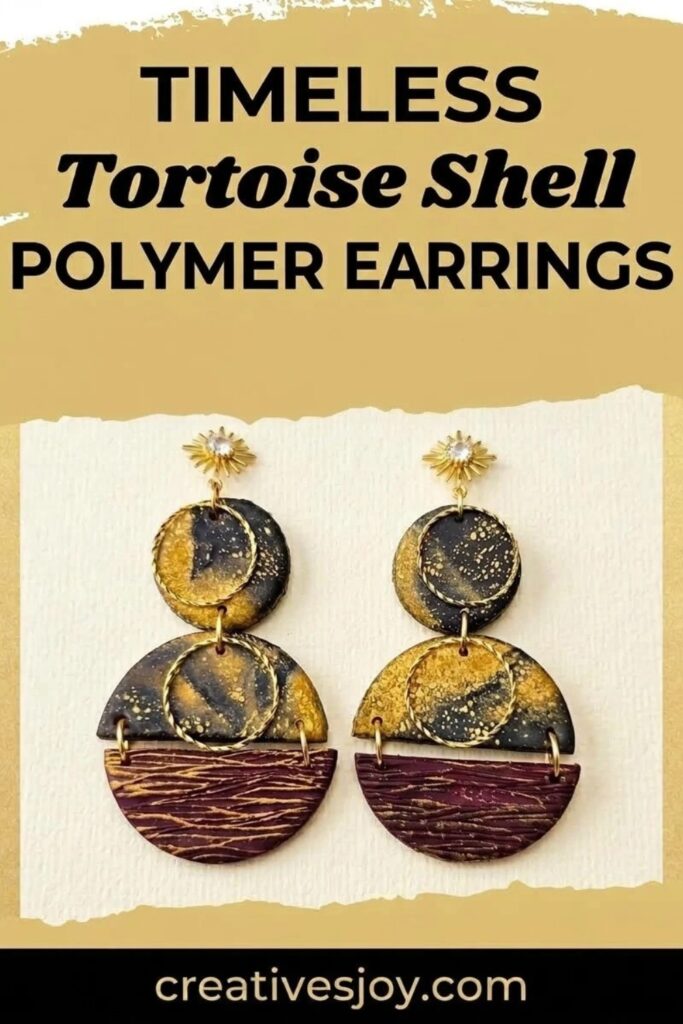
To create these earrings, you’ll start by mixing different shades of clay to mimic the tortoise shell pattern. Using simple techniques, you’ll form and layer the colors together before cutting out shapes like circles, squares, or geometric patterns. After baking and hardening the clay, you can attach earring hooks or studs to complete the look. You can also experiment with different sizes and designs for a truly personalized accessory.
What makes this project exciting is its versatility and classic appeal. These earrings are lightweight, durable, and perfect for adding a touch of sophistication to both casual and formal outfits. Plus, making them yourself ensures every pair is unique. Whether you’re crafting for fun, creating gifts, or even selling your designs, this DIY project is a stylish and rewarding way to explore your creativity while enjoying the timeless beauty of tortoise shell patterns.
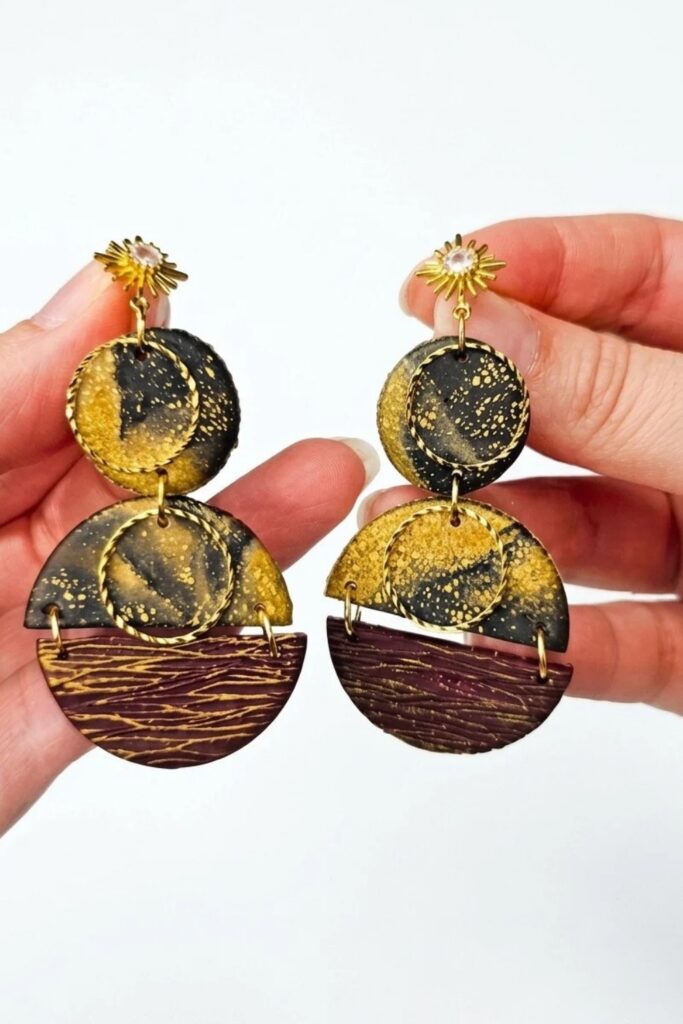
Tortoise (Turtis) Cane Earrings & Matching Barrette
This project teaches a compact, scrap‑saving polymer clay method to make tortoise-patterned earrings and a coordinating barrette. You’ll create a tortoise (turtis) cane using translucent clay, mica powders, gold leaf and liquid clay, then quarter/recombine and compress to refine the pattern. Leftover scraps are repurposed into a terrazzo‑style barrette topped with UV resin and finished with hardware. The result: two unique wearable pairs and a barrette with durable gloss and comfortable backs.
What You’ll Need
- Translucent polymer clay (base)
- Colored clay (black and accent tones)
- Mica powders (orange, bronze/sunset gold)
- Gold leaf (optional)
- Liquid polymer clay (translucent/bond)
- Pasta machine and acrylic roller
- X‑Acto knife or blade, cutters (toothpaste cap/hairspray cap for shapes)
- Baking tiles and oven (follow clay brand instructions)
- UV resin and UV lamp (for barrette topcoat)
- Super glue gel (for attaching hardware)
- Hand drill or hole puncher for jewelry holes
- Pliers, flush cutters, sandpaper/nail file
- Cornstarch for dusting, baby wipes/isopropyl alcohol for cleanup
Prepare the Materials
- Condition translucent clay thoroughly; incorporate mica powder gradually, testing small pieces until color is right.
- Cut colored and black snakes (thin rolls) and slice into chunks for mixing.
- Lay out tools, baking tile, and workspace; preheat oven to manufacturer temperature when ready to bake.
- Keep gold leaf sheets and liquid clay nearby if you plan to include metallic flecks.
Tools And Equipment
- Pasta machine (for conditioning, thickness control)
- Acrylic roller (for seam compression)
- Hand drill or hole punch (for post/drilling after baking)
- UV lamp (for curing resin topcoat)
- Pliers and flush cutters for assembly and trimming
Project Details
- Skill level: Beginner–Intermediate (comfortable with cane work and basic jewelry finishing).
- Time: 2–4 hours active time (plus baking and resin curing).
- Output: Two pairs of tortoise-pattern earrings (different accent variants) and one matching barrette.
Preparation
- Mix mica powder into translucent clay in small increments; use the pasta machine to blend evenly.
- Create long snakes of translucent and black clay; chop into chunks and roughly combine—this is the raw salad that becomes the tortoise pattern.
- Add a small amount of liquid polymer clay and gold leaf to the chunks to help bond and add visual interest; mix by hand or in a sealed bag if preferred.
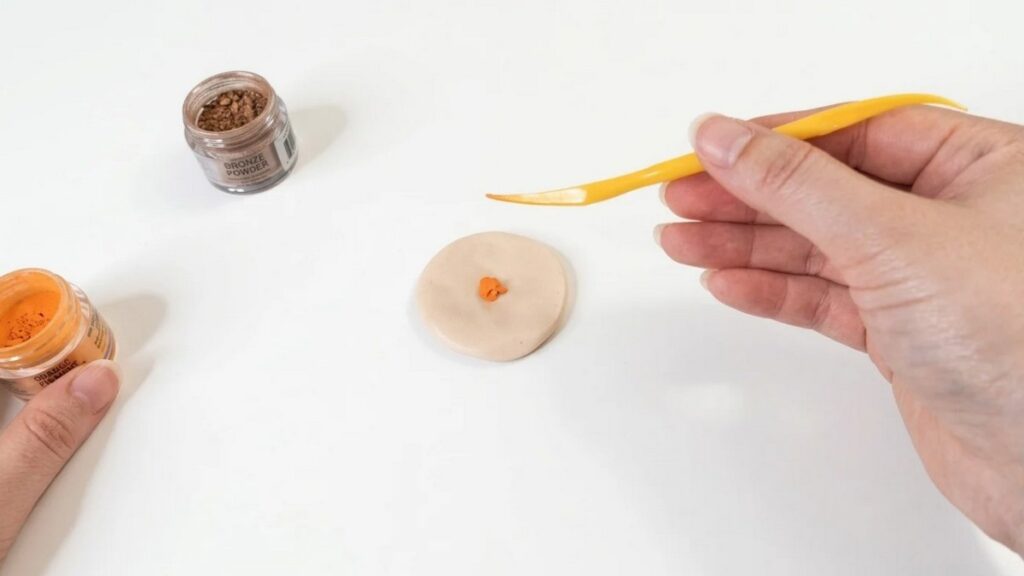
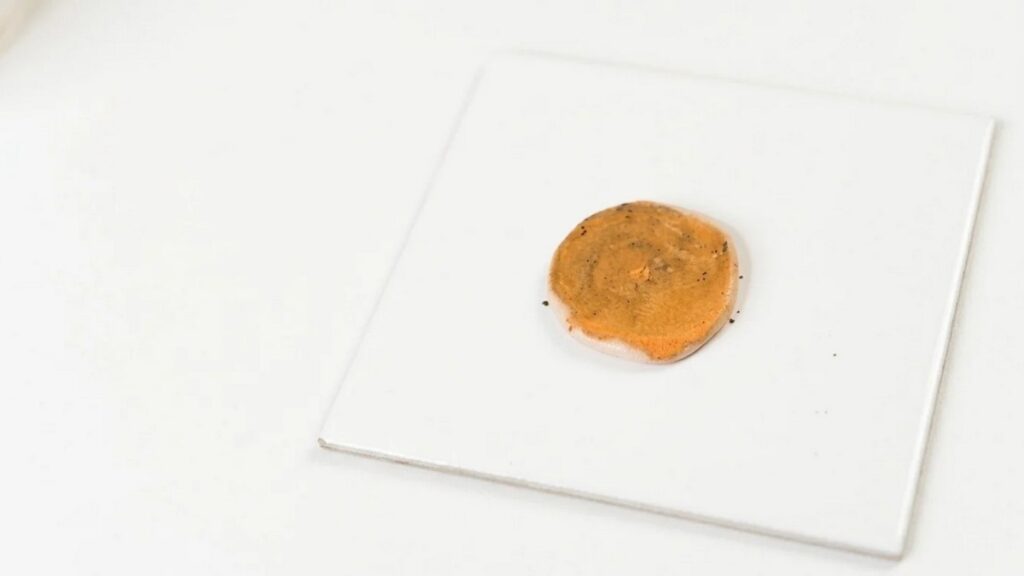
Start the Project
- Lay out the mixed chunks and compress thoroughly: press, fold, and re‑roll to eliminate seams.
- Form a cylinder (cane) from the compressed mix, then slice into four equal pieces.
- Rearrange the quarters and compress again—repeat quartering and recombining to develop detail and reduce black shapes into smaller tortoise spots.
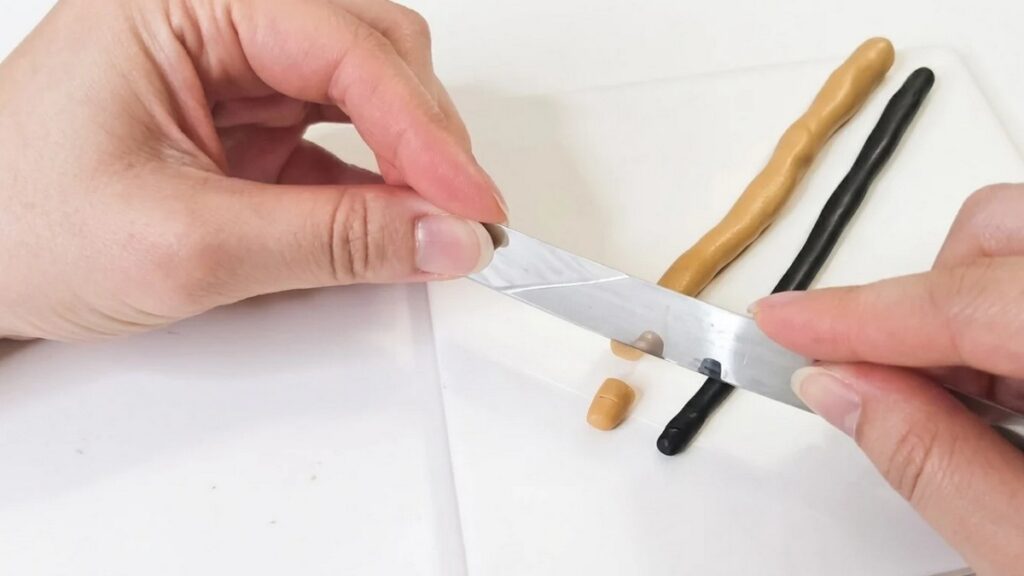
Step 1:
- Condition and tint translucent clay with mica powder; test and adjust until you like the tone.
- Make black and colored snakes; chop into even chunks and mix loosely with translucent chunks.
- Add tiny amounts of liquid clay and gold leaf; blend until the pieces hold together.
Step 2:
- Compress the mixed chunks into a cane and slice into quarters.
- Rearrange the quarters and recompress; repeat quartering to refine the tortoise motif.
- Use the acrylic roller and pasta machine to laminate seams and reduce air pockets—compression first, machine second.
Step 3:
- Once satisfied with pattern density, roll the cane to final thickness on the pasta machine.
- Use cutters (toothpaste cap or bottle cap) to punch earring and barrette shapes directly from the sheet.
- Resist peeking underneath until pieces are on the ceramic/baking tile to avoid trapping air and causing dimples.
Step 4:
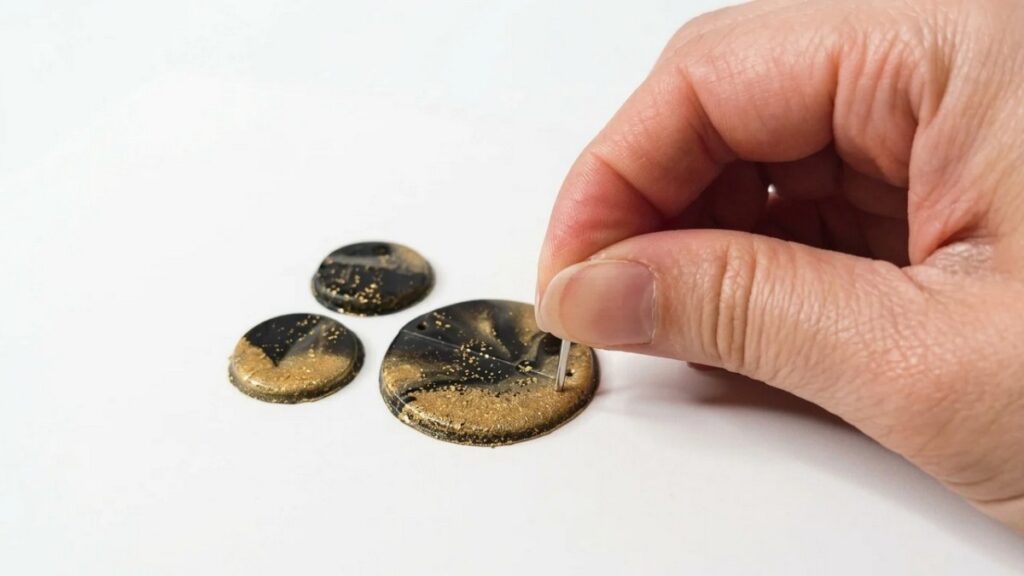
- Bake pieces on ceramic tile according to clay manufacturer instructions; allow to cool completely.
- For the barrette and any pieces you want glossy or reinforced, apply UV resin and cure (90–120 seconds is typical—follow resin instructions).
- Drill or punch holes (for earrings) after the initial bake; if you resin‑coat, re‑drill after coating to prevent lifting or whitening around holes.
Step 5:
- Sand or file edges for comfort; apply mica powder highlights (sunset gold) by dabbing with fingertip onto raised texture for extra pop.
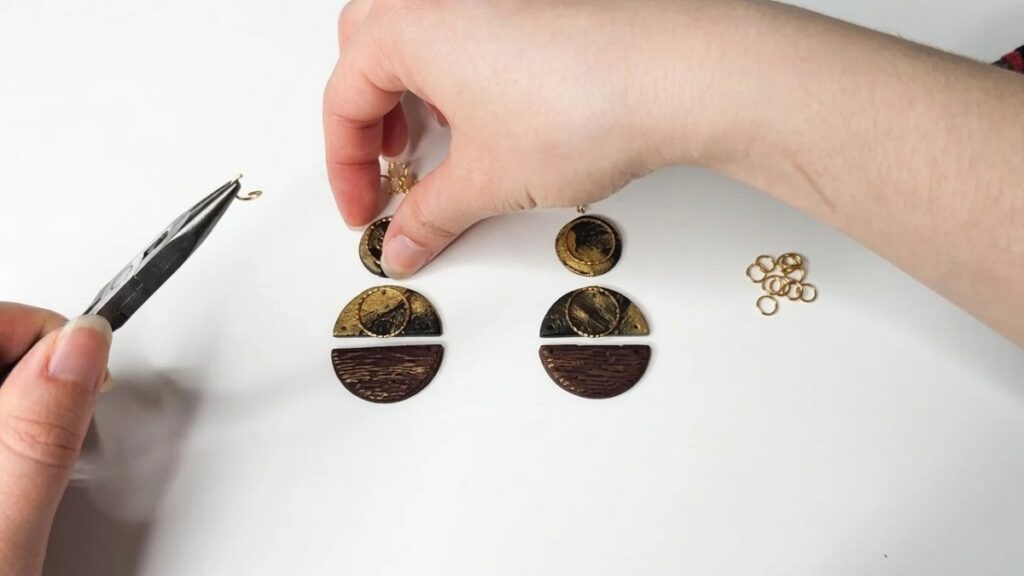
- Attach hardware: use super glue gel to bond barrette backing, use jump rings, hoops, or zirconia posts for earrings. Secure all closures and trim excess.
- For multi‑layer hardware (nested hoops, gold accents), measure chain/hoop lengths for balanced movement before final closing.
Finishing Instructions
- Ensure UV resin is fully cured and no tacky residue remains; wipe with isopropyl alcohol if needed.
- Test attachments by gently tugging each jump ring and post; reinforce with adhesive or replace findings if any loosen.
- Package flat to avoid warping and include care notes: avoid prolonged water exposure and high heat.
Tips & Techniques
- Compression is critical—don’t rush recombining steps or seams will split during reduction or baking.
- Press the patterned side down on ceramic for a glossier, crisper finish; avoid lifting to check the pattern before baking.
- Use tiny amounts of liquid clay when adding gold leaf to maintain structural integrity.
Common Problems & Solutions
- Air pockets/dimples: compress more and roll on the acrylic before using the pasta machine; press thoroughly onto ceramic.
- Pattern splitting: repeat compression and seam smoothing; avoid over‑thinning until seams are sealed.
- Resin whitening when drilling: drill final holes after resin cure, or use resin‑specific drill bits designed to minimize lifting.
Creative Ideas & Variations
- Vary mica tones (olive, bronze, copper) for seasonal colorways.
- Nest different sized hoops for layered movement; swap zirconia posts for brass studs for a warmer look.
- Make matching sets: pendants, hairpins, or a trio of tiny studs with the same cane.
Final Result
You’ll end up with uniquely patterned tortoise earrings—each piece slightly different thanks to the cane process—and a glossy barrette made from leftovers. The finished set showcases controlled color, subtle metallic shimmer, and durable hardware suitable for market sales or personal gifting.