DIY Polymer Clay Spooky BOO Craft Idea for Halloween
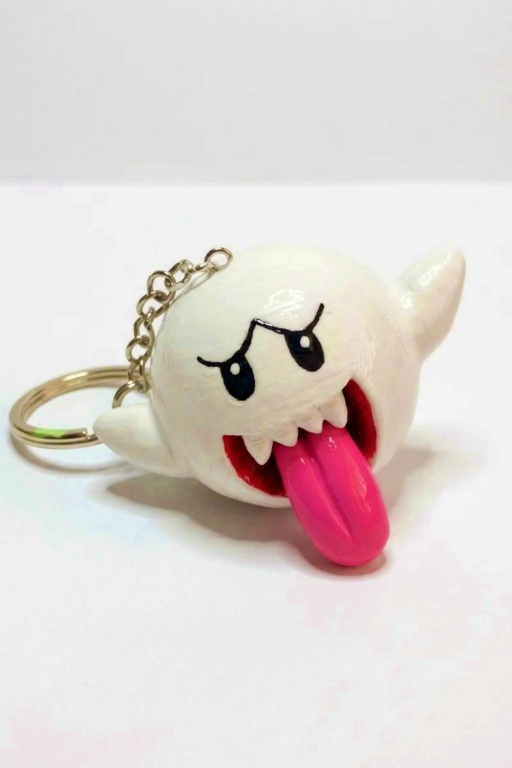
Get into the Halloween spirit with this fun DIY Polymer Clay Spooky BOO project perfect for crafting eerie yet adorable decorations or accessories.
Not every Halloween decoration has to be big or scary—sometimes the small, spooky touches are the most fun! Crafting with polymer clay allows you to make tiny, eerie creations that bring Halloween spirit alive. This project is all about creating charming little ghostly designs featuring the word “BOO.” It’s playful, creative, and perfect for adding a bit of spooky fun to your decorations or as gifts for family and friends.
How to Make DIY Polymer Clay Spooky BOO Step by Step
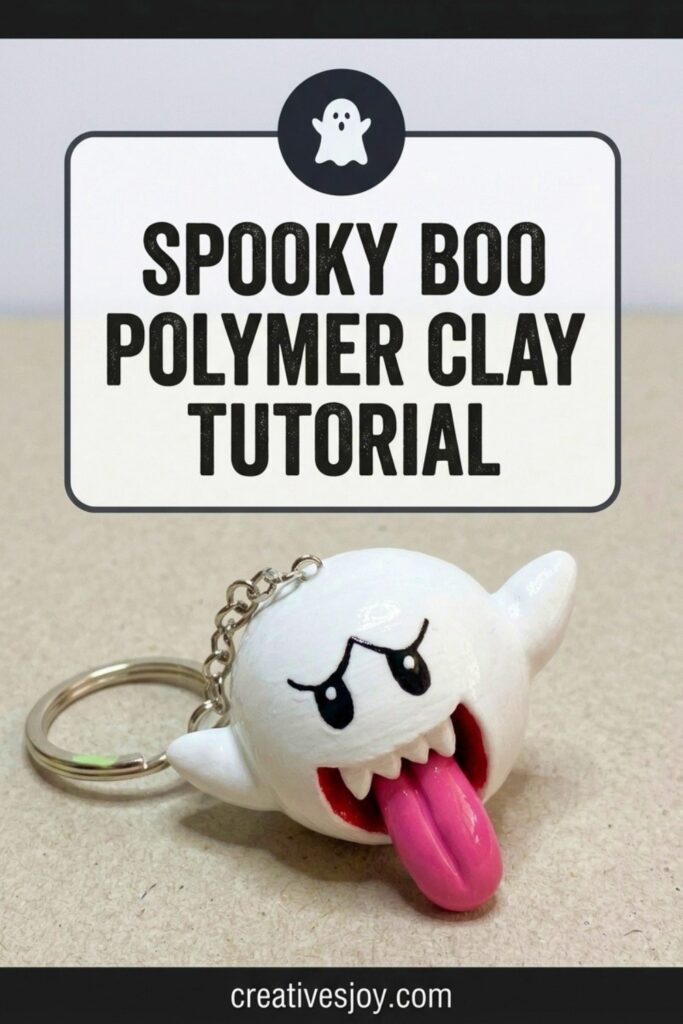
The steps to create these spooky clay designs are simple yet enjoyable. Start by shaping your ghostly figure or letters with soft polymer clay, molding it into smooth and rounded shapes. You can add fun details like carved expressions, glowing effects with tinted clay, or tiny accessories like hats or pumpkins. The word BOO adds an extra playful vibe, making your creation look like it’s ready to jump out and surprise anyone who sees it. Mixing Halloween colors like orange, black, or white also makes the design stand out.
Once finished, these spooky BOO decorations can be used in all kinds of creative ways. Turn them into ornaments, fridge magnets, or even Halloween-themed jewelry like pendants or earrings. They’re small, unique, and bring a mix of cute and eerie to your spooky season crafts. It’s a delightful project that celebrates Halloween in a fun and creative way while showing off your crafting skills.
Project Overview
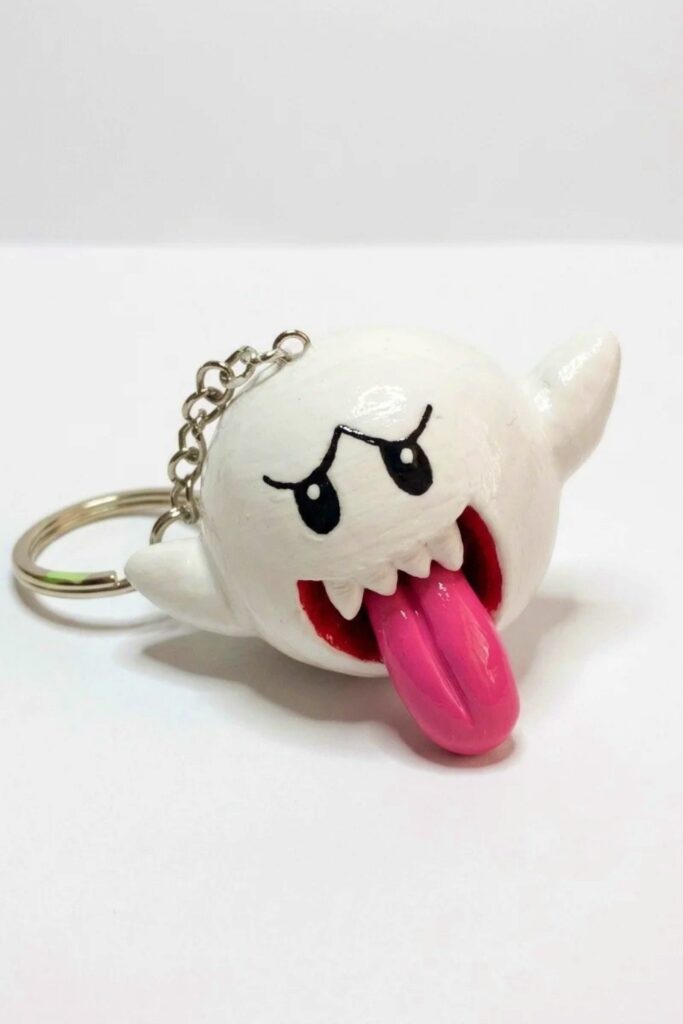
Create a cute Boo keychain charm from polymer clay. This tutorial guides you through shaping a ghost-like body, forming tail and arms, carving the mouth and teeth, inserting an eye pin, baking, painting details, and sealing with glaze to produce a durable, wearable charm.
Materials & Supplies
- Polymer clay (white for body; small bits for tongue and teeth)
- Eye pin (for keychain attachment) — important
- Acrylic paints: red, pink, white, black
- Glaze (clear varnish or polymer-safe gloss) — important for protection
Tools & Equipment
- Pointy/detail tool (for outlining and carving the mouth)
- Sharp tool/X‑acto or needle tool (for finer carving and seed lines)
- Small roller or hands for shaping balls and cones
- Baking oven (follow clay package instructions)
- Small paintbrushes for detail work
Project Details
- Difficulty: Beginner-friendly
- Time: 30–60 minutes active crafting plus baking and drying
- Finished size: Small charm-sized Boo (depends on initial clay ball)
- Output: One Boo keychain; scaleable to multiple charms
Preparation
- Gather all materials listed and set up a clean workspace.
- Condition polymer clay by kneading until soft and uniform. Warm clay is easier to shape.
- Preheat oven only when ready to bake, following the clay manufacturer’s temperature and time guidelines.
Step-by-Step Detailed
Form the Body and Head
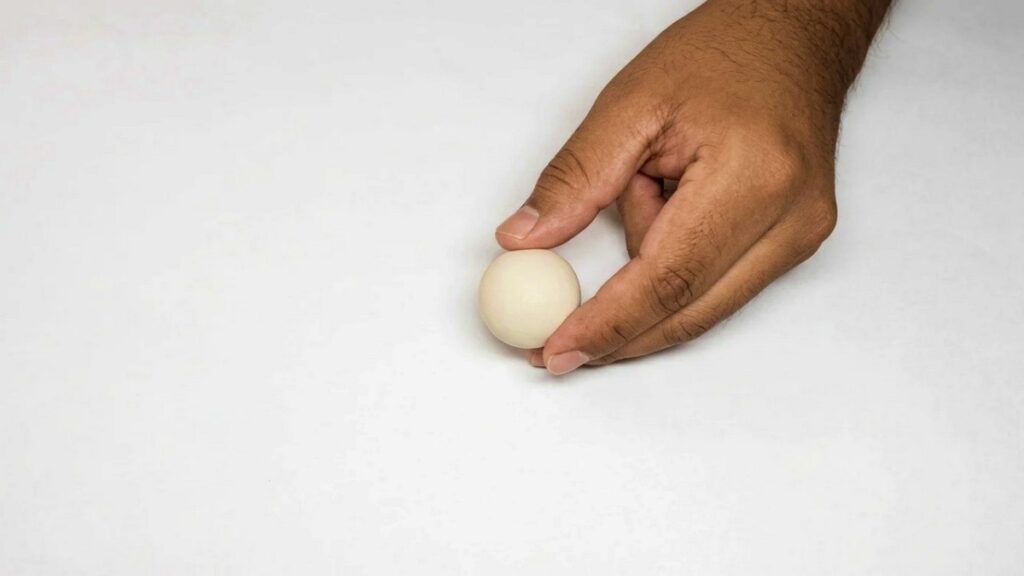
- Take a piece of clay and shape it into a ball.
- Take another piece and form it into a cone.
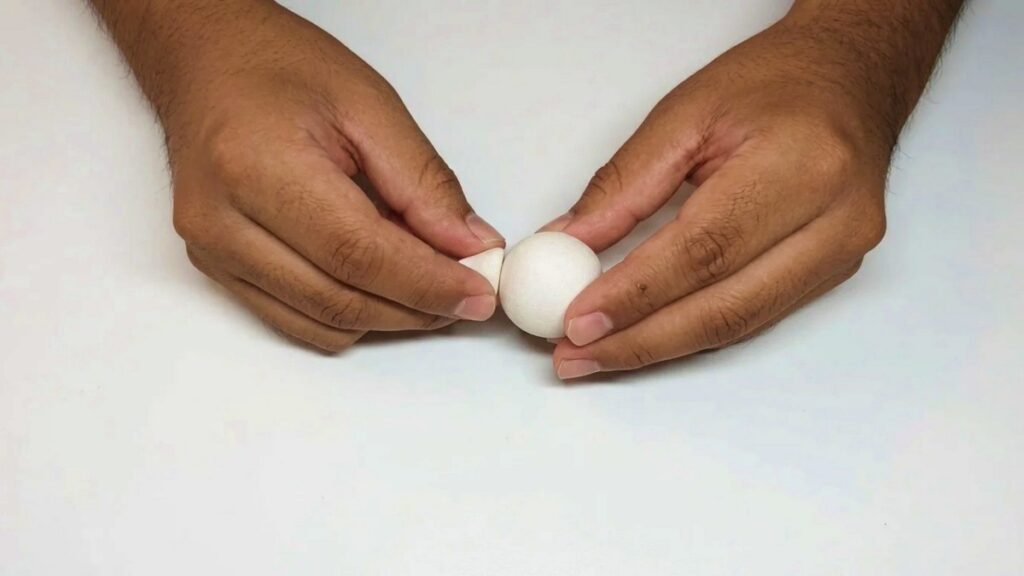
- Attach the cone to the ball and blend the joint with your fingers until smooth.
- Use your fingers to smooth out any imperfections on the surface.
- Gently push the tip of the cone upwards to create Boo’s tail.
Create and Attach the Arms
- Make two small cones for the hands.
- Cut each cone at an angle to create a flattened arm edge.
- Attach an arm to each side of the body and blend carefully so seams disappear.
Shape the Mouth
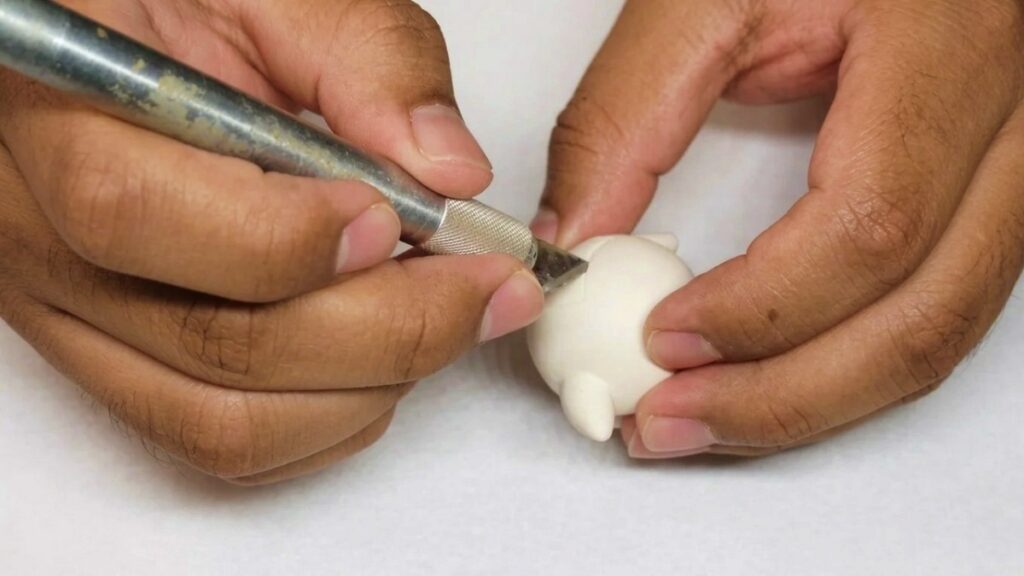
- With a pointy tool, outline a smile on the front of the body.
- Under the smile, outline a V shape to guide the inner mouth shape.
- Use a sharp tool to carve out the smile area, removing clay to create depth.
- Smooth the inside of the mouth so it doesn’t look rough—use a smoothing tool or fingertip dipped lightly in water if compatible with your clay.
Form the Tongue
- Roll a medium-sized piece of clay into a long oval for the tongue.
- Use a pointy tool to create a center line down the tongue to define the two lobes.
- Carefully bend the tongue and place it into Boo’s mouth, adjusting so it sits naturally inside.
Make and Attach the Teeth
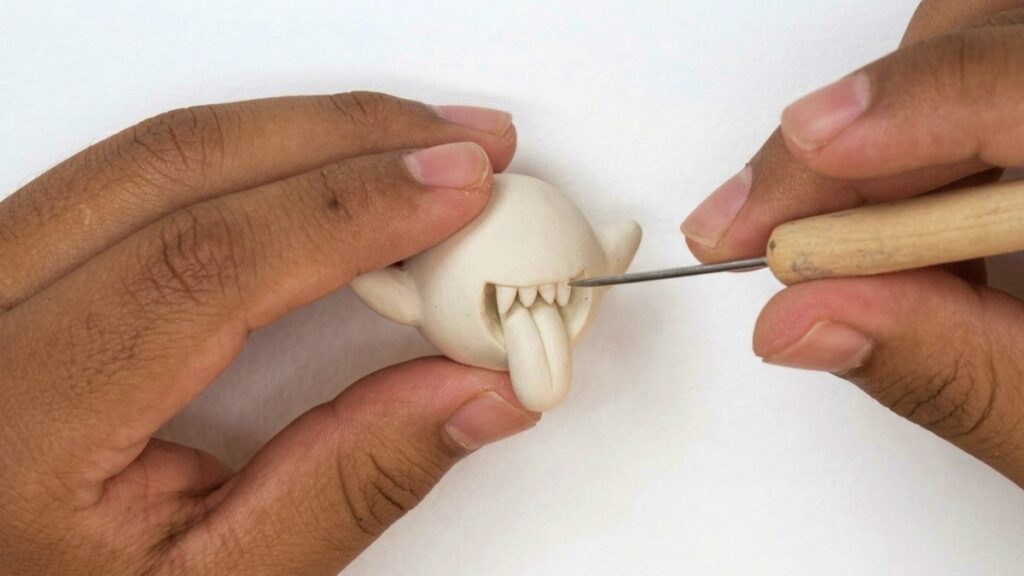
- Roll four tiny cones to form Boo’s teeth.
- Attach the teeth to the upper part of the mouth, spacing them evenly and pressing gently to secure.
Insert the Eye Pin
- Insert an eye pin into the center top of Boo’s head for attachment to a key ring.
- Use extra clay to secure the eye pin base by pressing and blending around it so it holds during baking.
Bake
- Bake the piece according to your polymer clay package instructions (temperature and time vary by brand).
- Allow the baked piece to cool completely before handling or painting.
Paint the Details
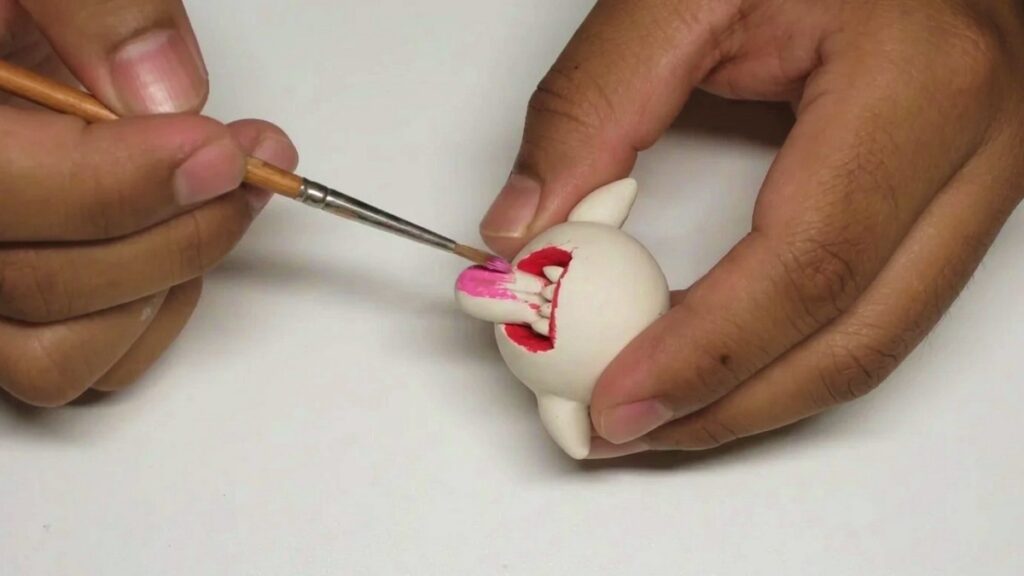
- Paint the inside of the mouth red using a small brush.
- Paint the tongue pink; use light strokes for a smooth finish.
- Paint the entire body and the teeth white if needed to even out the clay finish or cover bake discoloration.
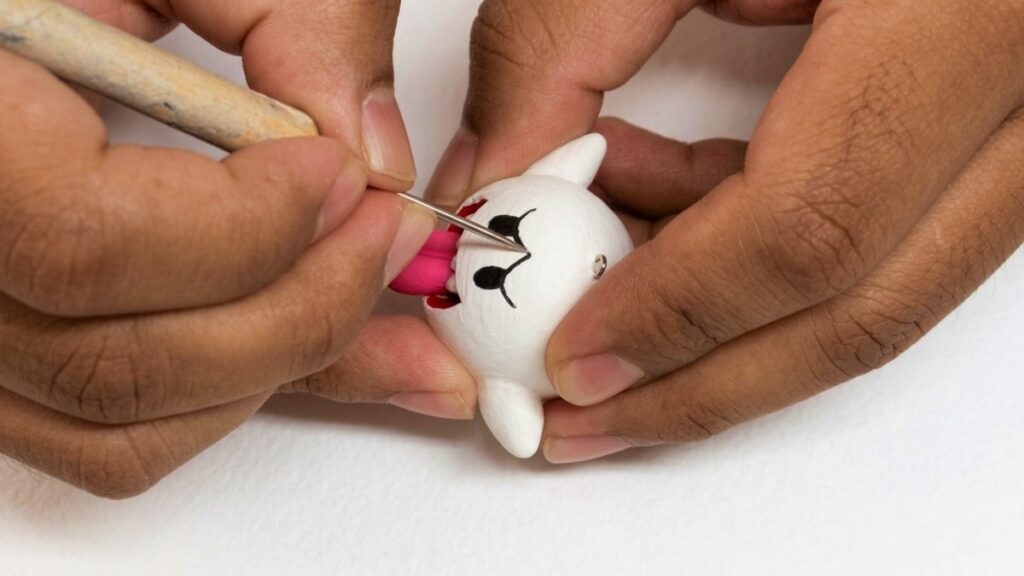
- For the eyes, paint two black ovals. Add a curved line above each eye to form expressive brows.
- Paint Boo’s eyebrows so they connect and form a “W” shape for the signature expression.
- For pupils, add two tiny white dots on top of the black ovals to create highlights and life.
Glaze and Finish
- Apply a layer of clear glaze over the entire charm or selective areas (e.g., only the eyes or mouth) to protect painted details.
- Let the glaze dry and cure fully according to the product instructions before attaching to a key ring.
Finishing Instructions
- Attach a split ring or keychain hardware through the eye pin once the glaze is dry.
- Check that the eye pin is secure and that glaze is completely cured before regular use.
- Store in a cool, dry place; avoid prolonged sun exposure to prevent color fading.
Tips & Techniques
- Use properly conditioned clay to avoid cracks or seams after baking.
- Blend seams thoroughly with fingers or a smoothing tool to get a seamless finish.
- Use a tiny brush for pupils and highlights; steady hands produce cleaner details.
- If mouth area looks rough after baking, a gentle sanding with fine grit and repainting can smooth it.
Common Problems & Solutions
- Eye pin wobbles after baking:
- Solution: Re-bake with extra clay support around the pin or use superglue to secure if the clay is already baked.
- Paint chips or scratches:
- Solution: Ensure the clay is clean and dry before painting and seal with a compatible glaze.
- Teeth or tongue detach:
- Solution: Press these elements firmly before baking and bake at correct temperature/time; if detached post-bake, reattach with clay adhesive or superglue.
Creative Ideas & Variations
- Make different expressions by altering brows and mouth shapes (happy, surprised, sleepy).
- Create a mini Boo family in varying sizes and colors.
- Add tiny accessories like a hat, bow, or tiny painted stars on Boo’s body.
- Use glow-in-the-dark clay or paint to make a spooky variant.
Final Result
You will have a charming Boo keychain: a smooth, blended ghost-shaped charm with a cute tail, tiny arms, carved mouth with tongue and teeth, expressive eyes, and a secure eye pin—sealed with glaze for durability and ready to attach to keys, bags, or gift as a handmade charm.