Quick DIY Miniature Luxury Chair with Polymer Clay for Beginners

Design an elegant touch with this DIY Miniature Luxury Chair with Polymer Clay a creative project to craft tiny, sophisticated decor or dollhouse pieces.
It might seem tricky to create something elegant in a miniature size, but crafting a luxury chair from polymer clay is surprisingly fun and rewarding. This project allows you to design a tiny, detailed chair that looks fancy and stylish, perfect for dollhouses, decoration, or simply as an adorable collectible. No matter if you’re an experienced crafter or a beginner, this activity is a great way to unleash your creativity and try your hand at designing something truly unique.
DIY Miniature Luxury Chair with Polymer Clay for Elegant Dollhouse Decor
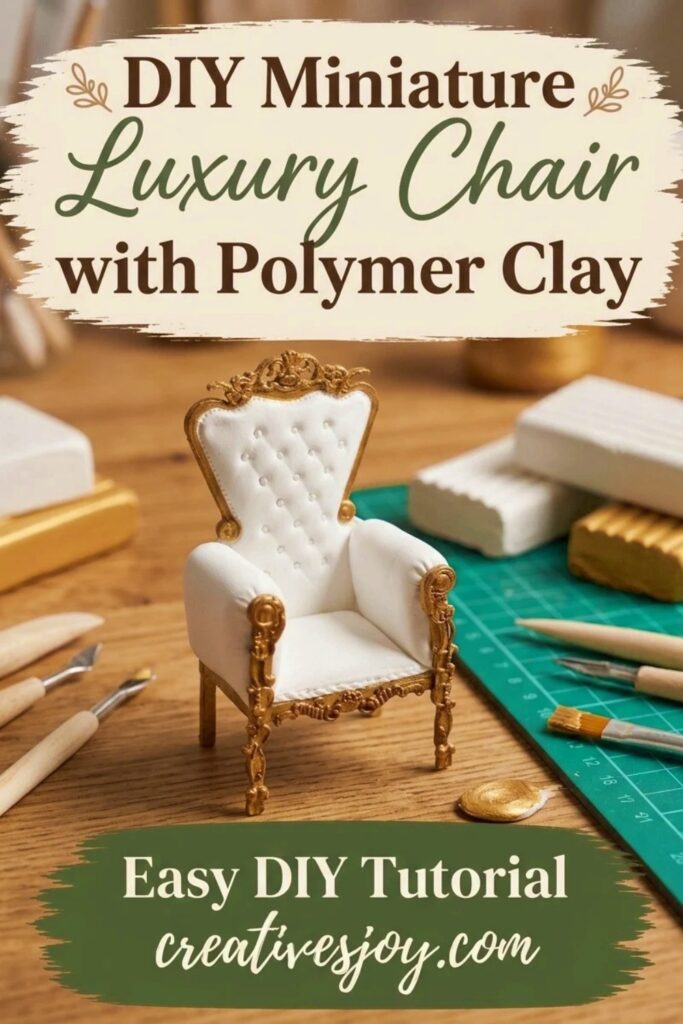
You’ll start by shaping the basic structure of the chair using polymer clay, then work on adding fine details like soft cushions, carved patterns, or even metallic accents to give it that luxury feel. The best part is choosing a unique design—whether you want a classic armchair, a modern sleek style, or something with a vintage touch, polymer clay is easy to mold and customize. You can also play around with colors, textures, and extras like tiny decorative pillows.
When your luxurious little chair is complete, it becomes a charming centerpiece for any miniature setup or a delightful handmade gift. Its tiny intricate details will grab everyone’s attention and bring a touch of elegance to your craft collection. Whether you display it, use it with dollhouses, or give it as a keepsake, this project is a wonderful way to combine creativity and sophistication in one tiny package.
Project Overview
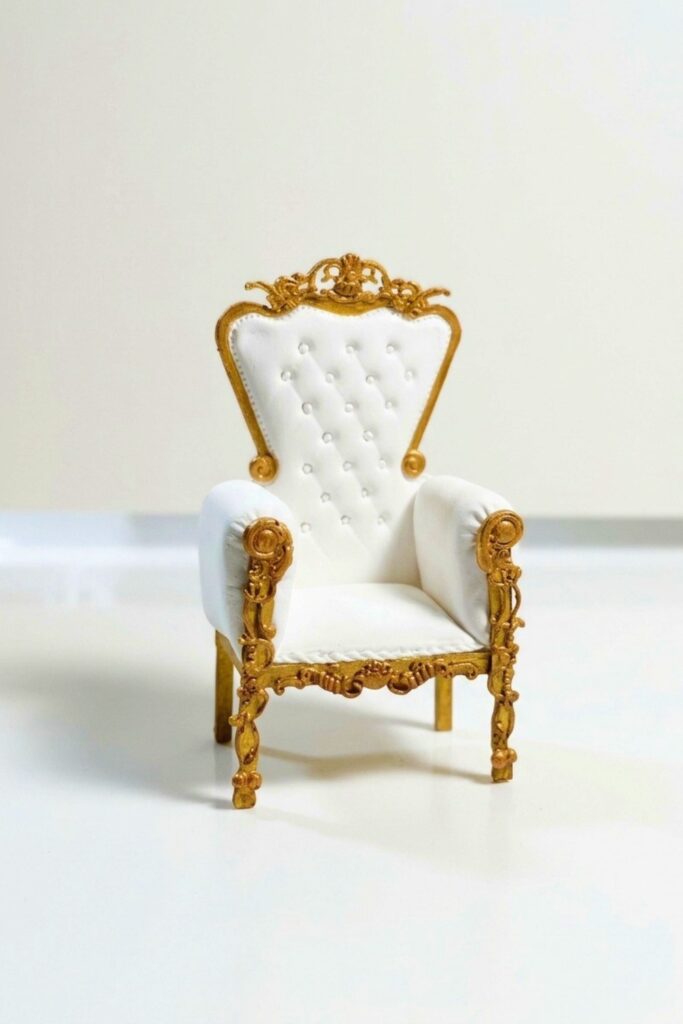
Create a realistic miniature upholstered chair using polymer clay, resin frames, and air clay (iClay) for cushioned details. The process covers printing a pattern, forming a thin polymer frame, making a silicone/resin mold to duplicate parts, assembling resin frame pieces, painting metallic finishes, sculpting cushions with air-drying clay, and final assembly and varnishing for long-term preservation.
Materials & Supplies
- Polymer clay (color for chair frame)
- Printout/pattern for the chair scale and shape
- Glass plate (to fix the print beneath for tracing)
- Resin (Formax or equivalent) for strong duplicated parts
- Mold-making materials (silicone mold compound)
- Fimo Liquid or resin adhesive (FORMAX exclusive adhesive if available)
- Acrylic paints (gold and copper tones)
- iClay / air clay for cushion and upholstery details
- Water (for smoothing air-clay joins)
- Instant adhesive (superglue) for final resin-frame assembly
- Gloss or matte varnish for sealing the finished chair
Tools & Equipment
- Pasta roller or thinning tool for clay sheets
- Blade / craft knife (X‑Acto) for cutting shapes
- Curve tool / shaping instrument for frame curves
- Pencil (for sketching inner frame)
- Small sculpting tools for stitching and wrinkles
- UV lamp (if using UV resin) and/or oven for baking polymer clay
- Small brushes and cotton swabs for paint application
Project Details
- Difficulty: Intermediate — requires multi-material handling (polymer clay, resin, air-drying clay) and basic mold-making.
- Time: Multiple stages over several sessions (molding, curing, baking, painting, assembly).
- Scale: Customizable — print pattern to desired miniature scale before starting.
Preparation
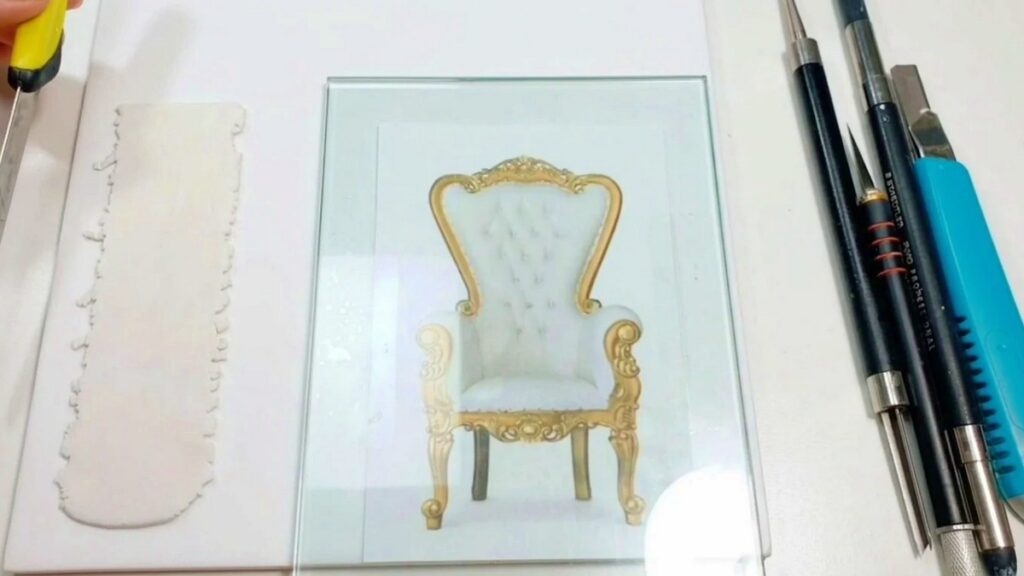
- Print your chair pattern at the desired miniature scale and secure it under a glass plate so you can work directly on top for accuracy.
- Condition and thin polymer clay to an even sheet using a roller or pasta machine; aim for a thin profile so the final frame is delicate and realistic.
- Prepare mold-making supplies and resin per manufacturer instructions; ensure a clean, ventilated workspace and follow safety guidelines for resin use.
Step-by-Step Detailed
Design & Cut the Polymer Frame
- Fix the printed template under the glass plate to use as a cutting guide.
- Thin polymer clay and lay it over the template; cut shapes so they are not too thick for a realistic frame.
- Note: polymer clay does not air-dry, so you can adjust shapes freely before baking.
Form & Bake the Initial Frame
- Use a curve tool to shape the frame elements according to the pattern.
- Remove the paper template before baking.
- Bake at 120°C for 30 minutes (follow your clay manufacturer’s recommended temperature and time if different).
- Allow baked pieces to cool before proceeding to mold-making.
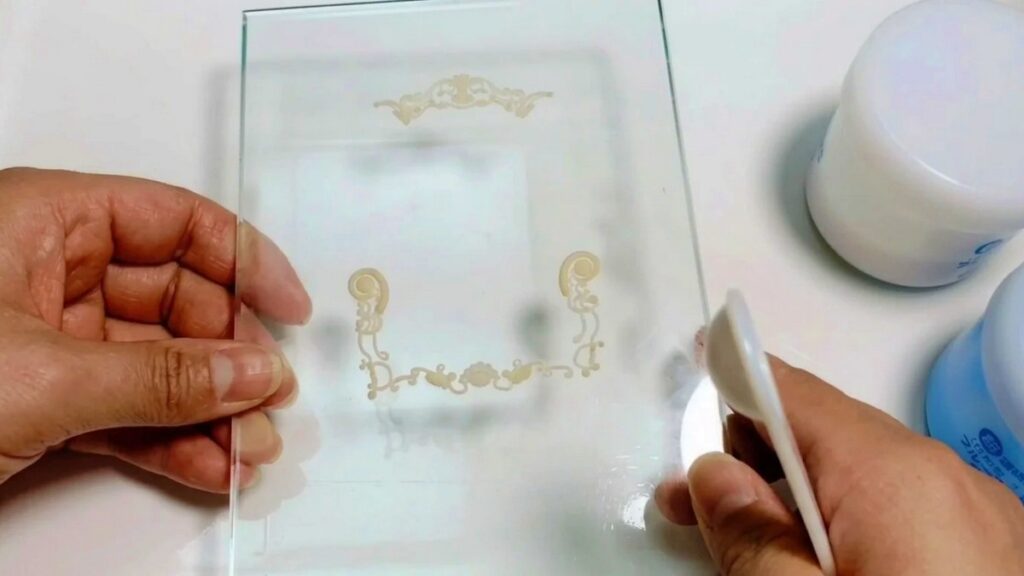
Create a Mold and Duplicate Parts
- Plan to make a silicone mold from the initial polymer-frame pieces so you can duplicate elements in resin.
- Mix mold compound and pour over the frame to create an accurate negative. Cure as per product instructions.
- For duplication: mix blue resin by combining the specified ratio of blue and white resin (or pigment/parts) and pour into the cured silicone mold.
- After resin slightly hardens, remove carefully to avoid distortion. If resin is fast-setting, work methodically.
Clean & Prepare Resin Casts
- Remove any residual clay from the mold prior to casting subsequent parts.
- Trim flash and imperfections from resin duplicates. Use a UV lamp for any UV resin pieces: cure for about 1 minute, then demold carefully and finish as needed.
- Use Formax (or the brand you prefer) for strong resin components—this material is noted for durability.
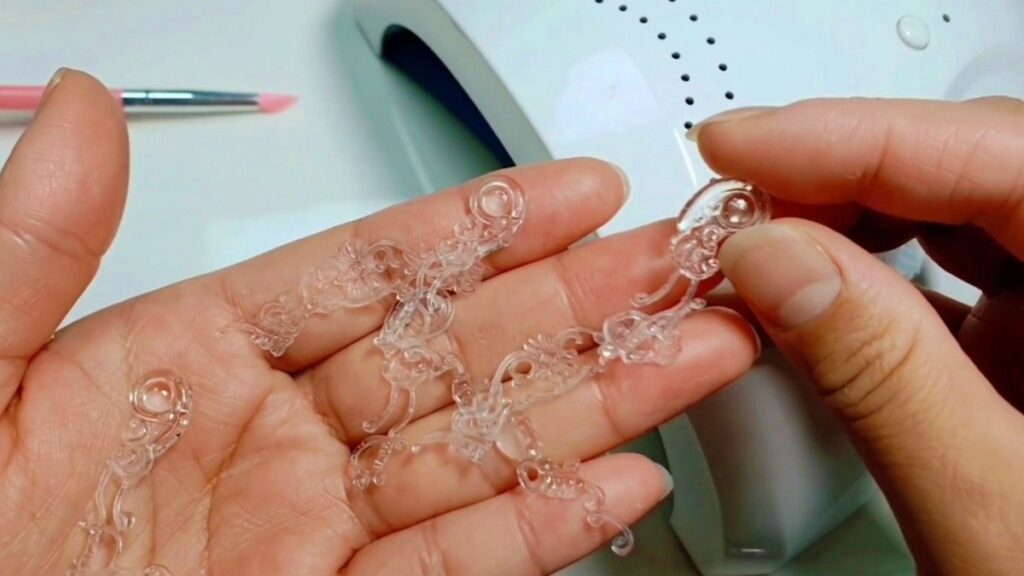
Cut, Sketch & Carve Inner Frame Details
- Sketch inner frame lines with a pencil on the resin frame duplicates to plan inset areas.
- Cut and carve inner frame recesses using a blade: dig out the inner sections that will later receive upholstery or overlays.
- Duplicate and align matching frame layers as required for structural depth.
Assemble Frames
- Overlay frame layers and bond them with FORMAX exclusive adhesive or a compatible resin adhesive for a secure, permanent join.
- For parts made purely of resin, use instant adhesive (superglue) to attach and align frame components precisely. Ensure joins are flush and wipe away excess adhesive quickly.
Paint & Patina
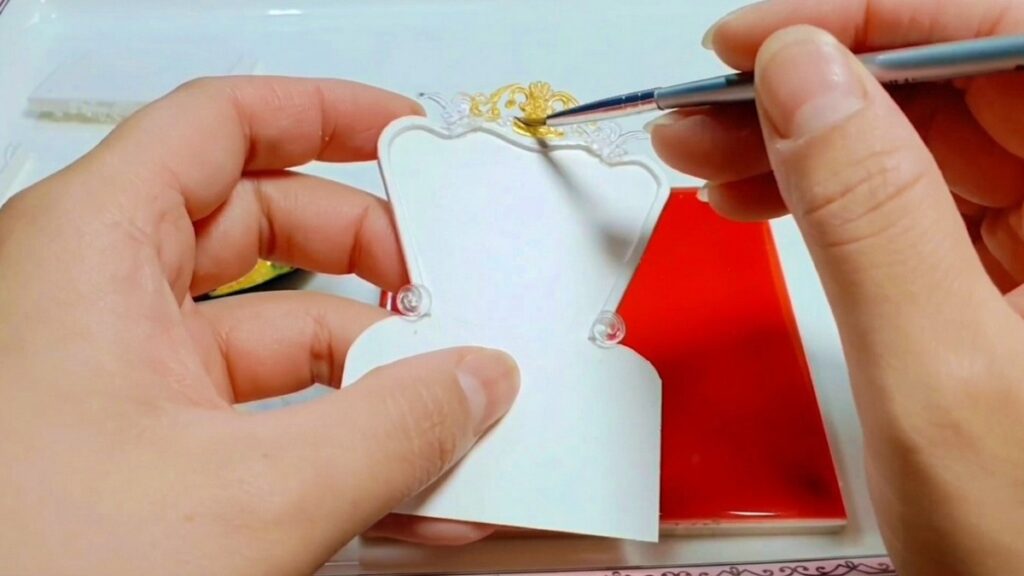
- Paint the assembled frame with gold acrylic paint for a metallic base.
- Use a cotton swab to apply a copper wash or patina in select areas to accent details and create a realistic antique finish.
- Build color gradually and allow drying between layers.
Sculpt Cushions with iClay (Air Clay)
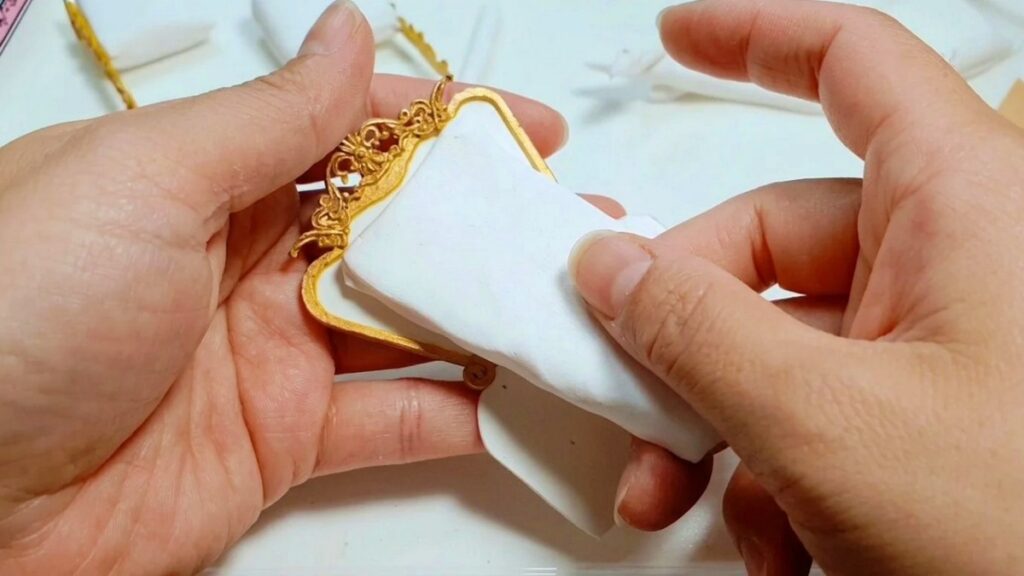
- Use iClay (air clay) for voluminous cushions; it dries in air and holds soft, sculpted details well.
- Shape the cushion pieces (seat, armrests, backrest) and mark stitching lines and seam locations.
- For armrests: express realistic wrinkles by pinching and pressing, then smooth edges.
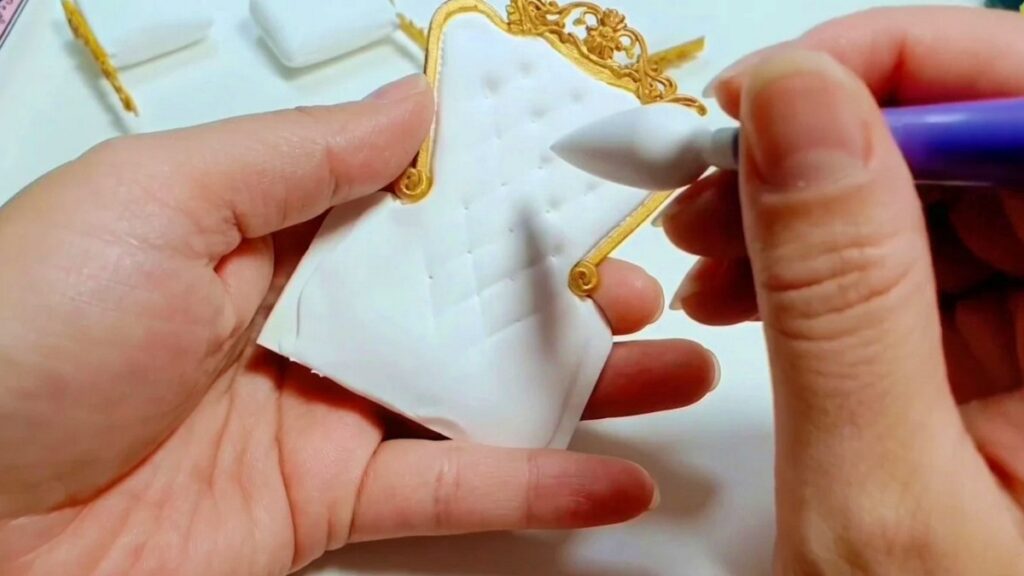
- For the backrest: spread the air clay evenly, use tools to define quilting or tufting, and add stitch indentations to mimic sewn upholstery.
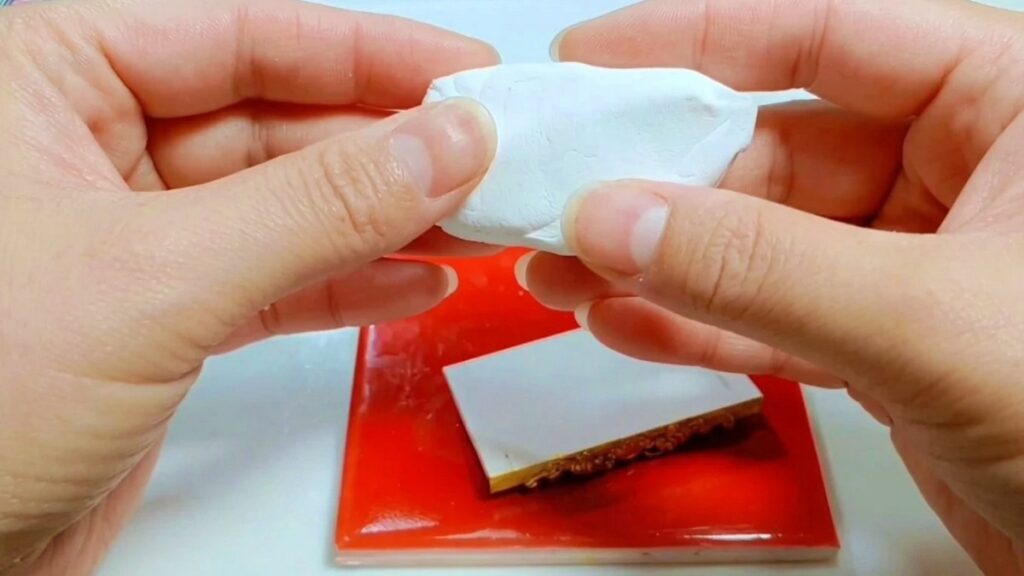
Detailing
- Use small tools to vary the shape and depth of the cushion sections and to create visual interest in the upholstery.
- Make a small ball from iClay to act as a tuft or decorative button; press it into the hole and use water to smooth and blend as needed.
Final Assembly
- Once air clay is leather-hard or fully dried, glue the cushion components into the resin frame using a suitable adhesive.
- Ensure alignment and tight fit between cushion and frame. Wipe any adhesive residue and let cures fully.
Finishing Instructions
- After complete assembly and drying, apply either gloss or matte varnish based on desired look. Gloss gives a polished, store-ready look; matte gives a more fabric-like finish.
- Allow varnish to dry and cure per product instructions before handling or storing.
Tips & Techniques
- Use the printed template under a glass plate for precise shaping and repeatability.
- Thin polymer clay for the frame to keep a realistic scale—thick frames look unnatural in miniatures.
- Work in stages: bake frame first, then mold and cast, then sculpt cushions—this reduces accidental deformation.
- Use baby powder or cornstarch sparingly if air clay sticks to tools during detailed sculpting.
Common Problems & Solutions
- Mold tearing or resin bubbling:
- Solution: ensure mold is fully cured and pour resin slowly; degas resin if possible or use a pressure pot for professional results.
- Cushion pieces cracking during drying:
- Solution: build thickness gradually and let air clay dry slowly in a controlled environment.
- Paint adhesion issues on resin:
- Solution: lightly sand smooth resin areas and use an acrylic primer before metallic paints.
Creative Ideas & Variations
- Experiment with different frame finishes: antique bronze, distressed white, or lacquered colors.
- Use patterned fabric printed on thin paper and decoupage for miniature upholstery instead of sculpted iClay cushions.
- Add miniature upholstery nails, tassels, or carved wood textures to elevate realism.
Final Result
A finely detailed miniature upholstered chair combining a delicate polymer-resin frame and richly modeled iClay cushions. With metallic patina, stitched detailing, and durable varnish, the finished chair suits display, dioramas, or dollhouse scenes and can be stored long-term when sealed properly.