DIY Polymer Clay Eclair Charms for Cute Miniature Accessories
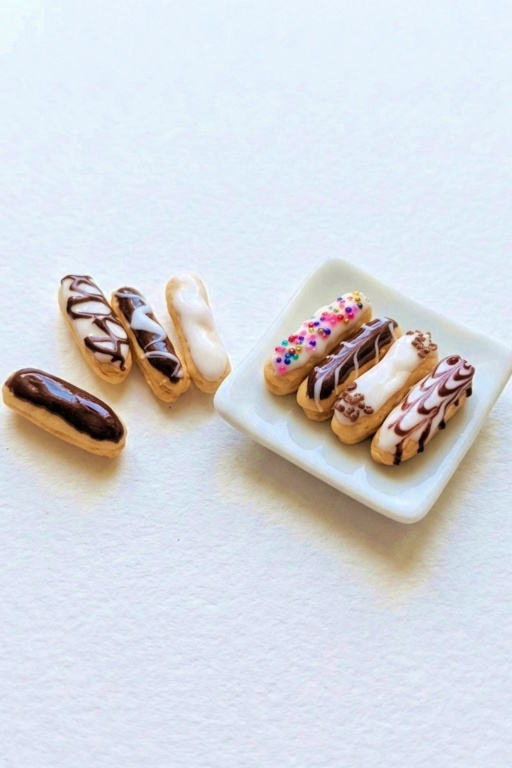
Transform polymer clay into adorable eclairs with charm a fun DIY project perfect for adding a touch of sweetness to your accessories or display.
Creating tiny, realistic desserts out of polymer clay is a fun way to express your creativity, and making mini eclairs for a charming project is no exception! Whether you’re a beginner or someone with crafting experience, this project combines the joy of working with clay and the satisfaction of creating something delightful and unique. These miniature eclairs are designed to look just like the real ones, with delicious frosting and filling details. Adding charm elements makes them even more special, allowing you to turn them into keychains, pendants, or decorations.
DIY Polymer Clay Eclairs with Charm for Unique Gift Ideas
Creative Ideas & Variations
- Make flavored series: chocolate, coffee, vanilla glazes by using different Fimo color mixes.
- Add tiny printed labels or pastry boxes for diorama bakery displays.
- Use mica powders or pearlescent pastels for specialty glazes (e.g., caramel shimmer).
- Create bitten éclairs by removing a small section before baking and adding creamy filling details.
The process of sculpting and decorating the eclairs is enjoyable and surprisingly simple. You’ll start by shaping the doughy base, then adding layers of “chocolate” glaze or filling with polymer clay. The fun part is customizing each eclair—tiny icing patterns, smooth finishes, or adding a bit of color make each one truly unique. These tiny desserts don’t just look cute but also have the added charm factor that makes them perfect for accessorizing or gifting.
Once complete, these tiny eclairs with charm are perfect for a variety of uses. You can add them to your bag or keyring for a sweet touch, gift them to someone who appreciates handmade creations, or simply display them as part of your crafting collection. They bring a little bit of sweetness to daily life and will definitely catch everyone’s eye. Dive into this cheerful project and enjoy crafting something both adorable and creative.
Project Overview
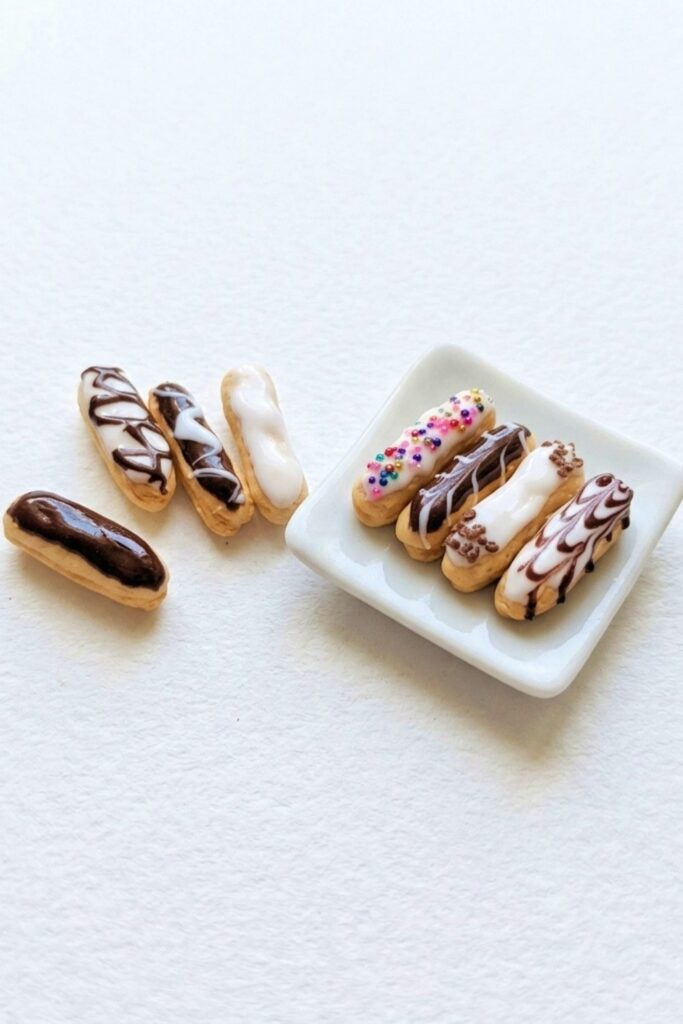
Create realistic miniature éclair pastries from polymer clay using translucent and classic clays blended for accurate dough color, textured surfaces, dry-pastel shading, and polymer-clay icing. This tutorial reproduces the full workflow from dough mixing to glazing so you can make convincing oblong French pastries for displays, dollhouses, or decor.
Materials & Supplies
- White Fimo Soft
- White Fimo Effect Translucent (use equal parts with white soft)
- Ochre Fimo Classic (a small amount for warm dough tone)
- Dry pastels: light yellow, ochre, light brown, brown
- Fimo Liquid (for making polymer-clay icing and for sugar/coating adhesion)
- Additional Fimo colors for icing (e.g., chocolate, white)
- Craft sand, glitter, or microbeads (optional decorations)
- Gloss glaze (polymer-safe) for sealing after baking
Tools & Equipment
- Pasta machine (or conditioning tool) — set to an appropriate number for even thickness
- Blade and small cutter for trimming cylinders to length
- Fingers and needle/setting tools for shaping and hole/pinch work
- Foil or sandpaper (for texturing)
- Small brush or applicator for dry pastel blending
- Baking surface and oven (follow clay manufacturer instructions)
- Small bowls for mixing Fimo Liquid icing and craft sand
Project Details
- Difficulty: Beginner–Intermediate — straightforward shapes but requires careful shading for realism.
- Time: 30–60+ minutes active crafting, plus baking/cooling time.
- Scale: Each éclair is approximately 1.5 cm long and 5 mm in diameter as demonstrated.
- Output: Multiple realistic mini éclairs with varied icings and finishes.
Preparation
- Condition clays thoroughly before mixing. Use equal parts White Fimo Soft and White Fimo Effect Translucent, then add a small amount of ochre Fimo Classic to warm the dough tone.
- Set your pasta machine to a consistent setting (test starting around medium thickness) and roll clay until smooth.
- Prepare your pastels, texture pad (foil or sandpaper), and icing materials before shaping so you can work efficiently.
Step-by-Step Detailed
Mix the Dough
- Combine white Fimo soft + white Fimo effect translucent (1:1) for a slightly translucent dough base.
- Add a small pinch of ochre Fimo classic to introduce a warm pastry tone.
- Knead until color and translucency are uniform and the clay is soft and workable.
Form the Cylinder
- Create a cylinder with a 5 mm diameter. Use a small round shaping tool or roll by hand to achieve a consistent thickness.
- Cut cylinders to 1.5 cm length using a blade for uniform mini éclairs.
- Prepare multiple cylinders following the same dimensions for a matched set.
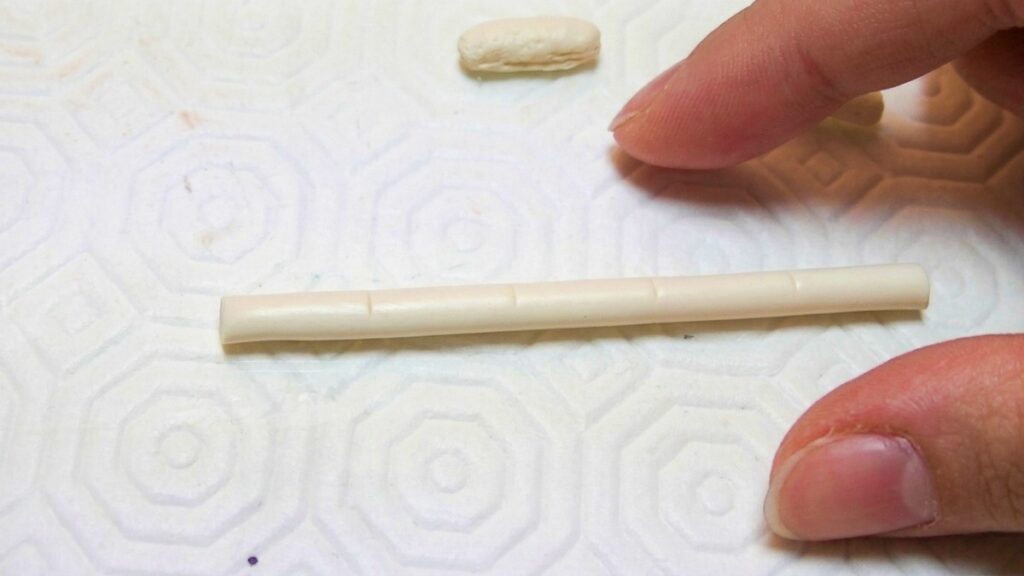
Pinch and Shape the Ends
- Using your fingers, pinch the ends of each cylinder gently to create slightly tapered pastry ends as in the video.
- Smooth and refine the overall oblong shape with fingertips, keeping the surface even but organic.
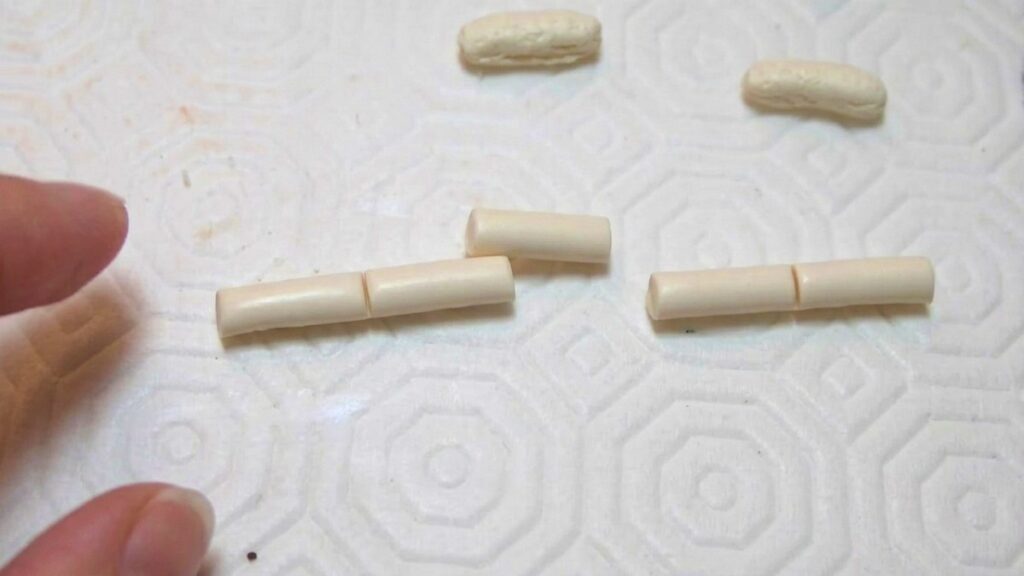
Texture the Dough
- Create realistic surface texture by pressing foil or coarse sandpaper lightly against the clay to mimic baked choux pastry pores and irregularities.
- Use a toothbrush or your texture tool to vary roughness; texture every piece before coloring to avoid smudging pigments.
Color with Dry Pastels
- Apply dry pastels in layers for natural shading: start with light yellow as a subtle highlight.
- Add ochre and light brown on the sides and creases to simulate browned dough.
- Deepen shadows with brown or a mix of darker pastels where the pastry would be more caramelized.
- Blend each layer gently with a soft brush or cotton swab for smooth gradation. Take your time—layering delivers realism.
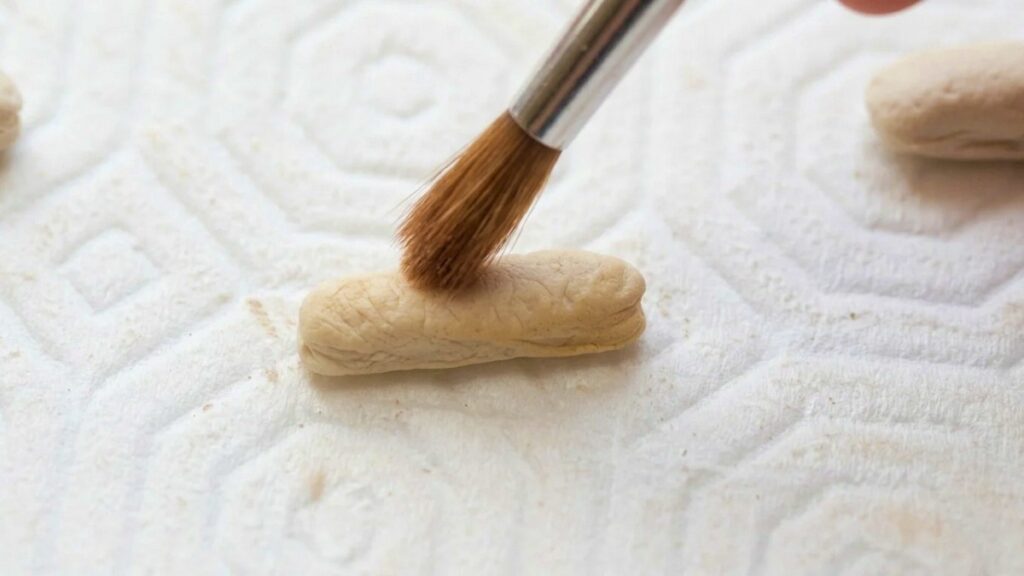
Prepare Polymer-Clay Icing
- Mix Fimo Liquid with small amounts of Fimo (or reconditioned clay) to create polymer-clay icing textures and colors (examples: chocolate, white).
- Adjust viscosity: thicker mixes create piped icing; thinner mixes create glazed surfaces.
- Add glitter, microbeads, or colored sand to the icing mix or apply as a surface decoration.
Decorate Before Final Bake
- Place icing on top of cooled/colored éclairs before the final baking stage according to your intended finish:
- For sugar coating: brush surface with Fimo Liquid, then press into craft sand and remove excess.
- For piped decorations: use a small bag with a tiny tip (or sculpt small clay ropes) to add drizzles, lines, or patterns.
- For sprinkles: press microbeads into wet icing or glue them after baking with a thin adhesive appropriate for miniatures.
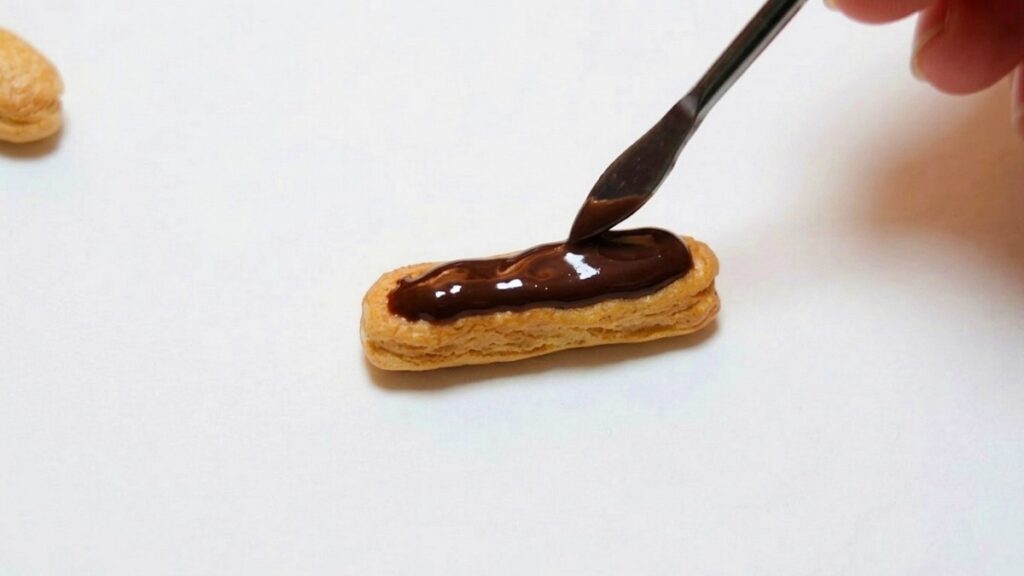
Bake
- Bake the assembled éclairs per your polymer clay brand’s recommended temperature and time.
- Bake only after all decorations that require curing are in place (unless some elements are meant to be applied post-bake).
Finishing Instructions
- Once cooled, seal with a gloss or satin glaze depending on the desired finish (gloss for shiny icing, satin for matte pastry).
- If you added sugar or craft sand, ensure the glaze doesn’t dissolve the texture—test on a spare piece first.
- Allow glaze to cure fully before handling or packaging.
Tips & Techniques
- Use translucent clay mixed with opaque white to mimic light, airy choux dough.
- Texture before coloring: this preserves pastel application and prevents smudging.
- Build pastel layers slowly—less is more; gradual shading reads more naturally than heavy pigment.
- For uniform size, measure diameter and length then cut all cylinders to the same dimensions before shaping.
Common Problems & Solutions
- Pastel dust smearing:
- Solution: do pastel work before applying any oily sealant; bake after pigment application so dust sets into the clay surface.
- Icing sliding or pooling:
- Solution: thicken Fimo Liquid with small amounts of clay for more body; chill briefly before baking if necessary.
- Decorative sand falling off:
- Solution: press sand firmly into wet Fimo Liquid and perform a brief rebake if the product instructions allow.
Final Result
You’ll end with small, realistic polymer-clay éclairs: warm-toned choux bases textured with foil or sandpaper, layered dry-pastel shading, customizable polymer icing (drips, sprinkles, sugar), and a sealed finish. The method emphasizes consistent sizing (5 mm × 1.5 cm), careful texturing, and layered coloring to achieve convincing miniature pastries suitable for display, dollhouses, or gifts.