Easy DIY Polymer Clay Mushroom Craft to Try
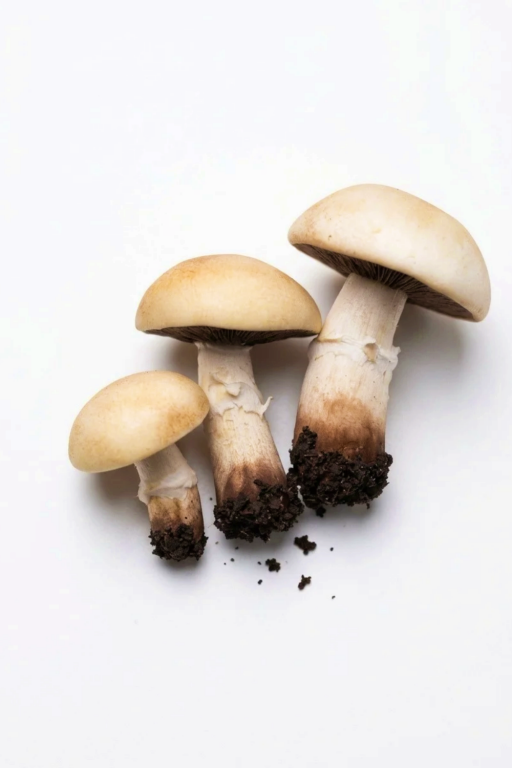
Make a DIY Polymer Clay Mushroom with this easy step-by-step guide, perfect for handmade decorations or crafting unique gifts with a playful touch.
Creating tiny mushrooms with polymer clay is a fun and creative way to bring the charm of nature into your crafting. These colorful, delicate mushrooms can be shaped to look whimsical, realistic, or even magical—just like something out of a fairy tale. Whether you’re making them as decorations, jewelry, or tiny additions to a diorama, this project is easy to do and enjoyable for everyone.
Simple and Cute DIY Polymer Clay Mushroom Guide
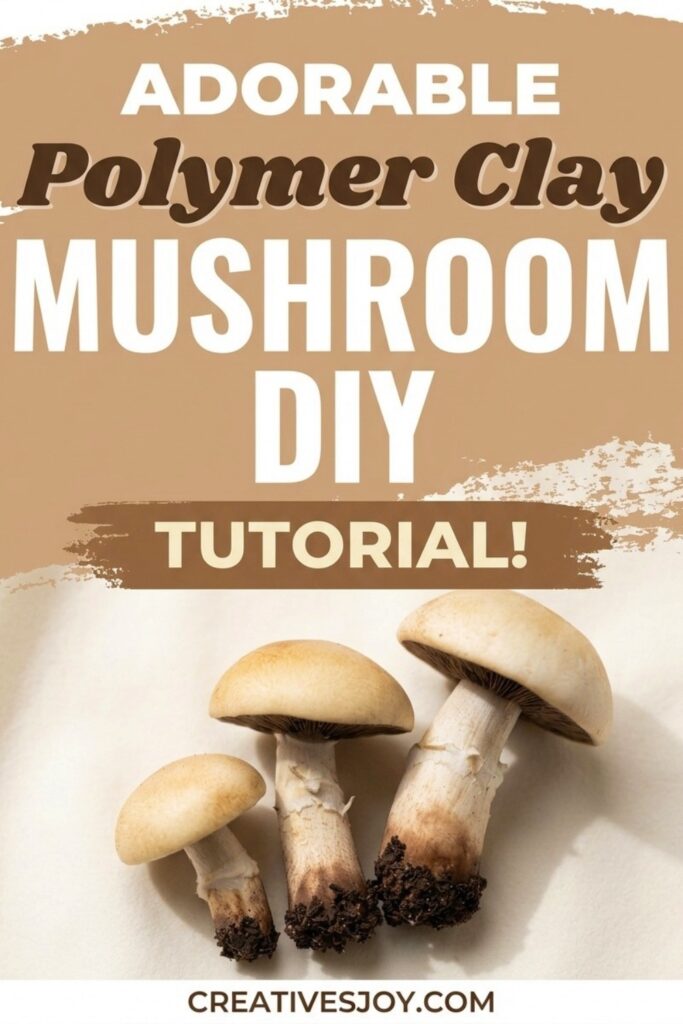
For this project, you’ll use polymer clay to shape the stem and cap of each mushroom. You can choose classic colors like red with white spots or come up with your own combinations, such as pastel pink or bright teal. Adding little details, like textures on the cap or tiny lines on the stem, brings life to your creation. Once your mushrooms are sculpted, you’ll bake them in the oven, and they’ll turn into sturdy little pieces that are perfect for display or crafting into other objects, such as charms or pins.
Making miniature mushrooms with clay is a relaxing and satisfying activity. It lets you experiment with different shapes, colors, and sizes in a project that doesn’t require much time or skill to get started. Whether you’re crafting alone or with friends, these little creations will bring a sense of fun, and they’re sure to brighten up any space or gift.
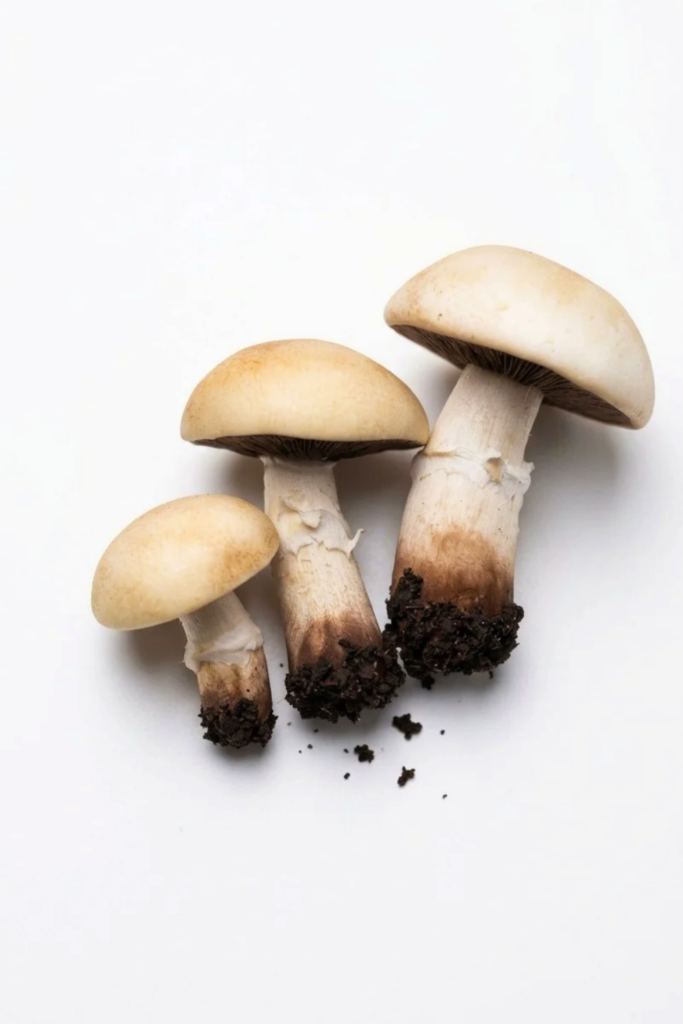
Polymer Clay Mushrooms
This project demonstrates how to craft small realistic polymer clay mushrooms in two stages: creating and baking caps first, then adding stems and earthy details. The method focuses on simple hand shaping, surface texturing, pastel shading, and lightweight assembly so finished mushrooms look collected from a forest floor. It is suitable for beginners and intermediate hobbyists who want miniature decorative items or charms.
Supplies and Equipment
- White polymer clay for caps and stems.
- Light brown clay for gills and cap interiors.
- Black or dark brown clay for soil details.
- Soft pastels in brown and dark brown plus a small makeup brush.
- Rubbing alcohol and cotton pad to remove excess pastel.
- Needle tool, dotting tool, X-Acto knife, and razor blade.
- Toothpick or small rod for hollowing and ring shaping.
- FIMO liquid (or liquid clay) as adhesive and blend medium.
- Oven for polymer clay and heat-safe tray.
- Optional: tiny wire or pin for reinforcement and gloss varnish.
Measurements and Specifications
- Cap diameter: 10–25 mm depending on desired scale.
- Stem length: typically 8–20 mm to match cap size.
- Gills depth: shallow cuts, roughly 0.3–1 mm deep for realism.
- Bake temperature and duration: follow your clay brand’s instructions precisely; typically 110–130°C (230–266°F) for 15–30 minutes depending on thickness.
- Cool fully before handling to avoid deformation.
Getting Everything Ready
- Condition clay by warming and kneading until uniformly soft and pliable.
- Prepare workspace with a nonstick mat and good lighting.
- Have pastels pre-shaved into a small pile for controlled shading.
- Clean tools and ensure the oven is calibrated with a thermometer.
- Plan how many mushrooms to produce; work in small batches for uniformity.
Making Instructions
Step 1: Shape Mushroom Caps
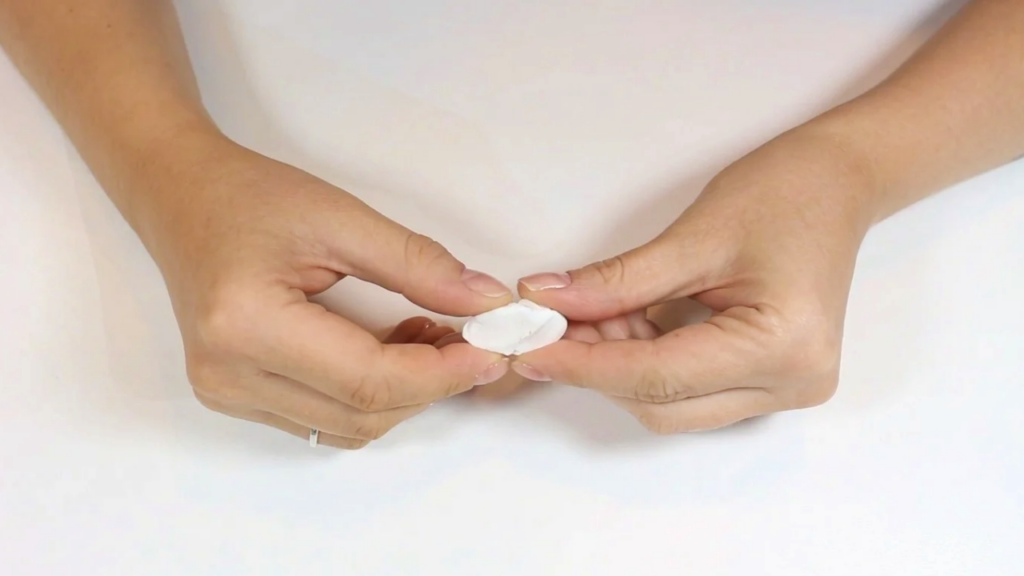
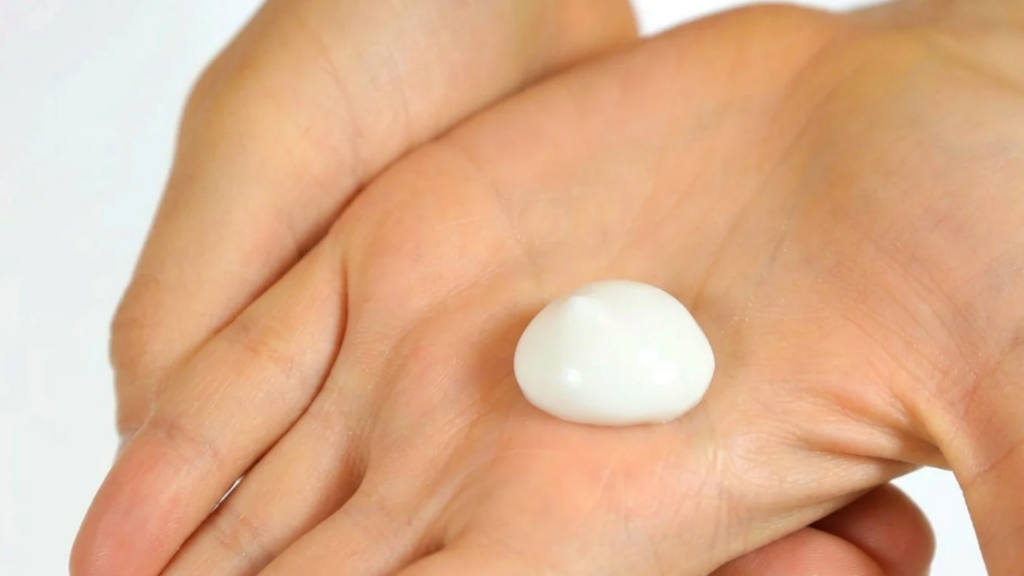
- Roll white clay into a smooth ball sized for your cap diameter.
- Flatten one half gently so the top becomes dome-shaped but retains thickness at the edge.
- Use your thumb to twist and hollow the underside slightly, creating a shallow cup for gills and stem attachment.
- Smooth the surface and refine the silhouette to a pleasing mushroom cap curve.
Step 2: Shade and Pre-bake Caps
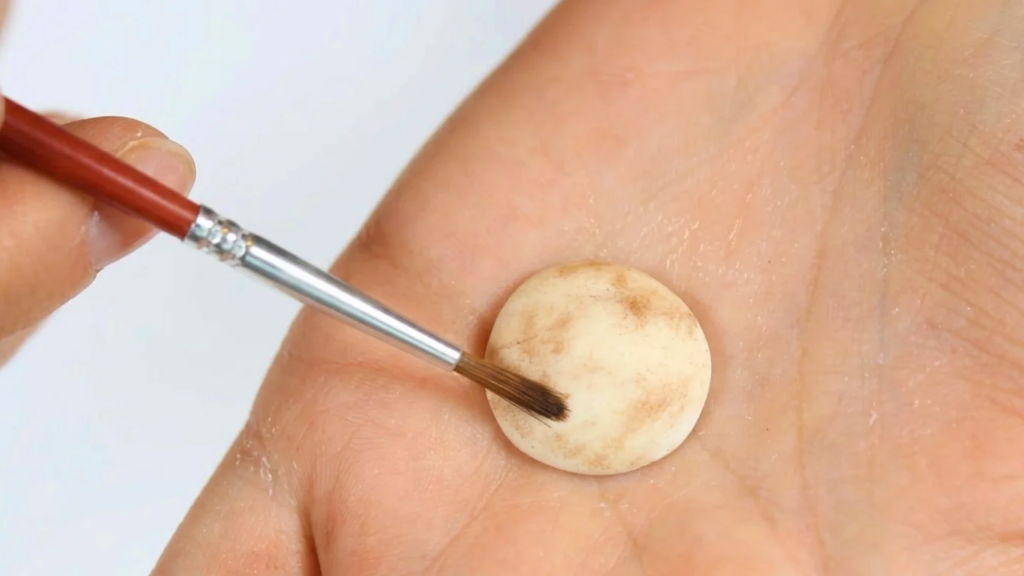
- Lightly apply brown soft pastel with a small makeup brush to add depth and a natural baked tone.
- Avoid over-applying; if shading is too heavy, dab with a cotton pad moistened with rubbing alcohol to remove excess.
- Pre-bake the shaded caps according to manufacturer instructions and allow them to cool completely before proceeding.
Step 3: Add Interior Color and Gills
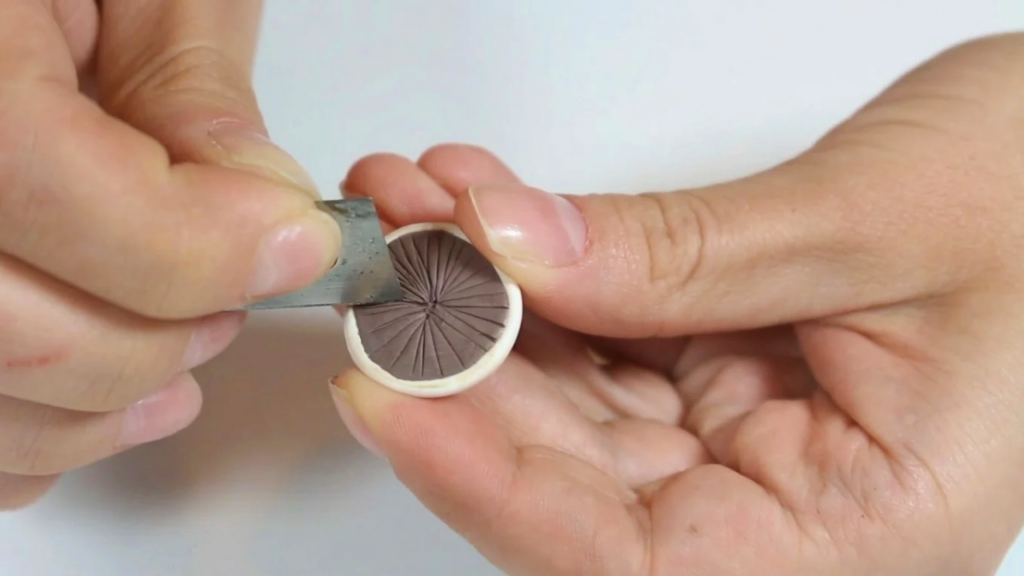
- Press light brown clay into the hollow underside of the cooled caps to form the inner cap layer.
- Smooth the surface and trim any excess with a razor so the fit is flush and clean.
- Use a razor blade or X-Acto knife to make shallow parallel cuts radiating from the center toward the edge, mimicking gills without cutting too deeply.
Step 4: Create and Attach Stems
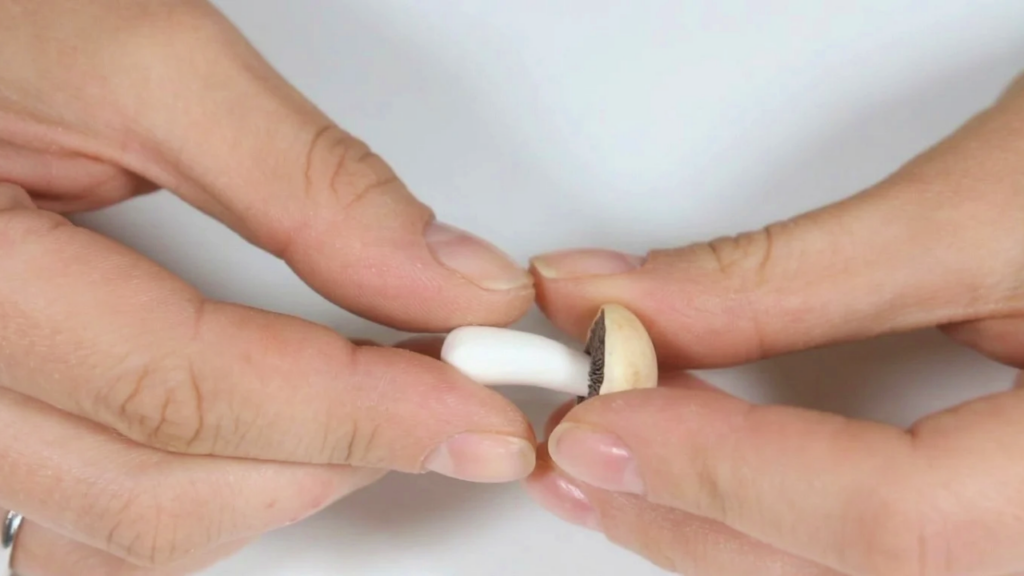
- Roll white clay into a cylinder for the stem; size it to balance the cap.
- Use a dotting tool to create a dimple in the center of the cap where the stem will seat.
- Attach the stem into the dimple using gentle pressure and blend the join slightly for a seamless connection.
- Shade the lower part of the stem with dark brown pastel to simulate soil staining and age.
Step 5: Add Soil, Ring, and Final Assembly
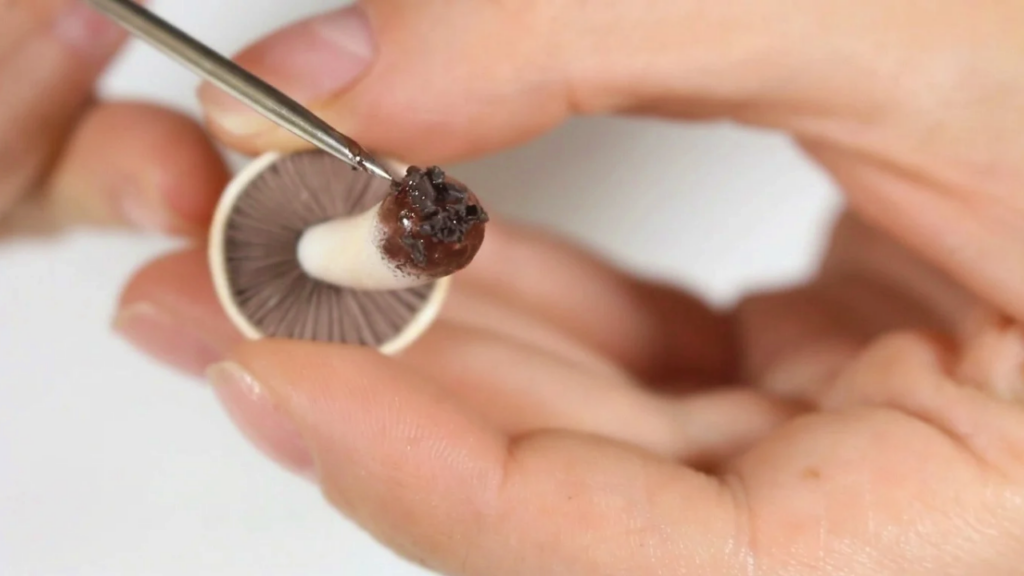
- Create tiny soil fragments from black clay using a needle tool to tease small particles for a realistic base.
- Use FIMO liquid as a glue to attach soil bits around the base and where the stem meets the cap for a natural collected look.
- Mix a minuscule amount of white clay with FIMO liquid to create a thin paste and use a needle tool to form a ring or veil under the cap if desired.
- Bake the completed assembly once more to harden stems, gills, and soil details, following recommended temperature and time.
Assembly
- Arrange multiple mushrooms as a small cluster on a display base or embed them into miniature scenes.
- Use a small amount of liquid clay or craft glue to fix mushrooms permanently to a wooden or polymer clay base post-bake.
- For charms, add a small eye pin before the final bake or glue a finding after curing, ensuring secure attachment.
Final Touches
- Once fully cooled, apply light pastel finishing touches to enhance highlights and shadows.
- Seal optionally with a matte or satin varnish to protect pastels and unify the surface; use gloss for a damp look.
- If needed, sand small rough areas with very fine sandpaper and reapply pastel or varnish for a refined finish.
Tips for Better Results
- Work in small batches to maintain consistent sizing and style.
- Keep caps slightly thicker at edges to avoid warping during baking.
- Use minimal pastel; build shading gradually for natural results.
- Reinforce delicate stems by embedding a fine wire if making tall pieces.
- Clean brushes and tools after using pastels to prevent color transfer.
Troubleshooting
- Caps collapse: may be too thin; recreate a thicker cap and rebake.
- Pastel smudges excessively: remove excess with alcohol and reapply sparingly.
- Parts detach after baking: increase seating depth or use liquid clay as adhesive pre-bake, or apply strong craft glue post-bake.
Creative Variations
- Experiment with colored caps and speckles for fly agaric or other species.
- Create tiny clusters with varied sizes to simulate natural growth patterns.
- Combine with moss textures, tiny leaves, and logs for a diorama.
- Make jewelry by scaling pieces smaller and adding findings, or produce magnets by attaching magnetic discs to the base.
Use these steps to craft charming polymer clay mushrooms that capture natural texture and color. The techniques taught here—gentle hollowing, subtle pastel shading, careful gill carving, and realistic soil accents—translate well to many other miniature projects.