Fun DIY Miniature Polymer Clay Fruit Pastry Ideas to Try
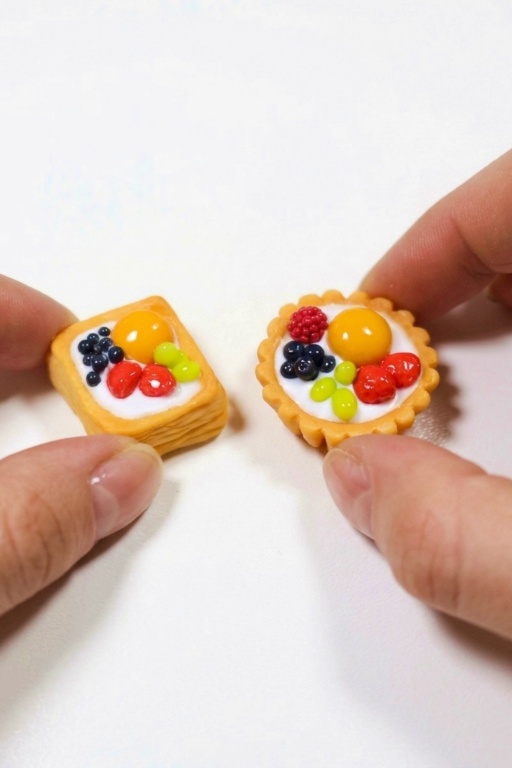
Learn how to make a DIY Miniature Polymer Clay Fruit Pastry with this fun and detailed guide, perfect for crafting tiny, realistic dessert charms.
Tiny, colorful pastries that look good enough to eat but never go bad, that’s the fun result of this creative project. Using soft clay and a bit of imagination, you can make little tarts, pies, and cakes topped with shiny fruit slices. These mini treats are perfect as dollhouse food, keychains, charms, or just cute decorations on your desk or shelf. They are small, sweet, and full of detail, yet still easy to make.
DIY Miniature Polymer Clay Fruit Pastry for Craft Lovers
In a DIY Miniature Polymer Clay Fruit Pastry project, you use polymer clay to shape tiny pastry bases and decorate them with fruits like strawberries, kiwi, blueberries, or lemon slices. You can mix colors to create realistic fruit tones, add texture to the crust so it looks baked and flaky, and give the “fruit” a glossy finish so it looks juicy and fresh. The clay is simple to shape with your fingers or basic tools, and once your design is ready, you bake it in the oven so it becomes hard and long-lasting.
This kind of project is relaxing and fun for both beginners and experienced crafters. It lets you play with color, shape, and detail in a small, low-pressure way. You can make a single pastry or a whole tray of tiny treats, each with its own style. Finished pieces can be turned into jewelry, magnets, or gifts for friends who love cute and tiny things, making your crafting time both enjoyable and useful.
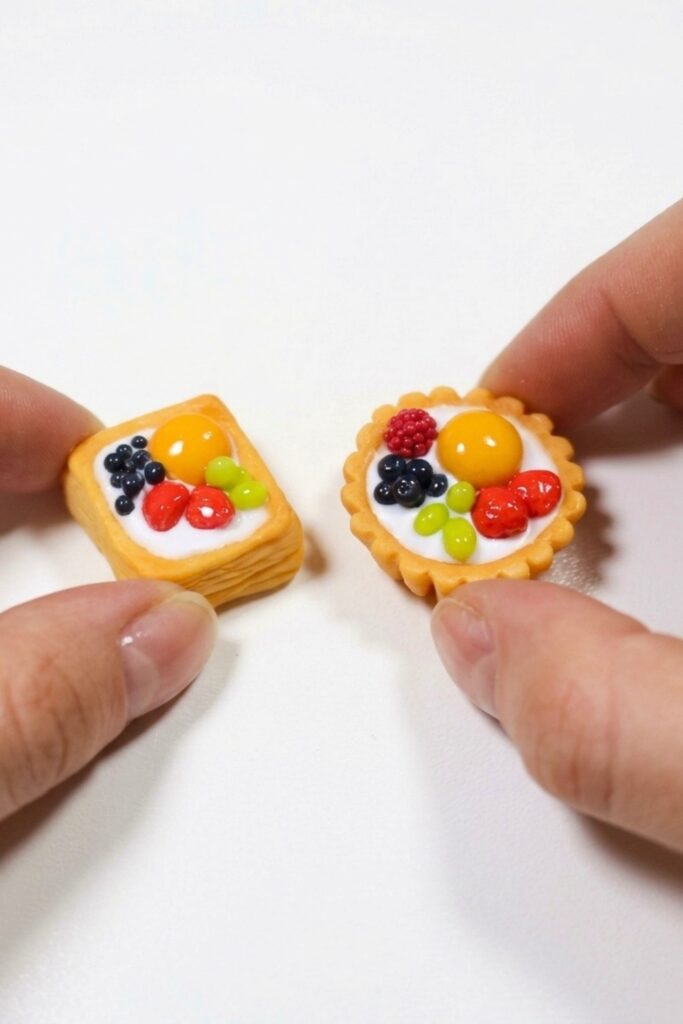
Miniature Polymer Clay Fruit Pastry and Tartalette
Create realistic miniature puff-pastry tartalettes and tartlet bases topped with mixed fruit using polymer clay. This project focuses on texture (toothbrush and needle-tool work), subtle pastel shading for baked tones, a smooth cream made with liquid clay, and a variety of tiny fruit elements (peach halves, strawberries, grapes, blueberries, cherries). The finished miniatures are baked, glazed with gloss varnish, and suitable for display, dollhouse scenes, or jewelry.
Supplies and Equipment
- Polymer clay: tan (for pastry and tart base), white (cream), red, orange, blue, black, translucent and bright green.
- Fimo liquid (or compatible liquid clay) to mix with white clay for smooth cream.
- Needle tool and pin/needle instrument.
- Razor blade or X-Acto knife.
- Toothbrush (old, soft-bristled) for light texture.
- Soft pastels and a small makeup brush for shading.
- Dotting tool.
- Cupcake mold or small circular mold for tart bases.
- Small work mat, tweezers, toothpicks.
- Oven (for polymer clay), baking tray, and oven thermometer (recommended).
- Gloss varnish for final glazing.
- Fine sandpaper (optional) and small paintbrush for varnish application.
Measurements and Specifications
- Target miniature scale: 1:12 (typical dollhouse).
- Puff-pastry tartalette cube: approx. 8–12 mm per side before texturing.
- Tart base diameter (in mold): about 10–15 mm, depth roughly 3–4 mm with a central dimple.
- Fruit elements: peach halves ~3–5 mm, strawberries ~3–4 mm, grapes/blueberries ~1–2 mm, cherries ~2–3 mm.
- Bake according to your clay brand’s temperature/time (do not exceed recommended temperature).
Getting Everything Ready
- Condition all clays by warming and kneading until uniform and soft.
- Prepare soft pastels by shaving a pinch onto a palette and load a small makeup brush for shading.
- Pre-cut small blades and have needle and dotting tools ready.
- Lay out molds and clean your toothbrush for texturing.
- Preheat oven only when your assembled pieces are ready to bake; verify oven temperature with a thermometer.
Making Instructions
Step 1: Prepare Puff Pastry Tartalette Base
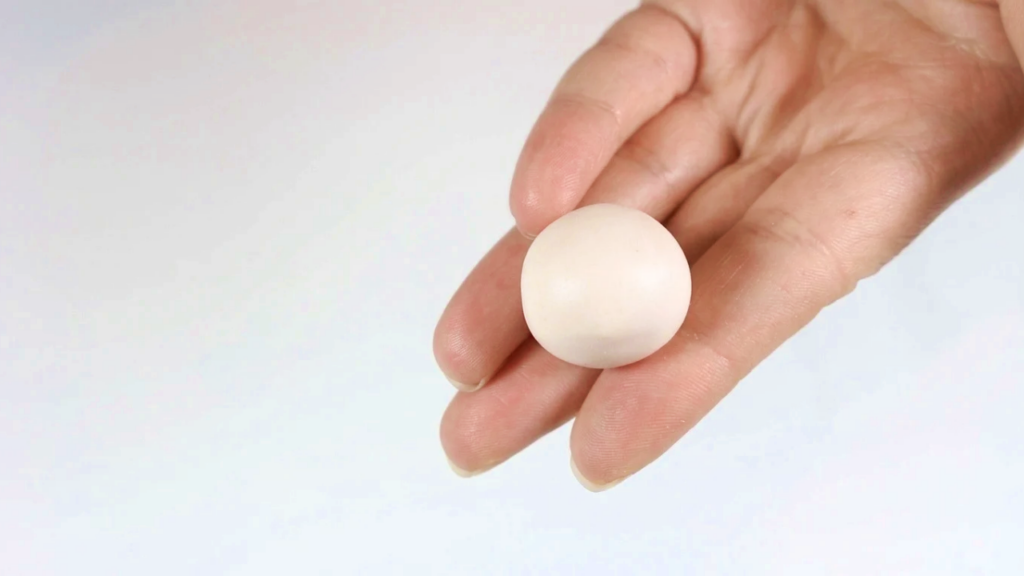
- Shape a piece of tan clay into a compact cube sized to your target (8–12 mm).
- Use fingers to make a subtle dimple on one side where fruit will sit (do not over-deepen).
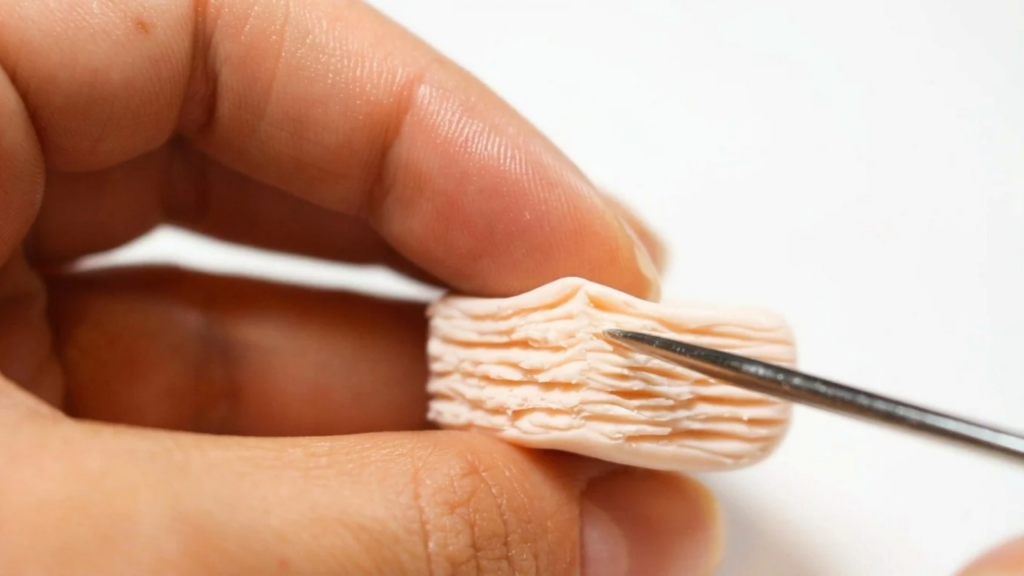
- With a needle tool, incise shallow parallel lines on the four vertical sides—leave top and bottom plain.
- Lightly texture the top face with a toothbrush to simulate flaky surface; work gently for a subtle effect.
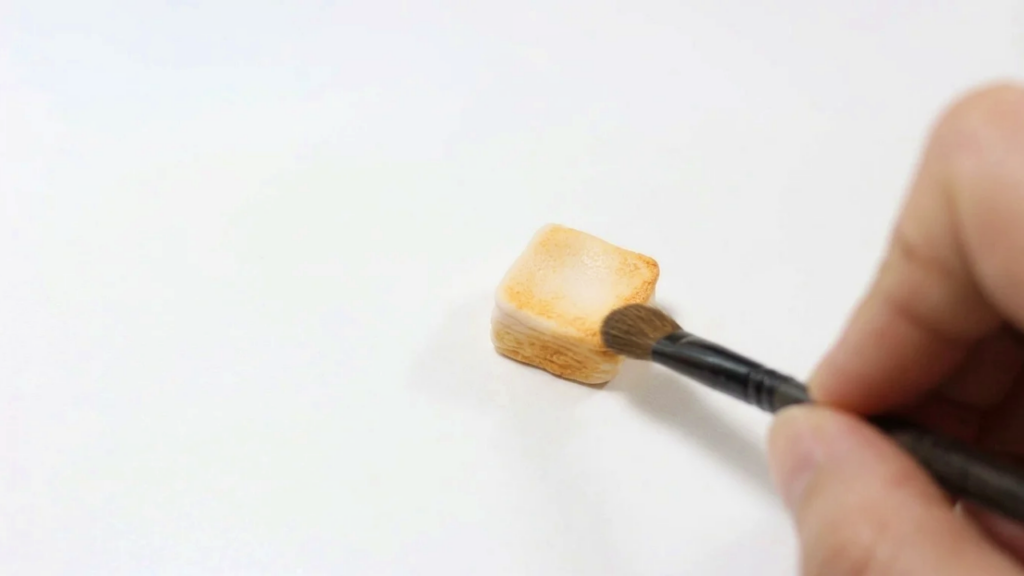
- Shade edges and top with soft pastels using a small brush to add baked color and depth.
Step 2: Make Tart Base in Mold
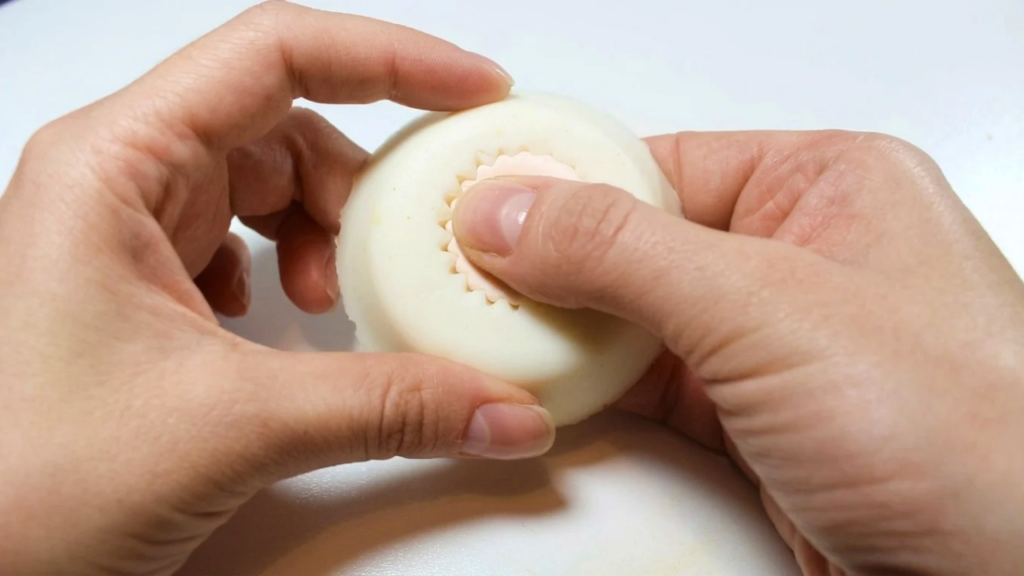
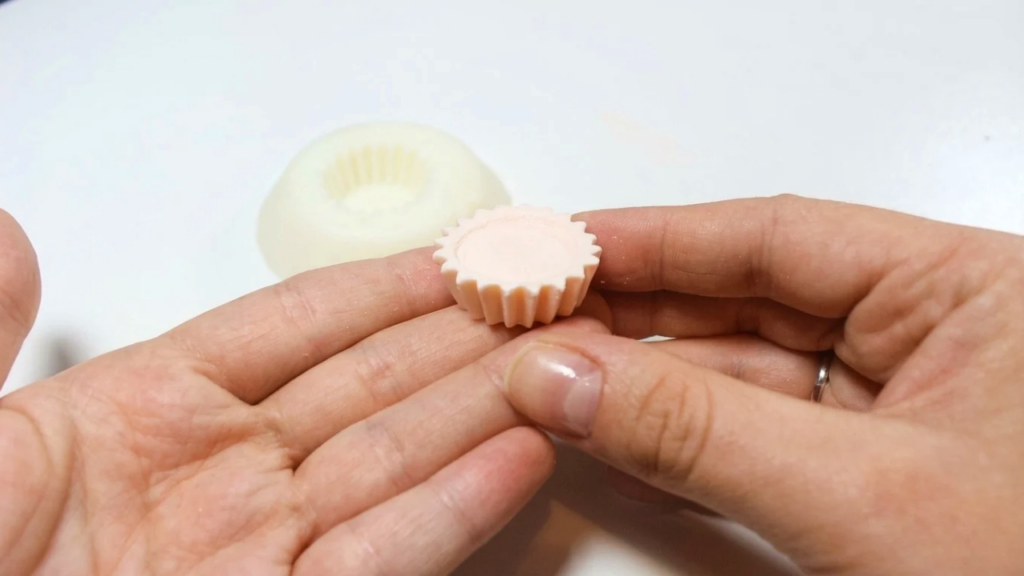
- Press tan clay into a cupcake or small tart mold to form a circular tart base.
- Use your thumb to create a central dimple for cream and fruits; ensure consistent depth.
- Pop the base out of the mold and gently brush the top with a toothbrush to add texture.
- Shade lightly with soft pastels for a slightly darker baked tone around edges.
Step 3: Prepare Smooth Cream
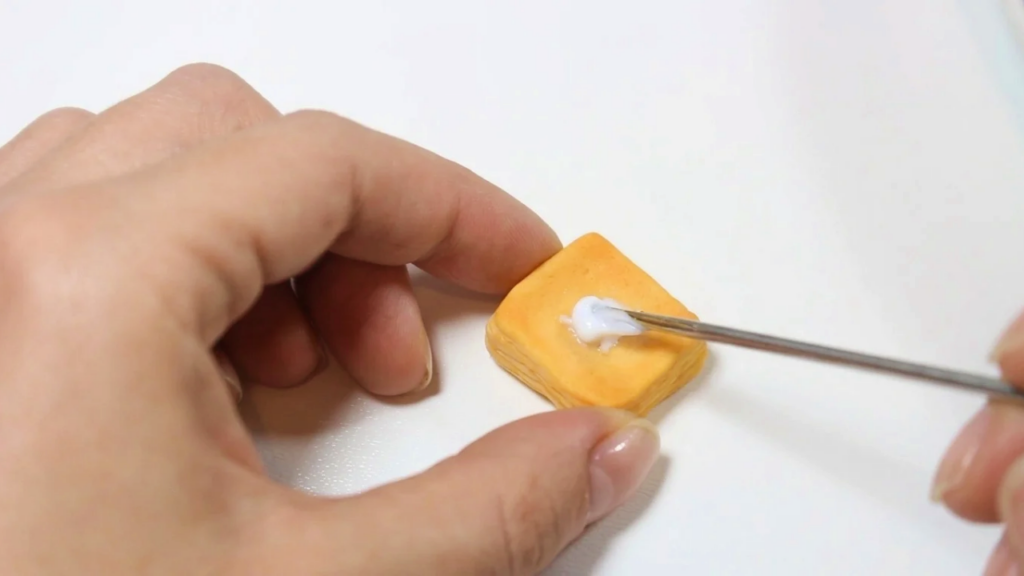
- Mix small pieces of white clay with Fimo liquid (or liquid clay) until smooth and spreadable.
- Use a thin paddle or toothpick to spread an even layer of cream onto the tart and tartalette dimple.
- Smooth the surface so fruit will sit flush; avoid thin spots that will show through after baking.
Step 4: Sculpt Tiny Fruits
- Peach halves: roll orange clay into tiny balls, flatten slightly, and cut in halves. Add a tiny crease where halves meet.
- Strawberries: shape red clay into small cones, slice in halves with a razor, then use a needle tool to add dots/seeds.
- Grapes: mix translucent + bright green for a soft grape tone; roll many very small balls (~1–2 mm).
- Blueberries: mix blue + a touch of black for depth, form small balls, create a shallow dimple with dotting tool and add very small shallow cuts for the crown.
- Cherries: form a small cone of cherry-red clay on a needle tool and attach tiny round balls around its surface to create clustered cherries or a single smooth cherry as desired.
Step 5: Assemble and Bake
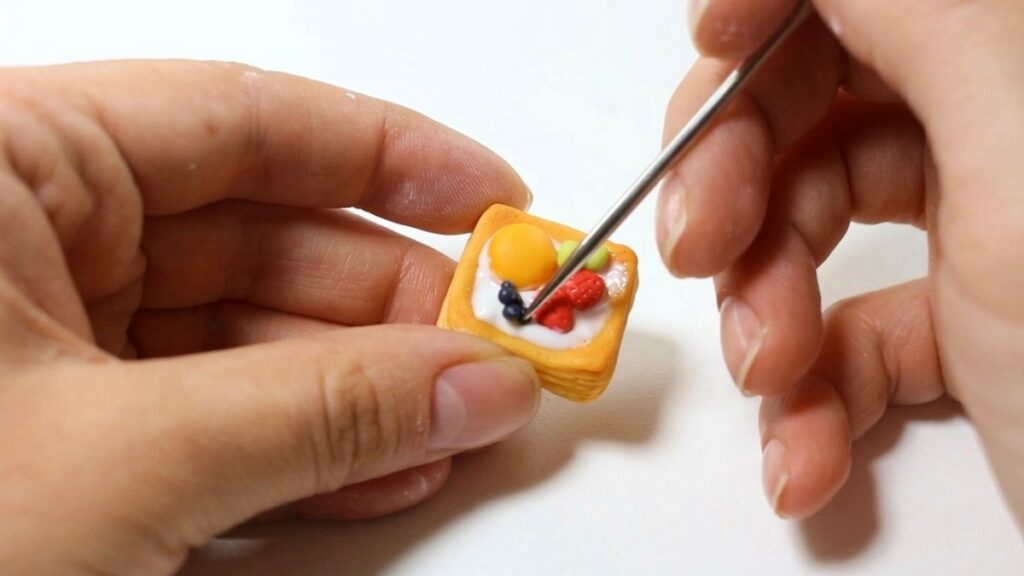
- Arrange fruits on the cream layer composing a balanced cluster—use tweezers for precision.
- Press fruits slightly into cream so they adhere; avoid squashing details.
- Bake assembled pieces following your clay manufacturer’s recommended temperature and time.
- After baking, allow items to cool completely on a flat, protected surface before handling.
Assembly
- Attach any additional decorative elements (tiny leaves, powdered sugar effect) post-bake with a dab of liquid clay or craft glue depending on material compatibility.
- For jewelry or charm use, insert small eye pins before baking or glue metal findings after curing, depending on strength needed.
Final Touches
- Once cool, brush on a thin even coat of gloss varnish for a realistic glazed pastry look.
- For purely matte cream with glossy fruit, mask cream area when varnishing or use a satin varnish on cream, gloss on fruit.
- Lightly sand any rough base edges prior to varnishing for a clean finish.
Tips for Better Results
- Work in small batches when making many tiny fruits to keep sizes consistent.
- Use contrasting pastel shading to convey baked edges and depth—less is more.
- Keep tools clean and use separate tools for light and dark clays to avoid color contamination.
- If fragile thin pieces form, slightly increase thickness or reinforce with a tiny internal wire before baking.
Troubleshooting
- Cracking after baking: likely due to baking too hot or air pockets—condition clay well and avoid trapped air.
- Fruit slipping off after baking: press more firmly into cream pre-bake or use a small dab of liquid clay as adhesive after curing.
- Glaze clouding: ensure pieces are completely cool and dust-free; apply thin coats and allow full drying between layers.
Creative Variations
- Make seasonal toppings: tiny sugared cranberries or lemon slices (thin translucent clay slices).
- Create mini dessert assortments: eclairs, fruit-topped cupcakes, or mille-feuille using the same texture and shading techniques.
- Scale up slightly for display cakes or scale down for jewelry-sized charms; alter shading and gloss accordingly.