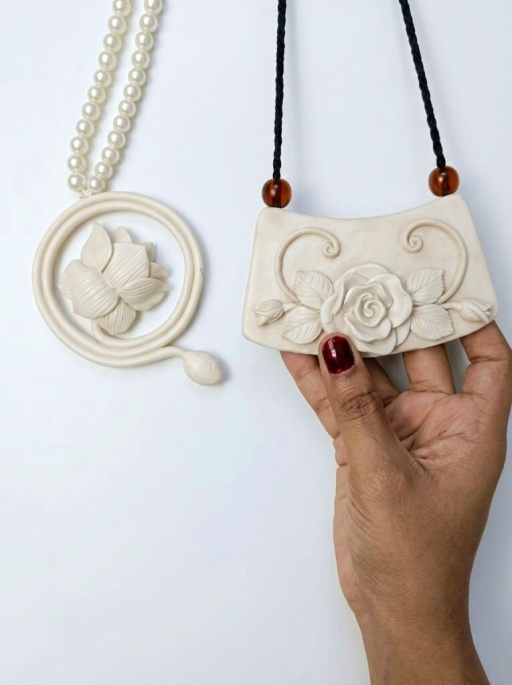
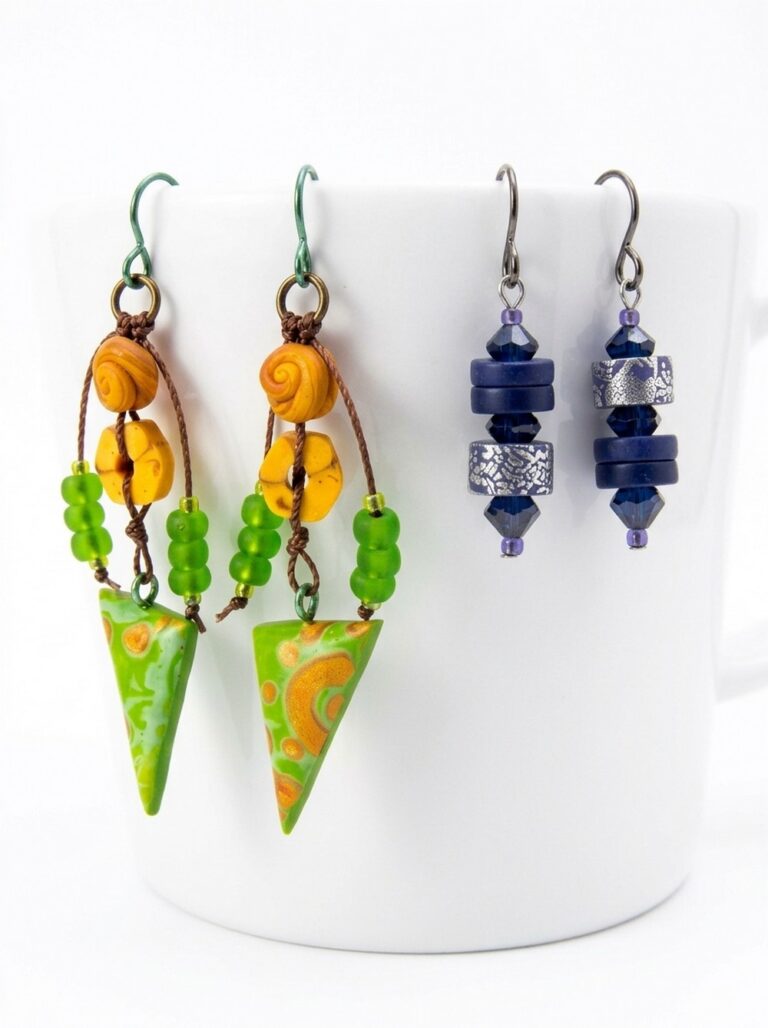
Trendy DIY Polymer Clay Earrings You’ll Want to Try
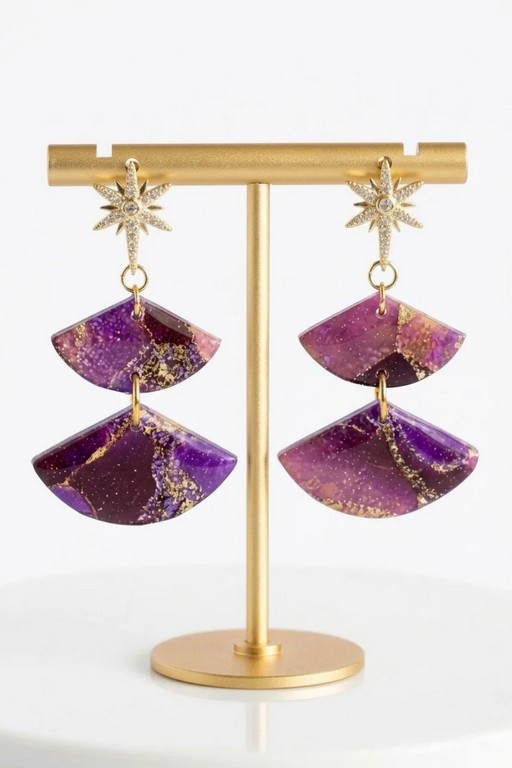
Create stylish DIY polymer clay earrings with ease, perfect for adding a personal touch to your accessory collection or giving as a thoughtful gift.
Jewelry-making is a wonderful creative outlet, and crafting your own earrings adds a personal touch to your style. Using polymer clay, this project allows you to design unique and lightweight earrings that are both eye-catching and easy to make. Whether you’re new to crafting or have experience with DIY projects, you’ll enjoy exploring the endless shapes, colors, and designs this material offers. The process is simple yet satisfying, making it a great activity for all ages.
Modern DIY Polymer Clay Earrings for Chic Looks

The beauty of using polymer clay lies in its versatility. You can shape, carve, and embellish the clay to create earrings that fit any style—from minimalistic designs to vibrant statement pieces. Baking transforms your clay into durable, wearable art that’s perfect for everyday wear or special occasions. Want to make bold patterns, delicate floral designs, or classic geometric shapes? Polymer clay makes all that possible, and the process is surprisingly fun.
Once completed, your handmade earrings will truly stand out, whether you wear them yourself, gift them to a loved one, or sell them as part of a small business. This DIY project is about more than jewelry—it’s about expressing creativity and creating something beautiful from scratch. Start crafting your own earrings today and enjoy turning your ideas into stunning accessories.
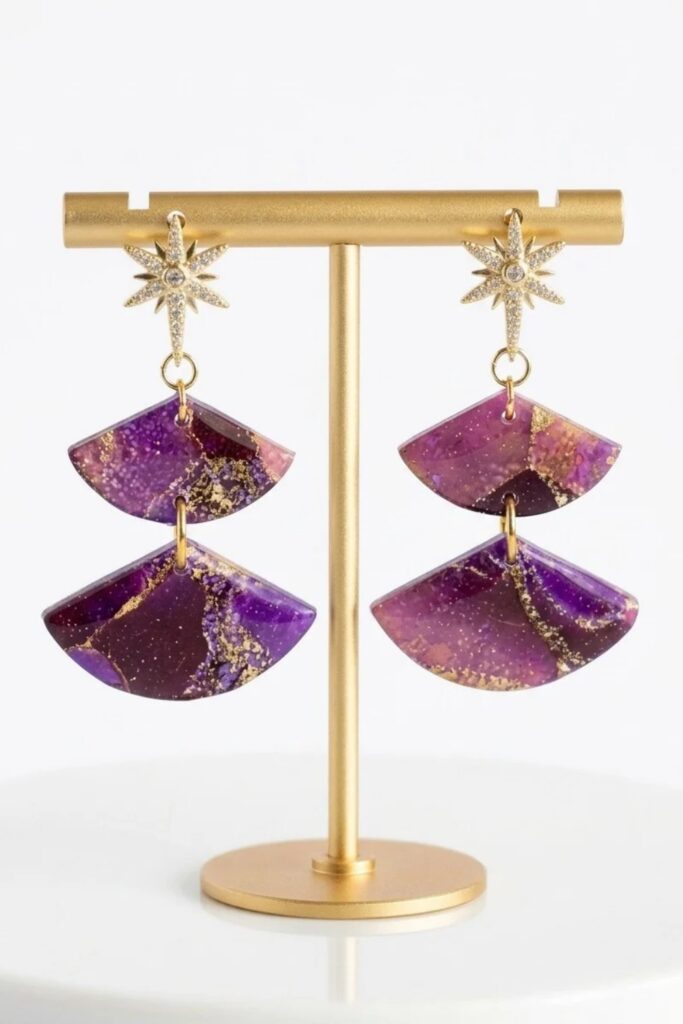
Stunning Polymer Clay Earrings Inspiration
Gather Your Supplies
- Polymer clay: translucent brand (e.g., Sculpey Primo Translucent) — at least three equal pieces for color blending.
- Alcohol inks: several purple shades (light to dark) plus blending colors.
- Metallic accents: gold acrylic paint, gold mica powder, purple metallic leaf sheets (or colored leaf), real gold leaf (optional).
- Adhesives/liquids: Bake-and-Bond or a small amount of liquid polymer clay.
- Resin: clear epoxy resin and silicone tools for spreading.
- Hardware: earring posts or hooks, jump rings, backings.
- Tools: pasta machine, long blade / razor, cutters, sanders or sanding pads, lighter (for popping resin bubbles), Dremel (or skewer for pre-bake holes), pliers, tweezers.
- Consumables: gloves, parchment or foil for work/baking surface, mixing cups for resin, small brushes for acrylics.
Prepare Your Workspace
- Clean, level surface with good lighting and ventilation; resin and alcohol inks require fresh air.
- Lay out materials in production order: clay, inks, mixing tools, molds, cutters, and baking tray.
- Pre-set oven temperature and resin workspace; ensure resin mixing cups and stirring sticks are ready.
- Wear gloves when handling inks, mica, and resin to avoid staining and skin contact.
Start the Base
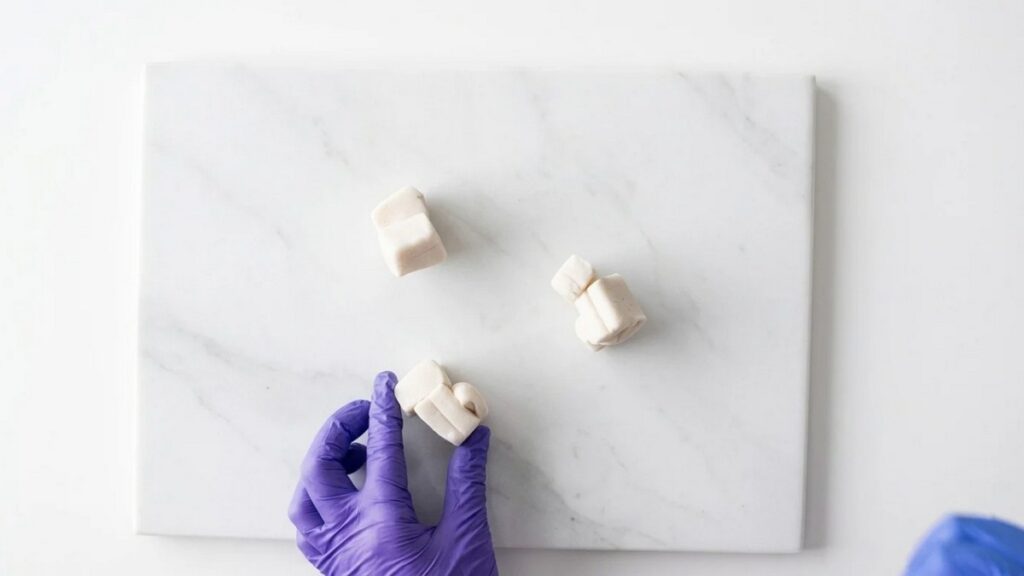
- Sheet the translucent clay:
- Condition three equal pieces of translucent clay and run them through the pasta machine to create even thin sheets.
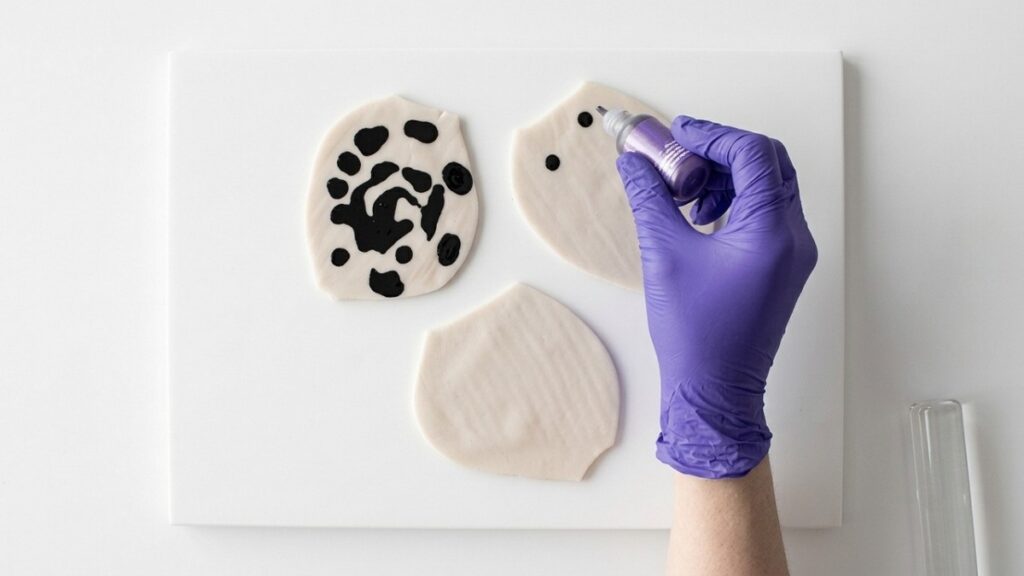
- Apply alcohol ink:
- Add a few drops of different purple alcohol inks to each sheet.
- Smear lightly over the surface and leave to dry; this reduces ink transfer to gloves and tooling.
- Chop and mix:
- Once dry, use a long blade to chop the sheets into small pieces.
- Mix small chopped pieces from different purple shades to get a variegated pattern, keeping translucency.
Create the Main Design
- Add metallics and stabilize:
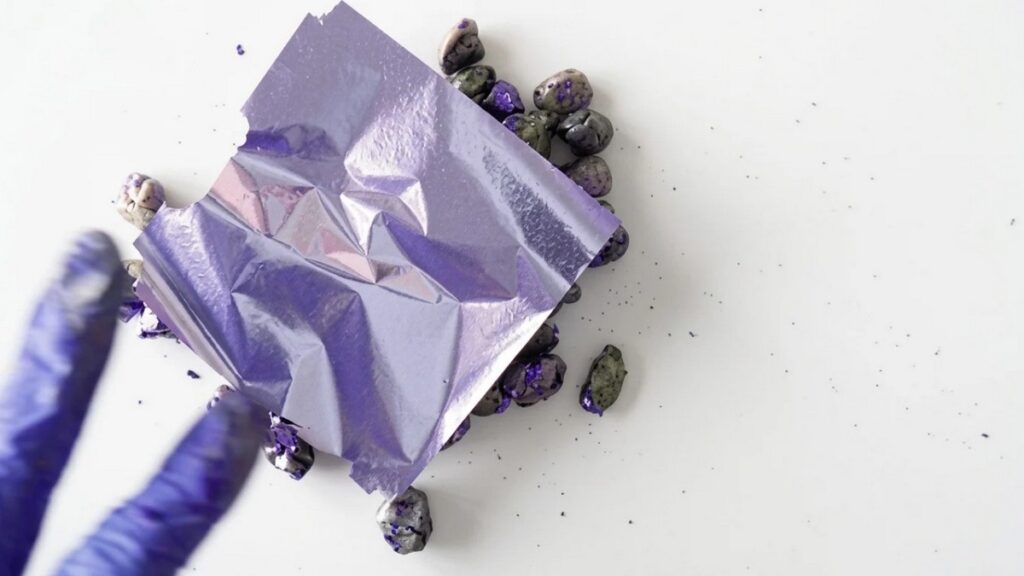
- Mix in gold acrylic paint thoroughly so all clay pieces pick up a subtle metallic sheen.
- Let painted pieces dry fully before continuing.
- Sprinkle in gold mica powder for shimmer and press in thin purple metallic leaf sheets and small flakes of gold leaf for reflective highlights.
- Compress and remove gaps:
- Add a squiggle of Bake-and-Bond (or a tiny amount of liquid clay) to help cohesion.
- Compress the mass strongly by hand or with a roller to minimize air pockets and ensure a dense cane.
- Make silver variant (optional):
- Repeat the process substituting silver paint/mica/leaf for gold to create a silver-toned cane.
Add the Decorative Elements
- Slice the cane:
- Reduce the cane as desired and slice clean, even pieces with a sharp blade — precise slices give a neat slab when reassembled.
- Create the slab:
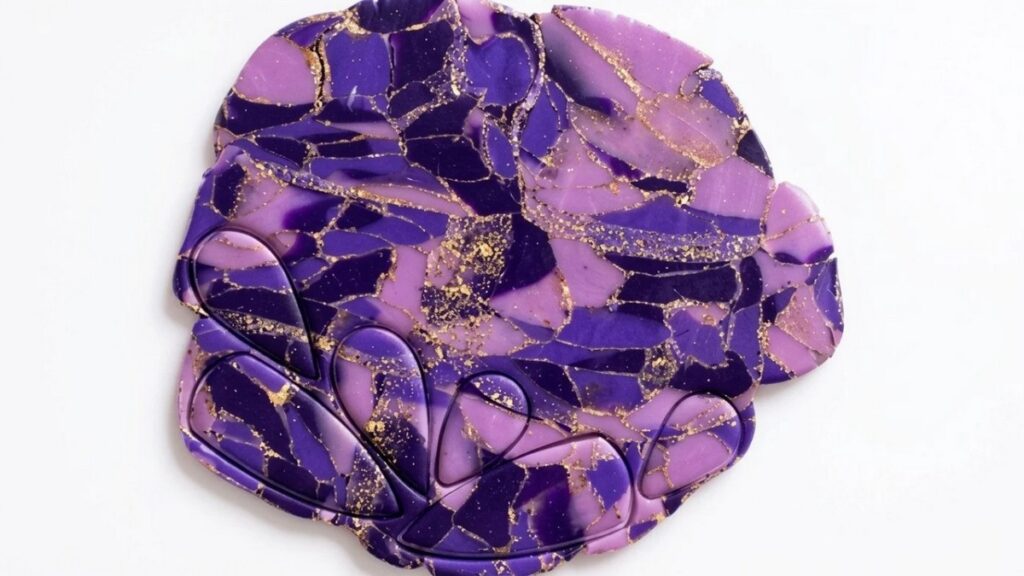
- Arrange sliced pieces overlapping slightly onto a very thin sheet of translucent clay to form a coherent patterned slab.
- Pass the assembled slab through the pasta machine once or twice to fuse pieces together; ensure edges align and there are no gaps.
- Plan cuts for earrings:
- Choose cutters and position them on the slab to maximize gold/purple distribution in each earring cut.
- Rotate the slab in the cutters to get consistent compositions across pairs.
Connect the Pieces
- Bake the cut shapes:
- Place the cut earring shapes on foil or parchment and bake at 275°F (135°C) for about 30 minutes (follow your clay manufacturer’s guide if different).
- Allow pieces to cool fully before handling to avoid warping.
- Sand and refine:
- Use a sander or sanding pads to smooth edges and surfaces; round corners slightly where preferred.
- Make holes:
- Drill cured pieces using a Dremel to create holes for hardware.
- Alternatively, poke holes pre-bake with a skewer for an easier, cleaner opening.
Secure the Details
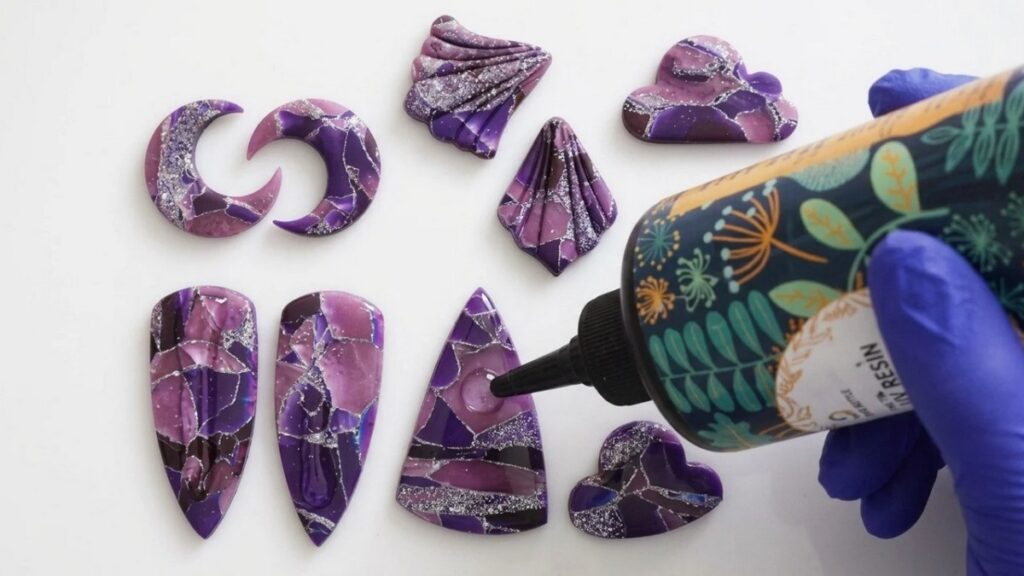
- Apply resin:
- Spread a thin layer of clear resin over each earring with a silicone tool, ensuring even coverage.
- Use a lighter or heat gun briefly and lightly to pop surface bubbles—move the flame quickly and at a safe distance.
- Cure resin according to product instructions in a dust-free environment.
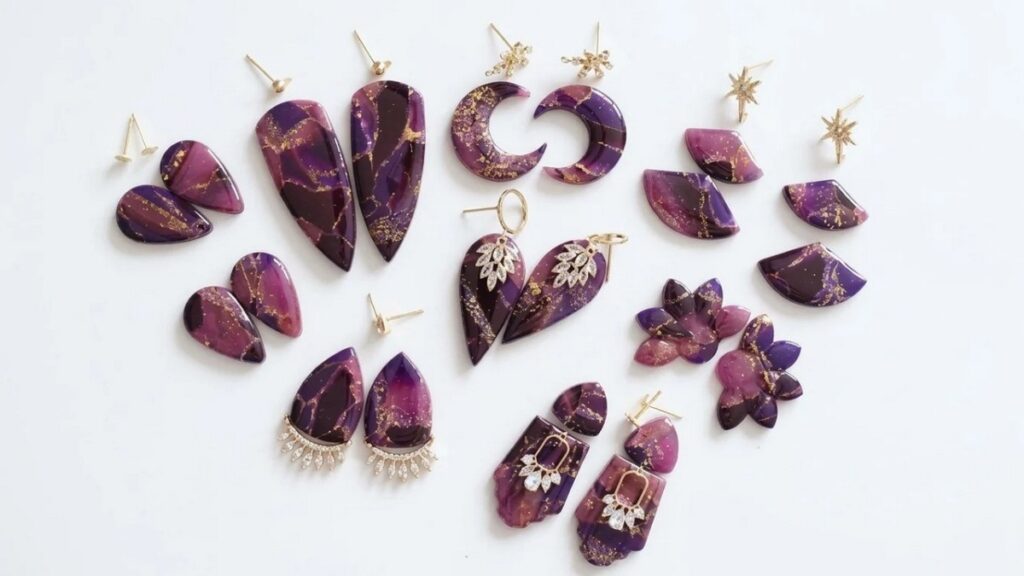
- Attach hardware:
- Use E6000 glue to secure earring posts or backings, applying a small dot to the contact point.
- Optionally add a tiny layer of resin over the glued area for added hold and a seamless finish once cured.
- Assemble jump rings and additional connectors with pliers to match your design preference.
Make the Final Adjustments
- Inspect pairs:
- Confirm color balance and metallic distribution across matching earrings; sand or re-coat with mica if adjustments are needed.
- Add final resin touch-ups:
- If any trapped dust or minor imperfections appear after curing, lightly sand and reapply a micro layer of resin to restore gloss.
- Clean hardware:
- Remove any excess glue or resin from metal parts using a gentle solvent rag—avoid contact with the polymer surface.
Finish and Clean Up
- Final cure and polish:
- Allow all adhesives and resin to fully cure per manufacturer times before packaging or wearing.
- Use a microfiber cloth to buff any smudges; small polishing compounds can be used sparingly on resin areas.
- Tidy workspace:
- Dispose of resin mixing waste responsibly and clean tools while residues are still fresh.
- Store leftover clay in airtight containers away from light and heat.
Helpful Crafting Tips
- Let alcohol inks dry before mixing to avoid sticky handling and color bleed.
- Compress clay thoroughly to reduce air pockets — bubbles show under resin.
- Test small resin pours to practice bubble removal with heat; safety first: use a well-ventilated area and keep a safe distance with the lighter.
- Pre-plan cutter placement to maximize metallic leaf distribution — rotate the slab to get matching patterns.
- If you lack a Dremel, make holes before baking with a skewer for neat, centered openings.
- Use E6000 sparingly and allow full set time; adding a resin cap after gluing increases longevity.
- Wear gloves and a mask when working with alcohol inks, mica powders, and resin to protect skin and lungs.