DIY Polymer Clay Flower Jewelry Free Project Using Simple Tools
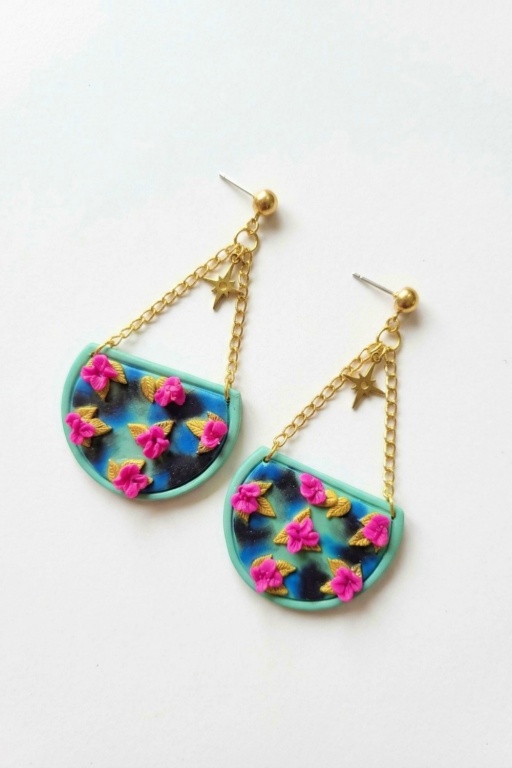
Create stunning DIY Polymer Clay Flower Jewelry with this easy tutorial and craft delicate floral accessories that add handmade charm to any outfit
Making handmade jewelry is a fun way to show off your style, especially with colorful, flower-shaped designs. This project focuses on using polymer clay to create beautiful and unique flower jewelry. Polymer clay is easy to work with, making it perfect for creating detailed pieces such as earrings, necklaces, or bracelets. With just a few tools and some clay, you can shape and mold stunning flowers in your favorite colors and turn them into beautiful accessories. It’s a simple, affordable, and enjoyable project for both beginners and experienced crafters.
Easy DIY Polymer Clay Flower Jewelry Step-by-Step
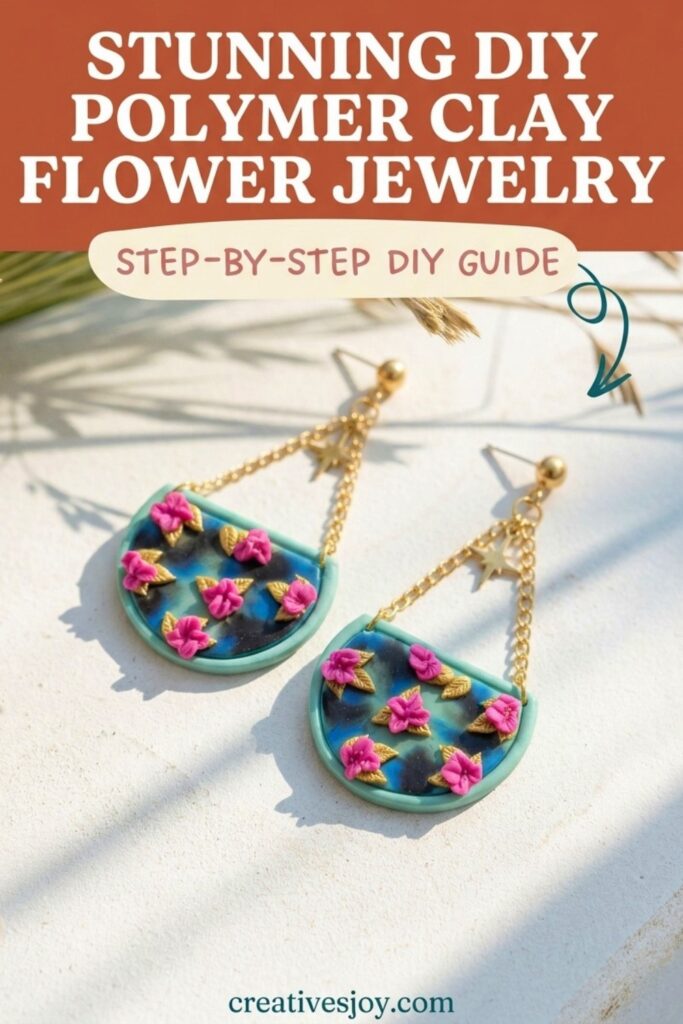
What makes this jewelry special is how creative you can be with it. From tiny daisies to bold roses, the possibilities are endless. The steps are easy to follow, making it a great choice for anyone who wants to try crafting for the first time. You can choose your own colors, shapes, and sizes, letting you design pieces that match your personality or make thoughtful homemade gifts. Plus, once the clay is baked, the jewelry becomes durable and long-lasting.
By the end of this project, you’ll have handmade flower-themed jewelry that’s both stylish and meaningful. Whether you’re making something for yourself or a loved one, this idea allows you to enjoy the process of shaping, baking, and wearing something unique. It’s a cheerful and rewarding activity for all ages!
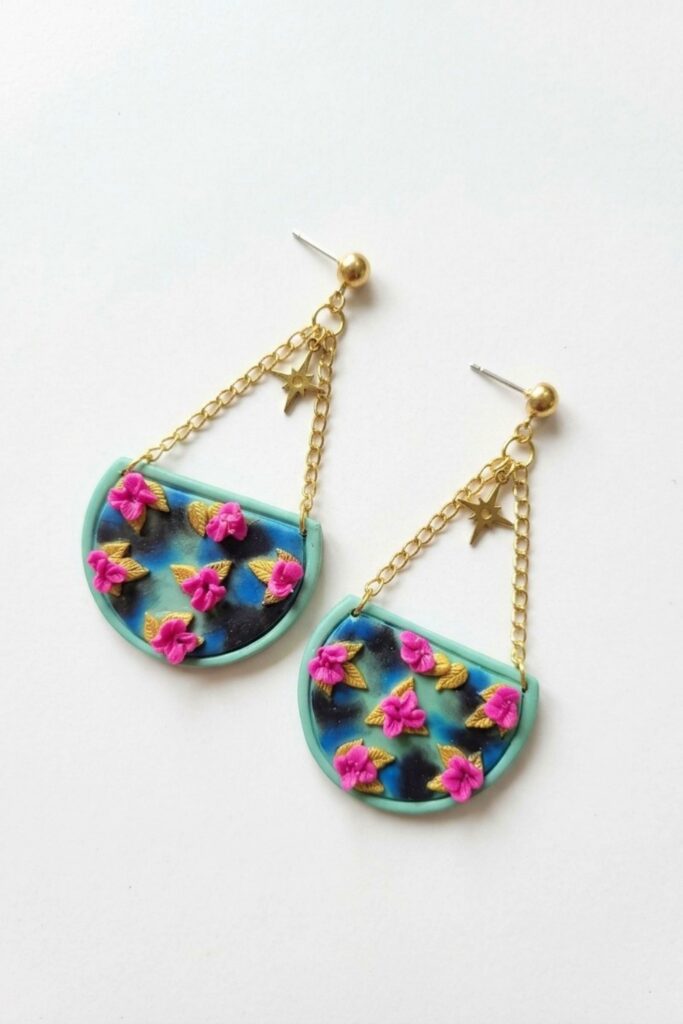
Floral Polymer Clay Earrings
About This Project
This project shows step-by-step how to create delicate floral earrings from polymer clay. The design uses a medium-thickness clay base, metallic accents, tiny textured petals, and subtle color blending. The finished pair is lightweight, wearable, and suitable for gifting or selling.
What You’ll Need
- Polymer clay in base color and metallic gold
- Clay sheet roller or pasta machine
- Assorted clay cutters (frames and teardrop micro cutters)
- Precision craft knife and sanding tools
- Clay glue and a small paintbrush for placement
- PanPastel or soft pigment pastels for shading
- Baking instructions for your chosen clay brand
- Matte and gloss varnish, and a small varnish brush
- Stud posts, chains, brass charms, jump rings, and jewelry pliers
Before You Begin
- Condition your polymer clay thoroughly for easy rolling and cutting.
- Preheat the oven according to the clay manufacturer’s instructions.
- Work on a smooth, clean surface and keep a damp cloth nearby.
- Prepare cutters and tools so you can work efficiently without smudging details.
How to Make It
Step 1: Prepare the Materials
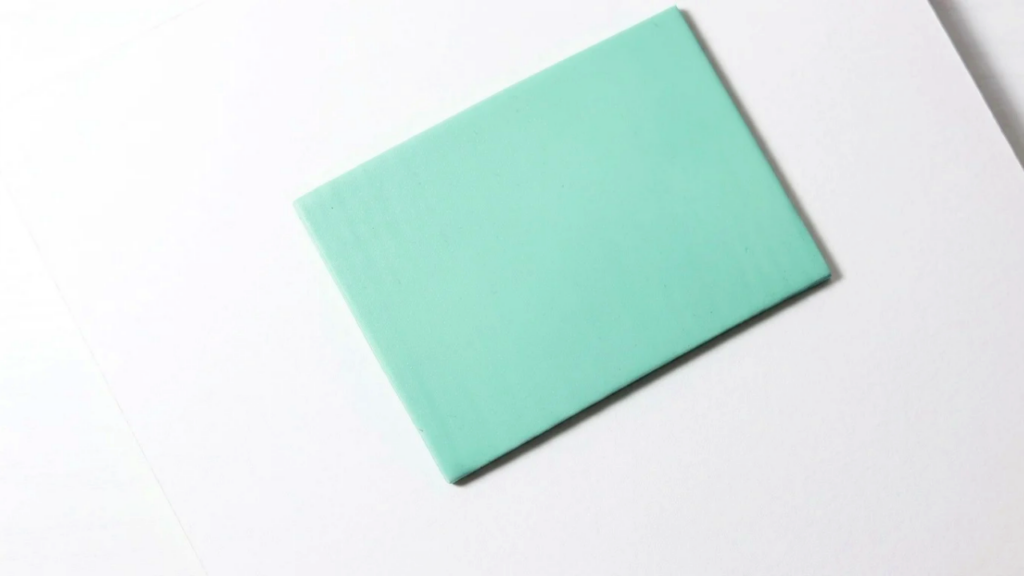
- Roll a medium-thickness sheet of base-colored clay, keeping thickness consistent.
- Select two consecutive sizes of clay cutters to create a framed base.
- Lay out metallic gold clay and prepare teardrop micro cutters for leaf elements.
- Have clay glue, a precision blade, and small textured round cutters ready.
Step 2: Start the Project
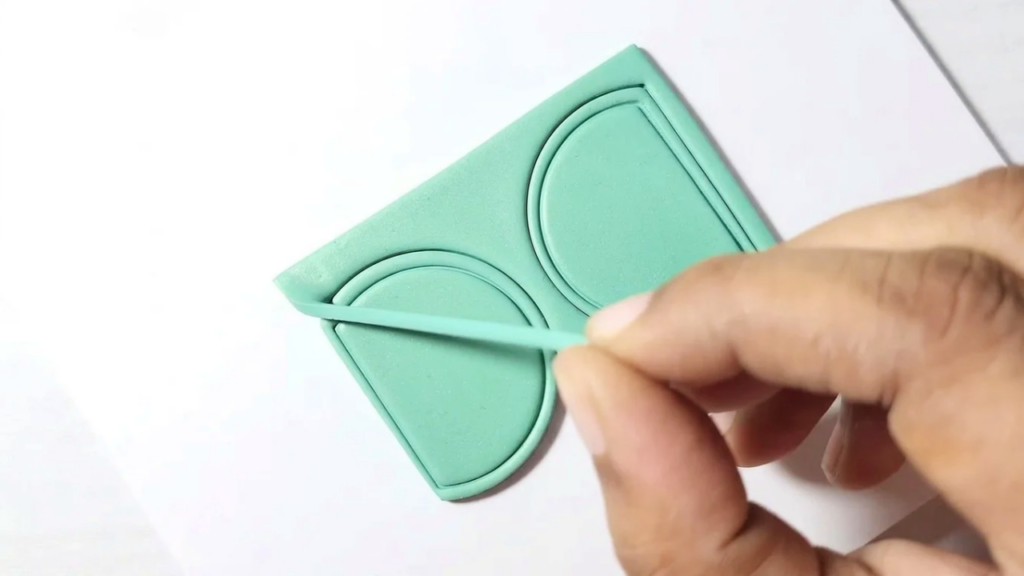
- Press the larger clay cutter firmly into the base sheet to create the main shape.
- Gently press the smaller cutter on the surface to mark an inner outline; avoid cutting deep.
- Use the outline method to create a border instead of adding a clay rope frame.
- If you own frame-style cutters, use them for cleaner borders.
Step 3: Build the Main Part
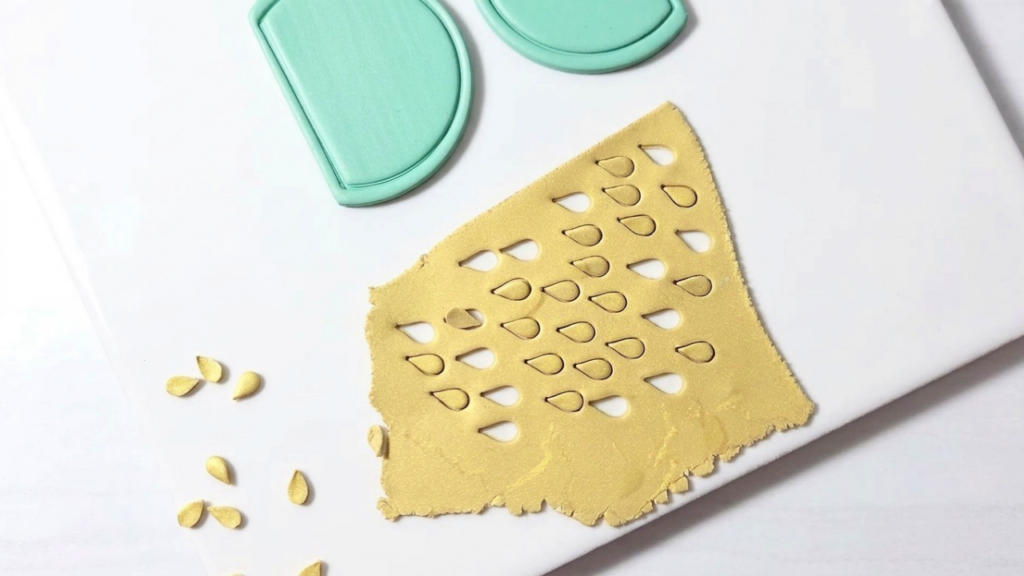
- Cut tiny teardrop shapes from metallic gold clay using micro cutters.
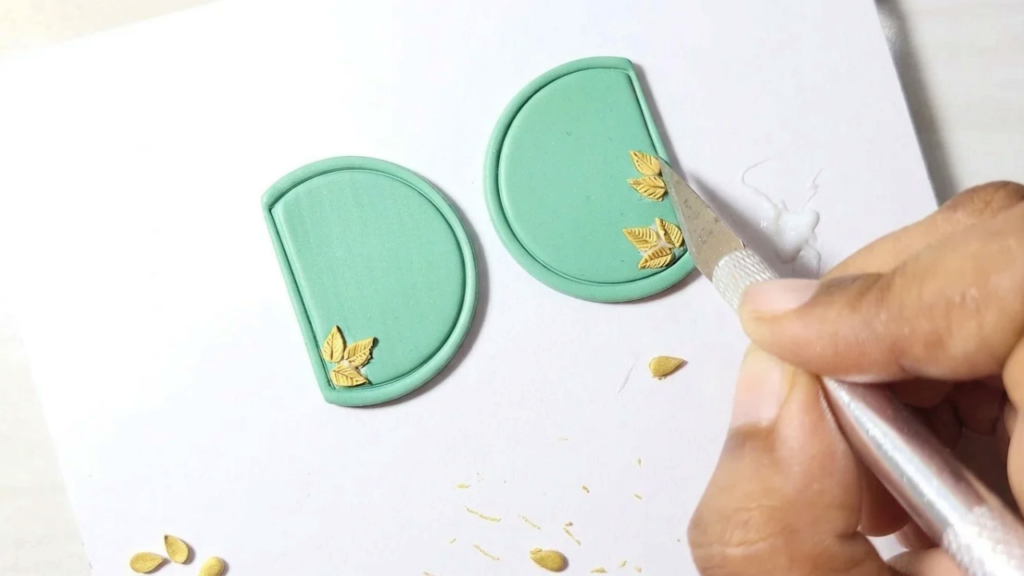
- Apply a thin amount of clay glue to the back of each metallic piece for secure adhesion.
- Arrange these teardrops on the base to form a small leaf bunch, considering composition and balance.
- Press gently so pieces adhere without distorting the base shape.
- Use a precision craft knife to score subtle vein details on each leaf for realism.
Step 4: Add the Details
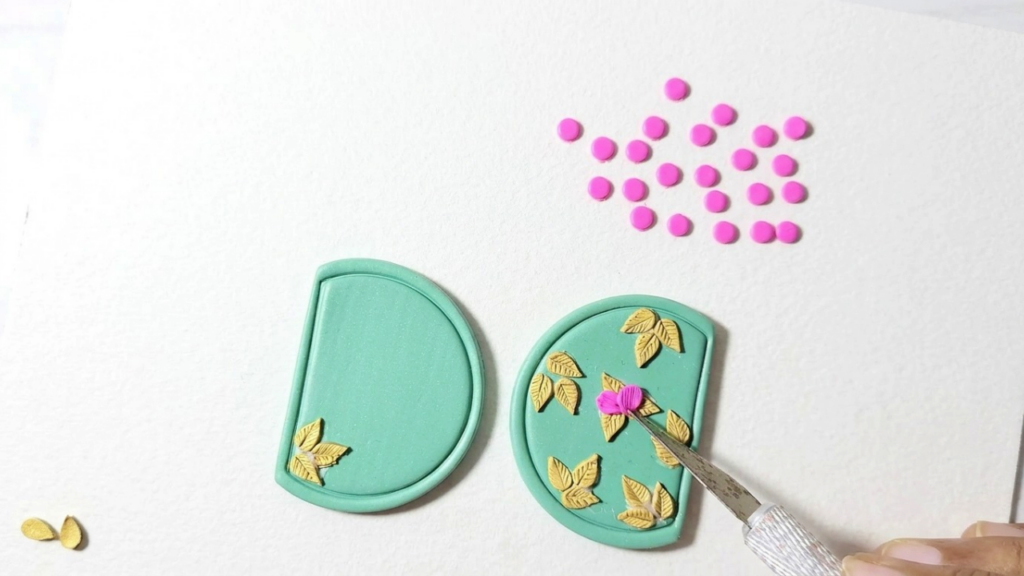
- Roll a thin sheet of matching clay and cut multiple small rounds to make petals.
- Add texture lines on each round with the craft knife to mimic petal veins.
- Arrange the textured rounds concentrically to form tiny flower heads and press lightly.
- Slightly fold or cup some petals to reveal leaves beneath and add dimension.
- Place three or four small flowers where space allows, balancing negative space on the base.
- Use clay glue sparingly to avoid visible residue after baking.
Step 5: Complete the Project
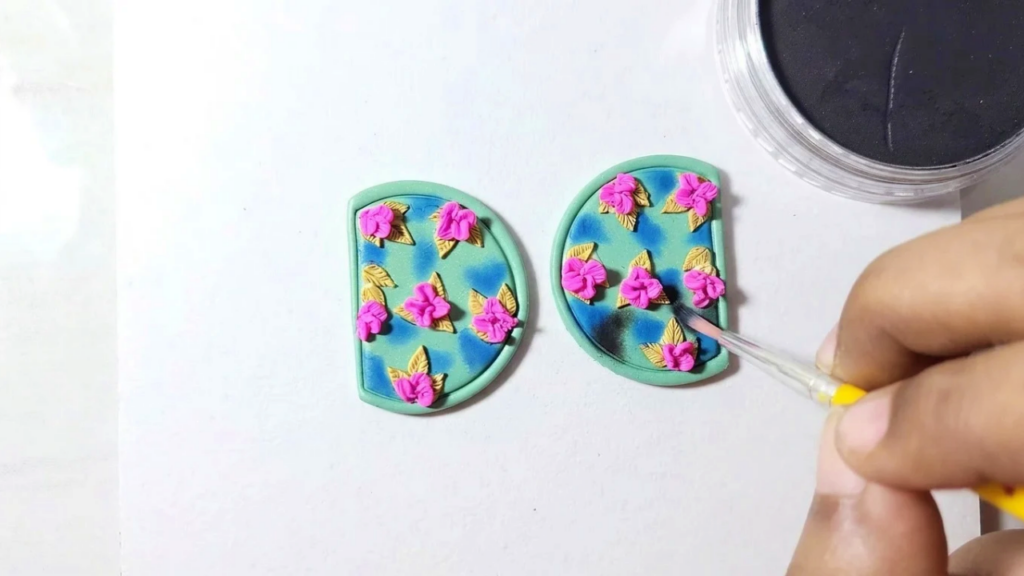
- Apply PanPastel to introduce gentle color variation, leaving some base visible for contrast.
- Use black or darker shades to add depth in recessed areas and around the border.
- Blend colors smoothly with a soft brush or finger until transition appears natural.
- Consider adding magenta or another accent to flower petals for darker tonal interest.
- Bake the assembled pieces according to clay manufacturer guidelines, using a reliable oven thermometer.
- After cooling, sand edges and surfaces for a polished finish, starting with higher grit then moving finer.
- Seal the base with matte varnish and apply gloss varnish selectively to flower petals only; avoid varnishing leaves unless needed for effect.
Finishing Details
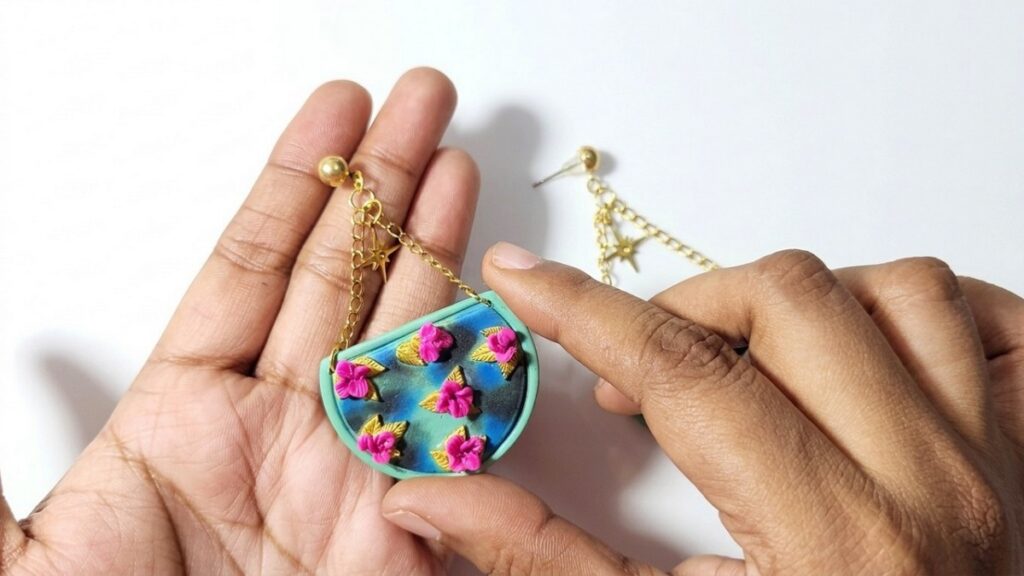
- Assemble jewelry by attaching stud posts to the backs of the clay pieces using jewelry adhesive or embedded posts before baking if recommended.
- Hang delicate chains and small brass charms from the stud post using jump rings for added movement.
- Ensure all metal connections are secure and trim excess glue strands before final inspection.
- Test earrings gently to confirm durability and comfort for wear.
Helpful Tips
- Keep tool pressure light when working on small details to prevent unintended marks.
- Work with contrasting colors to make textured elements stand out.
- If outlines look imperfect during placement, refine edges with a small wet sponge or fine sanding after baking.
- Practice making one prototype before producing a matching pair to perfect layout and color choices.
Your Finished Craft
- The final floral polymer clay earrings should feature a framed base, metallic leaf accents, tiny textured flower clusters, and blended colors for depth.
- With proper baking, sanding, sealing, and assembly, the earrings will be durable and retain their vivid finishes.
- These earrings make a thoughtful handmade gift or a stylish addition to a craft collection.
Care and Storage
- Wipe the earrings gently with a soft, dry cloth after each use to remove oils and dust.
- Avoid prolonged exposure to water, perfumes, and cosmetics; remove earrings before showering or swimming.
- Store pieces flat in a padded jewelry box or individual zip bags to prevent scratches and keep shapes intact.
- For long term storage, include a silica gel packet to reduce humidity and prevent metal tarnish.
Variations and Customization
- Swap the metallic gold leaves for silver or copper tones to match personal preference or outfit palettes.
- Change base shapes by using different framed cutters — circles, ovals, or asymmetrical forms create different styles.
- Mix clay textures by incorporating mica shift or translucent clays for subtle shimmer.
- Add tiny seed beads or rhinestones to flower centers before baking for a hint of sparkle.
- Experiment with layered colors and mica powders under translucent clay for a glowing effect.
Troubleshooting Common Issues
- If small pieces lift during baking, press them more firmly before baking or use a slightly higher tack glue suited for polymer clay.
- To fix minor cracks after baking, fill with liquid polymer clay, cure carefully, sand, and finish with varnish.
- If colors appear dull after varnish, try a thin additional coat of gloss on selected elements rather than overall sheen.
- When borders look uneven, lightly sand the edges with fine grit until smooth, then seal.
These additional care, customization and troubleshooting notes will help you refine technique, protect finished pieces, and personalize designs to your taste. Enjoy experimenting and make each pair uniquely reflective of your personal creative style and pride.