How to Crochet Headband Free Pattern
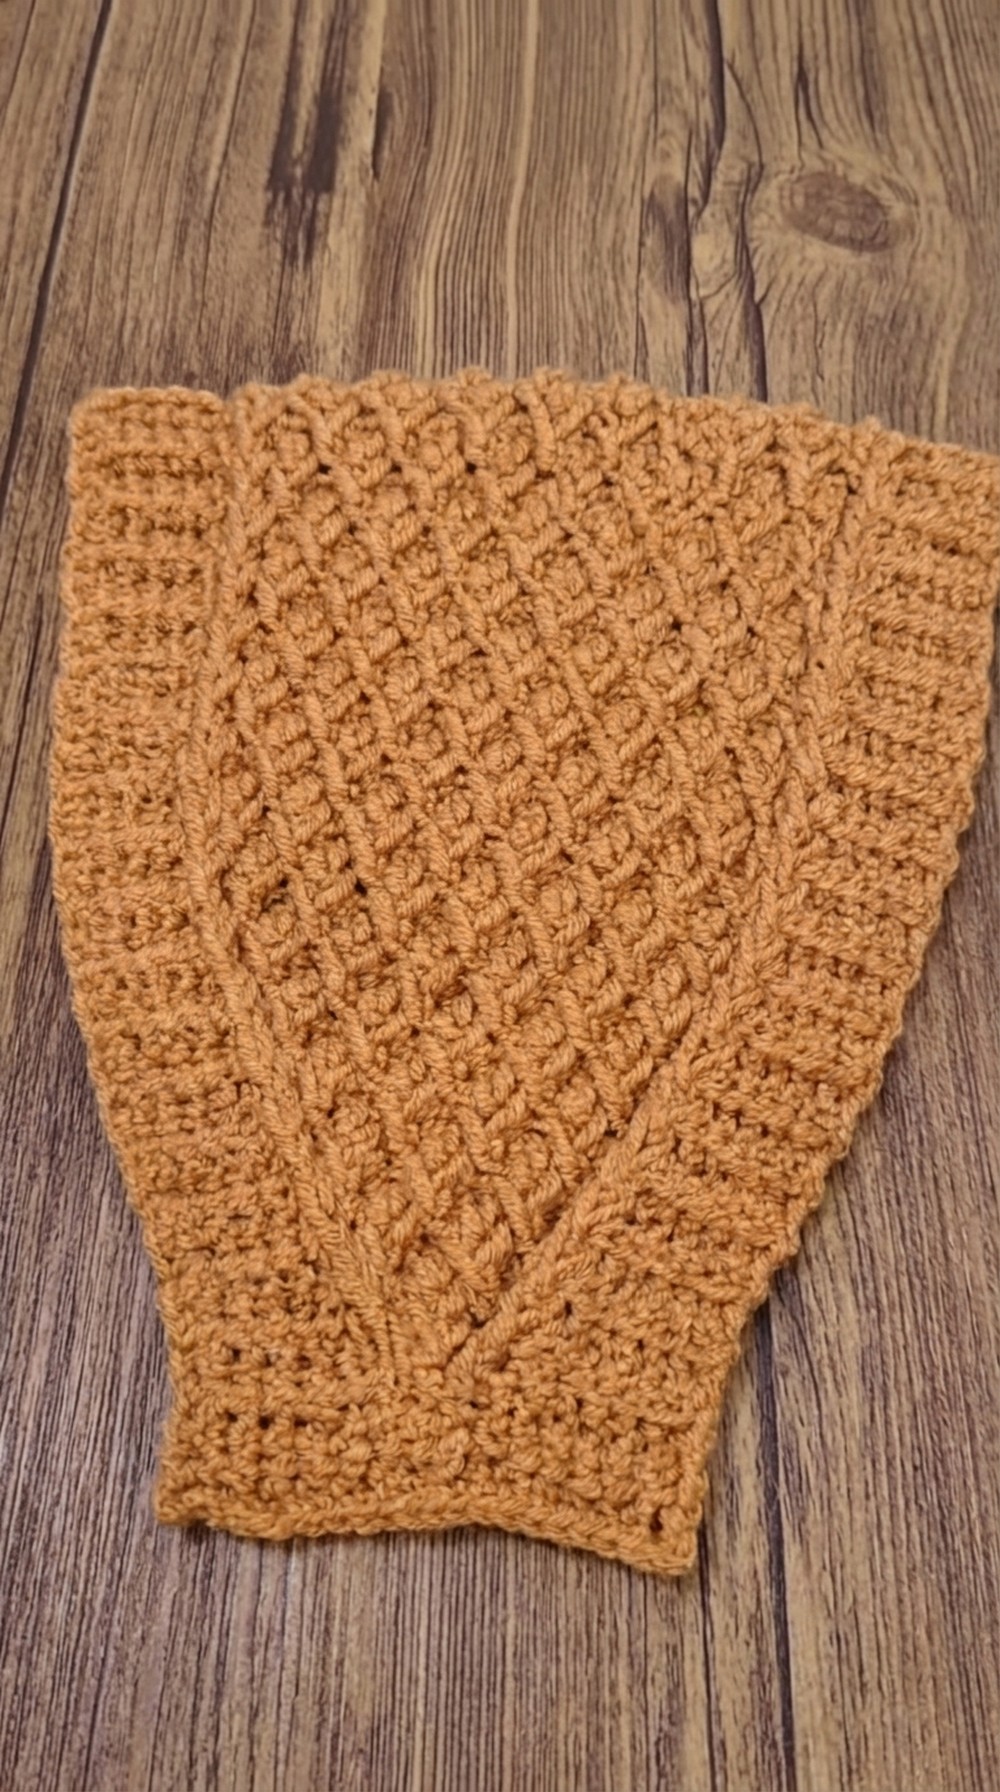
Fashionable Free Crochet Headbands: Pattern You’ll Cherish
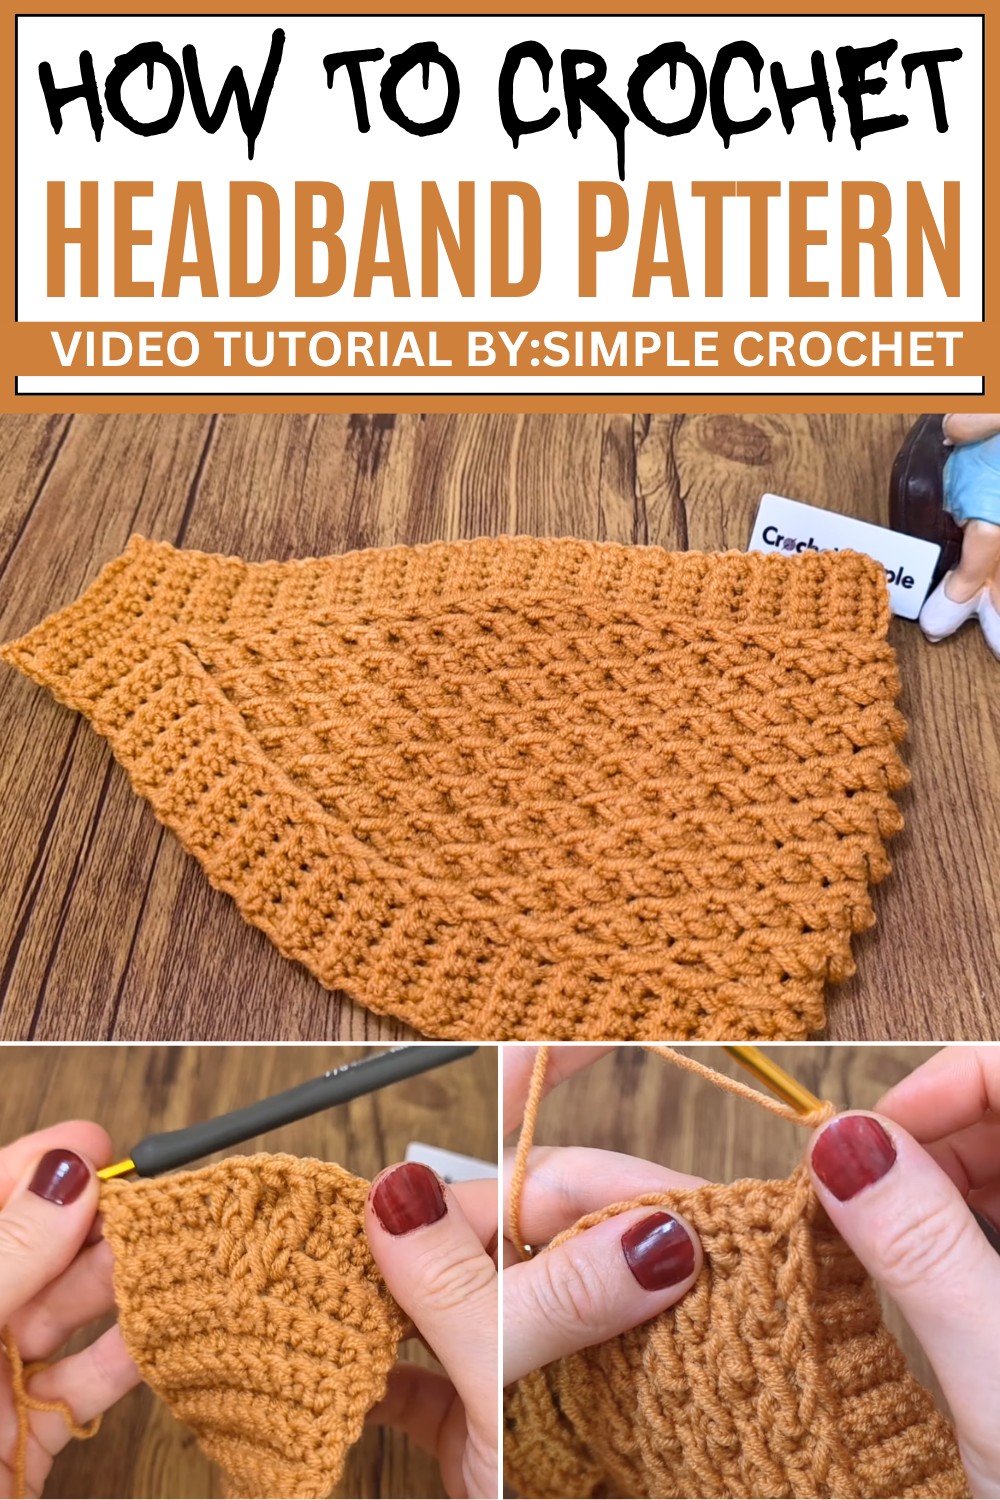
What makes this crochet headband stand out is its beautiful design and soft texture. It’s made with yarn that feels gentle on the skin, perfect for wearing all day. The headband has a nice width—not too thin or wide—so it sits comfortably around your head. The shape gently hugs your head without slipping, and the pretty stitching adds a small touch of style that catches the eye without being too bold. You can make it in different colors, letting you match your mood or outfit. Its simple yet elegant style makes it perfect for casual days or a cozy winter look.
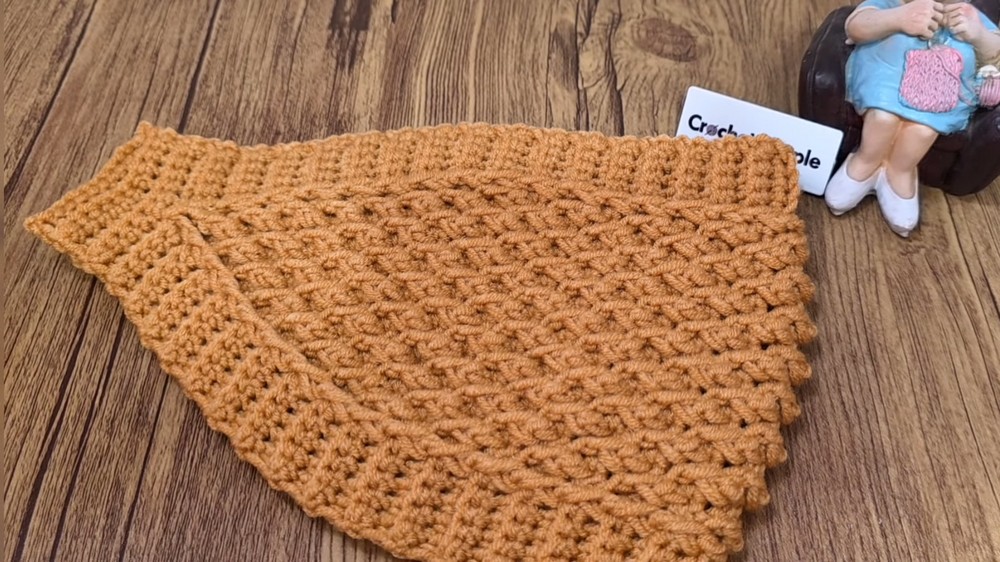
Besides being a great personal accessory, this headband is wonderful as a handmade gift. Its thoughtful, cozy design makes it a lovely present for friends or family. You can also use it to brighten up your collection of winter accessories or add some color and texture to your daily wardrobe. If you love quick and satisfying projects, this crochet headband pattern is a great choice. It’s easy to follow, useful, and sure to bring a smile to anyone who wears it. So why not give it a try? You might just create your new favorite accessory!
Easy Crochet Headband Pattern
This beautiful and cozy crochet headband is perfect for beginners! It uses basic stitches and a textured stitch pattern that mimics a knitted look. You only need one skein of yarn and a 3.5 mm hook to create a stretchy, soft headband that fits comfortably.
Pattern Highlights
- Great for all skill levels, especially beginners
- Uses simple stitches: chain (ch), single crochet (sc), long single crochet (long sc), half double crochet (hdc)
- Textured stitch pattern worked in back and third loops for flexibility and stretchiness
- Width and length easily customizable by changing foundation chains and number of rows
- Includes increasing and decreasing sections for shaping the headband around the ears
- Neat and stretchy seam finish
Notes
- The foundation chain number must be odd to start the stitch pattern correctly
- Work loosely on the foundation chain so working into the back/third loops is easy
- Keep track of rows and increases/decreases for shaping using stitch markers or notebook
- The finishing seam is worked with slip stitches for a clean join
- Blocking is optional to smooth and shape the headband
- Gauge is flexible, but maintain consistent tension for best results
Skill Level
Beginner to Intermediate – You will need to know how to:
- Make a chain stitch (ch)
- Crochet a single crochet (sc), both short and long versions
- Work into the back loop and third loop of stitches
- Make increases and decreases smoothly
- Join pieces with slip stitch seam or yarn needle
Materials
- 1 skein (~100g) soft acrylic or baby yarn (examples: Kartapoo Axsoft, Alize, Nako Baby)
- Crochet hook size 3.5 mm
- Yarn needle for weaving in ends and seaming
- Scissors
- Optional: Stitch markers and tape measure
Measurements / Sizing
- Width: Approximately 3 cm (can be changed by altering foundation chain count)
- Length: Fits head circumference ~54–56 cm (adjustable by number of rows)
- Adjustable for babies (smaller chains and rows) or adults (longer chain and more rows)
Stitch Abbreviations
- ch = chain
- sc = single crochet (short single crochet)
- long sc = long single crochet (extended single crochet)
- hdc = half double crochet
- sl st = slip stitch
- st = stitch
- BL = back loop (the loop furthest from you on the stitch)
- TL = third loop (horizontal loop behind the back loop on stitches of previous row)
Special Techniques
Back and Third Loop Work
- Instead of inserting the hook under both loops of a stitch, insert the hook only under the back loop and third loop. This creates a raised ridge and adds stretch and texture.
Long Single Crochet (long sc)
- Yarn over, insert hook into stitch, pull loop up, yarn over, pull through two loops, yarn over, pull through last two loops. This creates a taller stitch used for shaping.
The Crochet Pattern
Step 1: Foundation Chain
- Make an odd number of chains (e.g., 11 chains for approx. 3 cm width).
- Chains should be loose enough for easy stitching.
Row 1: Foundation Row
- Skip first chain, insert your hook into the back loop and third loop of next chain.
- Work 1 short single crochet (sc) into back and third loops of each chain across (total stitches equal to foundation chain number minus 1).
- Finish with 1 sc in the last chain.
Row 2: Turn & Back Loop Single Crochet
- Chain 1 and turn your work.
- Work 1 short sc into the back loop of the first stitch.
- Continue working 1 sc in back loops of each stitch across the row.
- At row end, work a finishing stitch: pull hook under last horizontal loop and pull yarn through to create a neat edge.
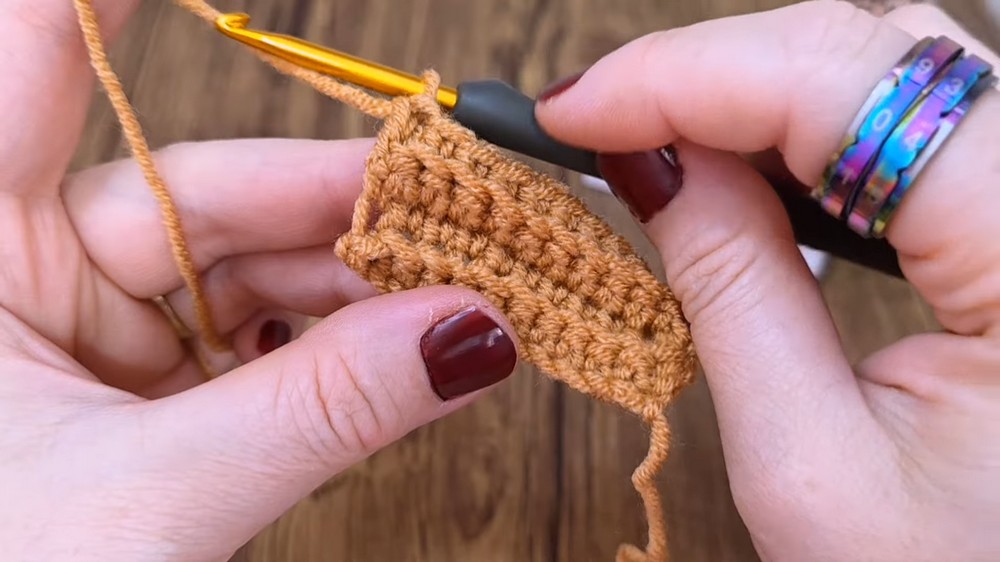
Rows 3 and onward: Repeat Texture Rows
- Repeat Row 2: chain 1, turn, and work short sc stitches into back loops across.
- Continue until you reach desired height for the first flat band (e.g., 22 cm or approximately 11 rows).
- Always finish row with the finishing stitch to maintain clean edges.
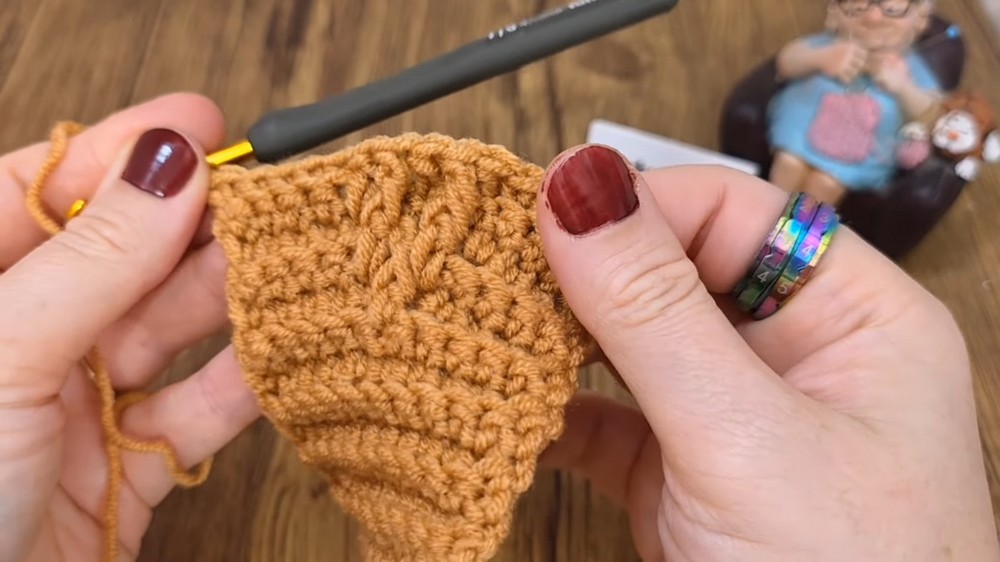
Step 2: Increasing Section (Width for Ears)
- Begin increases after completing flat band (2/5 of length).
- Work short sc stitches into back loops on the row until you reach the middle stitch.
- Here, work a long single crochet (long sc) instead of short sc to add width.
- Continue short sc across the rest of the row.
- Repeat this increase at the middle stitch on next several rows until you reach approximately 5.5 cm width at the ears.
Step 3: Flat Middle Band Section
- After increases, work straight rows of short sc into back loops for 2/5 of the head circumference (e.g., about 22 cm).
- Keep rows even, without increases or decreases for a smooth band section.
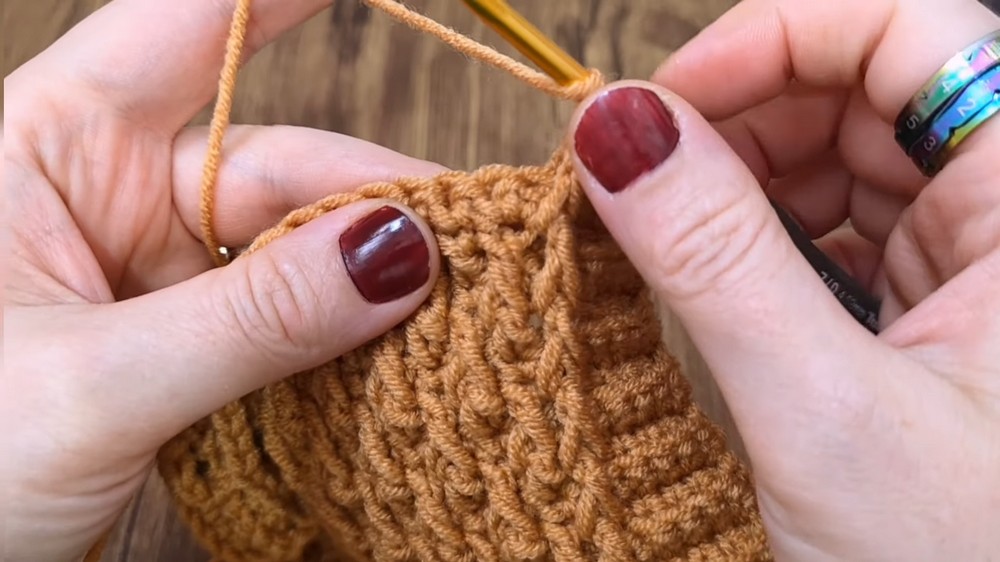
Step 4: Decreasing Section (Return to Flat Band)
- Opposite the increases, begin to decrease by replacing long sc with short sc at the middle stitch over several rows, returning the band to initial flat width.
Step 5: Final Rows and Edge Finishing
- Work last rows in short sc into back loops to complete band.
- Bind off loosely to maintain elasticity.
Step 6: Joining Ends Seamlessly
- Fold headband ends with right sides facing.
- Use yarn needle or crochet hook to join ends via slip stitches working through back loops to mirror the stitch pattern.
- Weave in all loose ends firmly.
Assembly & Finished Size
- Sample headband measures about 3 cm wide and fits 54-56 cm head circumference.
- Uses about 45 grams of yarn, so one skein (100g) can create multiple headbands.
- Seams lie flat and are stretchy, comfortably fitting head shapes.
- Blocking the finished piece is optional and helps smooth edges and even out stitches.
Conclusion
This headband pattern combines simplicity with a lovely texture that mimics knitting. Its flexible stitch pattern offers great stretch and comfort, perfect for all seasons. You can customize the size easily by changing the foundation chain and row counts.