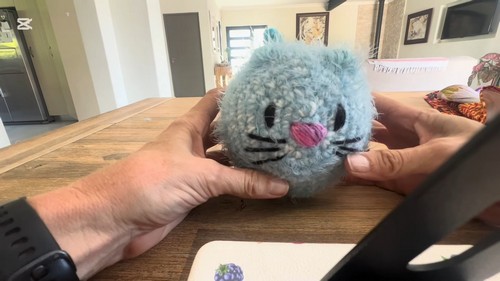
How to Crochet Cute Loaf Cat Plushy for Kids
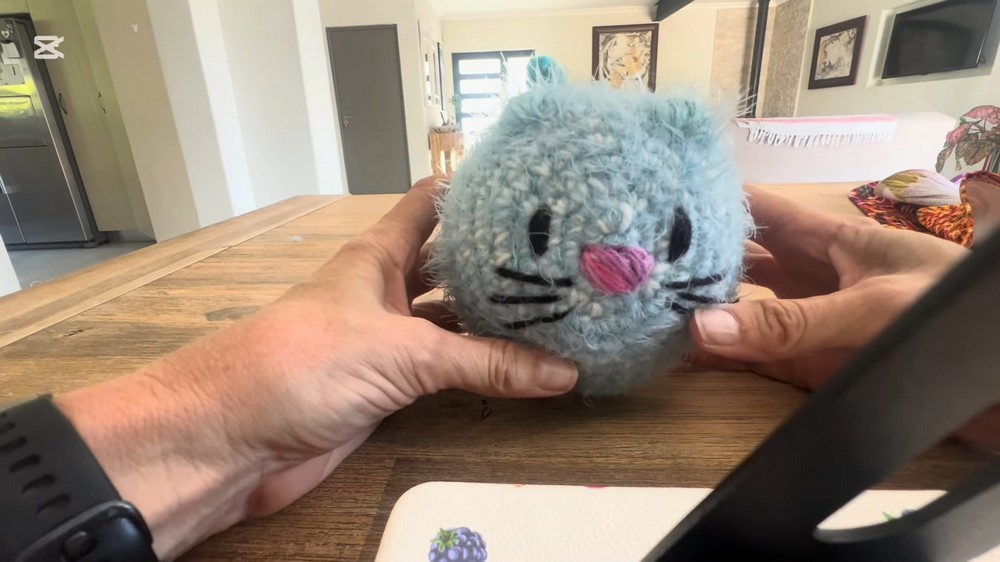
Learn how to crochet a big, Loaf cat plushy perfect for beginners and enthusiasts alike. Using fluffy Nirvana yarn paired with variegated blue yarn, this crochet cat gets fuzziness in texture. Adding cute facial features and finishing touches, this step-by-step tutorial is engaging, creative, and ideal for handmade gift ideas.
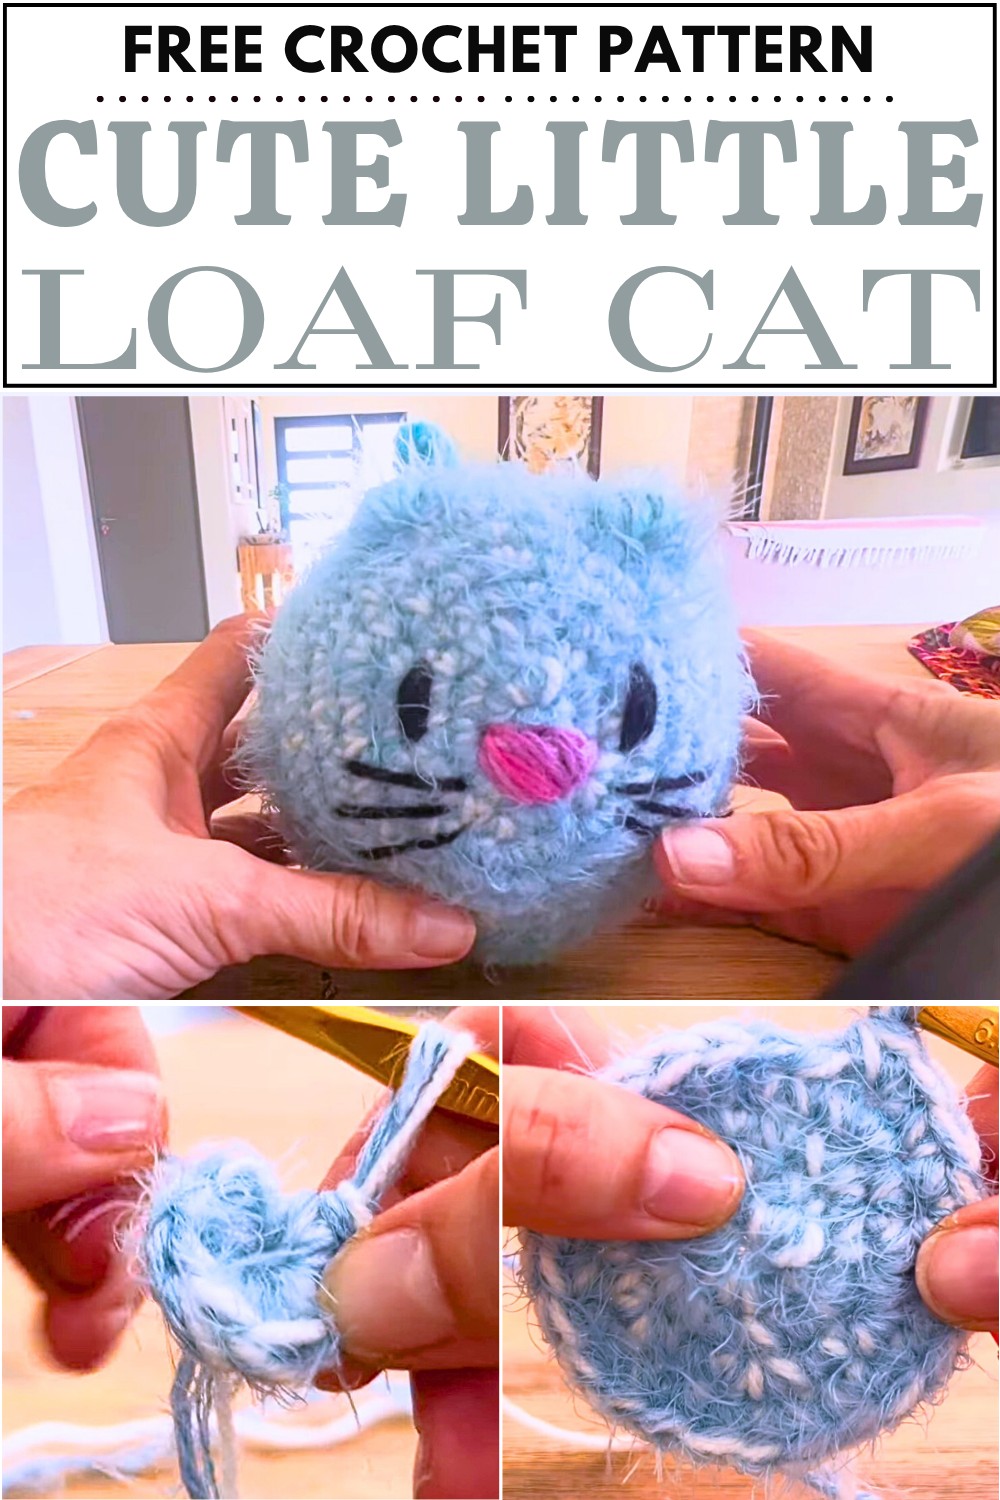
Supplies Used:
Here’s a list of supplies used to create the crocheted loaf cat:
- Nirvana fluffy yarn (blue)
- Used to give the cat a soft, plush texture.
- Charity variegated blue yarn
- Combined with the fluffy yarn for a striped appearance.
- Crochet hook
- Size corresponding to the yarn used (specific size not mentioned, but ensure it’s appropriate for tight stitches).
- Yarn needle
- For sewing parts together, like the tail and legs.
- Synthetic stuffing
- Used to firmly fill the body of the cat.
- Pins
- To mark positions for the legs, face, eyes, and nose.
- Pink cotton yarn
- Used for sewing the cat’s nose.
- Stitch markers
- To mark the beginning of rounds.
Let me know if you’d like help formatting this or expanding!
Crochet Cute Little Loaf Cat Tutorial
This tutorial provides a comprehensive guide for crocheting a loaf cat and is suitable for crocheters who enjoy detailed, step-by-step instructions.
- Introduction to Materials:
- The creator uses two types of yarn: a fluffy blue yarn for texture and a variegated blue yarn for a striped appearance.
- The importance of using a tight-knit and the corresponding needle size is emphasized.
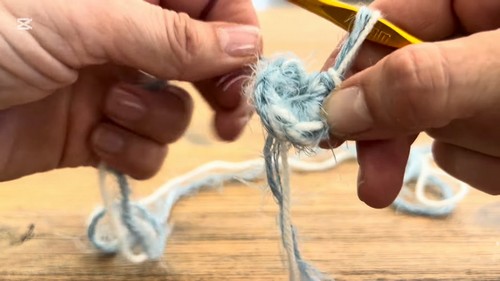
- Beginning the Crochet Project:
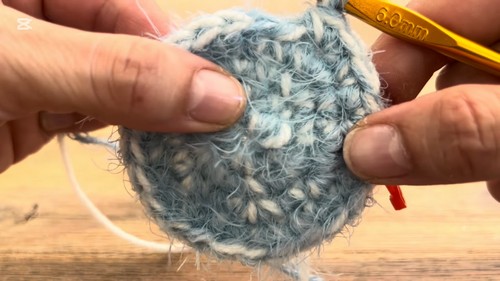
- Instructions start with making a magic ring and placing single crochets in it.
- The project follows a spiral method, avoiding the use of slip stitches.
- Building the Base Shape:
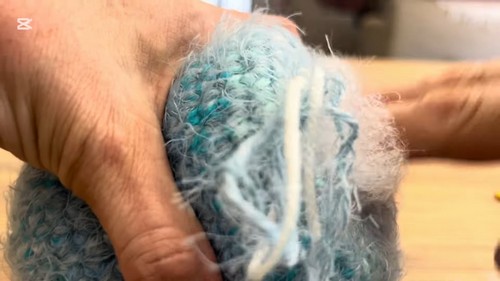
- The pattern involves increasing the stitch count in each round to form the base shape.
- Recommendations are made for using stitch markers to keep track of the starting point.
- Progressing the Crochet Rounds:
- Instructions detail how to continue increasing stitches across several rounds.
- The base begins to take the shape of a hexagon, which is expected at this stage.
- Adding Features:
- The video includes how to make and place the ears on the cat using a bobble stitch.
- Tips for counting and identifying stitches, especially in fluffy yarn, are provided.
- Creating the Body:
- The main body is built by continuing with a consistent number of stitches for a set number of rounds to create length.
- Decreasing for Closure:
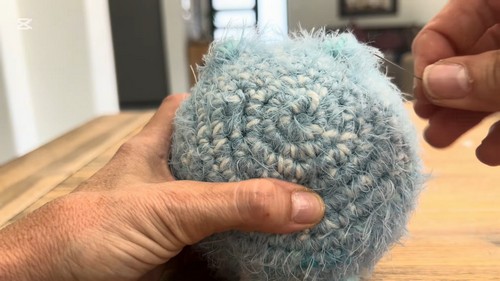
- A decrease in stitch count is used to shape the end of the body.
- Techniques for an invisible decrease are taught, focusing on using the front loops only.
- Stuffing the Cat:
- The importance of firm stuffing to maintain shape is mentioned, with advice on how to avoid yarn snagging.
- Closing and Finishing:
- Final steps involve pulling stitches tightly to close the opening and integrating various components.
- Creating Legs and Tail:
- Four legs are crocheted separately and attached; instructions emphasize the use of stitch markers for symmetry.
- A simple tail is made using the same yarn style as the body.
- Decorative Touches:
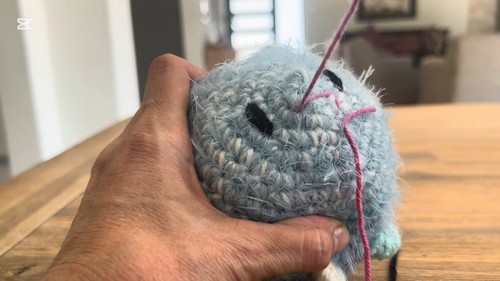
- The eyes and nose are stitched on, using pins for placement accuracy.
- Whiskers are added last, and guidance for symmetrical placement is included.
- Conclusion and Encouragement:
- The creator thanks viewers and invites feedback for future improvements.
- Encourages engagement and continued creativity from the audience.