How to Crochet Beautiful Mini Rose for Beginners
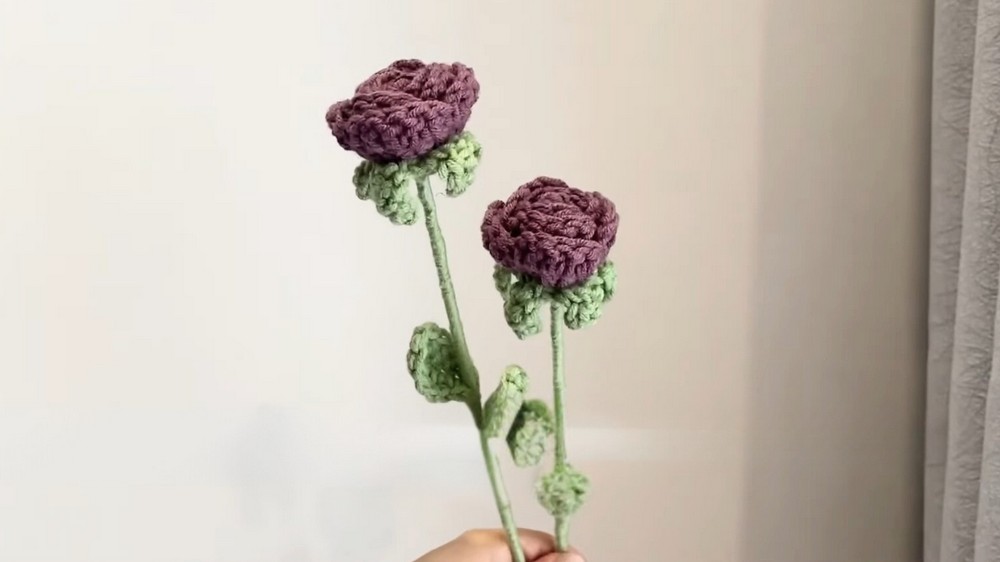
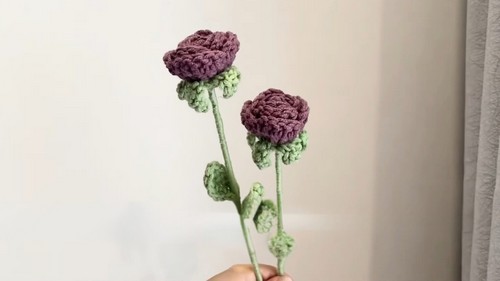
Here is a video tutorial that demonstrates how to crochet a beautiful mini rose flower plant with layers of petals, a calyx, and leaves. This flower is perfect for gifting at weddings or make for yourself as a home decor during spring. The complete video guide for crocheting this flower will be available at the end of this post. Follow through with us for more details!
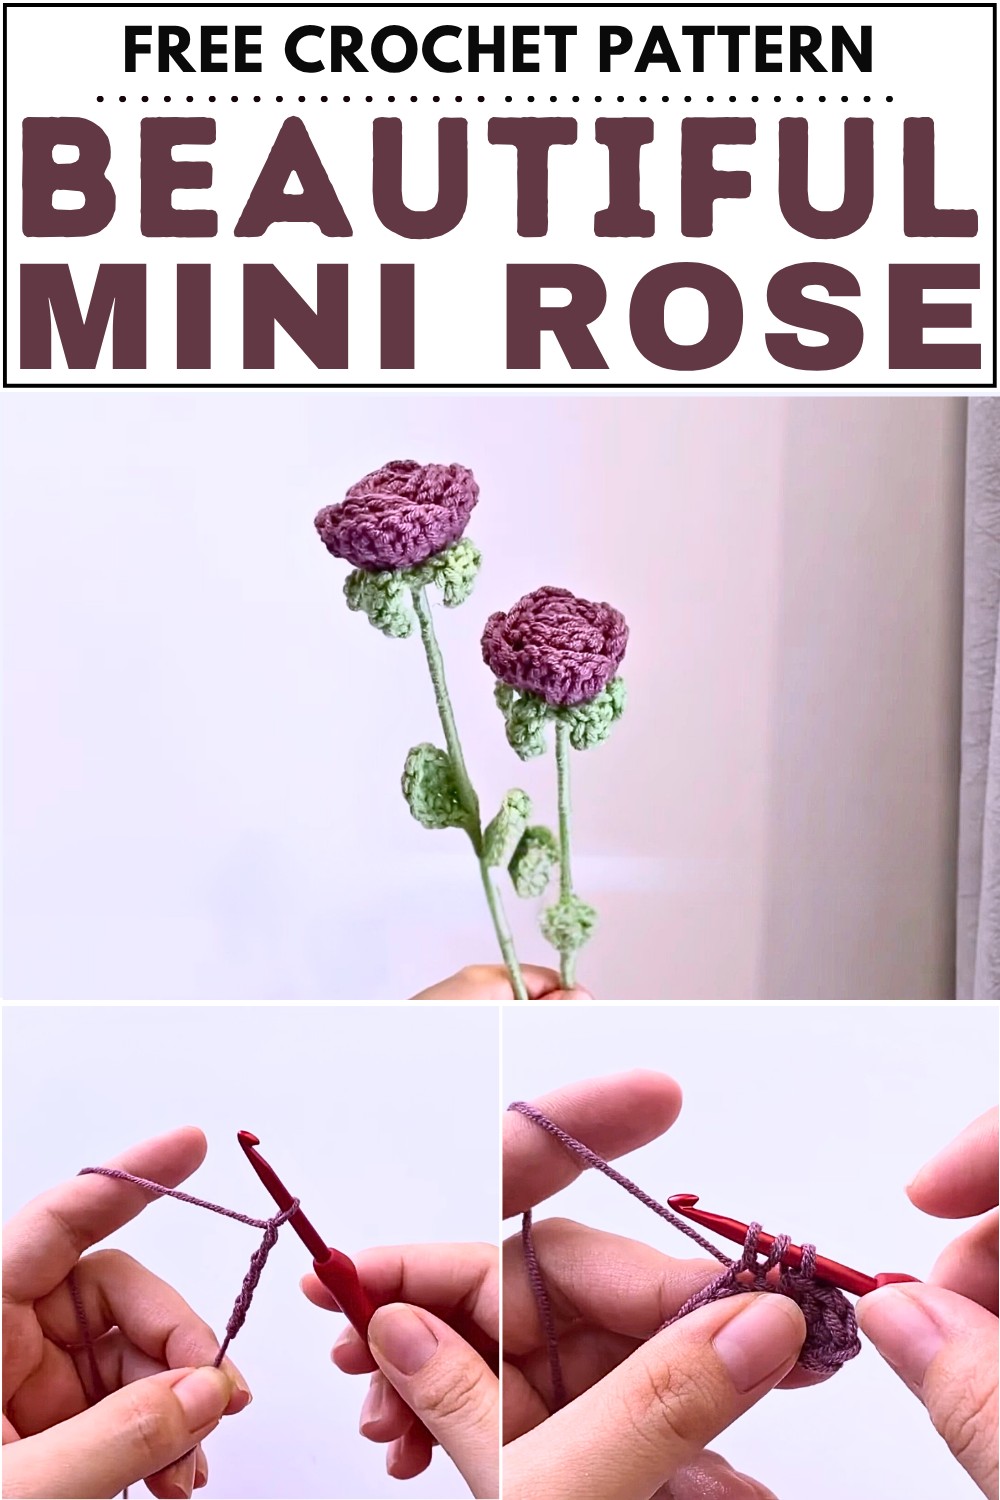
Crochet Mini Rose Tutorial
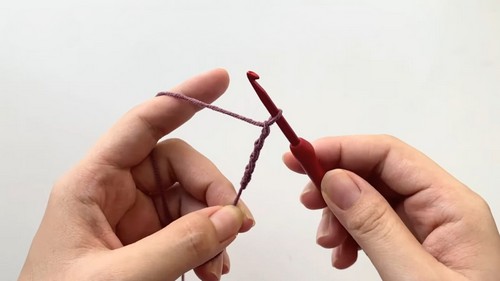
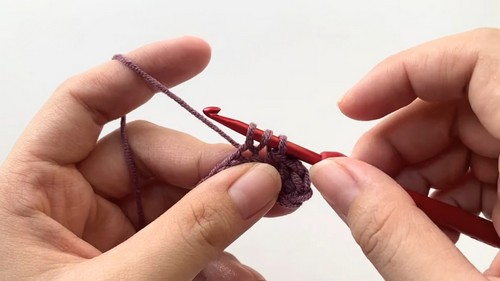
Part 1: Creating the Base Petals (First Row)
- Begin by making a slip knot and crocheting a foundation chain.
- Work double crochets starting from the fourth stitch from the hook.
- Create petals by:
- Working multiple double crochets into specific stitches.
- Alternating with slip stitches to shape the petals.
- Repeat the process to form nine petals in total by the end of the first row.
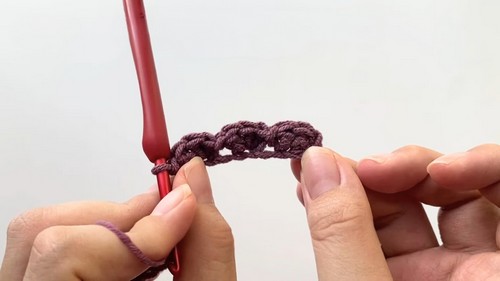
Part 2: Adding the Second Layer of Petals (Second Row)
- Turn the work and chain to begin the second round.
- Make double crochets into designated stitches to form larger, overlapping petals.
- Each petal is created by combining chains, double crochets, and slip stitches.
- Continue the pattern to form a second round of petals, ensuring there are nine in total.
Part 3: Creating the Calyx
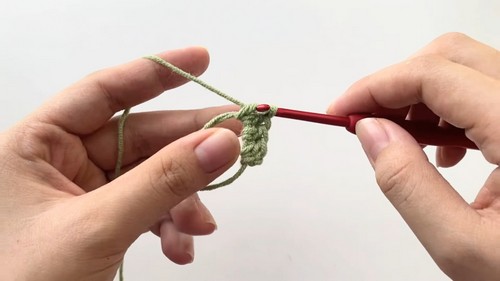
- Use green yarn to start a magic ring.
- Work multiple double crochets into the ring to form a circular base.
- Close the ring tightly and secure it with a slip stitch.
- Build the small sections (sels) of the calyx by creating a combination of chains, single crochets, half double crochets, and double crochets.
- Repeat this process to create a total of five sections for the calyx.
Part 4: Making the Leaves
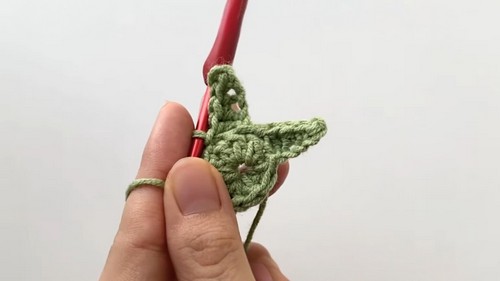
- Create a slip knot and crochet a foundation chain.
- Work along the chain to shape the first side of the leaf:
- Combine single crochets, half double crochets, and double crochets.
- Add multiple single crochets at the top to form a rounded edge.
- Work along the opposite side of the chain in a mirrored pattern.
- Repeat the process to create a second leaf.
Part 5: Assembling the Flower
- Wrap green yarn around a floral stem to cover it fully.
- Attach both leaves to the stem.
- Insert the calyx onto the stem with the correct side facing down.
- Secure the flower bud to the stem using glue.
- Attach the calyx to the bud with glue to complete the assembly.