Free Crochet Cozy Slippers Pattern for Everyday Comfort
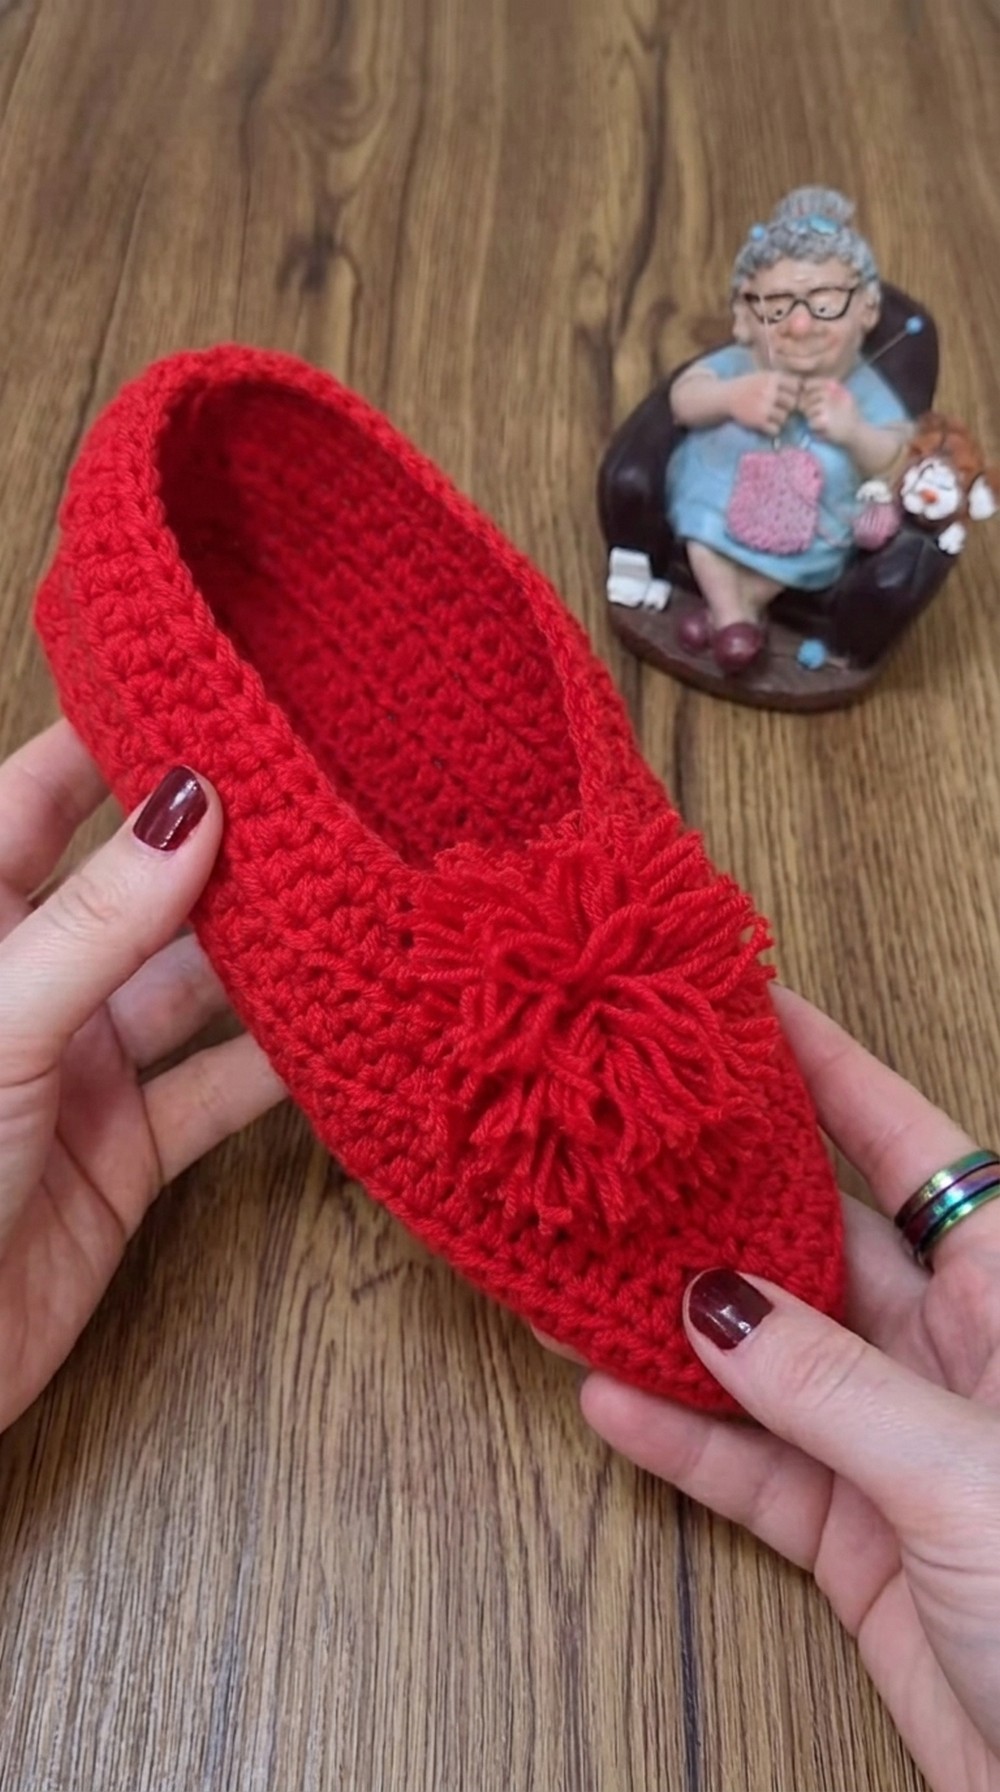
Free Slippers Crochet Pattern for Cold Days
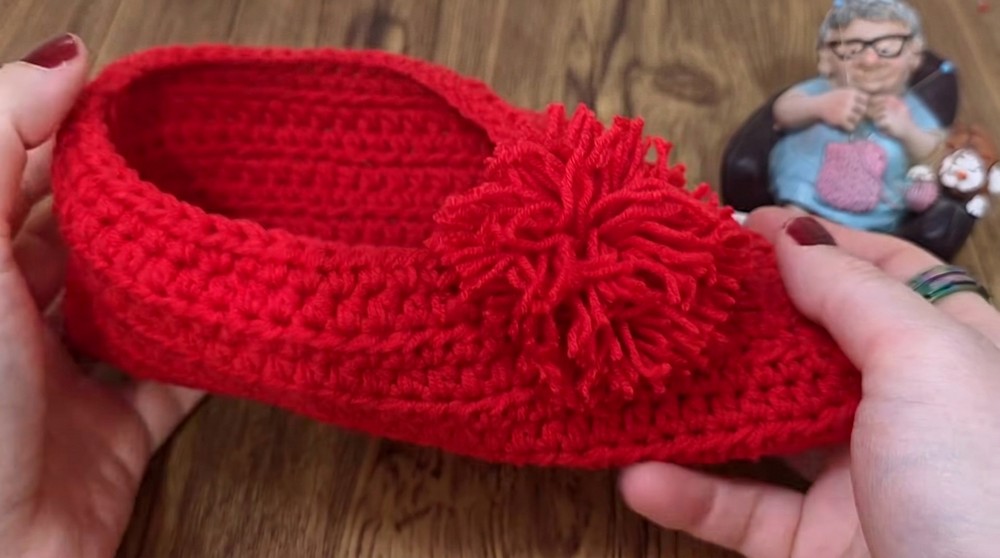
These slippers aren’t just nice to wear—they also make wonderful gifts for friends and family. Handmade slippers like these add a personal and thoughtful touch to any present. Plus, they bring a decorative charm to your home when left by the door or on a shelf. Wearing your own crochet slippers can keep your feet warm and soft, while also showing off your crocheting skills. They can even become special keepsakes for those who love collecting handmade items.
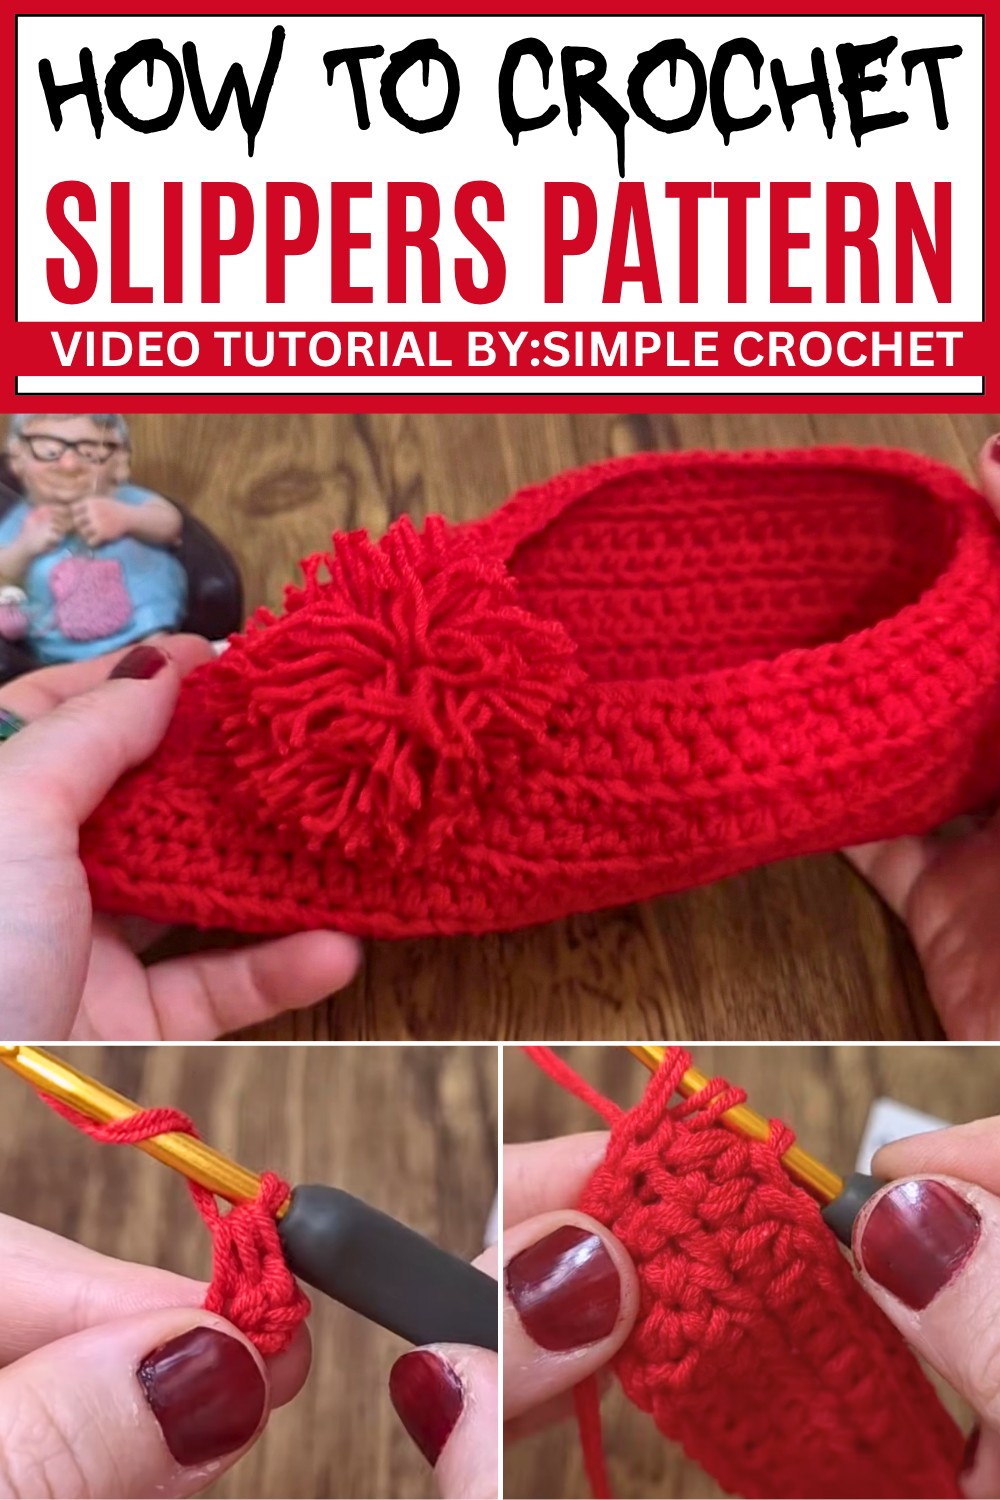
If you’re looking for a simple yet charming project, this Free Crochet Slippers Pattern from Simple Crochet is a great choice. Whether for yourself or as a gift, these slippers are cozy, stylish, and easy to make. Why not give it a try today and enjoy the comfort of your own handmade slippers?
Beginner-Friendly Crochet Baby Booties Pattern
Welcome to this easy-to-follow crochet tutorial to create adorable and comfy baby booties! These booties are designed to be made quickly with simple stitches and are perfect for beginners who want to make beautiful shoes for toddlers or babies aged 2 years and up. You’ll learn how to crochet the sole, shape the bootie, and add a cute pom-pom decoration.
Quick Overview of Pattern
- Begin with a foundation chain based on foot length.
- Work single crochet (sc) stitches in rows to create the sole.
- Fold and sew edges to shape the bootie.
- Crochet around the opening for a neat cuff.
- Optionally add pom-poms or buttons for decoration.
Notes for Beginners
- Work slowly and count stitches carefully to maintain size accuracy.
- Use yarn suitable for children (cotton or acrylic, no wool for allergies).
- Skip turning chains on rows after the foundation for neat edges.
- Join and sew carefully to create smooth seams.
- Blocking is optional but helps achieve a polished look.
Skill Level
- Beginner – Suitable if you know how to crochet chain (ch) and single crochet (sc) stitches.
- Basic sewing for assembly and finishing touches.
Materials Needed
- Medium weight cotton yarn (e.g., Alize Cotton Gold).
- Crochet hook size 4.0 mm (G/6) or appropriate for your yarn.
- Yarn needle for sewing and weaving ends.
- Scissors.
- Optional: pom-pom maker or additional yarn for decoration.
Measurements & Sizing Guide
| Foot Length (cm) | Suggested Chain Count (approx.) | Notes |
|---|---|---|
| 20 | 31 | For smaller toddlers |
| 23 | 37 | Sample size in tutorial |
| 27 | 43 | For larger toddlers/children |
How to calculate chain length:
- Measure child’s foot length in centimeters.
- Subtract 2-3 cm for a snug fit and stretch.
- Chain the number of stitches that corresponds to this adjusted length.
Gauge & Stitch Pattern
- Gauge is flexible; rely on foot size measurements.
- Main stitch used:
- Single crochet (sc) worked into the top loops and side (“third”) loops for texture and strength.
- Do not add extra chains when turning rows to keep edges clean.
Stitch Abbreviations
| Abbreviation | Meaning |
|---|---|
| ch | Chain |
| sc | Single Crochet |
| sl st | Slip Stitch |
| st(s) | Stitch(es) |
Special Stitches Explained
- Third loop: The side loop of the stitch besides the two top loops — working into this loop creates a ribbed texture that strengthens the sole.
- You will work some rows partially into these third loops to add stretch and durability.
Step-by-Step Crochet Pattern
Step 1: Make Foundation Chain
- Measure the child’s foot length.
- Subtract 2-3 cm for stretch (e.g., 23 cm foot → 20-21 cm chain length).
- With your hook, chain (ch) the number of stitches that reaches this length (e.g., 37 chains).
- Begin your work carefully, ensuring an even, smooth chain.
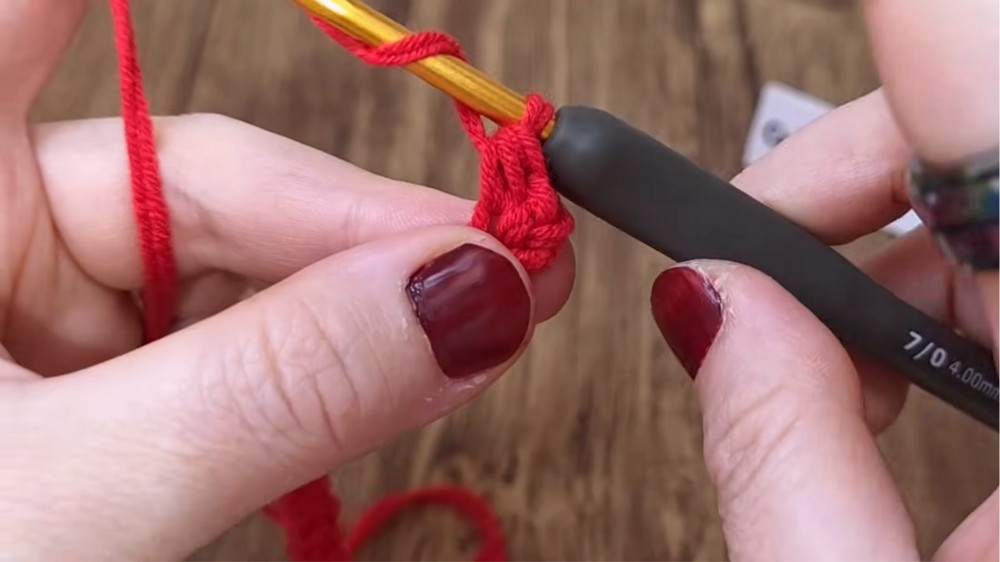
Step 2: First Row – Single Crochet Foundation
- Skip the first chain near the hook.
- Insert hook into the second chain from the hook, yarn over, pull through.
- Yarn over again, pull through both loops to complete single crochet (sc).
- Work 1 sc in every chain across the row (total will be one less than chain count).
- This forms the base foundation row.
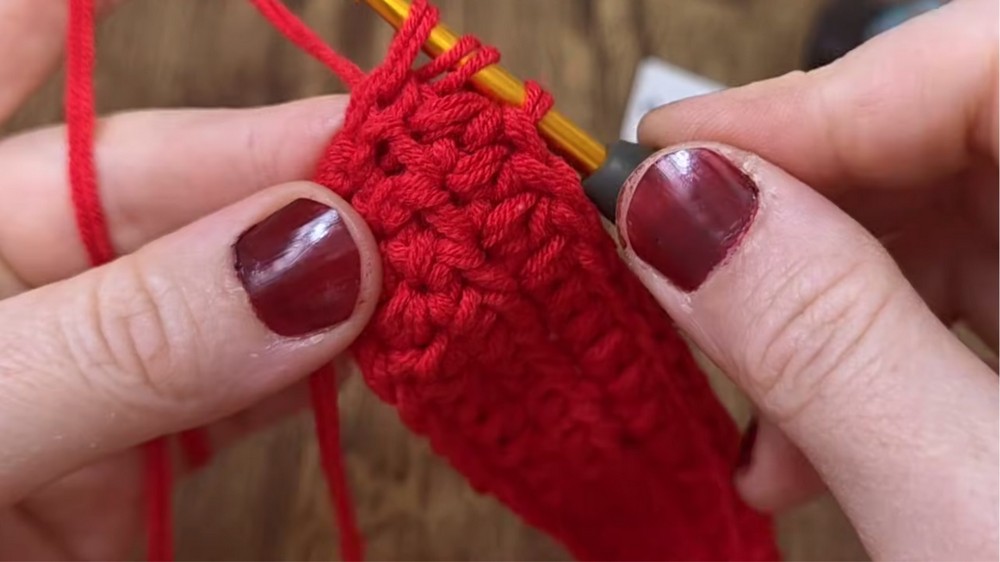
Step 3: Work Subsequent Rows in Single Crochet
- At row end, turn your work.
- Do not chain 1 to turn—this keeps edges neat.
- Work sc stitches across the row by:
- Inserting your hook into the back loops or the special third loops (side loops) of the stitch below to create ribbing and strength.
- Yarn over and complete the single crochet (sc) in each stitch.
- Continue crocheting rows until the sole piece measures the foot length (approximately 20-23 cm).
- Check your length often with a ruler or measuring tape.
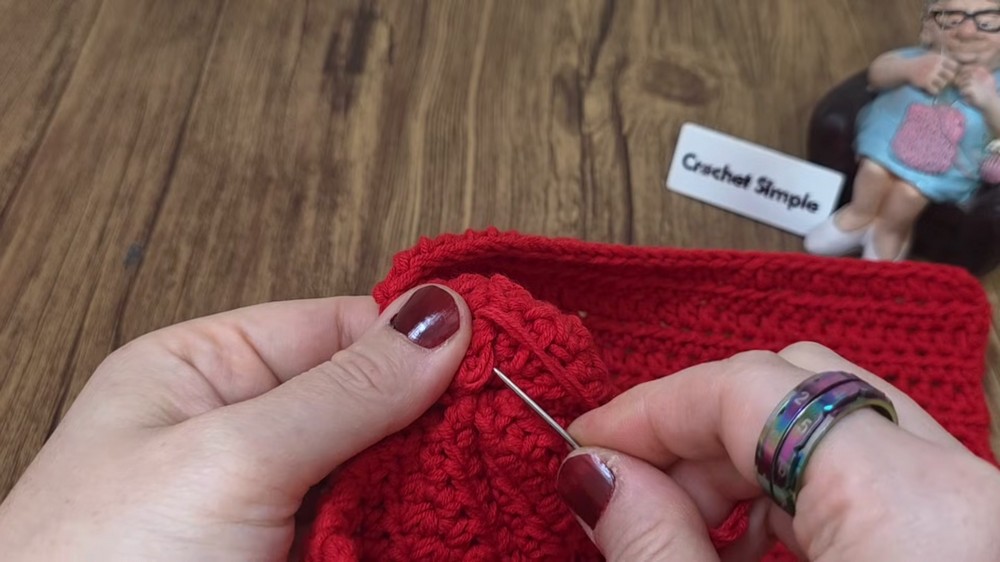
Step 4: Shape and Sew the Bootie Sole
- Fold your rectangular sole in half lengthwise so edges align.
- Holding or pinning the edges, sew together using yarn and a yarn needle:
- Join the edges neatly so the sole forms the shape of a foot.
- Ensure the stitching is tight and consistent to keep the bootie secure.
Step 5: Crochet Around the Opening (Cuff)
- With the bootie shaped, crochet single crochet (sc) evenly around the open top edge to form the ankle cuff.
- The cuff should fit snugly but comfortably around the child’s ankle.
- Keep the stitches even and continuous without adding turning chains to maintain a smooth edge.
Step 6: Optional – Make and Attach Pom-Pom Decoration
- To make a simple pom-pom:
- Wrap yarn around your fingers or a small card multiple times (at least 30 wraps).
- Tie a tight knot around the middle, using a scrap piece of yarn.
- Cut the loops on both ends and fluff the yarn ends to form a pom-pom.
- Trim any uneven strands to shape the pom-pom neatly.
- Sew the pom-pom securely to the top or side of the bootie.
- Alternatively, sew on buttons or other small accessories as decorations.
Step 7: Finishing and Weaving Ends
- Use the yarn needle to securely weave in all loose ends on both inside and outside of the booties.
- Trim any excess yarn for a clean finish.
- Optionally steam or gently shape the booties to relax stitches and finish shaping.
Assembly & Finished Size
- The booties are assembled by sewing the folded sole edges, creating the foot shape.
- The cuff is worked directly onto this shape and finished with neat single crochet rounds.
- Final size depends on your initial chain length corresponding to foot measurements.
- The stretchy ribbing formed by working in side loops adds comfort and flexibility for growing feet.
Conclusion
Congratulations on completing your first pair of crochet baby booties! This simple, textured pattern is ideal for beginners learning to work single crochet stitches, counting chains, and shaping wearable crochet items. The pom-pom embellishment adds a fun personal touch, making these booties a perfect gift or keepsake.
Take your time with each step, especially measuring and sewing edges to maintain the correct size and comfortable fit. Share your creations and enjoy the satisfaction of handmade warmth and charm on little feet!