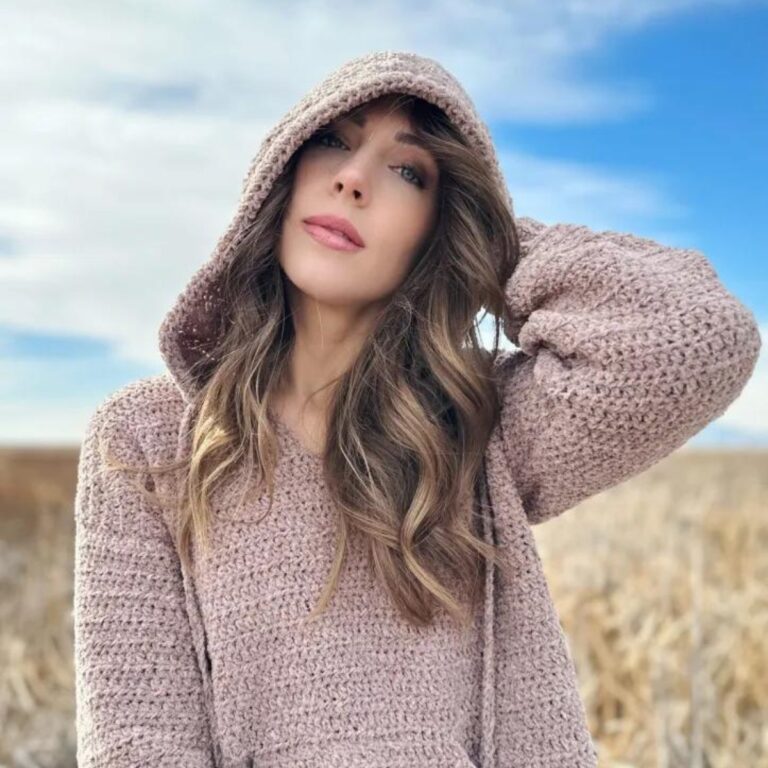
Easy Free Crochet Sweater Pattern
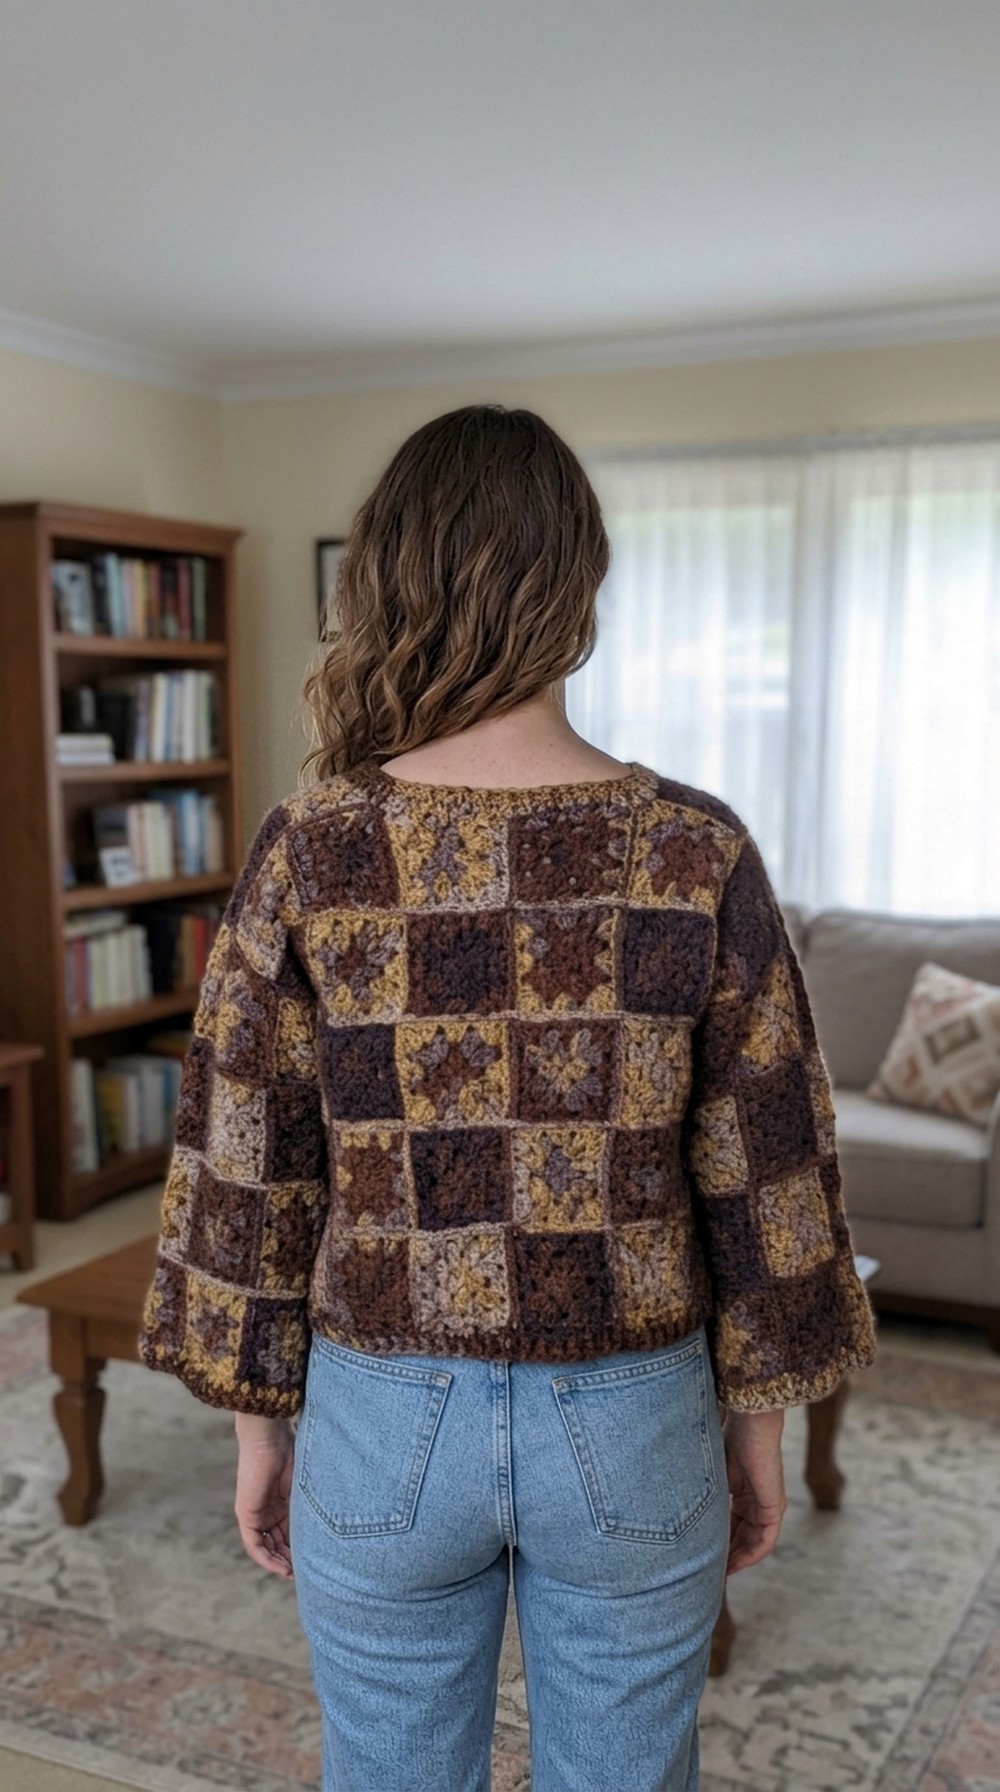
Enjoy cozy comfort in every season with Free Crochet Sweater Pattern featuring stylish everyday warmth for casual outfits and relaxing days.
Making clothes by hand always feels special to me. One project I really enjoyed is a cozy sweater that anyone can try. The Free Crochet Sweater Pattern from Simple Crochet’s YouTube channel is a great way to make a warm and pretty sweater. This pattern is easy to follow, even if you are just starting to learn crochet, and it helps you create something you can wear all the time.
This sweater looks soft and comfy. It has a smooth texture that feels nice on your skin. The shape is simple but stylish, fitting well without being too tight. Many people like its clean lines and lovely stitch patterns that give it an elegant look. You can pick any color you want—bright colors for fun days or calm shades for a subtle style. It’s perfect for cooler days when you want to stay warm but still look nice.
Free Crochet Sweater with This Simple Pattern
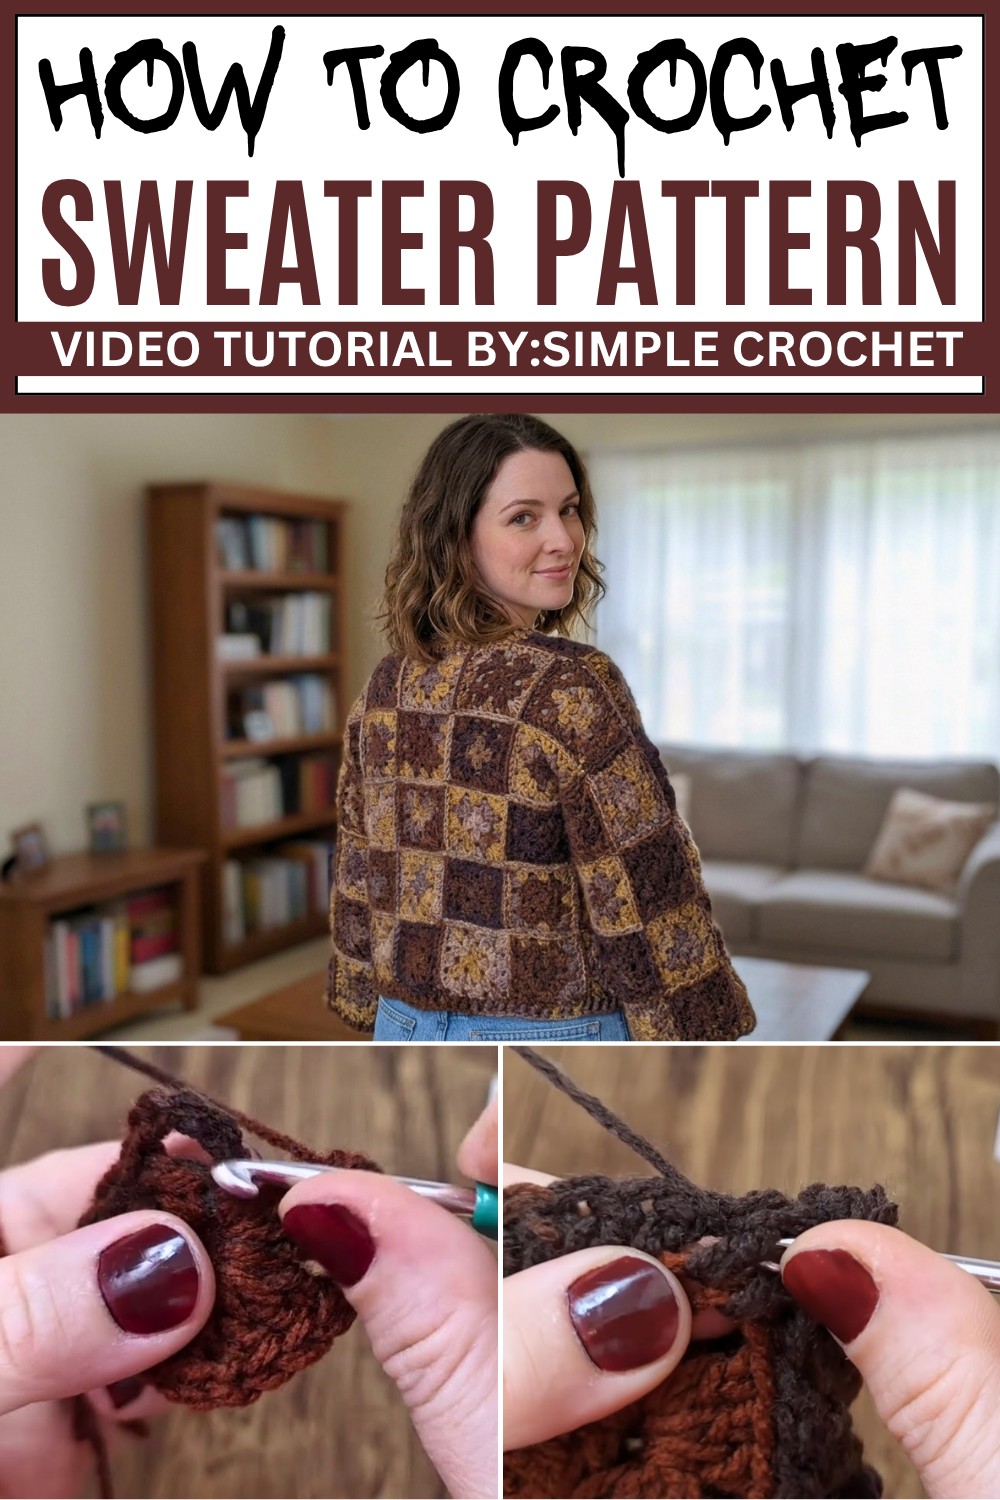
The sweater is not only nice to wear but also great for many occasions. You can use it at home, take it to school, or wear it outside when the weather cools down. It’s light enough to wear over other clothes but warm enough to keep you cozy. The design makes it a charming addition to your wardrobe and a project you can be proud of.
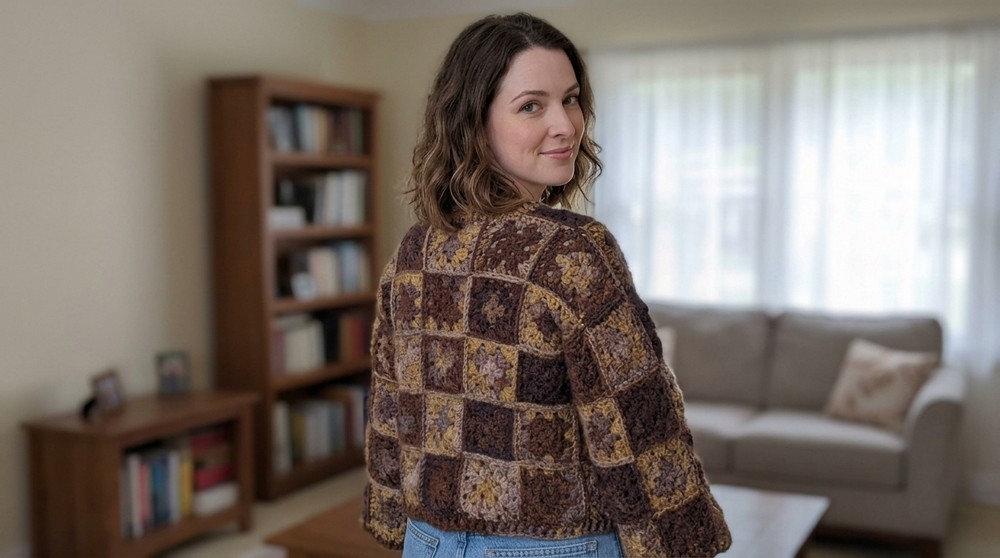
This Free Crochet Sweater Pattern also makes a wonderful gift for family or friends. A handmade sweater shows you care and adds a personal touch to any gift. Whether you want to keep it or share, this project brings both style and comfort. If you enjoy making useful and beautiful clothes, this sweater pattern will be a perfect choice for you!
Crochet Motif Blouse Pattern
This detailed crochet pattern guides you through creating a delicate and beautiful motif blouse made up of connected crochet motifs. Each motif is worked individually and then joined to form the blouse in the desired size. The intricate joining method ensures a smooth, flat seam, while the textured edging adds a professional touch to the sleeves, hem, and neckline. With clear instructions from motif construction to assembly and finishing, this pattern is perfect for crochet enthusiasts looking to create a unique garment.
Quick Overview of Pattern
- Modular design: The blouse is constructed by crocheting square motifs individually and joining them.
- Sizing flexibility: Determine the number of motifs needed based on your bust measurement and motif size.
- Motif construction: Each square motif consists of three rounds of double crochet clusters and chain spaces forming a classic granny square pattern.
- Joining: Motifs are joined mainly by slip stitch through back loops and third loops for neatness; vertical joins precede horizontal joins.
- Edges: Sleeve edges, hem, and neckline are edged with rounds of double crochet and textured ribbing using Front Post and Back Post Double Crochet stitches.
- Finishing: Final blocking through steaming ensures a professional garment shape.
Notes
- The pattern uses US crochet terminology.
- Measuring your motif accurately and testing gauge is essential to achieving the proper fit.
- The joining technique uses slip stitches carefully worked through specific loops to maintain a flat seam—attention to loop placement is important.
- Blocking is important to even out motifs and give the blouse a fitted, clean shape.
- This pattern can be adapted for different yarns, but gauge adjustment may be necessary.
Skill Level
- Intermediate: Requires familiarity with basic and intermediate crochet stitches including: chain (ch), double crochet (dc), slip stitch (sl st), Front Post Double Crochet (fpdc), Back Post Double Crochet (bpdc), and decreasing clusters.
- Experience working motifs and joining techniques recommended.
- Ability to read pattern charts or written instructions important.
Materials
- Medium weight yarn suitable for garments (cotton or cotton blend recommended for drape and comfort).
- Crochet hook size matching yarn recommendations (commonly 4.0 mm or size G/6).
- Stitch markers to aid motif placement and assembly.
- Yarn needle for weaving ends.
- Blocking supplies: pins, blocking board or flat surface, spray bottle or steam iron for steaming.
Measurements / Sizing
- The blouse size depends on the number of motifs you prepare and join.
- Begin by making a test motif and measuring its size (example: 9 cm square).
- Use this measurement and your bust/chest circumference to calculate the number of motifs per row and column:
- Example: Desired chest width 90 cm ÷ 9 cm = 10 motifs in body width.
- Add extra motifs for shoulder seams and arm length as per personal sizing.
- You may refer to schematic layouts for motif arrangement to suit your size.
Gauge and Stitch Pattern
- Gauge is determined by motif size; for example:
- One motif example measures approximately 9 cm square.
- Each motif is constructed in rounds with the following stitch pattern: clusters of 3 double crochets (dc) separated by chain spaces.
- Joining stitches utilize back loops and third loops of the stitches to maintain a clean and flat seam.
Stitch Abbreviations
| Abbreviation | Meaning |
|---|---|
| ch | Chain |
| dc | Double Crochet |
| sl st | Slip Stitch |
| fpdc | Front Post Double Crochet |
| bpdc | Back Post Double Crochet |
| hdc | Half Double Crochet |
| st(s) | Stitch(es) |
Special Stitches
- 3 Double Crochet Cluster: Three double crochet (dc) stitches worked into the same space or stitch, often used for creating texture and corners.
- Front Post Double Crochet (fpdc): Yarn over, insert hook from front to back around the post (vertical post) of the stitch, yarn over and pull through, complete double crochet (dc). Used to create raised ridges.
- Back Post Double Crochet (bpdc): Similar to fpdc but insert hook from back to front around the post to create alternating ridges and textures.
- Decreasing Clusters: In neckline shaping, partial stitches cluster together (like half-double crochets) to reduce width smoothly.
The Crochet Pattern: Step-by-Step Instructions
Step 1: Planning and Sizing the Blouse
- Begin by making a test motif using the motif pattern below. Measure the finished motif’s size in centimeters (example 9 cm).
- Determine your chest circumference and divide that measurement by your motif size to calculate how many motifs you need in width.
- Plan the number of motifs for the body width, arm length, and shoulder seams. Use grid layouts or charts for organized motif placement and sizing.
- Ensure your motif count accounts for comfortable fit and seam allowances.
Step 2: Crocheting the Motif
Foundation:
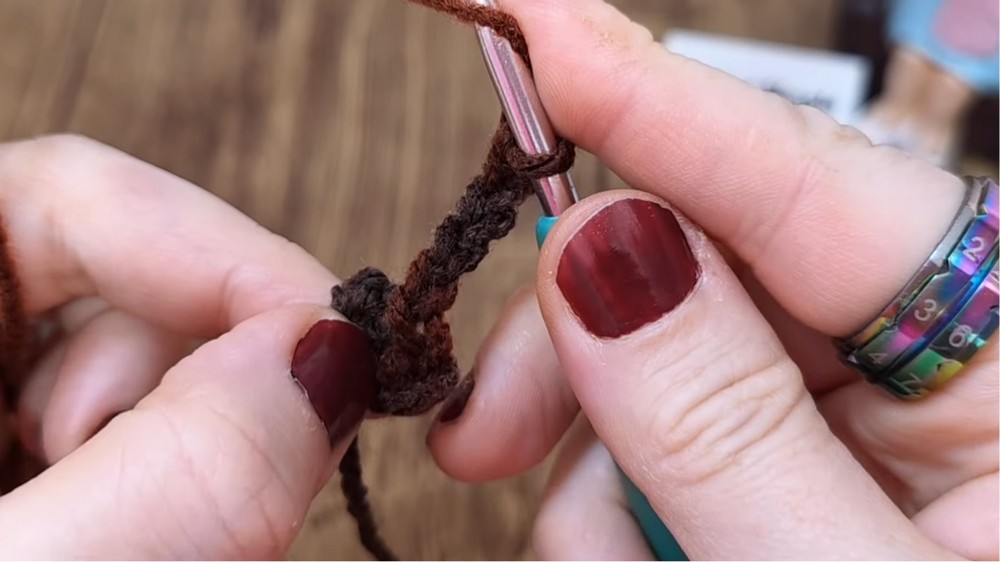
- Start by making a loop using 4 chains (ch) and join with a slip stitch (sl st) to form a ring.
Round 1:
- Chain 5 (ch 5) (this counts as 1 double crochet (dc) plus chain 2 (ch 2) space).
- Work *3 dc, *ch 2 repeat 3 times total to form 4 sets of 3 double crochets (dc) separated by chain 2 (ch 2) spaces.
- Join with a slip stitch (sl st) to the 3rd chain of the initial chain 5 to close the round and form a square.
Round 2:
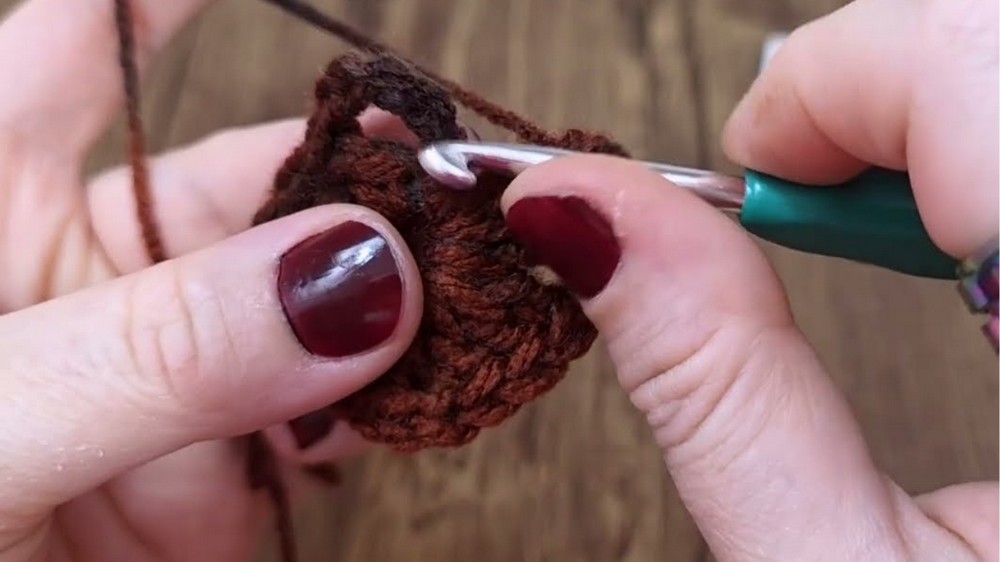
- Work into the chain spaces (ch sp):
- In each corner ch sp, work 3 dc, ch 2, 3 dc.
- On each side (chain spaces between corners), work 3 dc.
- Chain 1 (ch 1) between clusters on the sides.
- Join with slip stitch (sl st) to close.
Round 3:
- Repeat the pattern from Round 2:
- 3 dc, ch 2, 3 dc in corners.
- 3 dc in side ch sp, chain 1 (ch 1) between clusters.
- Join with slip stitch (sl st) to finish the motif.
Step 3: Joining the Motifs
- Arrange your motifs according to your planned layout.
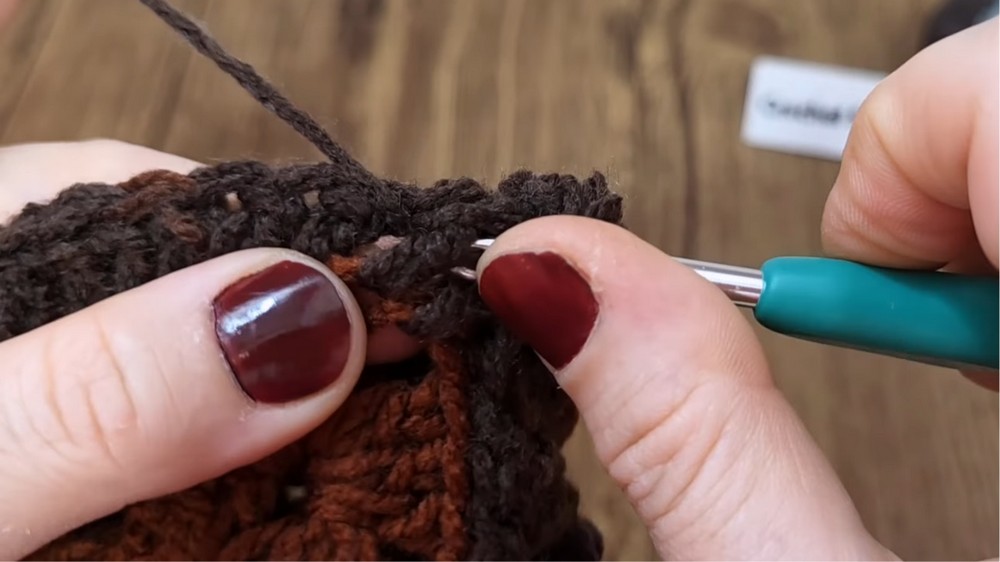
- Join motifs using slip stitches (sl st) through the back loops (BLO) (and the third loop if accessible) of opposite motifs for clean seams.
- Join vertical lines of motifs first, then horizontal rows.
- At intersections where four motifs meet, join the chain stitches systematically to ensure a flat and even seam.
- Keep your joins consistent to maintain even tension and a smooth overall fabric.
Step 4: Sleeve Edges and Hem Finishing
- For the sleeve edges and hem, work a base round of double crochet (dc) into every stitch and chain space around the edge. This creates a solid border.
- Next, create ribbing texture by alternating:
- Front Post Double Crochet (fpdc) in one stitch, followed by
- Back Post Double Crochet (bpdc) in the next.
- Repeat this fpdc/bpdc pattern around the sleeves and hem for several rounds, depending on your preference for ribbing height and texture.
Step 5: Neckline Finishing
- Work an even round of double crochet (dc) stitches around the neckline.
- At the sharp corner points of the neck, use decreasing stitches such as half-double crochet (hdc) clusters to smooth and round the edge.
- Follow with a round of fpdc and bpdc to add ribbing texture, carefully adjusting stitches at corners to maintain a flat, clean neckline finish.
Step 6: Finishing Touches
- After all pieces are assembled and edged, block the finished blouse by steaming it.
- Pin the garment evenly on a flat surface to shape it nicely.
- Steaming helps relax the fibers, smoothing seams and evens the shape.
- Allow to dry fully before wearing or storing.
Assembly & Finished Size
- The blouse is assembled by joining motifs according to your personalized layout.
- Seams will lie flat and neat due to the slip stitch (sl st) joins through unique loop placements.
- Ribbed edging provides firm cuffs and hem that prevent curling.
- Finished size will largely depend on your chosen motif count and yarn weight; accurate measurement of motifs during planning is essential for the desired fit.
Conclusion
This crochet motif blouse pattern combines artistry and technical skill to create a beautiful garment made from individually crocheted motifs. The unique joining method ensures flat, professional seams, and the textured edging enhances the look and structure of the blouse. The modular nature allows for full customization of size and style.
Take your time with motif sizing and assembly to ensure a perfect fit. Blocking is the final key step to a polished finish. Whether you are an intermediate crocheter or looking to challenge yourself, this pattern offers a rewarding project with stunning results.