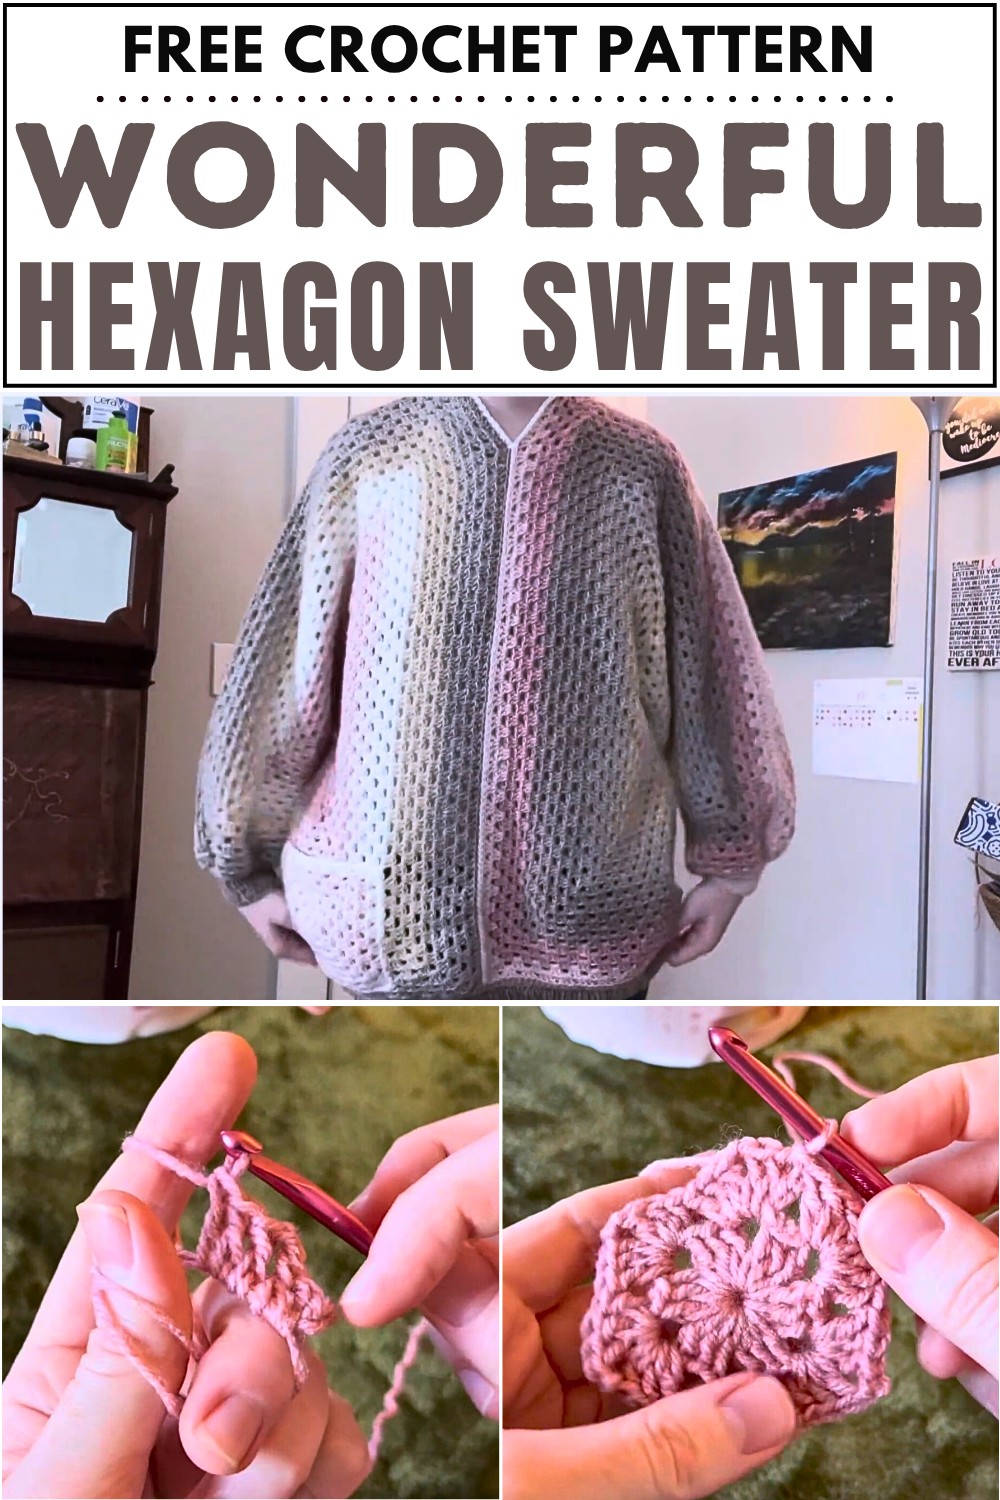
How to Crochet Hexagon Granny Sweater for Beginners

Learn how to crochet a hexagon sweater with granny stitch using Lion Brand Mandala yarn with a pattern similar to a granny square but with six sides. The tutor explains the process step-by-step, including creating the body, adjusting the sleeves, and adding cuffs. The tutorial is detailed with techniques for ribbing and seaming to complete the sweater, finishing with optional pockets and neckline adjustments. Follow through with us for the complete tutorial!
Crochet Hexagon Sweater Tutorial
This video tutorial guides viewers through the process of crocheting a hexagon granny sweater. Below is a detailed summary, organized into bullet points under relevant headings.
Materials and Preparation
- Yarn Choice: The video uses Lion Brand Mandala Bonus Bundle, which is extra-large and consists of 1181 yards of size 3 light yarn (lighter than worsted weight). Two bundles suffice, but a third may be needed for longer variations of the sweater.
- Crochet Hook: While the yarn calls for a 5 mm hook, the creator uses a 5.5 mm hook for personal preference.
- Design: The sweater is built with two hexagon-shaped pieces, similar to granny squares but modified to have six sides.
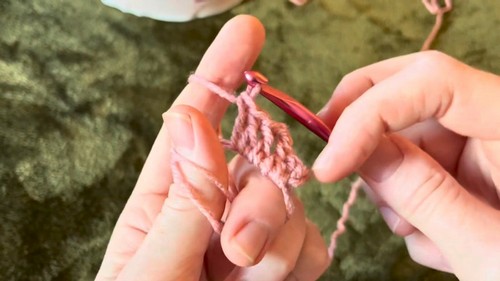
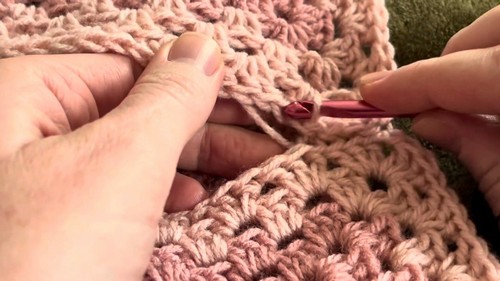
Hexagon Construction
- Starting the Hexagon: The process starts with a magic circle, followed by chaining and double crochets to create the six-sided foundation.
- Building Rows: Each row involves adding more double crochets at corners and skipping stitches at specific points for shaping adjustments.
- Corner Chains: Chains are added only at the corners to allow shaping, while the sides are crocheted continuously without chains.
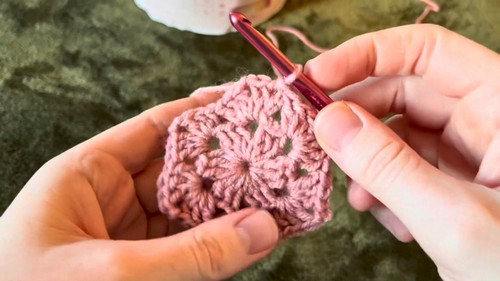
- Shaping for Sleeves and Body:
- The hexagon grows row by row until the desired width for the sleeve is achieved.
- To slow sleeve growth, the creator decreases the size by skipping specific spaces every third row.
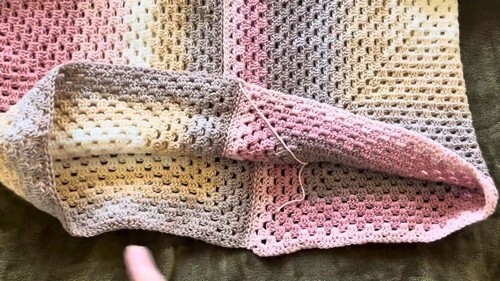
Sweater Assembly
- Connecting Hexagons:
- Two identical hexagon pieces are created and strategically positioned to form the structure of the sweater.
- The seams are slip-stitched together, starting from the wrist and proceeding toward the shoulder.
- Aligning Sections: Special care is taken to align stitches at the wrist, neck, and body for seamless transitions.
Cuff Options
- Methods for Finishing Sleeves: Three options for cuffs are shared:
- Single Crochet Cuff: Crochet single stitch rows directly onto the sleeve, joining two stitches at intervals to reduce the width.
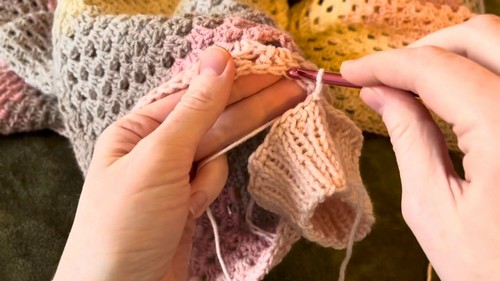
- Crocheted Ribbing: Create a separate ribbed piece using crochet stitches and sew it onto the sleeve.
- Knitted Ribbing: Knit a ribbed cuff with the matching color and seam it securely to the sleeve.
- Preferred Method: The video demonstrates knitting the cuff (with a smaller needle size) and attaching it to the sleeves using slip stitches, ensuring a snug fit.
Finishing Touches
- Bottom Cuff: A larger ribbed piece is created for the sweater’s lower edge, using the same technique as the sleeve cuffs. This adds structure and slight shaping to the hem.
- Adding a Pocket: A simple granny square is used to make a pocket, stitched around three edges and left open at the top. A quick and easy addition, though the creator acknowledges fatigue affecting the outcome.
- Neckline: The neckline is finished by single crocheting along the edges at the front and across the top, creating a polished appearance without additional complexity.
Final Result
The hexagon sweater combines simplicity, creativity, and functionality using minimal materials. With options for customization—like sleeve length, cuffs, and pocket placement—the design is suitable for beginners while allowing room for personal adjustments.
The tutorial emphasizes simplicity and gradual assembly, making the crocheting process approachable for all skill levels.