Free Beanie Hat Crochet Pattern for Casual Style
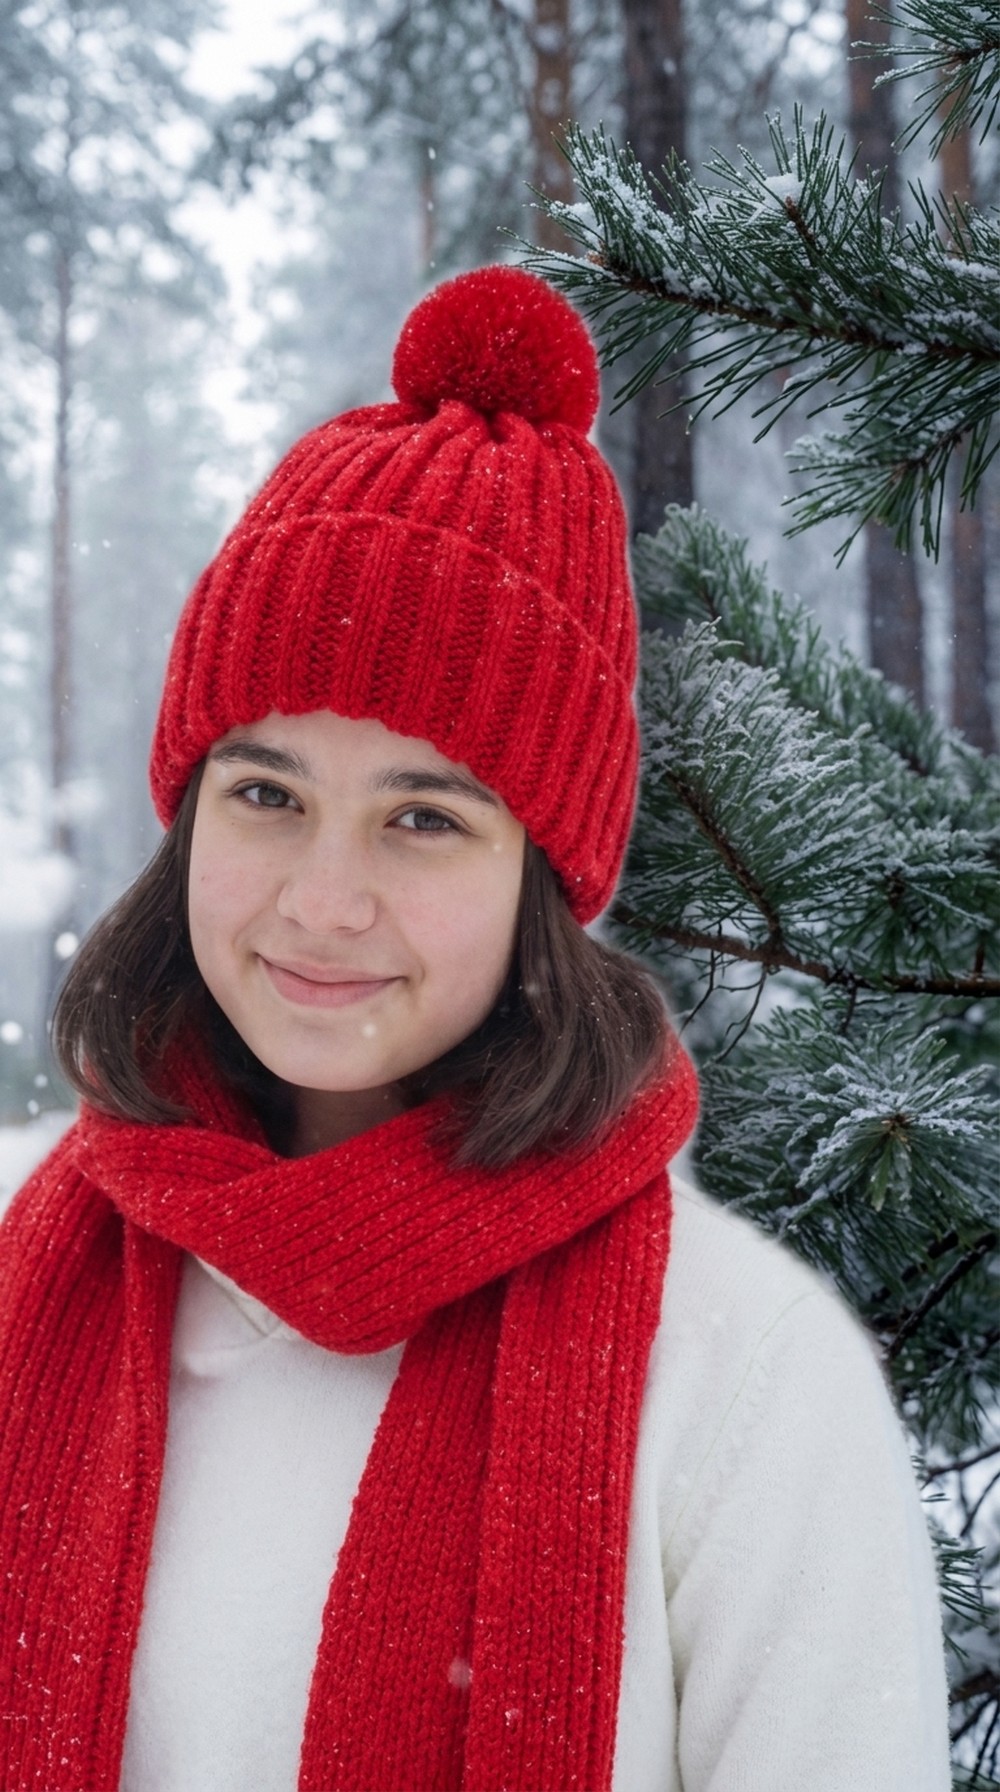
Beanie Hat: Easy Crochet Pattern to Keep You Warm
People will enjoy wearing this beanie because it is both warm and light. The texture feels soft and comfortable, making it perfect for everyday use. Its classic look means it never goes out of style and suits all ages. Whether you are making one for yourself or as a gift, this hat fits many looks and occasions.
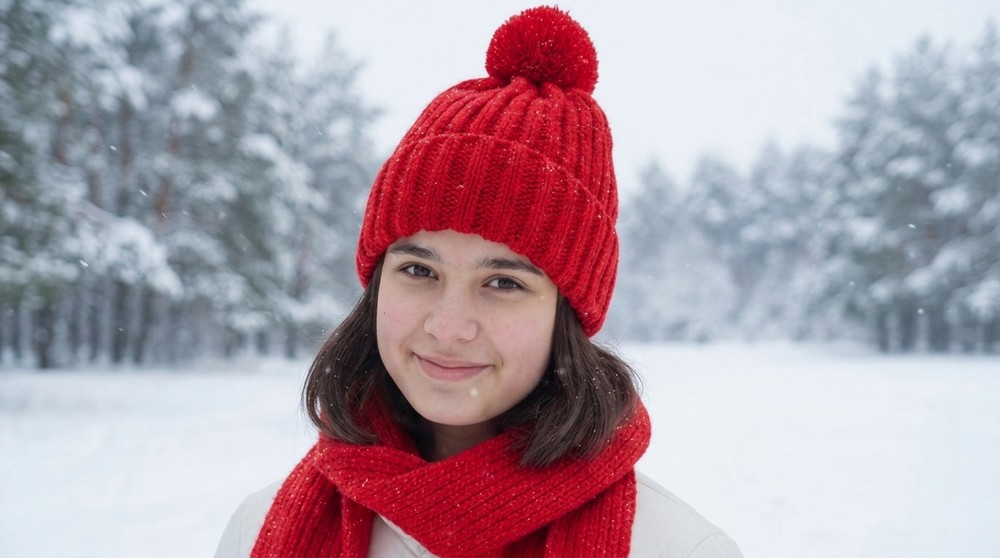
This Free Crochet Beanie Hat Pattern is a great choice for anyone wanting a fun and practical project. A handmade hat brings warmth and personality, showing others you care. If you like easy crochet projects with beautiful results, this beanie is a perfect pick.
Beginner-Friendly Crochet Ribbed Hat (and Scarf) Pattern
This easy crochet pattern creates a ribbed hat that looks like it’s knit! The secret is working in special loops called side loops and back loops only. You can also make a matching scarf by simply changing how long you make the piece. This guide breaks down every step with clear explanations so beginners can follow along easily.
Pattern Highlights
- Creates a stretchy ribbed texture that looks like knitting.
- Uses single crochet (sc) stitches worked in a special way.
- Work mainly in back loops only (BLO) for neat ribbing.
- Easy to customize size for hat and scarf.
- Includes simple joining and finishing steps.
Notes for Beginners
- Side loops (third loops): These are loops on the side of chains or stitches. Working in these creates a unique ribbed look.
- Back loops only (BLO): Instead of working into both loops on top of the stitch, you insert your hook only into the back loop.
- Stitch tension should be consistent but not too tight to keep the fabric stretchy.
- Use stitch markers if needed, especially when joining and weaving ends.
- You do not need to be an expert—just follow the steps and practice the stitch placements.
Skill Level
Beginner to Intermediate
Requires knowledge of:
- Chain stitch (ch)
- Single crochet (sc)
- Working into side loops and back loops only (BLO)
- Slip stitch (sl st)
- Basic finishing techniques (weaving in ends, gathering the crown)
Materials
- Medium weight yarn (e.g., YarnArt Gold doubled for thickness)
- 4 mm crochet hook (or size suitable for your yarn)
- Yarn needle for weaving in ends
- Scissors
- Optional: pom-pom for decoration
Measurements / Sizing
| Item | Measurement |
|---|---|
| Hat height | Approx. 21 cm body + 5-6 cm folded brim |
| Hat circumference | Measure your head circumference minus 2 cm for stretch (e.g., 56 cm) |
| Scarf width | Adjustable by foundation chain length |
| Scarf length | As long as you desire |
Stitch Abbreviations
| Abbreviation | Meaning |
|---|---|
| ch | Chain stitch |
| sc | Single crochet |
| BLO | Back loop only (hook in back loop only) |
| sl st | Slip stitch |
| st(s) | Stitch(es) |
Special Stitches Explained
Side Loop (Third Loop)
- The loop that runs along the side edge of a chain or stitch (not the top two loops).
- Inserting your hook here gives a unique ribbed effect.
Back Loop Only (BLO)
- Insert your hook into only the back loop of the stitch (the loop furthest from you).
- This technique forms rows with vertical ribs and added stretch.
Step-by-Step Crochet Hat Pattern
Step 1: Foundation Chain
- Decide your hat height including the folded brim.
- Chain the length that equals this height in centimeters. Example: Chain 59 stitches for approx. 26 cm length.
- Tip: The chain length sets the height of your hat, so measure carefully.
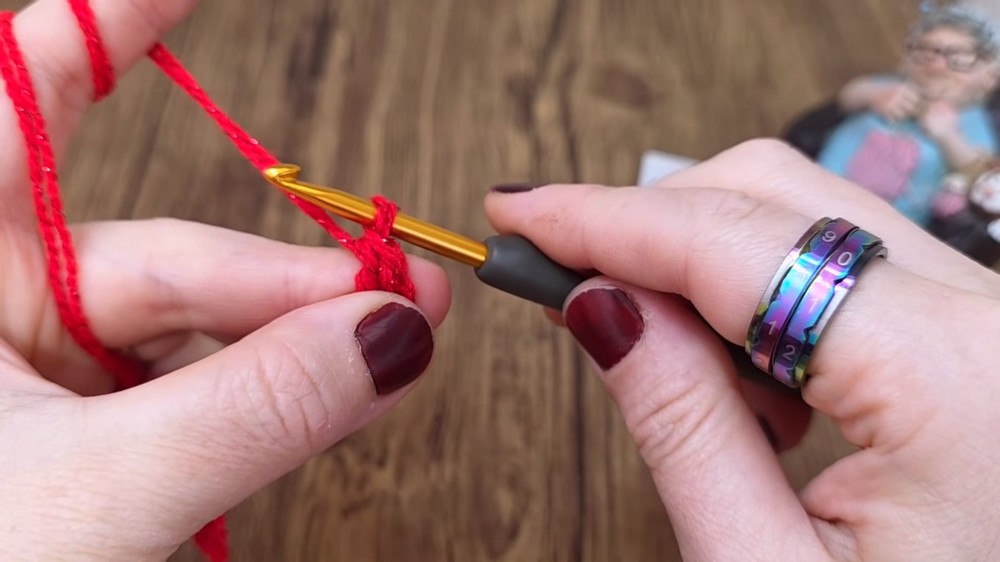
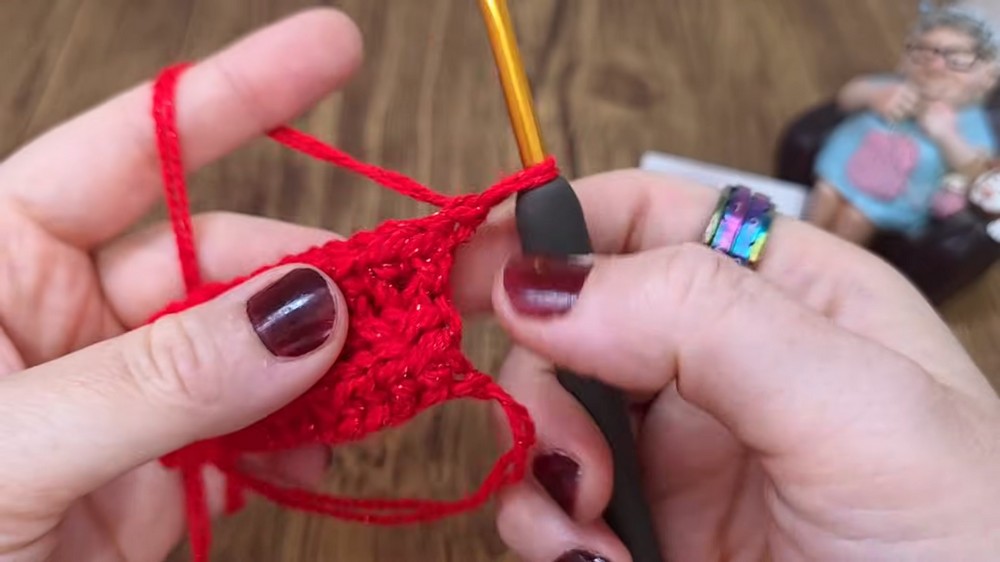
Step 2: First Row – Working with Side Loops
- Skip the first chain from your hook.
- Work 1 single crochet (sc) in the second chain from the hook.
- For each chain after that:
- Insert your hook into the side loop (third loop) of the chain and through the chain itself.
- Yarn over and pull through both loops to complete your sc stitch.
- Continue across all chains to finish the foundation row.
- This special placement gives the fabric a knit-like ribbing foundation.
Step 3: Turning & Subsequent Rows – Working in Back Loops Only (BLO)
- At the end of the row, chain 1 to turn — this does not count as a stitch.
- For every stitch in the new row:
- Insert your hook into the side loop of the previous row’s stitch and the back loop of the current stitch.
- Yarn over and pull through both loops.
- Complete a single crochet (sc).
- Continue across the row in this manner: working sc in BLO while hooking through side loops from previous row.
- This stitch placement creates pronounced ribbing and adds stretch.
Step 4: Edge Finishing
- At the end of each row, remember to work the last stitch including the last body (side) loop of the row.
- This special care keeps your edges clean, straight, and neat.
Step 5: Continue Working to Desired Size
- Repeat Step 3 for many rows until the piece measures your head circumference minus 2 cm to ensure a comfortable snug fit.
- Example: Work until you reach around 56 cm if your head circumference is 58 cm.
- Measure frequently for accuracy.
Step 6: Joining the Hat Edges
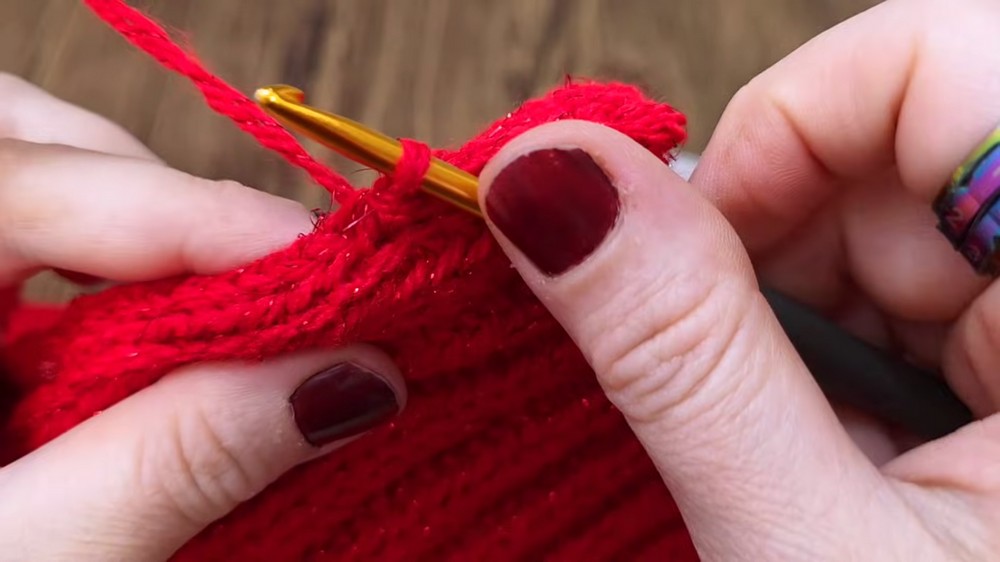
- Fold the stitch work so that the two short edges meet evenly.
- Use a slip stitch (sl st) to join them by inserting your hook into the back loops of both edges simultaneously.
- Work a seam all along the edge to form a circular band/hat body.
Step 7: Closing the Top (Crown Shaping)
- Cut a long tail of yarn and thread it on a yarn needle.
- Weave the needle through the stitches around the top open edge of your hat.
- Pull gently to gather the top closed tightly.
- Weave in the yarn tail securely inside the hat.
Step 8: Optional – Fold Brim & Add Pom-Pom
- Fold the bottom edge of your hat up by about 5–6 cm to create the brim.
- Optional: Attach a pom-pom by threading its tails through the gathered center at the top and tying them securely inside.
Making a Matching Scarf
- Chain the desired width for your scarf using the same method as the hat’s foundation chain.
- Work rows exactly the same as the hat—first row in side loops and following rows in back loops only.
- Continue until the scarf reaches your desired length.
- This produces a perfect matching ribbed scarf.
Assembly and Finished Size
- Hat: Approximate head circumference of 56 cm, height 26 cm including folded brim.
- Scarf: Width and length fully customizable; example width similar to hat ribbing (~6-8 cm).
- All seams are neat and stretchy thanks to working in back loops and side loops.
- Fit is snug but flexible, comfortable for daily wear in cooler weather.
Conclusion
This crochet ribbed hat pattern offers beginners a fantastic way to explore unique stitch techniques like working into side loops and back loops, creating stretchy, knit-like fabric with simple single crochet stitches. With clear, step-by-step instructions, you can easily create a warm, stylish hat and optional matching scarf.
The pattern’s flexibility lets you customize for size and style, and the finishing touches make your project look polished and professional. Enjoy your crocheting and wear your handiwork with pride!