How to Crochet Mushroom Jewelry Holder
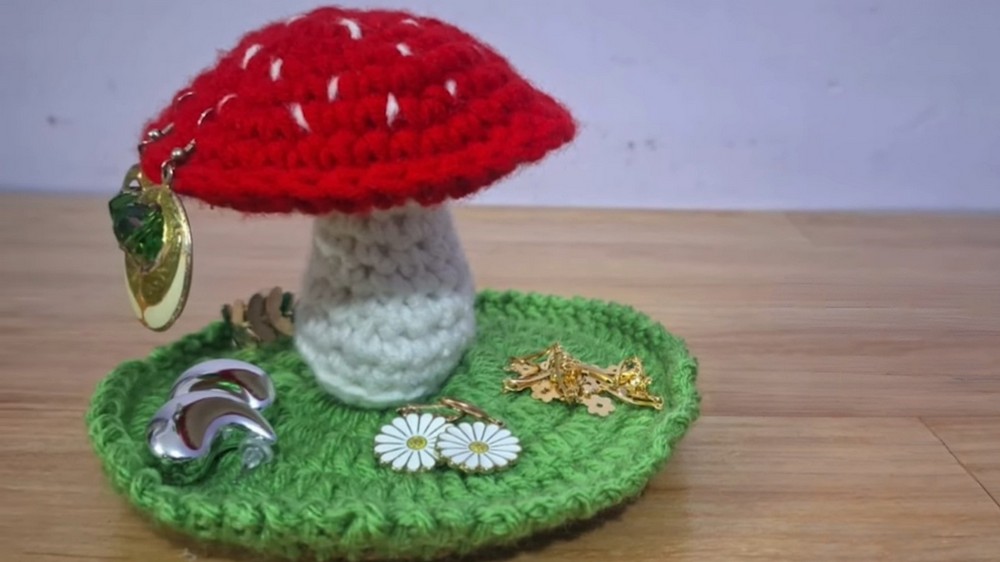
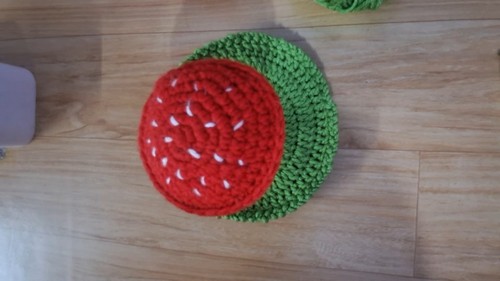
Looking for a unique spring-themed jewelry holder? Learn to crochet a mushroom jewelry holder, which includes a tray for small accessories and the mushroom top for earring hanging. You will love how it blends both beauty and functionality!
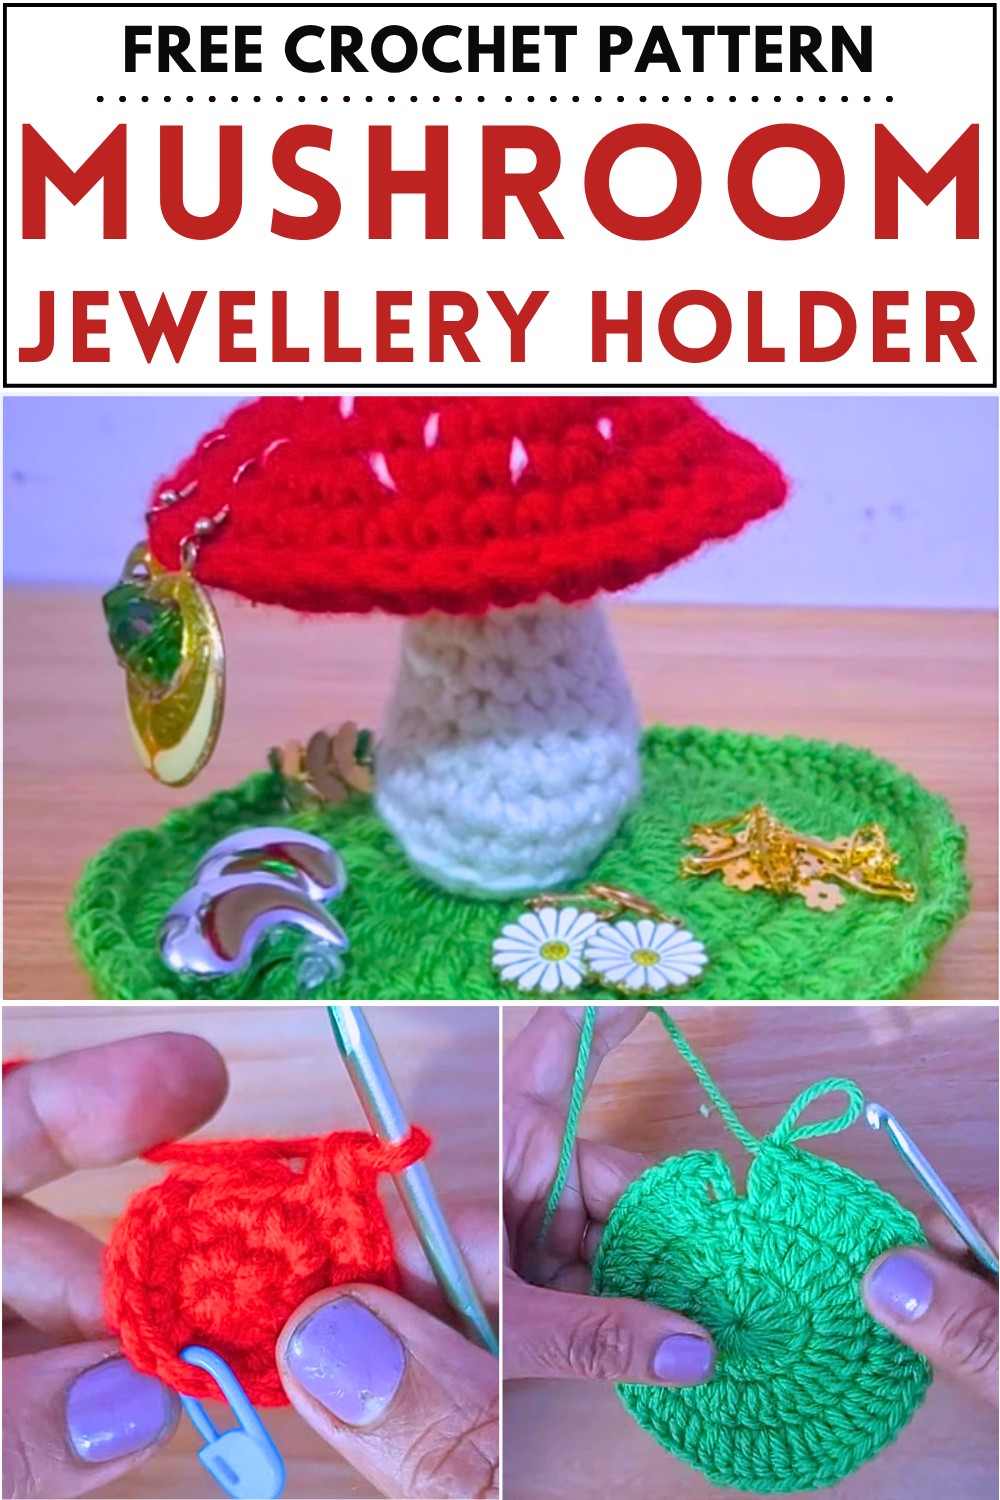
Supplies Used for the Crochet Mushroom Jewelry Holder:
Yarn Colors:
Red yarn – for the mushroom cap
White yarn – for the mushroom stem
Green yarn – for the top base
Brown yarn – for the bottom base
(You can customize with any colors you like.)
Crochet Hook:
Size 4 mm
Stuffing:
Standard soft toy fiberfill
Accessories & Tools:
Stitch marker – for tracking rounds
Scissors – for trimming ends
Yarn needle – for weaving in tails
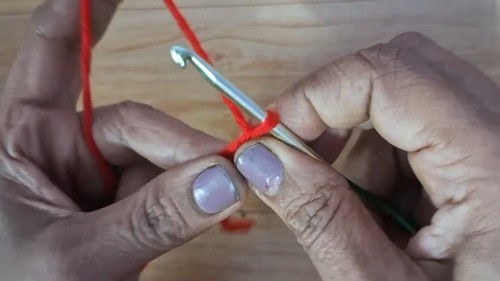
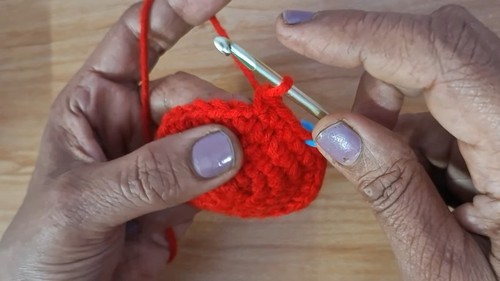
Skills Used: You’ll practice creating a magic ring, working in the round with single crochet stitches, and using increases to expand the shape. Later rounds introduce back loop only single crochet, which gives a structured edge, useful for shaping the mushroom parts. You’ll also learn invisible decreases for smooth finishing.
Skill Level: Beginner
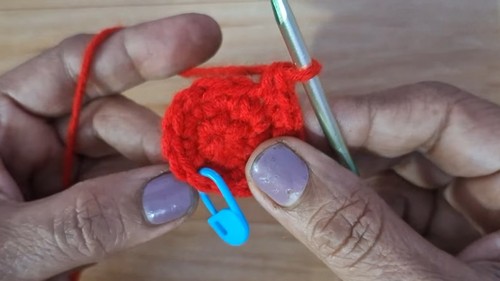
Step-by-Step Instructions:
- Crocheting the base (stem of the mushroom).
- Creating the mushroom cap, often with techniques like increasing for shaping.
- Potential assembly and finishing touches, such as sewing the pieces together.
Practical Usage: The finished design doubles as a decorative piece and a useful item to store or organize jewelry like rings, earrings, or necklaces.
Tips and Tricks: Throughout the tutorial, advice on stitching, tension, and customizing the design might be shared so viewers can personalize their mushroom.