How to Crochet Teddy Bear Airpod Case for Gifting
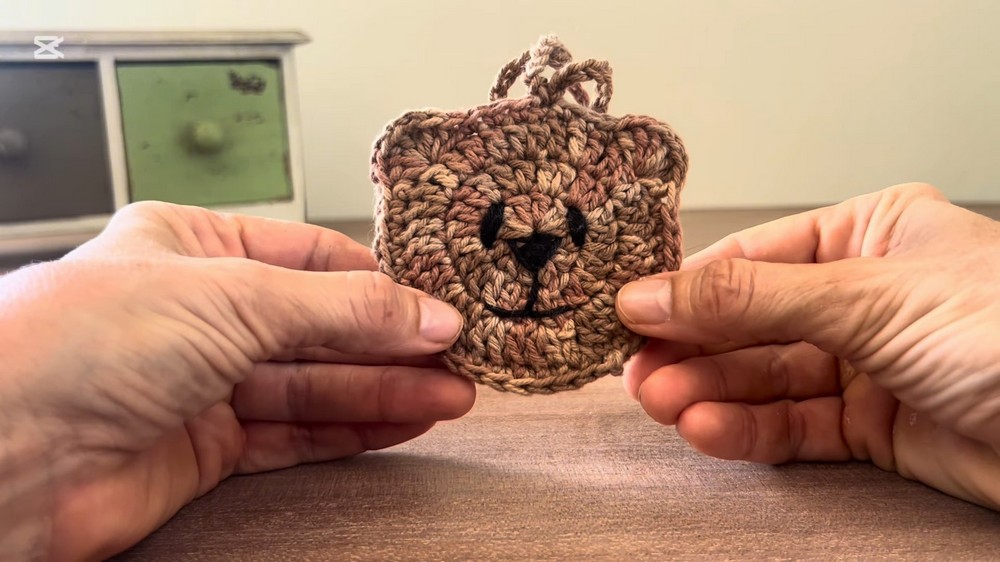
Learn how to crochet a sweet teddy bear pouch that can hold AirPods, scented items, or serve as a bag accessory. This beginner-friendly, 10-minute project involves working in the round, creating two identical crochet circles, sewing them together, small bear ears, adding hanging loops, and embroidering a cute face.
Perfect for gifting or personal use, the pouch is versatile and easy to make.
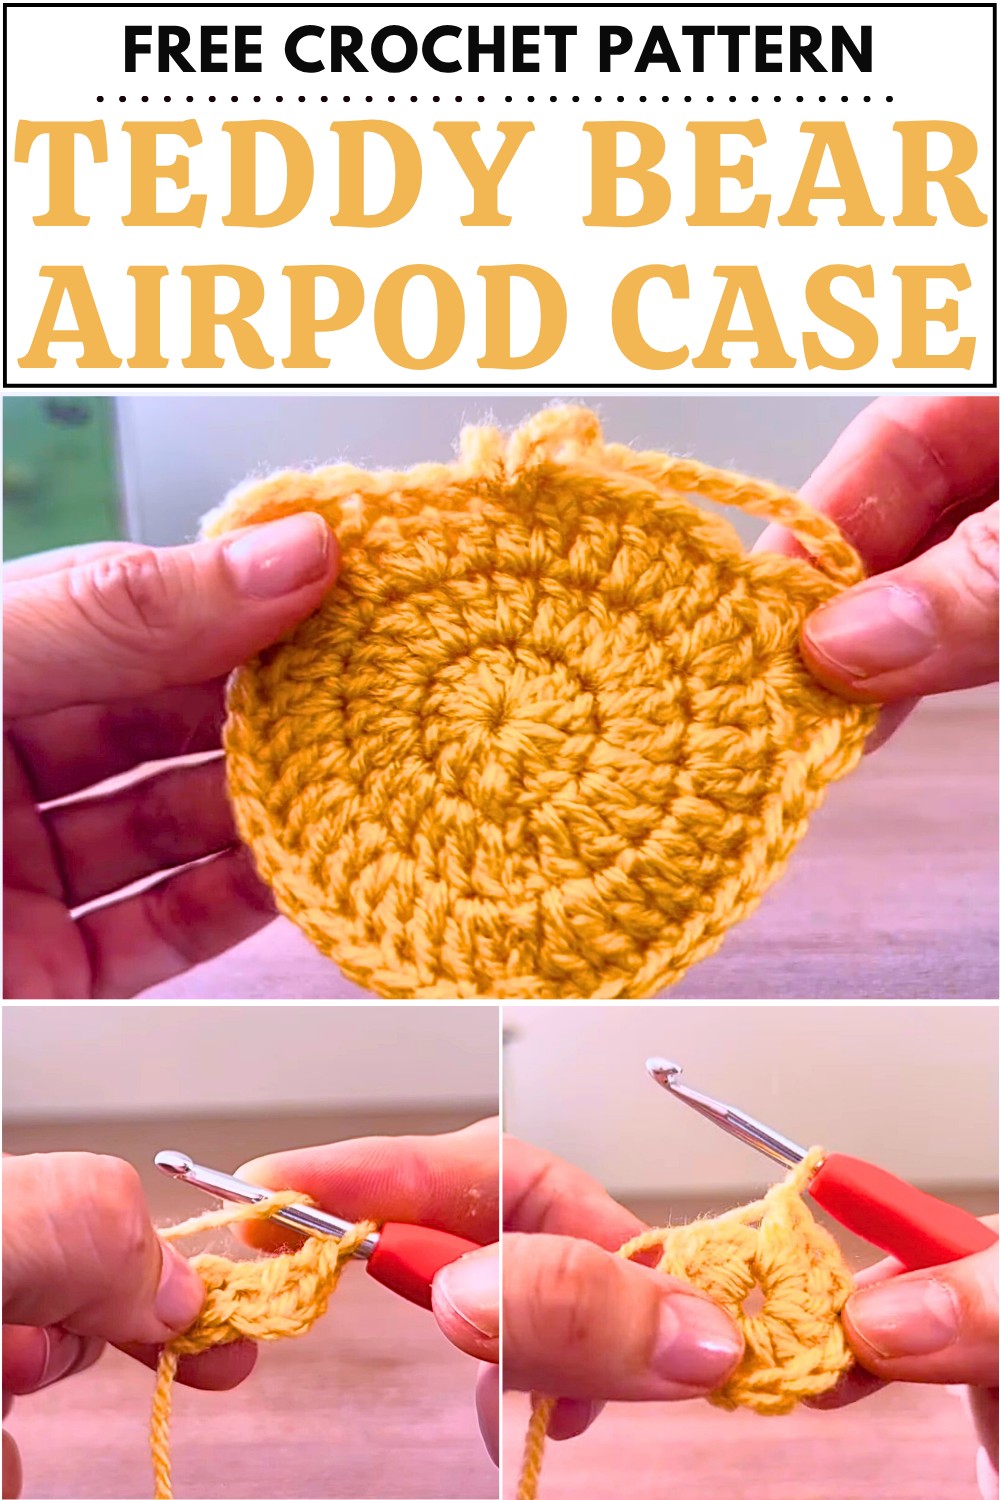
Supplies Used:
Here’s a list of supplies mentioned in the Teddy Bear Airpod Case tutorial:
- Crochet Hook
- Size: 4.5mm (matches the size of the wool)
- Wool
- Color used in the tutorial: Yellow
- Any compatible wool matching the crochet hook size can be used.
- Needle
- Used for sewing edges and embroidering the face on the teddy bear pouch.
- Scissors
- For cutting yarn ends after securing stitches.
- Black Cotton or Wool
- Thin black cotton/wool for embroidering the face.
- The creator optionally doubles the cotton to make it thicker.
- Optional Supplies
- Essential Oil and Cotton Wool: These can be used to fill the pouch, turning it into a scented bag for cars or other spaces.
- AirPods or Other Small Items: The pouch can be used as storage for small items.
Crochet Teddy Bear AirPod Case Tutorial
The tutorial demonstrates how to crochet a sweet teddy bear airpods pouch, which can also serve as a scented accessory to hang in cars or on bags. The project is described as simple and beginner-friendly, taking approximately 10 minutes to complete.
- Steps to Create the Crochet Circles
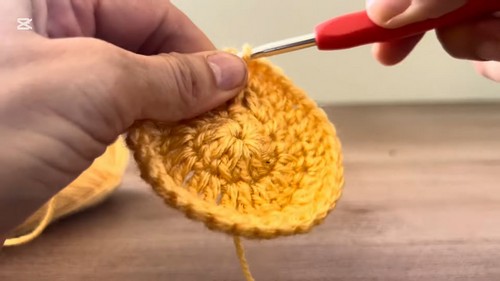
- Begin with the foundation of the pouch by creating two identical crochet circles.
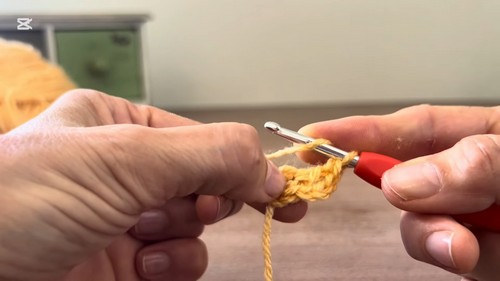
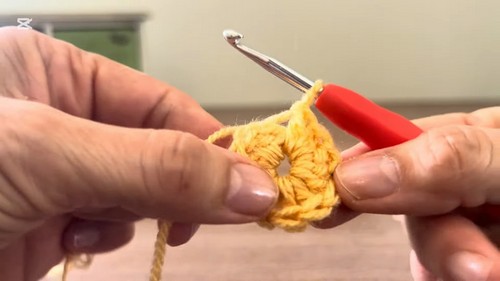
- For beginners struggling with the magic circle technique, an alternative starting method is suggested using a slip knot and chains to form a circle.
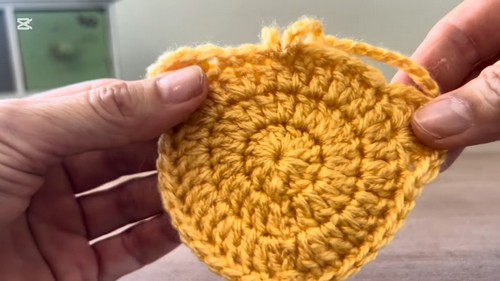
- Each circle is constructed using three rounds. The first round begins with double crochets, while subsequent rounds involve increasing stitches to expand the circle proportionately.
- The finished circles are closed using slip stitches and any loose ends are sewn in for a neat finish.
- Assembly of the Pouch
- The two crochet circles are joined by stitching their backs together while keeping the right sides facing outward.
- Single crochets are used to sew the edges of the circles together while maintaining symmetry.
- Openings for the ears and the gap for inserting objects (e.g., AirPods) are worked into the construction of the pouch.
- Creating Teddy Bear Ears
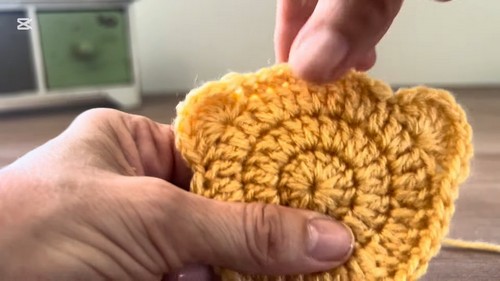
- The ears are formed using the shell stitch technique. The tutorial explains how to anchor the ear to the pouch evenly.
- The process is repeated symmetrically on both sides to form the iconic teddy bear ears.
- Finishing Touches
- The pouch is closed completely with single crochets around the remaining open edges.
- Straps: Two straps are added, one shorter for the front and one longer for the back to allow the pouch to be used as a hanging accessory.
- Loose ends are sewn in neatly, securing the construction.
- Adding the Teddy Bear Face
- A simple embroidered face is added to one side of the pouch using black cotton or yarn.
- The tutorial provides instructions on how to stitch eyes, a triangular nose, and a mouth in basic shapes to create the teddy bear’s face.
- Optional Uses
- The pouch can store AirPods, or alternatively, a cotton ball with essential oils can be placed inside and hung in the car as an air freshener.
- It can also be used as a decorative bag attachment.
- Conclusion
- The instructor encourages viewers to explore creative variations of the pouch.
- The project is described as fun, simple, and a lovely handmade gift idea.
Video Guide