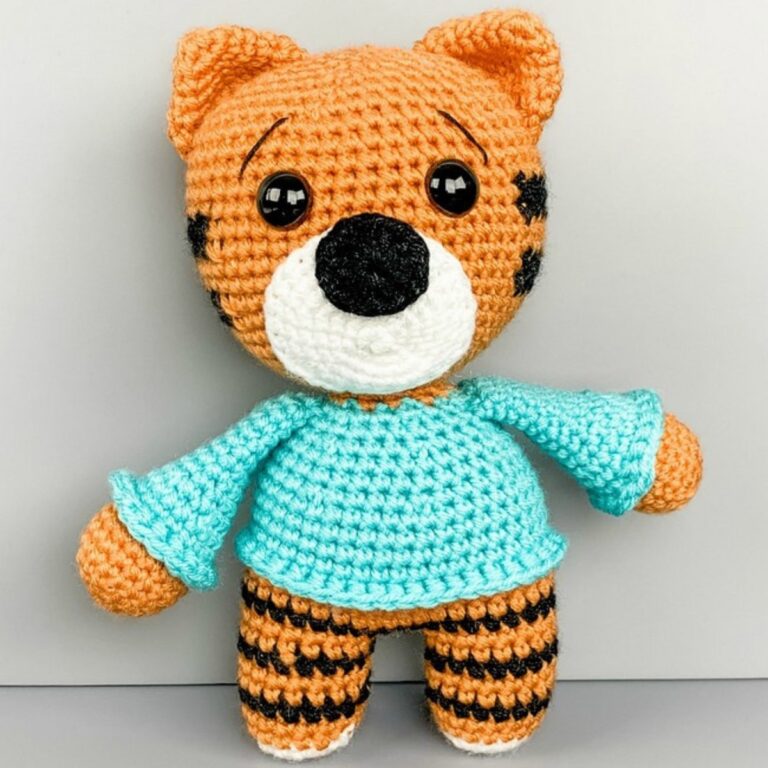
How to Crochet Amigurumi Miffy Bunny for Beginners

Learn how to crochet an adorable bunny doll amigurumi with a jumpsuit and many sizes with a step-by-step tutorial for beginners. It starts with creating the rabbit’s head, body, ears, arms, and legs. The process includes stuffing with fiber fill, sewing parts together, and adding small details like eyes and a shirt.
The instructions are precise, making it easy to follow along and create a beautifully crafted bunny that’s both cute and customizable.

Amigurumi Miffy Bunny Tutorial
Introduction
- The video tutorial walks viewers through the process of crocheting an adorable bunny step by step.
- It covers the creation of various parts of the bunny, such as the head, body, ears, arms, legs, and shirt.
- The tutorial uses detailed instructions, making it accessible to beginners and experienced crocheters alike.

Bunny Head
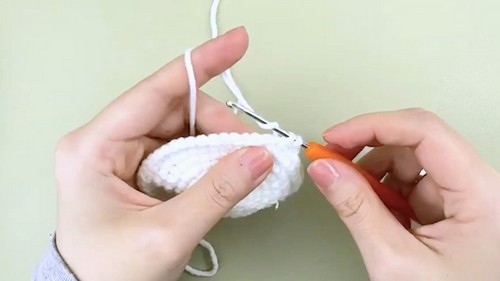
- The head starts with a magic ring and progresses through rounds of single crochet stitches with increases and decreases to shape the head.
- Crocheters are guided to keep the stitches clean and even throughout the process.
- The tutorial specifies when to stop, weave in the yarn ends, and incorporate fiber fill for stuffing to give the head a firm, round shape.
Ears
- Instructions are provided for making two identical bunny ears.
- Effort is focused on maintaining consistent single crochet rounds to create the proper length and tapering at the ends, achieved without significant increases or decreases.
- Fiber fill is used to stuff the ears for added stability.
- Once completed, the ears are attached symmetrically to the bunny head.

Arms
- The arms begin with a magic ring and are crocheted in rounds, gradually shaping them into cylinders.
- Single crochet stitches are used consistently without major increases or decreases for a smooth design.
- Fiber fill is added to give the arms a sturdy yet soft feel.
- The tutorial emphasizes making two identical arms and connecting them securely to the body later.
Legs
- Legs are made using a magic ring followed by several rounds of single crochet stitches to create a rounded shape at the top and cylindrical legs.
- The second leg is connected directly to the first using chain stitches to form the hips.
- Fiber fill is added for structure and stability.
- Users follow instructions to create a seamless connection between the legs and the body.

Body
- The body is formed by continuing from the legs and crocheting upwards in rounds.
- The arms are attached symmetrically to the body during specific stitches to ensure alignment.
- Fiber fill is added progressively to maintain the bunny’s shape and structure.
- Once completed, the head is attached smoothly to the body using sewing techniques.
Shirt
- A separate shirt for the bunny is created using colorful yarn.
- The process begins with chain stitches to form a loop, followed by rounds of single crochet.
- Openings for the arms are created by skipping stitches in specific rows, ensuring a perfect fit for the bunny.
- The shirt is placed over the bunny, adding a playful and customizable design element.

Final Details
- The bunny’s facial features are added using glue and thread: eyes are glued on, while the nose is embroidered using black yarn.
- Extra care is taken to ensure all parts are securely attached, symmetrical, and neatly finished.
- The final bunny is a charming, handmade creation, perfect as a gift or decoration.