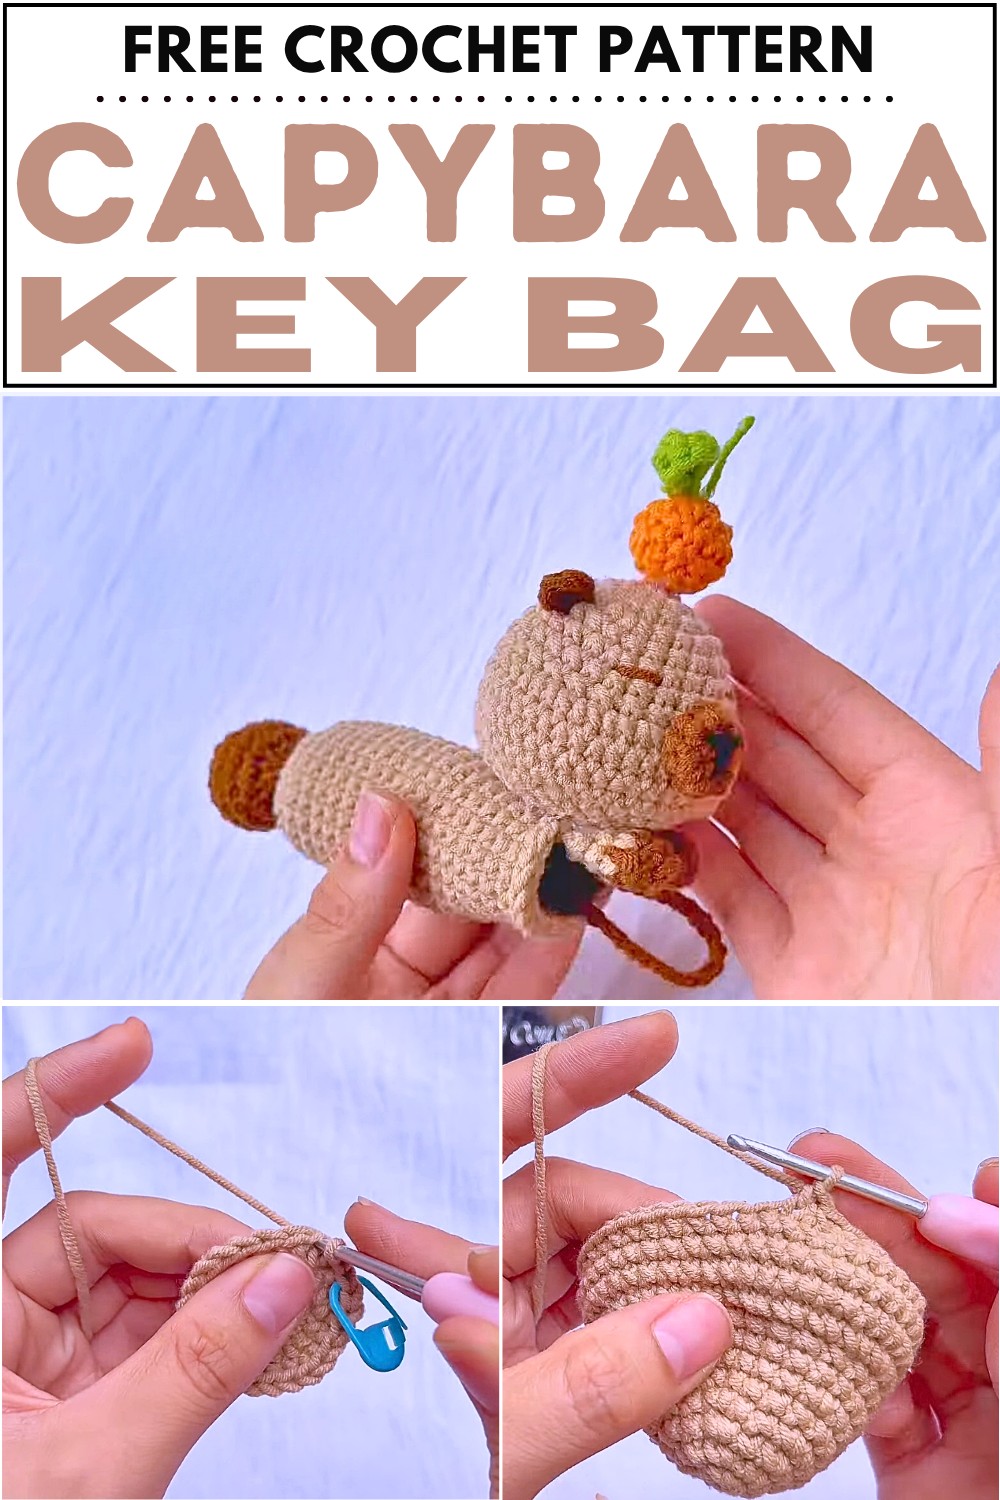
How to Crochet Capybara Key Bag for Beginners

Learn how to crochet a cute Capybara key bag with a step-by-step tutorial for all skill levels. It features a long key-holding pouch, capybara features, and an orange amigurumi. The project includes making arms, a drawstring, and adding charming details like a crocheted orange, leaves, nose, and ears. The final result is a functional and adorable accessory that keeps your keys hidden inside while showcasing a playful Capybara design.
Crochet Capybara Key Bag
Creating the Head
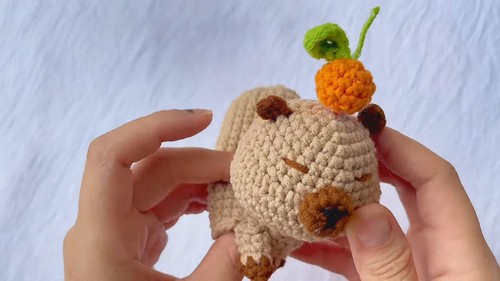
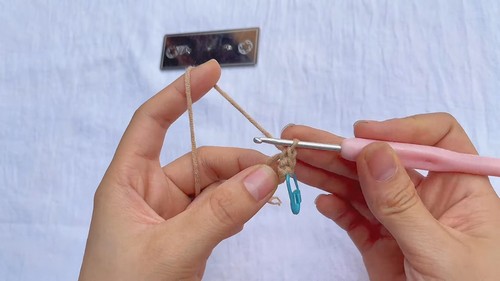
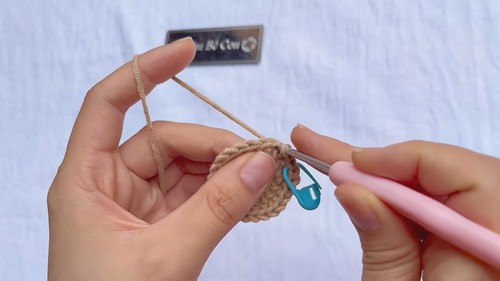
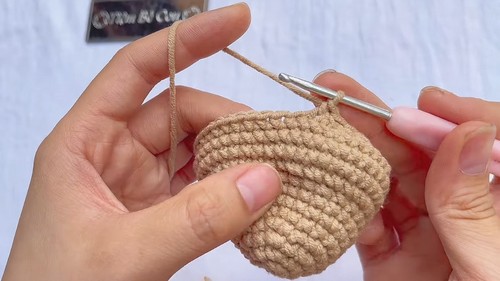
The tutorial starts with crocheting the head of the Capybara. Using a magic ring, the instructor forms six single crochets, increasing stitches in a spiral to shape the rounded head. Gradual increases and decreases follow, creating the dome-like structure. After shaping, the head is stuffed with fiberfill and sealed.
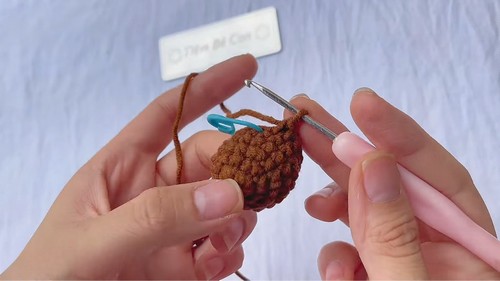
Forming the Tail
A small brown tail is crocheted in a similar spiral pattern. It involves several rounds of single crochets with increases and eventual decreases. The tail is also lightly stuffed before being sewn shut and set aside.Making the Drawstring and Key Slot
A long chain of 65 stitches is made for the drawstring, which is attached to the tail section. This acts as a pull-cord to hide or reveal the keys inside the bag. The drawstring is reinforced with slip stitches for added durability.
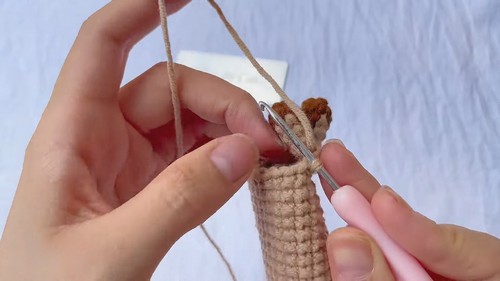
Building the Key Holder Body
A new circular base is started for the body of the key holder. It begins with eight single crochets in a magic ring, expanding in rounds to about 24 stitches per row. The body is crocheted in height (up to 22 rounds), forming a snug pouch that can contain keys. The opening is designed to allow the tail/drawstring to slide in and out smoothly.
Crocheting the Limbs and Attaching
The arms are made and folded before being stitched to the side of the body. They are joined with slip stitches and carefully spaced to ensure symmetry. Both arms are securely fastened to the key pouch.Decorating with Fruit & Leaves
An orange-shaped ornament is created following a pattern displayed on-screen. Leaves are also crocheted using green yarn with simple stitches (slip stitch, single crochet, half-double crochet). The leaves are stiffened using floral wire and attached using hot glue for a decorative finish.
Adding the Facial Features
The nose is crocheted as a small separate piece and sewn to the head. Ears are formed from chains and double crochets, then attached near the top of the head. Final detailing includes shaping the face and securing all parts together with yarn and glue.
Final Assembly
All the parts are joined: the head is sewn to the top of the key pouch, the tail is looped through the base, and limbs are secured. The completed Capybara now functions as a whimsical and cute key pouch with a pullable tail to access keys inside.