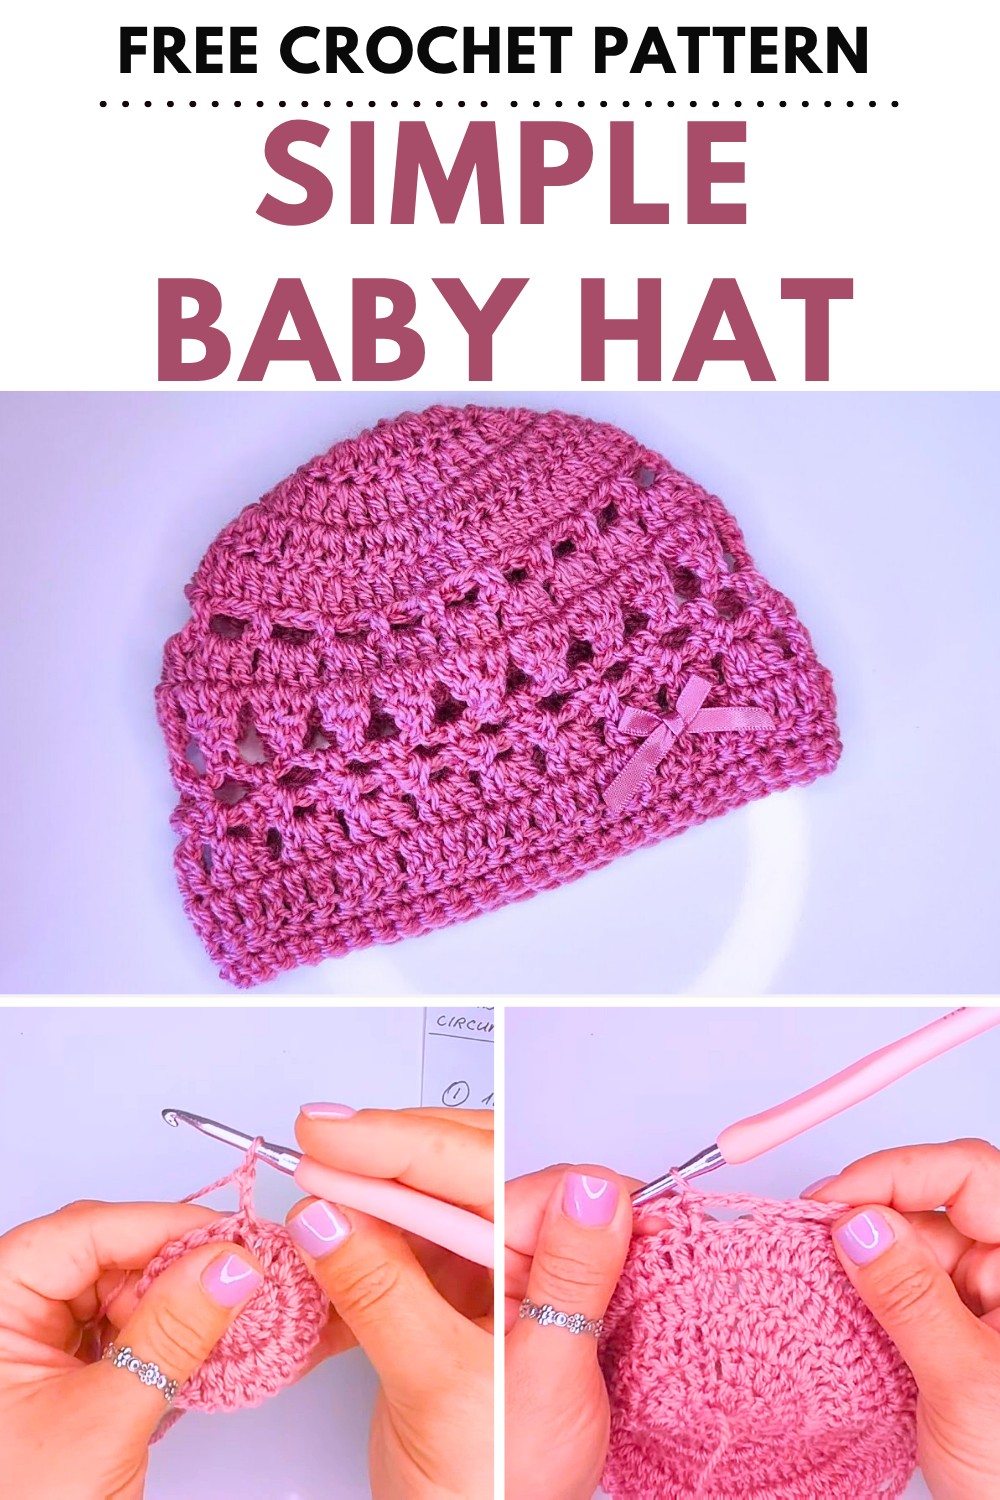
How to Crochet Easy Baby Hat for Beginners

Here is a step-by-step tutorial to crochet an easy baby hat in three sizes: 0-3 months, 3-6 months, and 6-12 months. This hat features a combination of stitches and is perfect for gifting at a baby shower. Follow through with us for learning more about this tutorial and find the complete tutorial at the end of this post!
Crochet Baby Hat Tutorial
The video provides instructions for creating a crochet baby hat in three sizes: 0-3 months, 3-6 months, and 6-12 months. Using a 4mm hook and medium-weight yarn, the tutorial covers everything from creating a magic circle to detailed rows of double crochets, increasing stitches, and pattern design.
For those interested, a matching cardigan tutorial is provided in the video description.
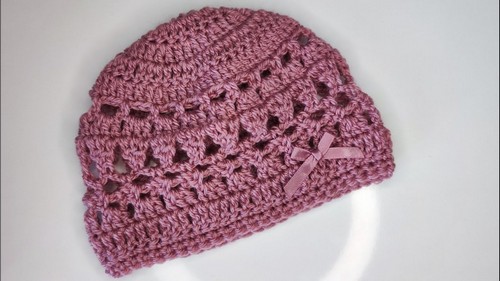
- The host showcases completed hats:
- A lilac-colored hat in the 6-12 months size.
- A smaller 0-3 months hat in light pink with a bow.
- The hat features a matching cardigan design; the link to the cardigan tutorial is provided.
Supplies Needed
- Crochet hook: 4 mm or appropriate size for the yarn.
- Yarn: Medium weight or DK weight yarn; around 20-30 grams.
- Other tools:
- Needle for weaving in ends.
- Stitch marker (optional).
- Measuring tape in centimeters.
- Hat sizing chart for baby head measurements.
Preparation
- A hat sizing chart guides measurements for the hat’s diameter and height.
- The user can refer to the chart to stop increasing at the appropriate size and ensure proper fit.
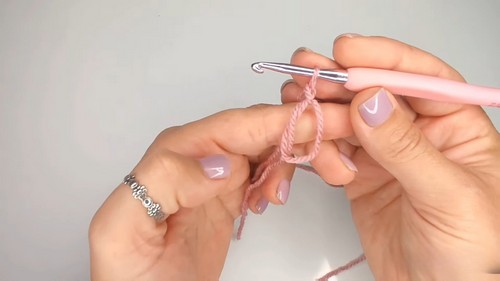
- The tutorial begins by teaching how to create a magic circle for the hat’s foundation.
Crochet Process
Crown Formation (Increasing Rows)
- Magic Circle: Demonstrates creating the adjustable circle as the starting point.
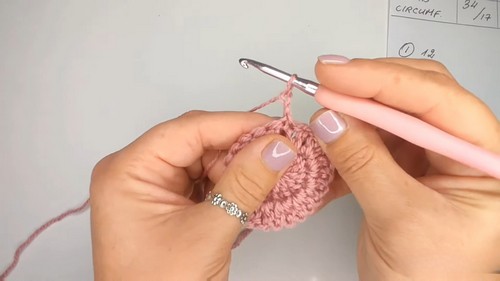
- Double Crochet (DC):
- The initial rows involve increasing the number of stitches in each round to create the flat crown of the hat.
- The increases are planned systematically for each size.
- Measuring the Crown:
- After each round, the crown diameter is checked against the sizing chart. The increasing rows are completed once the required diameter is reached.
Body of the Hat
- Once the crown increases are complete:
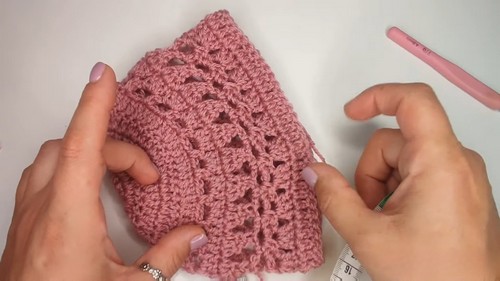
- Introduces a decorative pattern for the hat using double crochets and chain spaces.
- The pattern creates a textured finish.
Final Rows (Adjusting Height & Circumference)
- Hat Height: The hat’s length is measured from the top down to match the measurement on the sizing chart.
- Adjustments for Fit:
- The circumference is checked and adjusted by incorporating decreases (skipping stitches if the hat is too wide).
- Border Rows:
- Single crochet rows are used to neaten the edge. Additional decreasing is done here if required.
Finishing Touches
- Ends are carefully secured:
- The starting magic circle tail is fastened with a knot and hidden within stitches for durability.
- The finishing tail is woven into the stitches for a clean look.
- A decorative bow is hand-sewn onto the hat as a finishing touch (optional).