How to Crochet Summer Top with Granny Stitch

Learn how to crochet a simple summer top with lovely color changes and granny stitch following a step-by-step tutorial. Starting from the neck opening, Cleopa demonstrates step-by-step how to crochet in rounds, create arm openings, and extend the body length.
The pattern features only two repeats, making it beginner-friendly yet quick for advanced crocheters. This top can be paired with anything, and the step-by-step tutorial provides a complete guide!

Crochet Summer Top Tutorial
The video tutorial provides step-by-step instructions on crocheting a simple summer top that is beginner-friendly due to its repetitive pattern structure. Below is a detailed overview of the process covered in the tutorial:
Introduction
- Host introduces the project: a simple summer top designed to be stylish and lightweight for warmer weather.
- The top begins at the neck opening with a ring and progresses outward to cover the shoulders, followed by arm openings and the body.
- The crochet pattern consists of only two basic repeats, making it ideal for beginners and a quick project for more experienced crocheters.
Materials Required
- Two skeins of Karon cotton yarn in Beach Glass color (530 yards each, medium weight size 4).
- Size H (5mm) crochet hook.
- Other tools: scissors, blunt needle, markers, and measuring tape.
Getting Started
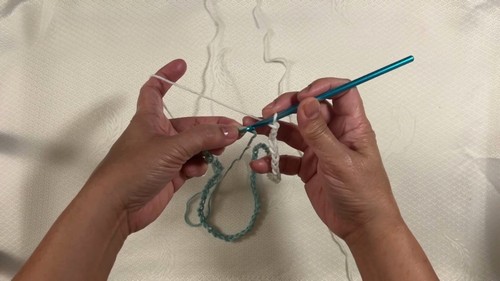
- Foundation Chain
- The neck opening is started with a knot followed by 76 chains, forming a ring with a slip stitch. This ring serves as the base of the project.
- Initial Rounds
- The first few rounds involve basic increases using double crochet stitches to gradually expand the work outward from the neck.
- These rounds define the yoke section of the top and prepare it for the body.
- The first few rounds involve basic increases using double crochet stitches to gradually expand the work outward from the neck.

Key Stitch Patterns
- Double Crochet (DC)
- Used extensively throughout, including for expanding rounds.
- Shell Stitch
- Each shell is formed using three double crochets grouped together.
- It is introduced in the third round of the yoke and repeated throughout various sections.
- Double Crochet Three Together (DC3 tog)
- This pattern groups three double crochets together into one stitch for texture and shaping.
- It alternates with the shell stitch after the initial rounds.

Creating the Arm Openings
- Marker Placement
- Markers are used to identify stitch positions for arm openings, counting specific sections of the previous rows.
- Spaces are skipped to create the required opening shapes.
- Joining Chains
- 15 chains are added at each arm opening for smooth transitions and proper sizing.
- This creates the spaces for arms while continuing the yoke structure.

Crocheting the Body
- Body construction begins after shaping the armholes.
- Alternating rounds of shell stitch and DC3 tog are repeated extensively to build the body length.
- The process continues until the desired length is achieved, with the specific example in the tutorial showing 20 rounds.
Finishing Touches
- Cleaning Up
- Ends are woven, and tails are cleaned seamlessly.
- Detailing the Neck and Arm Openings
- Neck opening is finished with two rounds of single crochet for neatness.
- Arm openings are completed with one round of single crochet, ensuring uniformity and smooth edges.

Measurements
- Body width: approximately 19 inches.
- Length (from neck opening to hem): approximately 19 inches.
- Neck opening diameter: approximately 9 inches.
Conclusion
- The presenter finishes the tutorial by showcasing the completed piece and encourages users to explore other videos.
- The style is simple yet elegant, and modifications can be made to size or length depending on individual preferences.