
How to Crochet Scorpio Zodiac for Amigurumi

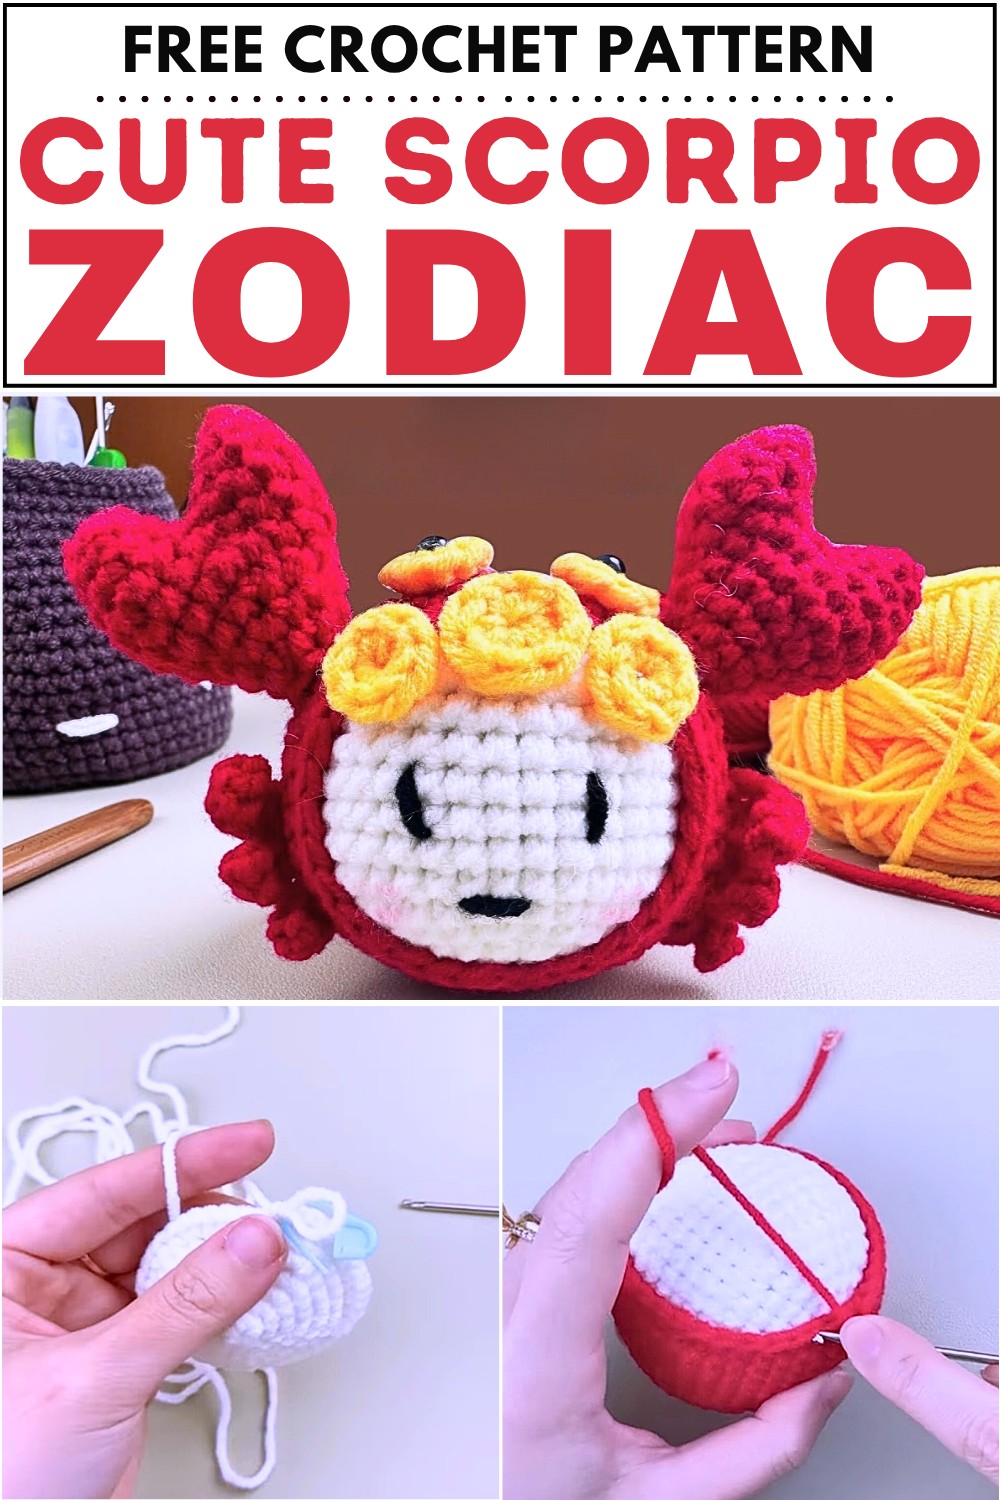
Here is a tutorial to crochet a tiny scorpion zodiac amigurumi with a face, with a step-by-step tutorial for beginners. The project is completed by assembling and sewing the parts together, resulting in a cute, handcrafted scorpion design. Follow through with us for a complete tutorial to crochet this scorpion!
Crochet Scorpio Zodiac Tutorial
Introduction
- The tutorial begins by introducing the steps to crochet a tiny scorpion, making it suitable for crocheters of all skill levels.
- It emphasizes creating and assembling the various body parts of the scorpion, such as its head, tail, legs, pincers, and eyes.
- Instructions ensure each element is crafted with precision and neatness.

Head Creation
- The head starts with a magic ring and progresses with rounds to build a dome shape.
- Fiber fill or cotton is added inside the head to provide structure and define its shape.
- The tutorial incorporates small details like shaping the head symmetrically for proper alignment with other parts.

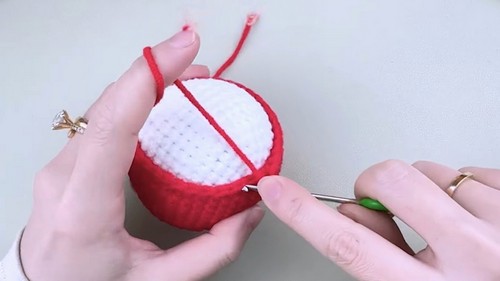
Body Construction
- The body is crocheted seamlessly after completing the head.
- Multiple rounds of crocheting help form a sleek, elongated body while maintaining consistency in stitches.
- Users are guided on stuffing the body with fiber fill to add stability and a firm form.
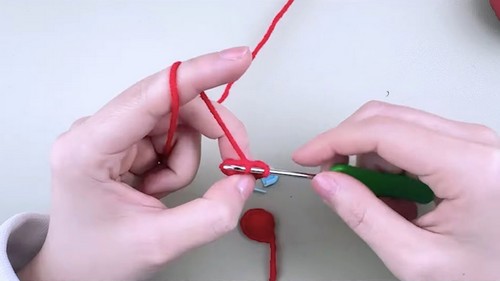
Pincers
- Two pincers are crocheted separately using magic rings followed by multiple crochet rounds.
- The pincers are shaped gradually with increases and decreases to resemble claw-like structures.
- Both pincers are crafted identically and attached symmetrically to the upper section of the head.
Legs
- Each leg is crocheted individually using chain stitches and crochet rounds.
- The length and tapering of the legs are adjusted through decreases in specific areas for a natural scorpion-like appearance.
- Detailed instructions are provided for sewing the legs securely to the body, ensuring they are evenly spaced on both sides.
Tail Creation
- The tail starts with a magic ring and is formed through crochet rounds to create a curved, tapering structure.
- Fiber fill is added sparingly to provide the tail with slight flexibility while maintaining firmness.
- Pins are used to hold the tail in place before permanently attaching it using adhesive or sewing techniques.
Eye and Facial Details
- Eyes are crocheted separately as tiny circular pieces using yellow yarn.
- They are sewn onto the head with careful placement to ensure symmetry.
- The mouth is stitched on using black yarn, adding personality to the scorpion.
Final Assembly
- Once all parts are crocheted, they are assembled carefully using sewing needles and yarn.
- Adhesive is applied where necessary to secure attachments, such as the pincers, legs, and tail.
- Pins are utilized during assembly to ensure proper alignment and spacing of the scorpion’s features.

Finishing Touches
- The crocheted scorpion is checked for neatness, and any loose threads or yarn ends are woven in.
- Instructions encourage applying slight shaping to the tail for an upward curve, enhancing the scorpion’s design.
- The completed scorpion serves as a cute decoration, gift, or fun craft project.


