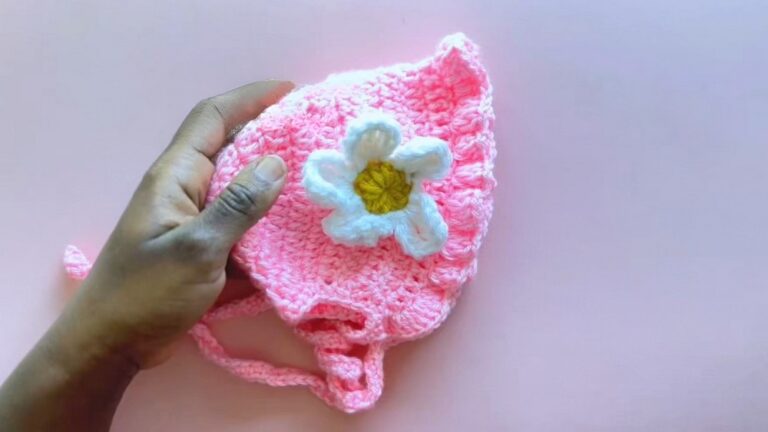
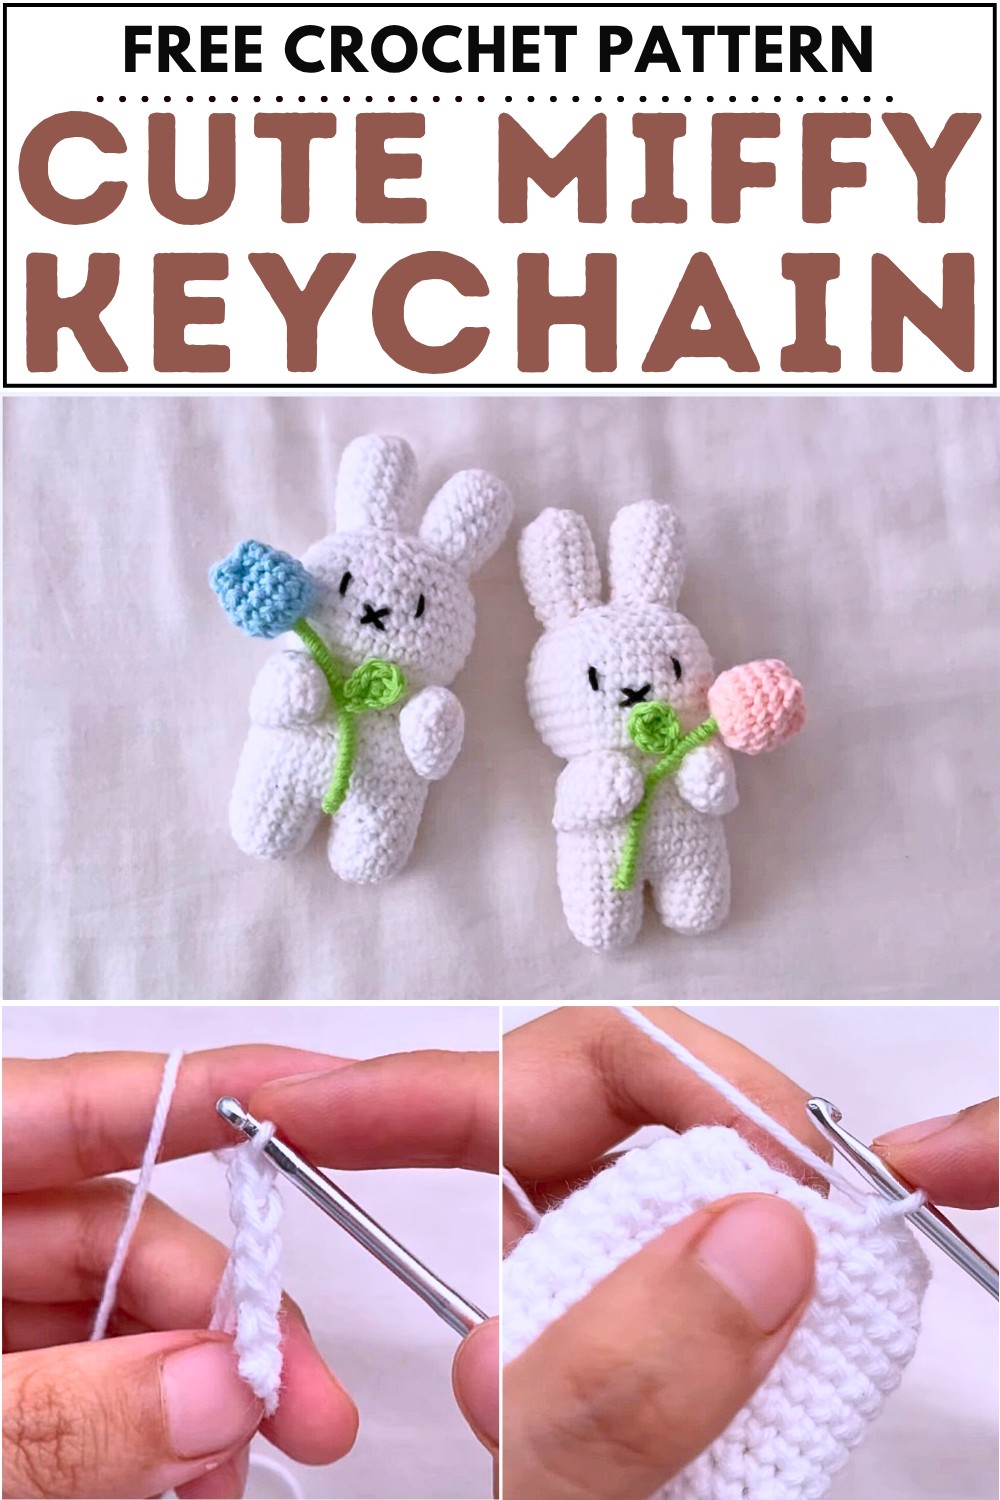
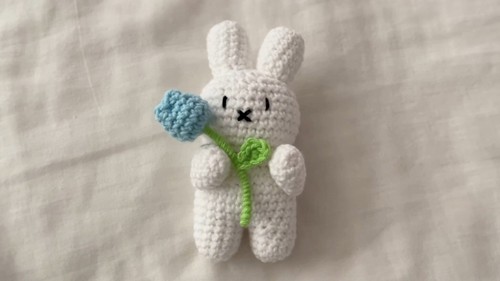
How to Crochet Miffy Keychain for Gifting

In this tutorial, learn how to crochet an adorable Miffy bunny keychain holding a tulip. The face is embroidered for added personality. The tulip, stem, and optional leaf are crocheted separately and attached to the bunny using glue. Present it as a gift!
This customizable project is perfect for gifting or decoration and is beginner-friendly. Follow through with us for the step-by-step tutorial for all skill levels!
Supplies Used
Here are the supplies used in the “How to Crochet Miffy Keychain” tutorial:
Yarn: Multiple colors (white for bunny, green for stem, red or pink for tulip, black for facial details)
Crochet Hook: Suitable for the yarn thickness (likely 2.5 mm or 3 mm)
Yarn Needle: For sewing parts and embroidery
Scissors: For cutting yarn
Stitch Marker: To mark rounds
Stuffing: For body, head, arms, and tulip
Wire: For flower stem structure
Glue: For attaching yarn to the wire stem (optional)
Crochet Miffy Keychain Tutorial
Looking for the cutest kawaii-inspired gift for someone. Crochet a cute bunny keychain holding a tulip, using basic crochet techniques like magic rings, single crochets, and increases. Step-by-step, it builds the legs, body, head, ears, arms, and face, then finishes with an adorable flower accessory.
Required Materials & Abbreviations:
- The creator lists the materials needed for the project and explains common stitch abbreviations.
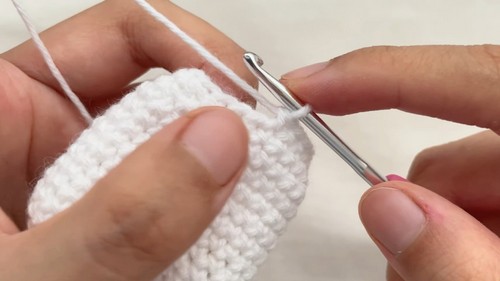
- Crocheting the Bunny:
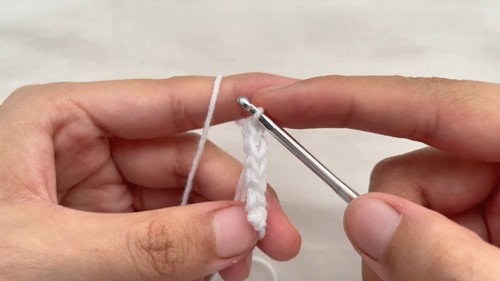
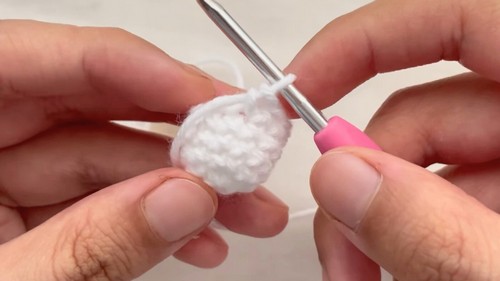
- Legs:
- Created using single crochets starting from a magic ring.
- Two legs are crocheted separately, with one leg left unfinished to later join both legs together.
- Legs are joined by a chain, forming the base of the bunny’s body.
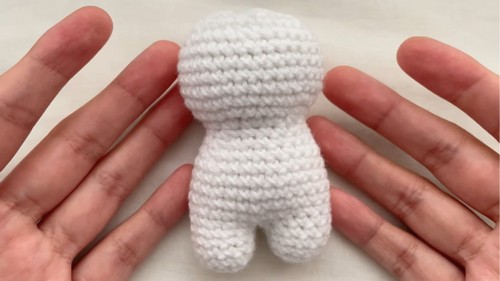
- Body:
- Crocheted by adding rounds to the joined legs.
- Includes decreases to shape the body and ends with stuffing for structure.
- Head:
- Starts with increases to create the base of the head, followed by constant rounds for shaping.
- Gradual decreases are used to form the top of the head.
- The head is stuffed for a cohesive look and closed using a sewing technique with the front loops.
- Ears:
- Ears are crocheted separately and attached to the middle of the head symmetrically.
- The creator explains how to position and sew them onto the head.
- Arms:
- Arms are shaped with single crochets and simple decreases.
- Light stuffing is added, and the arms are sewn under the head with space left for holding the flower.
- Body:
- Legs:
- Decorating the Bunny:
- Face:
- Details like the eyes and mouth are embroidered using yarn.
- The creator specifies placements for the eyes and mouth but allows flexibility for customization.
- Customization:
- Options for changing colors or facial expressions are encouraged.
- Face:
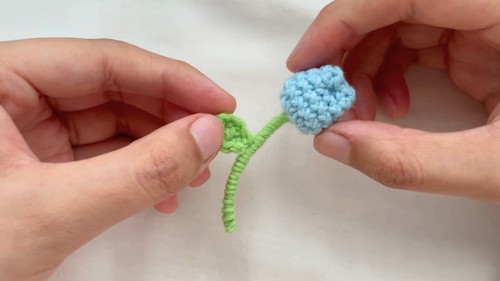
- Crocheting the Tulip:
- Flower:
- The tulip head is crocheted separately and stuffed.
- The tutorial includes a technique for shaping the tulip by sewing its sides.
- Stem:
- A wire is used as a base for the stem, wrapped in layers of glued yarn for strength and aesthetics.
- The stem is attached to the crochet tulip with additional glue.
- Optional Leaf:
- A small leaf is crocheted and glued to the stem for added detail.
- Flower:
- Assembling the Bunny and Tulip:
- The tulip is glued or attached to the bunny’s arms.
- Placement is flexible, allowing for different positioning like height or angle.
What is the best yarn for crochet Miffy keychain?
The best yarn for crocheting the Miffy keychain is lightweight cotton or cotton-blend yarn, as it provides a neat, firm finish ideal for small amigurumi projects. Cotton yarn holds its shape well, making details like ears, limbs, and the tulip look crisp and defined.