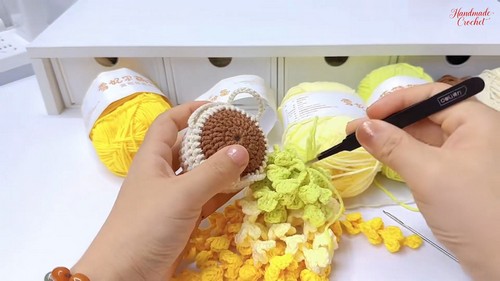
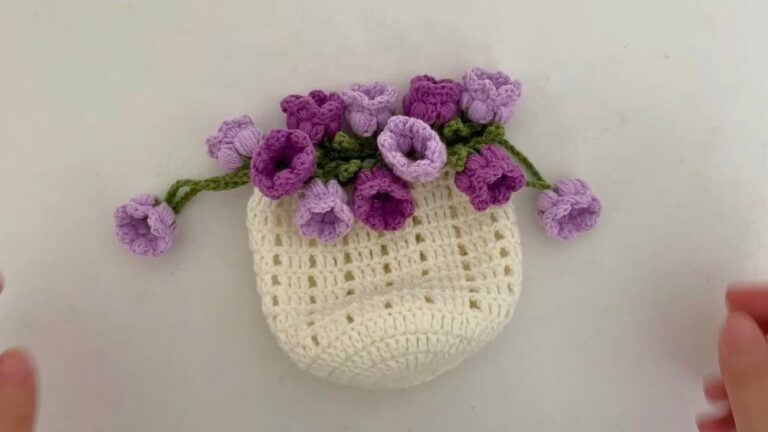
How to Crochet Wisteria Hanging Basket for Spring

Learn how to crochet a beautiful and versatile Wisteria hanging basket through crochet techniques perfect for decorating your porch area. The project includes petals, assembling flowers, and switching thread colors. The gradual color transitions and intricate patterns highlight creativity and personalization. The tutorial is perfect for crafting enthusiasts looking to create decorative and functional home decor!

Crochet Wisteria Hanging Basket Tutorial
Here is a crocheted granny square cardigan. She shares her excitement for the project and mentions her previous crochet granny square dress tutorial. Emily highlights that this cardigan design is unique and receives numerous compliments due to its eye-catching, bright, and colorful appearance.
Materials Required
- Yarn: A medium-weight (size 4) yarn is recommended.
- Emily emphasizes using yarns of the same weight throughout the project to maintain consistency.
- Scrap yarn can be used efficiently for creating granny squares due to their low yarn consumption.
- Crochet Hook: Suggested size is 5 mm, though beginners may start with a slightly larger hook.
- Other Tools: Scissors (or a Swiss Army knife) and a yarn needle for finishing details.
General Approach and Project Layout
- The cardigan consists of different components:
- Front Panels (2): Made up of 6 granny squares each.
- Back Panel (1): The largest piece, containing 15 squares.
- Sleeves (2): Each sleeve consists of a panel of 6 squares, sewn together to form a cylinder shape.
- The method involves creating granny squares, sewing them together, and adding borders/cuffs.
Granny Square Construction
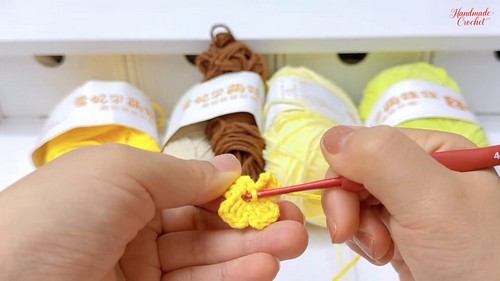
- Center Circle:
- Starts with a slip knot and chain to create a ring.
- Forms the foundation of the granny square.
- Round One: Double crochet stitches worked into the center circle to create the outer ring of the square.
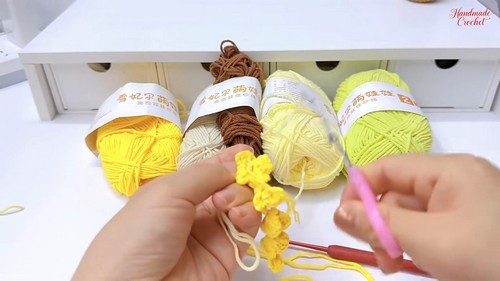
- Round Two: Puff stitches added into chain spaces.
- Round Three: Teardrop-shaped stitches worked in spaces between puff stitches.
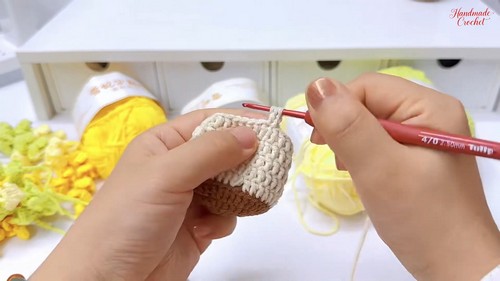
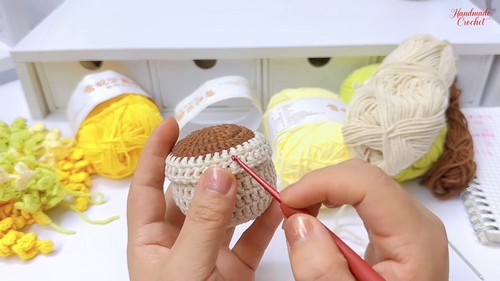
- Final Round: The design transitions from a circular shape to a square by adding larger stitches for edges and chaining between corners.
Assembly of Panels
- The granny squares are joined using a slip stitch crochet method, which creates a decorative braided effect.
- Emily demonstrates:
- Joining squares along one edge to form rows.
- Adding more rows to complete individual panels.
- Sewing completed panels together to form the cardigan layout.
Constructing Sleeves
- The sleeve panels (six granny squares per sleeve) are sewn into tube shapes using the slip stitch technique.
- Once completed, they are sewn to the body of the sweater, ensuring clean edges and durability.
Adding Borders and Cuffs
- Borders and cuffs are created using a ribbing-like stitch pattern for a polished finish.
- The bottom border of the sweater and sleeve cuffs are crocheted separately and then attached to the cardigan with a yarn needle.
- Cuffs and borders are customizable in length, depending on user preference.
Finishing Touches
- Emily discusses weaving in loose ends from granny squares and seam joins.
- The edges are finished to ensure the cardigan looks neat and holds together securely over time.
Tips and Techniques
- Emily shares advice for beginners:
- Take your time and be patient if you’re new to crochet.
- Yarn tension may vary, so adjust hook sizes accordingly.
- Use the back of the project for weaving in ends to preserve the look of the front.
- She suggests listening to audiobooks, podcasts, or the Bible app while crocheting to make the process enjoyable.
Final Remarks
- Emily wraps up by showcasing the completed cardigan and expresses her encouragement for viewers to try crochet if they haven’t already.
- She emphasizes the joy of creating wearable items and the uniqueness of handmade clothing.