How to Crochet Summer Baby Romper for Newborns

Learn how to crochet a beautiful baby Summer romper for dressing your newborn girl on special occasions with a step-by-step tutorial for beginners. The romper features shaping the bottom, the top, adding straps, and making tiered ruffles for decoration. Follow through with us for more details about this project and the tutorial!

Supplies Needed
Here are the materials used for the baby romper tutorial in the video:
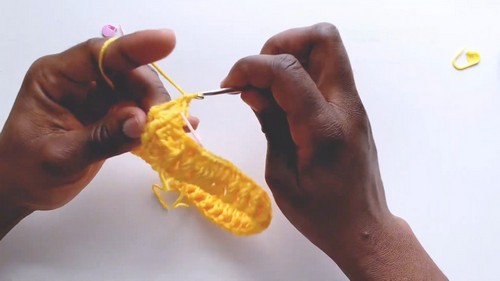
- Yellow Yarn Art Adore DK Size 3 Yarn (100 g; approximately 1.5 skeins required)
- Crochet Hook suitable for DK-size yarn
- Yarn Needle for weaving in ends and sewing edges
- Stitch Markers for marking stitches and sections
- Buttons for attaching the straps
- Ribbon (1-inch wide, 21 inches long) for decoration
- Sewing Thread and Needle for attaching the ribbon

Crochet Summer Baby Romper Tutorial
This tutorial by Elena Crochet teaches how to create an adorable and detailed baby romper from start to finish. Designed for a 9–12-month-old, the romper combines functionality with style, featuring textured patterns crafted using double crochets and front/back post stitches.
The step-by-step instructions cover everything, including creating the foundation, shaping the waist, forming ruffled tiers, and attaching adjustable straps.
The addition of cute buttons and a 1-inch width ribbon adds extra charm, making it perfect for gifting or special occasions like photoshoots.
Starting the Waist:
- Make a slip knot and chain 15 inches.
- Slip stitch into the first chain to form a ring.
- Chain 2 (does not count as a stitch).
- Round 1: Double crochet into each stitch in the round, and slip stitch to complete.
- Round 2: Alternate front post double crochet and back post double crochet across the round.
- Repeat this front and back post pattern for subsequent rounds (e.g., rounds 3 and 4).
Creating the Body:
- Continue double crochet rounds until the waist measures 3 inches wide.
- Use stitch markers to mark 1.5-inch sections on each side (front and back).

Work on the back side first:
- Rows involve alternating double crochet rows and double crochet decreases at corners.
- Repeat this process until the back side is completed.
- Then, work on the front side, using similar techniques.
Bottom Edging and Sewing:
- Create ruffled edging by making 3 double crochets into each stitch around the bottom.
- Add single crochet borders to smooth the edges.
- Sew the bottom parts together using a yarn needle to create the leg opening.

Top Part of the Romper:
- Measure and mark corners for the top section.
- Ensure stitches are multiples of 3.
- Begin working the top with alternating rows of double crochet and crossed double crochet patterns.
- Continue until this section measures 5.5 inches high.
- Finish with single crochet for a clean edge.
Creating Straps:
- Crochet straps by working double crochets in rows (5 stitches wide) until they measure 10 inches.
Secure straps by weaving in ends.

Adding Side and Lower Ruffles:
- Crochet 3 double crochets into each stitch to form ruffles on the sides of the romper.
- Add 3 tiers of ruffles beneath the romper:
- First tier is positioned under the front post/back post waist.
- Second tier is placed 2 rows beneath the first ruffle.
- Third tier is added at the edge of the leg opening.
- Weave in all ends.
Final Touches:
- Attach buttons to the back for strap fastening.
- Sew the ribbon into place using a needle and thread.
- Ensure all ends are secured for a finished look.