
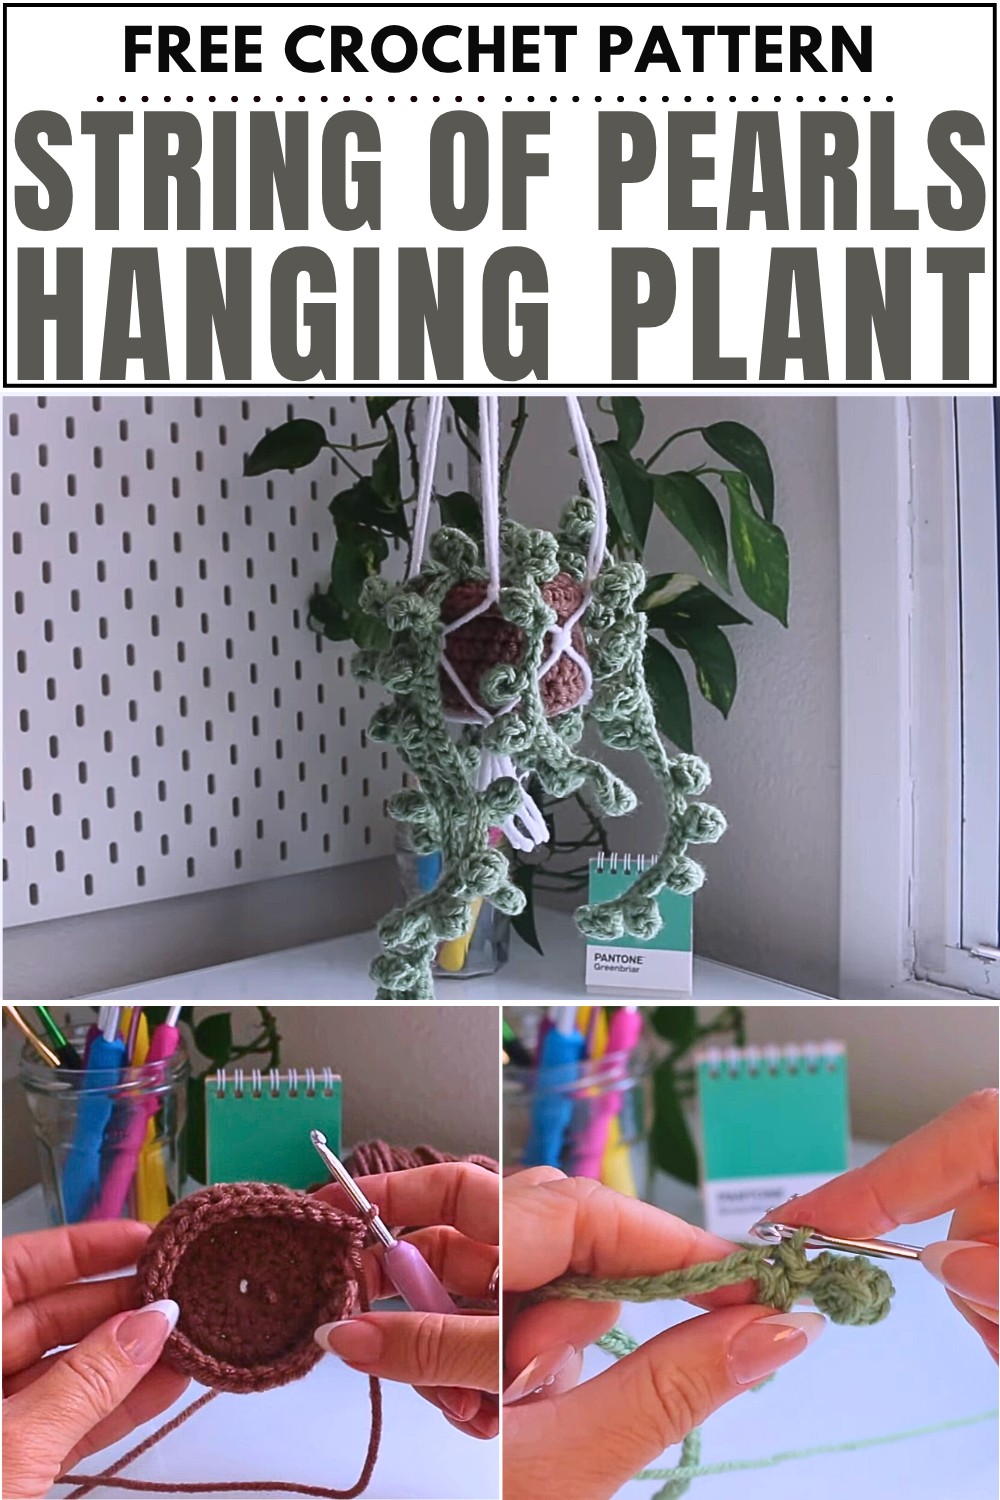
How to Crochet String Of Pearls Hanging Plant

Learn how to crochet a String of Pearls hanging plant, including the pot, lid, pearls, and hanging ropes, with an easy tutorial. The project is versatile, allowing variations in yarn choice, pearl length, and design. It is perfect for beginners and for decorating your area. Let’s get started!
Crochet String of Pearls tutorial
- The tutorial demonstrates how to crochet an updated version of the String of Pearls hanging plant.
- The pattern is versatile in terms of the yarn and hook used.
Materials Needed
- White, green, and brown yarn.
- 3.75 mm hook.
- Scissors and a darning needle.

Creating the Base of the Pot
- Start with the brown yarn and create a magic circle.
- Chain one to secure the circle.
- Chain two to begin forming the stitches.
- Insert a total of 14 double crochets into the magic circle.
- Pull the loop tightly closed to finish the round.
- Insert the hook into the first double crochet, not the chain two space, and finish off with a slip stitch.
Row Two: Increase Round
- Chain three to start the row.
- Perform two double crochets in each stitch space, resulting in 28 stitches by the end of the round.
- Finish the round with a slip stitch.
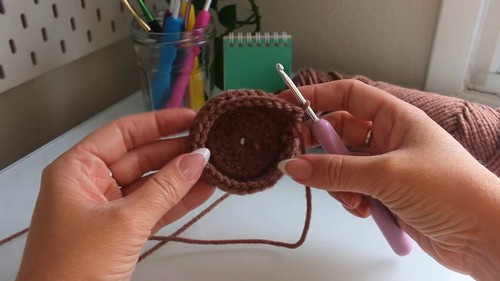
Creating the Brim of the Pot
- Chain two and work in the top loop.
- Insert a half double crochet in the back loop of each stitch around to create the brim.
- Complete the round with a slip stitch.
Adding Rows to Elevate the Pot
- Continue with rounds of half double crochets for a total of four additional rounds (rows four to seven).
- Each round begins with chaining two and works in the same pattern as previously described.

Forming the Lip of the Brim
- Chain two and work the half double crochets into the front loop only.
- This forms a flip-over lip, giving the pot a structured appearance.
- Finalize with a slip stitch and tie off the yarn.
Creating the Lid of the Pot
- Repeat the process used to create the base: a magic circle followed by chaining two, inserting 14 double crochets, and closure.
- In the second round, insert half double crochets instead of double crochets for a tighter lid.
- Finish the lid with a slip stitch and leave a long tail for sewing.

Constructing the String of Pearls
- Start with a slip knot using the green yarn.
- Chain a desired length (example of chaining 40 is given).
- Insert four double crochets into the fourth chain from the hook to create the first pearl.
- Continue to slip stitch, chain six, and create pearls along the entire chain.
- Repeat the process, varying the chain lengths for different string heights.
Assembling the Pot and Adding Stuffing
- Attach the lid to the pot using a needle by sewing it through the front and back loops.
- Stuff the pot using scrap yarn or craft store stuffing.

- Secure everything with slip stitches and hide the ends within the pot.
Creating the Hanging Rope
- Cut eight equal lengths of white yarn.
- Tie them together in a knot at the bottom.
- Separate into four pairs and begin tying knots to create a net-like structure.
- Adjust the knots to fit the pot’s lip, ensuring a secure fit.
- Finish by tying a final knot to form a loop or hook for hanging.

Final Touches
- Complete the arrangement of your String of Pearls on the pot.
- Ensure all pieces are securely attached and concealed.


