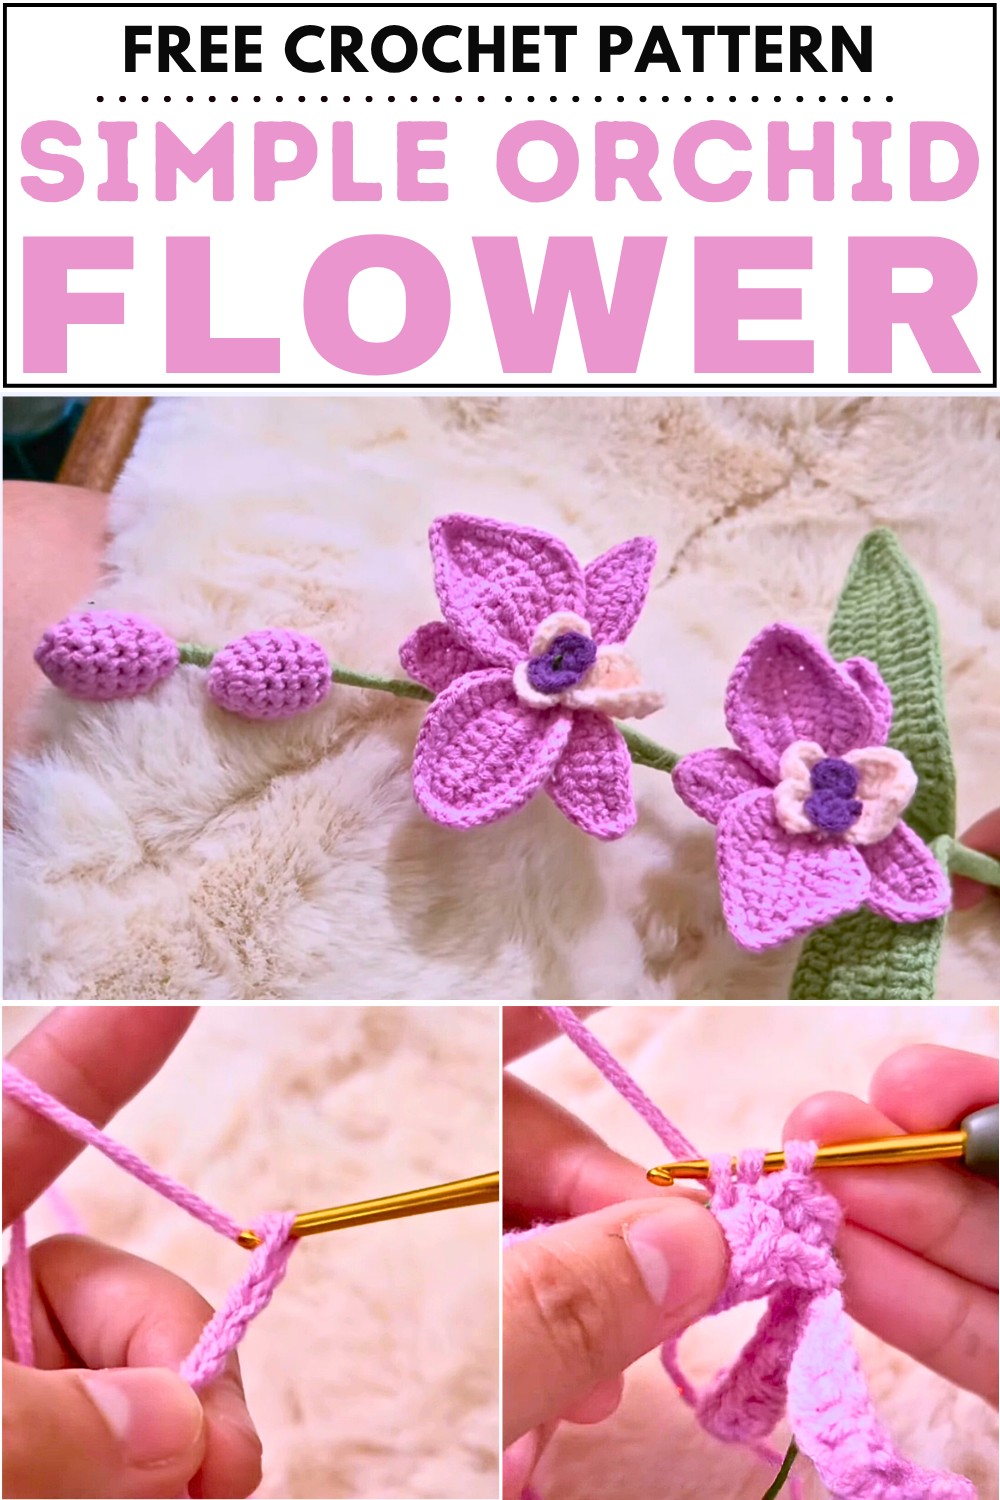
How to Crochet Simple Orchid Flower for Spring

Learn how to crochet a realistic orchid flower with detailed steps for petals, pollen, leaves, and a bud. It uses basic stitches, floral wire for shaping, and structured assembly for a natural finish. The project combines form and texture, including a puffed pollen center and wrapped stem, resulting in a beautiful handcrafted bloom perfect for decorations or gifts.
Crochet Orchid Flower Tutorial – Easy Step-by-Step Guide for Beginners
This tutorial guides viewers through creating a stunning crochet orchid flower, complete with petals, pollen, buds, leaves, and stem assembly. Using materials like four-ply milk cotton yarn, fabric glue, and floral wire, the step-by-step instructions cover techniques such as magic rings, single crochets, half-double crochets, and shaping with wire for a realistic look.
Materials Needed
- 4-ply milk cotton yarn in multiple colors (pink, yellow, green, white)
- 2.5 mm crochet hook
- Scissors, yarn needle, and fabric glue
- Floral wire for shaping
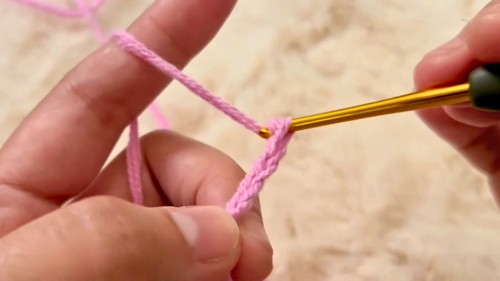
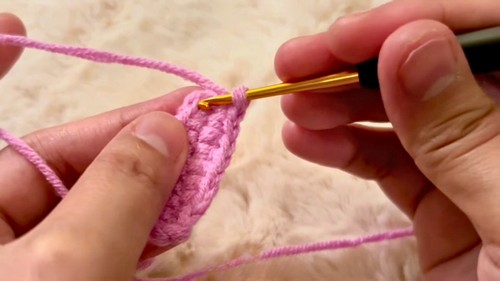
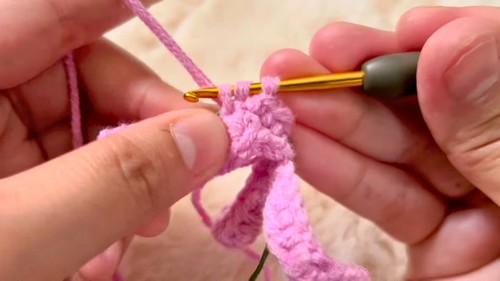
Creating the Orchid Petals
- Start with a foundation chain and use single, half-double, and double crochet stitches.
- The edge is shaped with rounded curves using varied stitch combinations.
- Crochet continues along the opposite side of the chain for symmetry.
- A floral wire is inserted along the base of the petal, and stitches are crocheted around it for support.
- Additional shaping includes pointed tips and gentle curves for a natural look.
- Repeat the process to make multiple petals with slight variations in structure.
Making the Central Petals
- Form a magic ring and build the foundation with evenly spaced stitches.
- Create three small rounded petals in the ring using simple stitch patterns.
- Insert floral wire for support and continue crocheting to reinforce shape.
- These central petals surround the flower’s pollen structure and add dimension.
the Pollen Structure
- Start with a chain and work in various stitch heights including single, double, and treble crochets.
- Use increases to create a layered, blooming effect.
- The opposite side of the chain is stitched symmetrically.
- Additional chains and slip stitches create hanging pollen tips for realism.
- A smaller piece is made using a magic ring to complete the flower’s center.
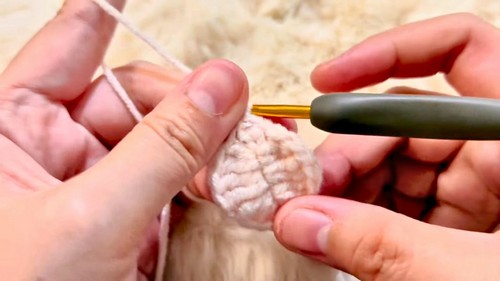
Making the Flower Bud
- Begin with a magic ring and increase gradually in round two.
- Maintain shape with several rounds of even single crochets.
- Begin tapering using decreases and stuff lightly to hold form.
- Close the top using a yarn needle and stitch through remaining loops.
- Attach to a stem using the remaining yarn tail.
Crocheting the Orchid Leaves
- Chain a long foundation and build the leaf using a gradient of stitches (single, half-double, double).
- Add curves and a pointed tip at the end.
- Crochet back along the opposite side to match the leaf’s shape.
- Insert floral wire along the base and stitch around it for structure.
- The second round adds increases and ensures natural leaf curvature.
- Complete by wrapping the yarn tail around the wire stem and tucking in ends.
Final Assembly
- Arrange the petals around the center using floral wire to form the flower.
- Attach the pollen elements to the middle.
- Add the bud and secure it to the stem with yarn.
- Position and secure leaves along the bottom of the stem for balance.
- Wrap all visible floral wire with green yarn for a polished look.
Result
- The finished orchid is beautifully realistic and can be used as home decor, a handmade gift, or part of a larger crochet arrangement.