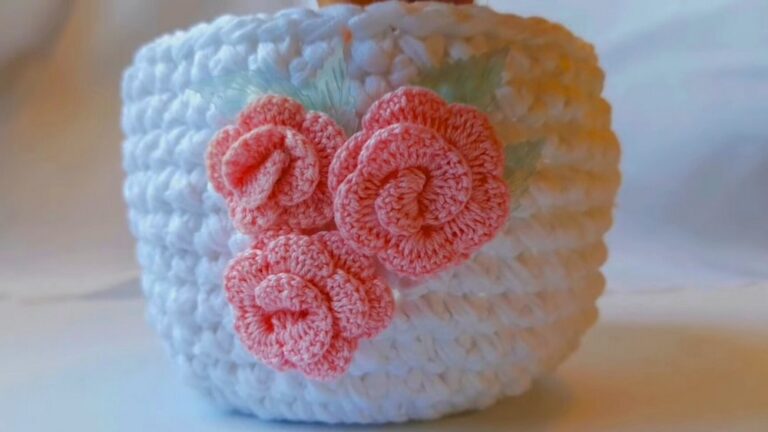
How to Crochet Pouch With Wave Pattern for Beginners

Learn how to crochet a beautiful pouch with wave pattern using red and golden yarn with a step-by-step tutorial for beginners. It features the ribbon closures for functionality and aesthetic appeal. Whether you’re a beginner or advanced crocheter, this video simplifies the process, offering clear instructions and tips to crochet a stunning accessory.

Crochet Pouch With Wave Pattern Tutorial
The tutorial starts by introducing the project: a crochet pouch with a wave pattern. Starting with a magic ring, it builds a sturdy base with increasing rounds of double crochets, followed by sculpting a wave texture using mixed stitch heights.
Introduction and Materials
- Materials required include:
- Red and golden acrylic yarn.
- 5 mm crochet hook.
- Scissors and a darning needle (for finishing touches).
- Optional accessories like ribbons or beads for decoration.

Creating the Foundation
- Magic Ring: The project begins by making a magic ring, which serves as the closure and base of the pouch.
- First Round:
- Double crochet stitches are worked into the magic ring.
- The round is closed with a slip stitch.
- The base is created in a circular pattern to ensure the pouch has a solid foundation.

Building the Base
- Additional rounds are worked in circles to expand the bottom of the pouch.
- Techniques used:
- Chain stitches to create height.
- Increases are applied evenly across the round to ensure the base maintains a flat shape.
- The video emphasizes maintaining tension and neatness in stitch placement for a consistent look.

Creating the Body with a Wavy Pattern
- The pouch transitions from the base to the body, incorporating a wavy design.
- Wavy Pattern Instructions:
- Alternating yarn colors (red and golden) are introduced for the wave effect.
- Stitches include double crochets, increases, and decreases to create the wavy texture.
- The tutorial touches on working into the back loop of stitches to enhance the texture.
- Color Changes:
- Clear instructions on switching colors seamlessly without visible gaps are demonstrated.

Finishing the Pouch
- Once the desired height of the pouch is achieved:
- Final rounds are worked in single crochet and half double crochet stitches for a clean edge.
- Ribbon Creation:
- A ribbon is crocheted separately using chain stitches and single crochet.
- The ribbon serves as a functional drawstring closure for the pouch.

Adding the Ribbon Closure
- The ribbon is threaded through strategic rows of the pouch using a darning needle.
- Instructions for evenly spacing the ribbon through the pouch are provided.
- The drawstring closure enhances both functionality and aesthetics.
Final Touches
- The tutorial concludes by showcasing the finished pouch with its wavy design and secure ribbon closure.
- Suggestions for customization:
- Adding beads or tassels to personalize your pouch.
- Experimenting with different color combinations to make unique designs.