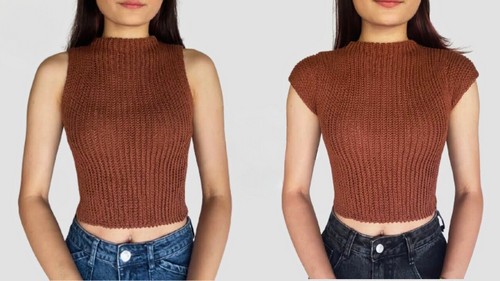
How to Crochet Mock Neck Top for Beginners
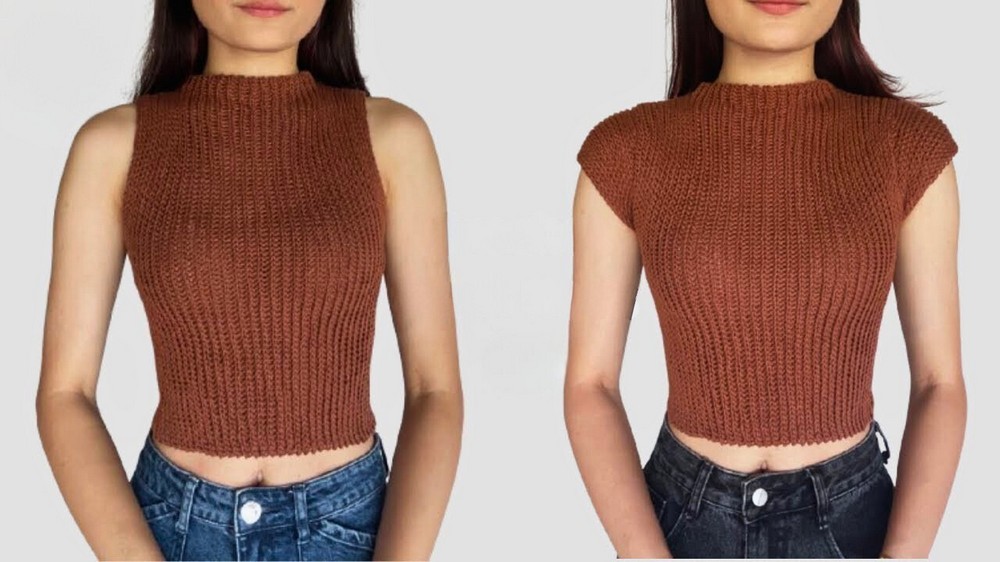
Learn how to crochet a mock neck top using slip stitches for a stretchy, snug fit. The made-to-measure design includes options for sleeveless, cap sleeve, and long sleeve versions, while providing detailed tips on achieving the desired length, width, and neckline. Follow through with us for more details about this project!
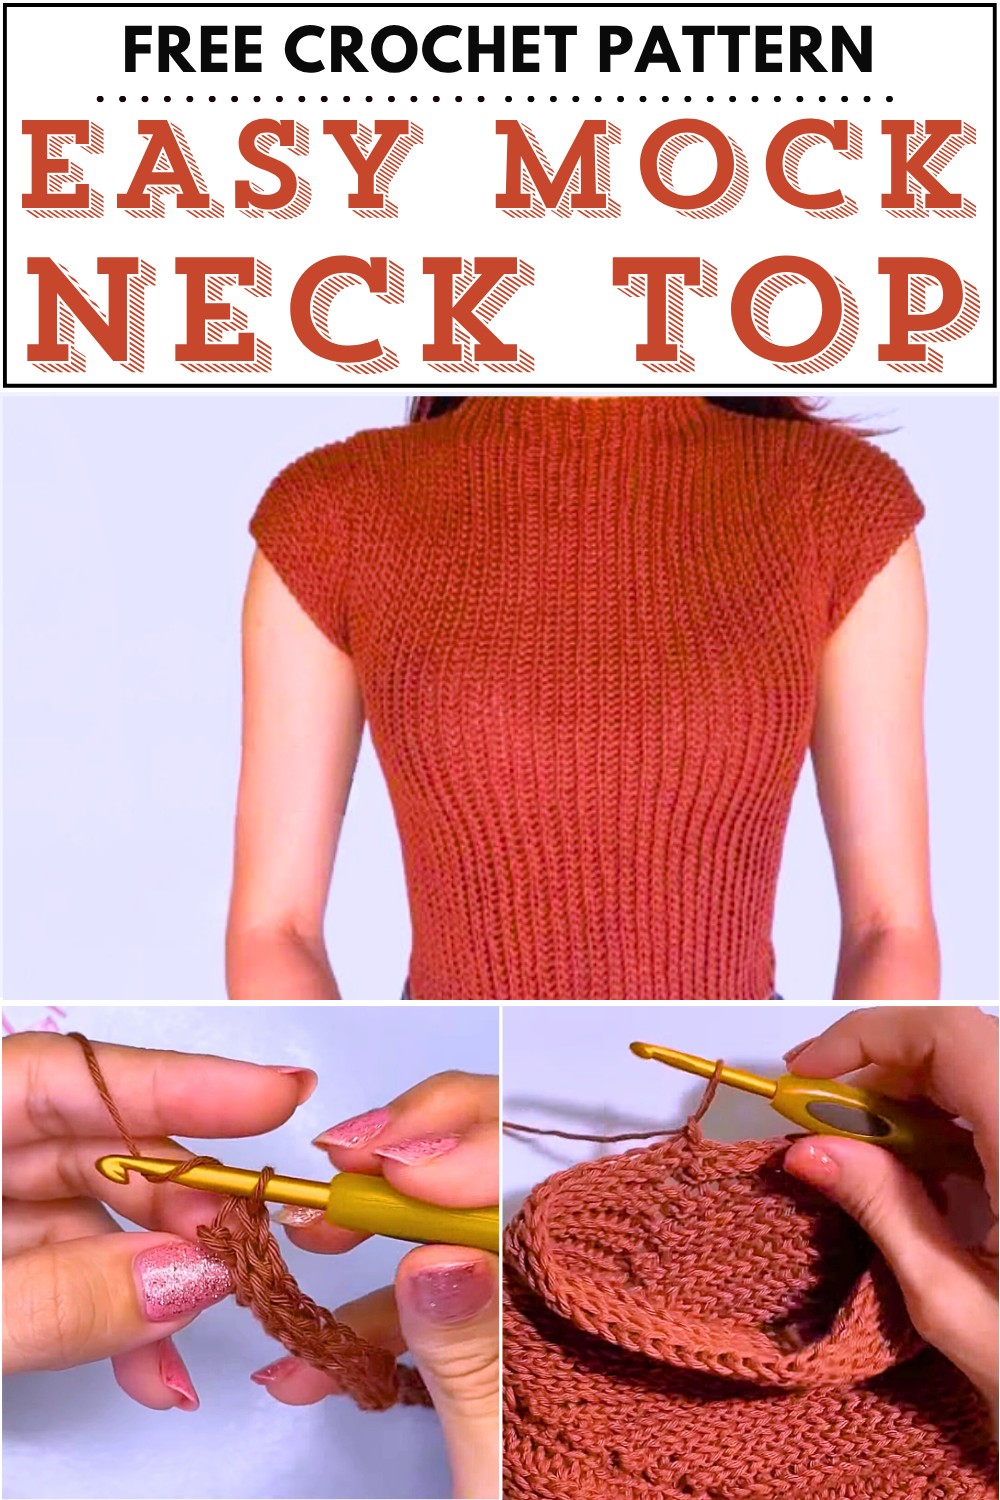
Crochet Mock Neck Top Tutorial
- Focuses on how to crochet a mock neck top with options for:
- Sleeveless version
- Cap sleeve version
- Instructions provided to extend this to a long-sleeved version.
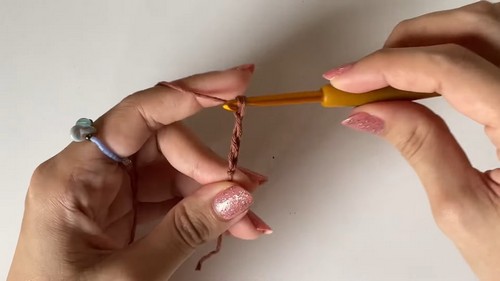
- Made-to-measure design for a perfect fit, requiring try-ons throughout the process.
- No lace-up back; instead, slip stitches create a stretchy and fitted garment.
Materials Needed
- Number 2 (sport weight) yarn (cotton recommended, though any yarn can be used).
- Crochet hook (4.5 mm recommended).
- Tape measure.
- Scissors.
- Stitch markers.
- Darning/needle tool for finishing.
Key Features of the Top
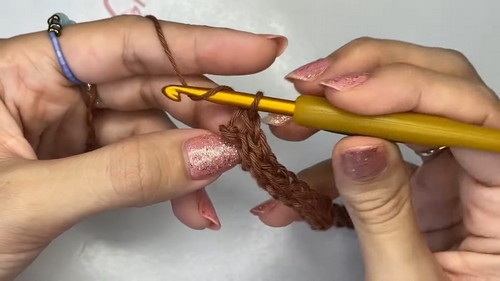
- Entirely crocheted with slip stitches.
- Creates a stretchy, form-fitting design while maintaining its shape during wear.
- Provides a fully covered garment (no open backs or lace features).
- The mock neck detail offers a snug, stylish look.
Steps for the Crochet Process
Creating the Base Panel
- Start with a chain that matches the desired length of the top. Adjust to include extra chains to accommodate the shrinkage caused by slip stitches.
- Work slip stitches along the chain, skipping the first chain. Mark the first stitch of each row for accuracy.
- Maintain a loose tension while slip stitching, ensuring ease for later rows.
- Use back loop only slip stitches for all subsequent rows, creating a knitted texture.
- Continue crocheting rows until the desired width of the shoulder is achieved, stretching the work during measurements to account for its elasticity.
Creating the Neck Part
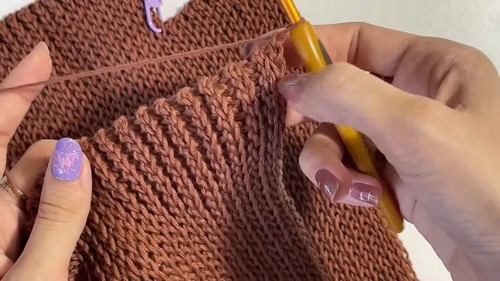
- Crochet additional chains to match the desired height of the mock neck portion. Measure directly against your neck for accuracy.
- Incorporate slip stitches (back loop only) for rows forming the mock neck, ensuring loose tension throughout.
- Try the panel on to ensure neck coverage is satisfactory.
Making Duplicate Panels
- Repeat the process to create a second panel identical to the first.
- Leave yarn uncut on the second panel for easier seaming.
Joining Panels
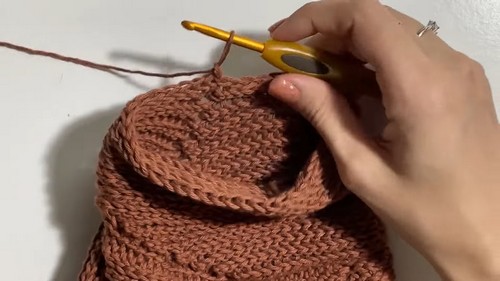
- Connect the shoulder parts of both panels using slip stitches along each raised row. Keep stitches loose to maintain elasticity.
- Seam the neck area using slip stitches across both sets of chains.
Creating Armholes
- Align the two panels and mark the area for armholes using stitch markers.
- Ensure symmetry by counting stitches and matching the front and back panels.
- Slip stitch the sides below the armhole markers to join them together, leaving the armhole open.
Finishing Armhole Edges
- Crochet one round of slip stitches around each armhole to create a clean, finished edge.
- Avoid gaps near seams by strategically placing slip stitches.
Optional: Adding Cap Sleeves
- Work on the right side of the fabric (seams are less visible).
- Count total stitches around the armhole and divide by two for centering.
- Mark the armhole section where the cap sleeve will begin and end.
- Crochet slip stitches (back loop only) across the marked section, keeping tension loose.
- Alternate between normal slip stitch rows and decrease rows to achieve the desired fit:
- Normal rows: Add two extra slip stitches at the end of each row.
- Decrease rows: Work slip stitch two together for a snug fit.
- Continue until the cap sleeves fit the arms comfortably.
Final Finishing
- Seam the bottom of the cap sleeve using slip stitches.
- Crochet several rows in the round for a uniform look.
- Add final decreasing rows if necessary, or continue straight rows for length enhancement.
- Weave in ends and trim loose yarn.